For 1990-2009 cars only
Removal Procedure
- Place a drain pan or suitable container under the vehicle.
- Clean the cooler line connection points at the radiator and transmission.
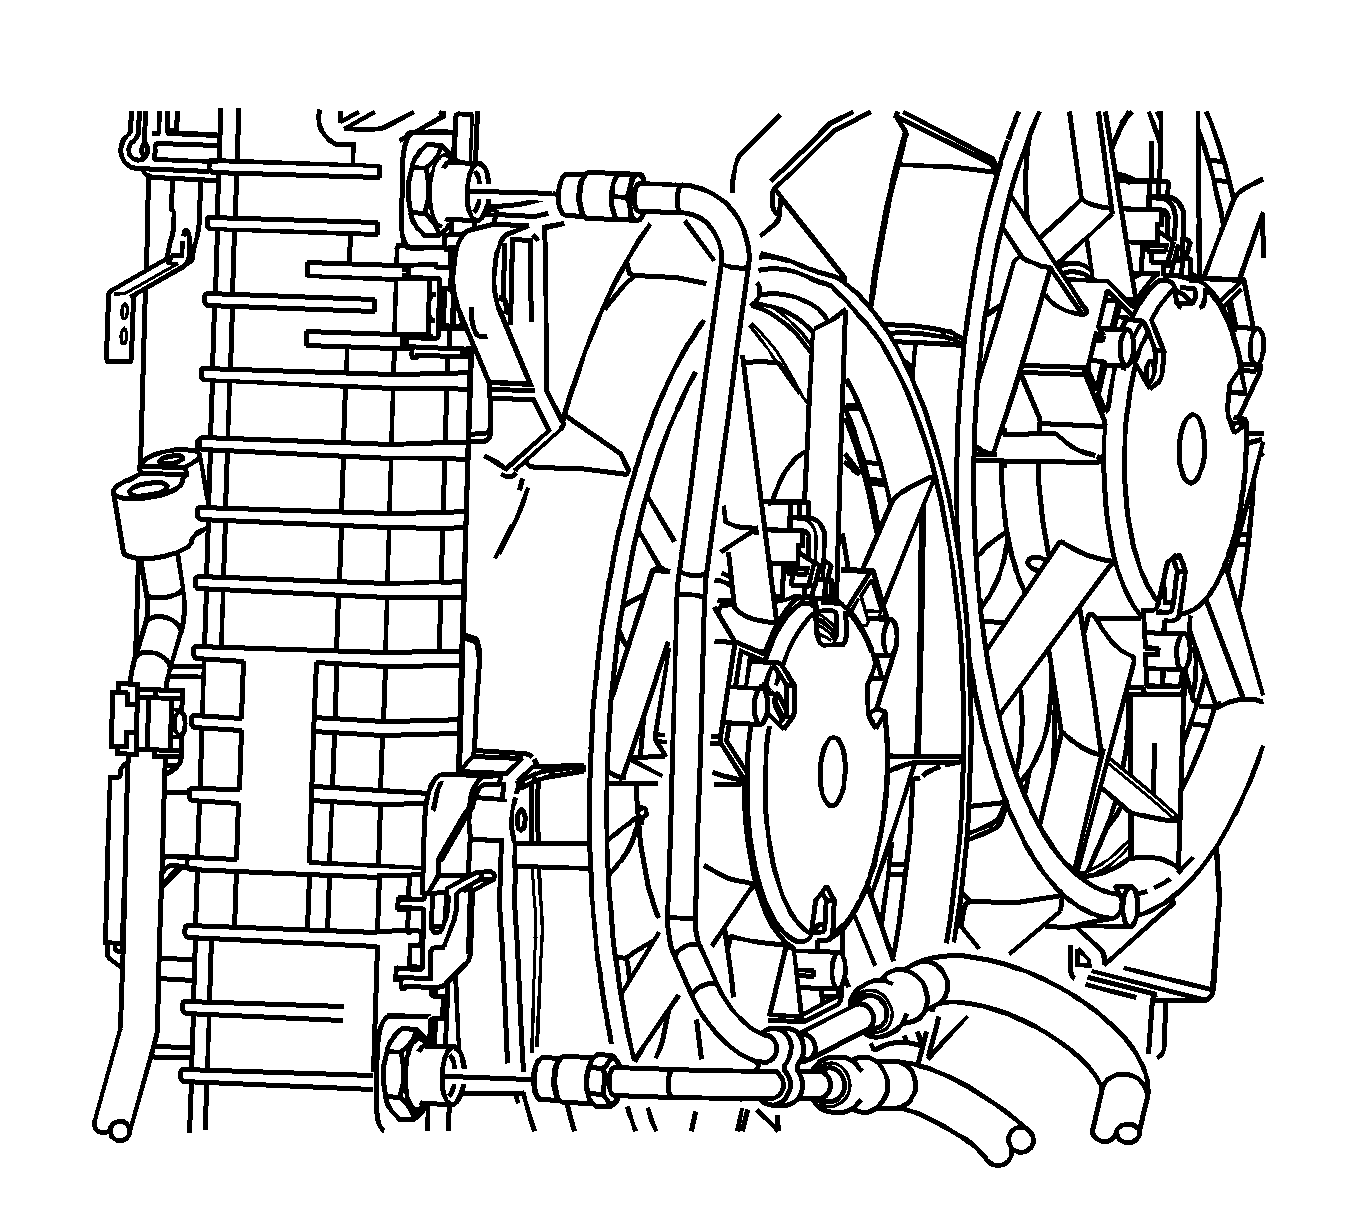
- Disconnect the upper transmission oil cooler (TOC) line from the radiator.
- Raise and support the vehicle. Refer to Lifting and Jacking the Vehicle .
- Disconnect the lower TOC line from the radiator.
- Disconnect the upper TOC line from the clip on the fan shroud.
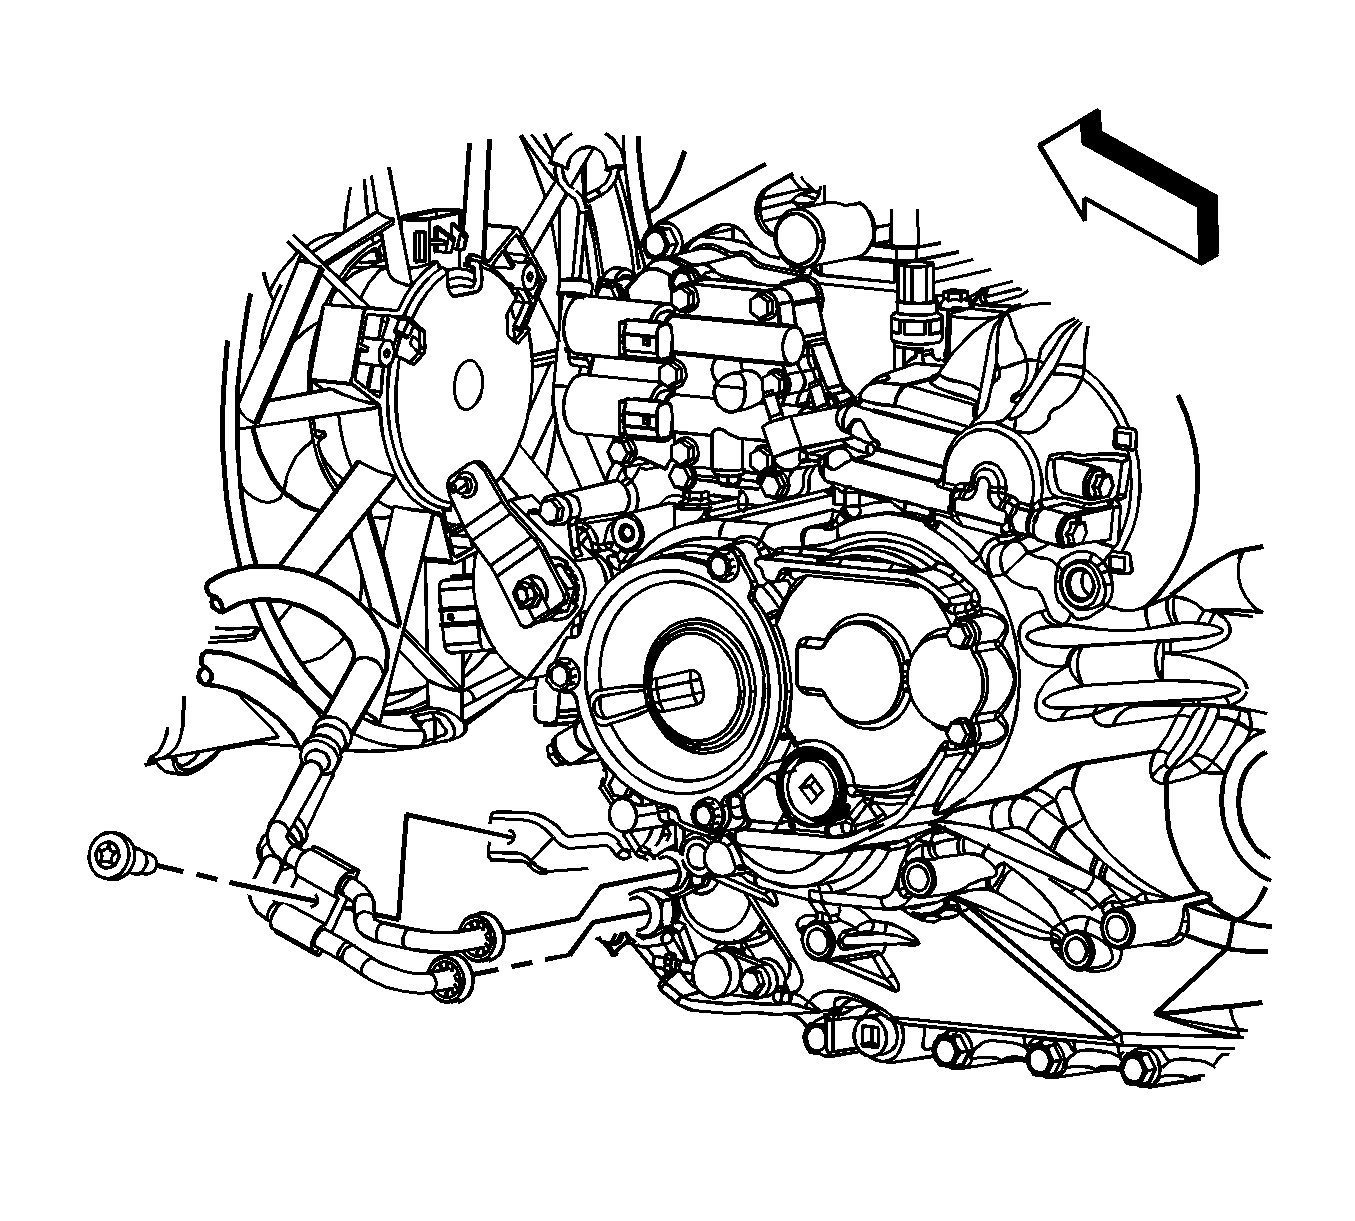
- Remove the TOC line bracket bolt from the transmission bracket.
- Slide the TOC line dust covers away from the quick connect fittings.
- Using a small flat-bladed tool, carefully remove the "E" clip retainers from the quick connect fittings.
- Remove the TOC lines from the transmission.
- Remove the TOC lines from the vehicle.
- Remove the TOC line dust covers from the TOC lines.
- Remove the TOC line seal from the transmission. Refer to Transmission Fluid Cooler Pipe Seal Replacement .


Installation Procedure
- Install the "E" clip retainers to the quick connect fittings.
- Install the dust covers to the quick connect fittings.
- Install the TOC lines to the transmission. Gently tug on the TOC lines to ensure proper engagement of the quick connect fitting.
- Install the TOC line bracket bolt to the transmission.
- Install the lower TOC line to the radiator.
- Connect the upper TOC line to the clip on the fan shroud.
- Lower the vehicle.
- Install the upper TOC line to the radiator.
- Add fluid to the transmission as necessary. Refer to Transmission Fluid Replacement .
- Start the engine and inspect for leaks.

Notice: Refer to Fastener Notice in the Preface section.
Tighten
Tighten the bolt to 7 N·m (62 lb in).

Tighten
Tighten fitting to 16 N·m (12 lb ft).
Tighten
Tighten fitting to 16 N·m (12 lb ft).
