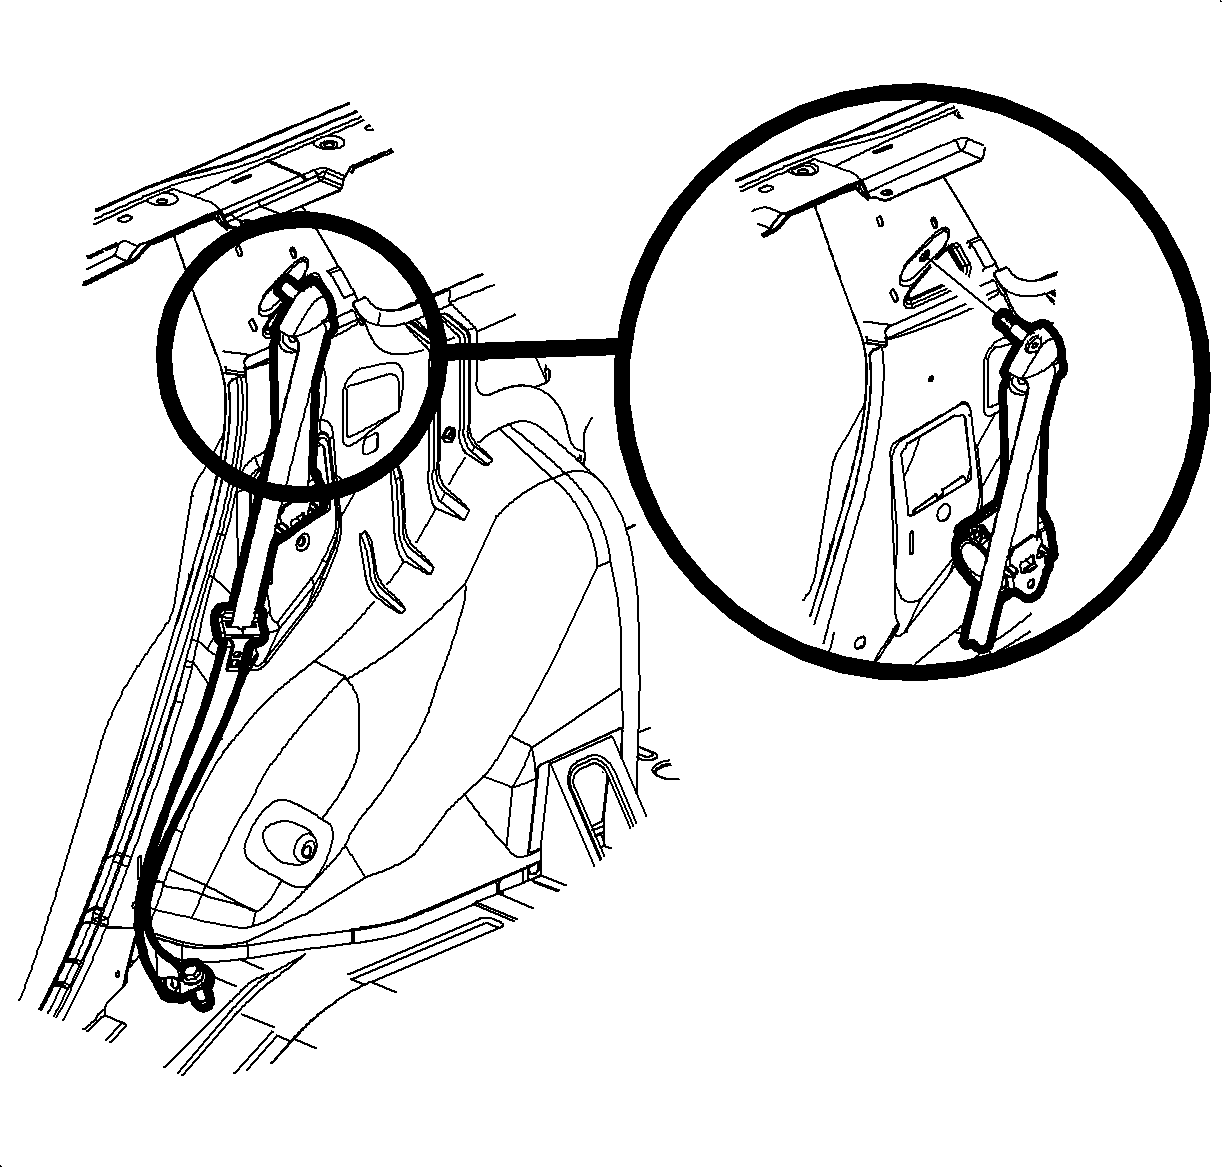
For 1990-2009 cars only
Removal Procedure
- Unsnap the cover on the rear seat shoulder belt to expose the shoulder belt fastener.
- Remove the shoulder belt fastener and the shoulder belt.
- Lower the rear seat back.
- Partially remove the lock pillar garnish molding by gently pulling at the clip locations.
- Partially remove the side trim panel at the lock pillar garnish molding location.
- Partially remove the front upper section of the side trim panel. Squeeze the lock pillar molding to gain access to the headliner. Remove the molding.
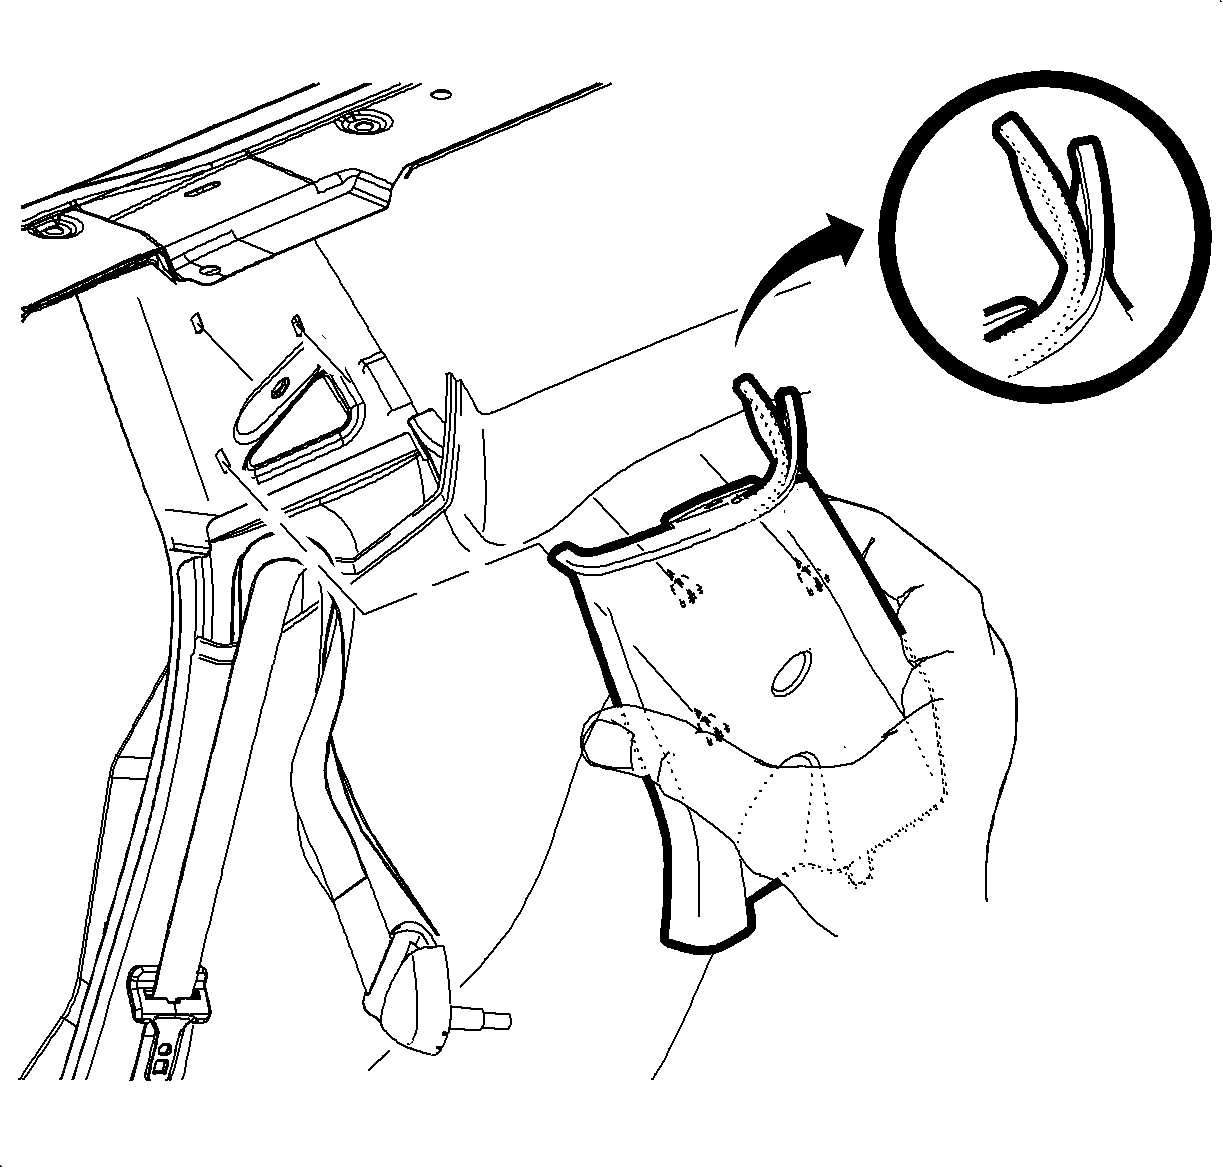
Installation Procedure
- Position the lock pillar molding to the side trim.
- Align the locator pin on the molding to the structure.
- Install the lock pillar garnish molding by pushing gently at the clip locations.
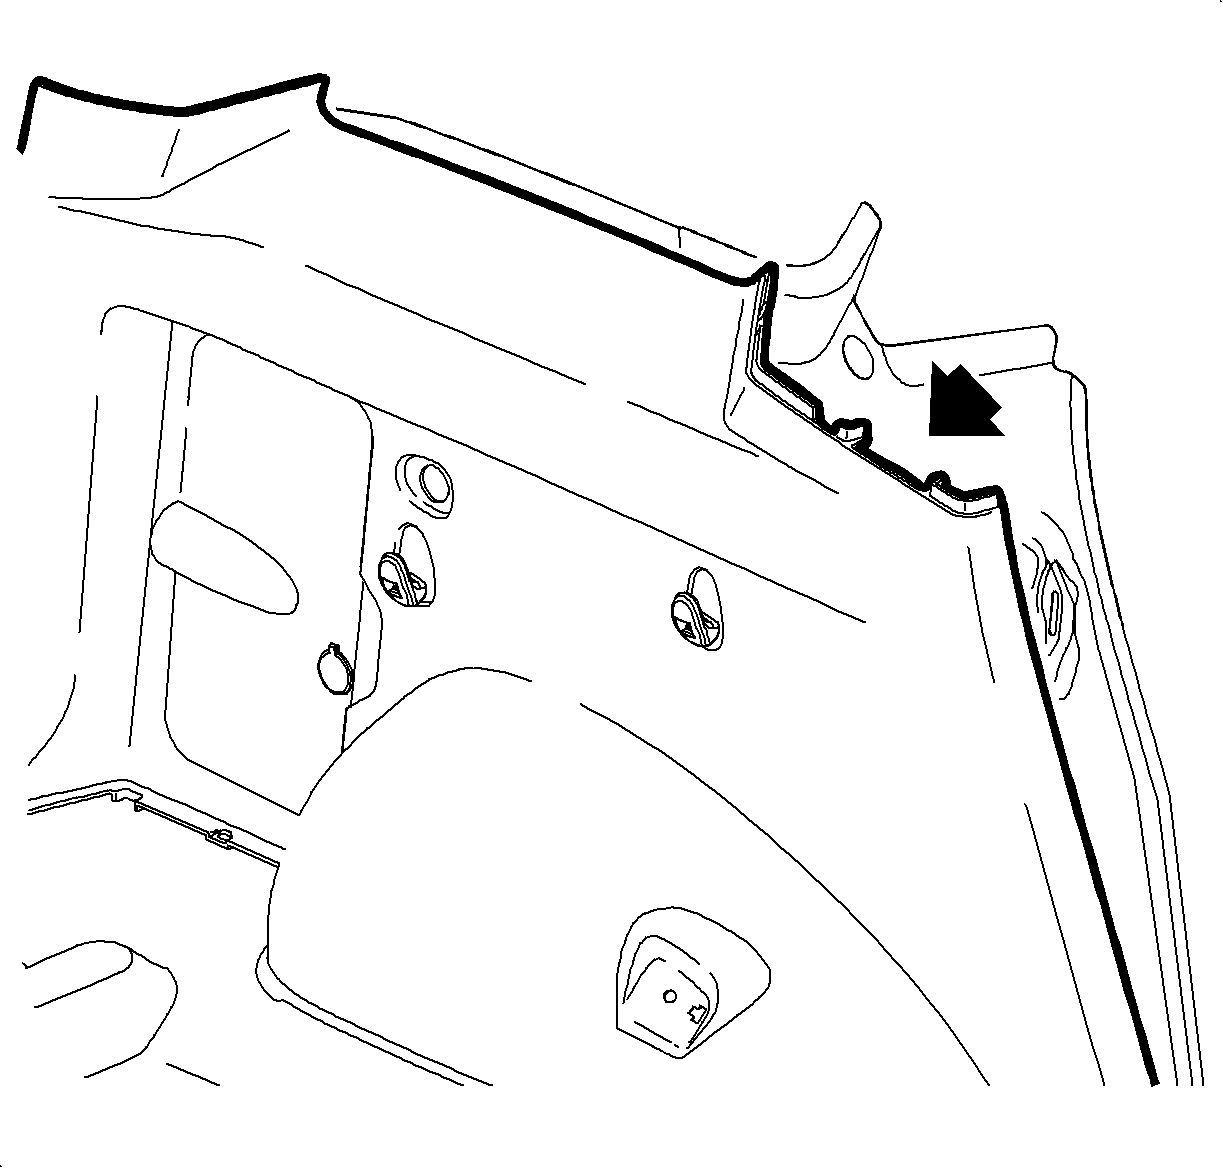
- Install the side trim panel.
- Install the rear seat shoulder belt to the rear lock pillar.
- Snap the shoulder belt cover over the fastener.
- Raise the rear seat back.
- Test the rear seat shoulder belt to ensure proper operation.
- Install the door seal over the edge of the garnish molding.
Important: Apply Permatex® 24200 on all restraint fasteners prior to installation.
Notice: Refer to Fastener Notice in the Preface section.
Tighten
Tighten the belt fastener to 50 N·m (37 lb ft).
