For 1990-2009 cars only
The proper operation of the cooling system depends on the hoses and clamps being in good condition. Yet, these items are often taken for granted and overlooked. When these oversights occur, roadside emergencies will follow which will lead to low customer satisfaction. These problems can be avoided by proper physical and visual inspection of hoses and clamps.
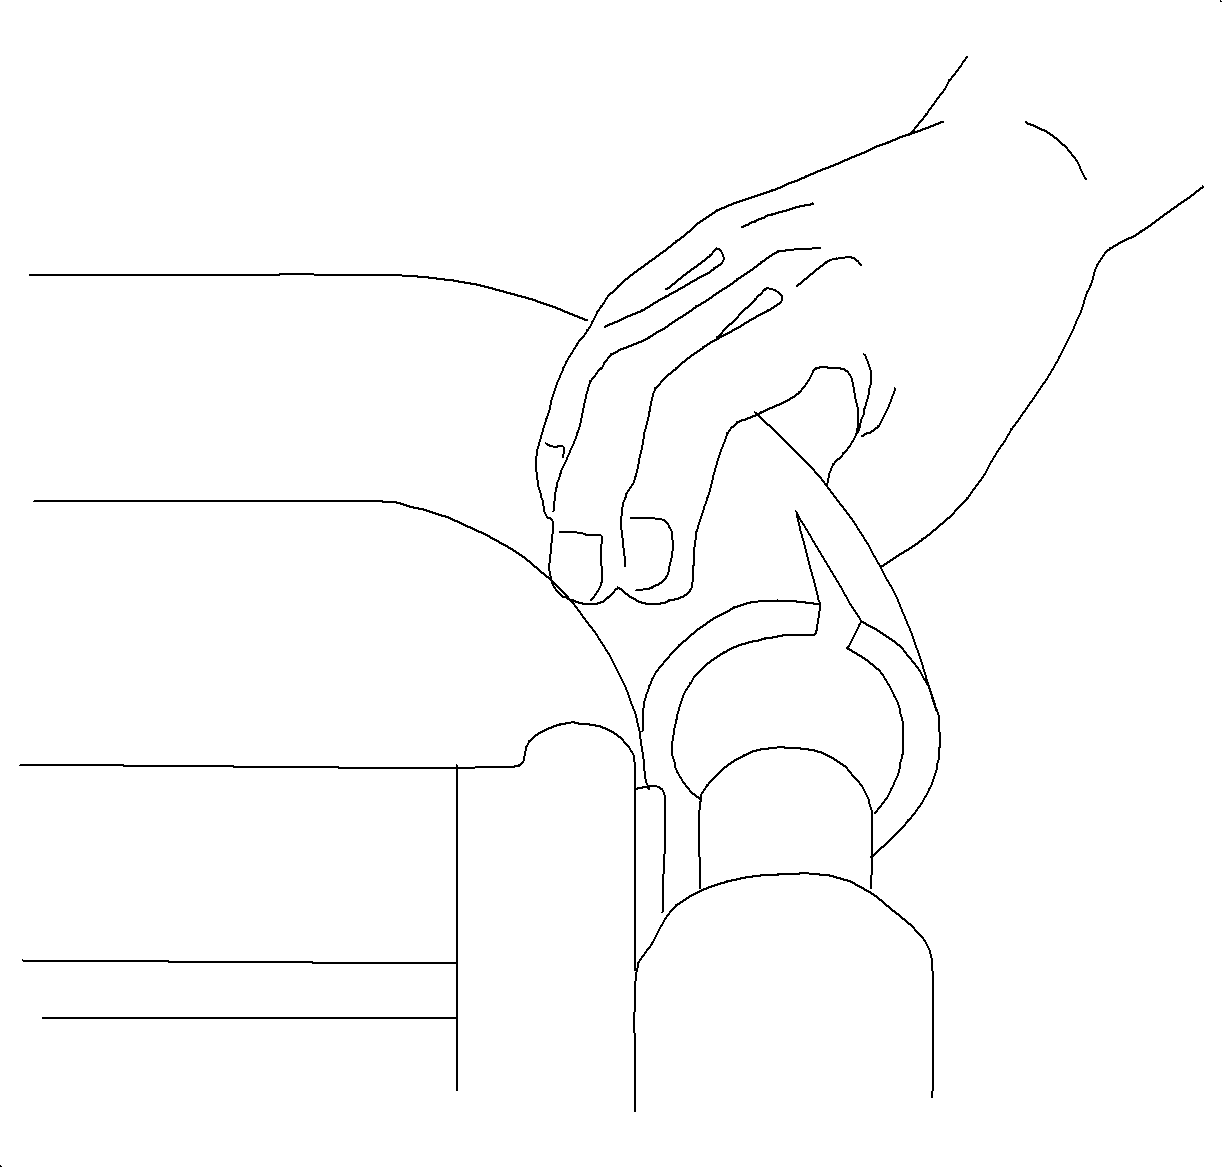
Hoses should not only be checked by means of a thorough visual inspection, but also by squeezing each hose along its entire length. Look for these problems:
- Sponginess: If the hose collapses too easily as you feel along its length, it indicates deterioration and that means the hose should be replaced.
- Bulging or Swelling: If you see this on the hose, it means there has been weakening under pressure, and replacement is again indicated.
- Brittleness: If as you feel and wiggle the hose it has a feeling of brittleness, an immediate replacement is required.
- Cracking at the Point of Attachment: If seen during your visual inspection, immediate replacement is needed.
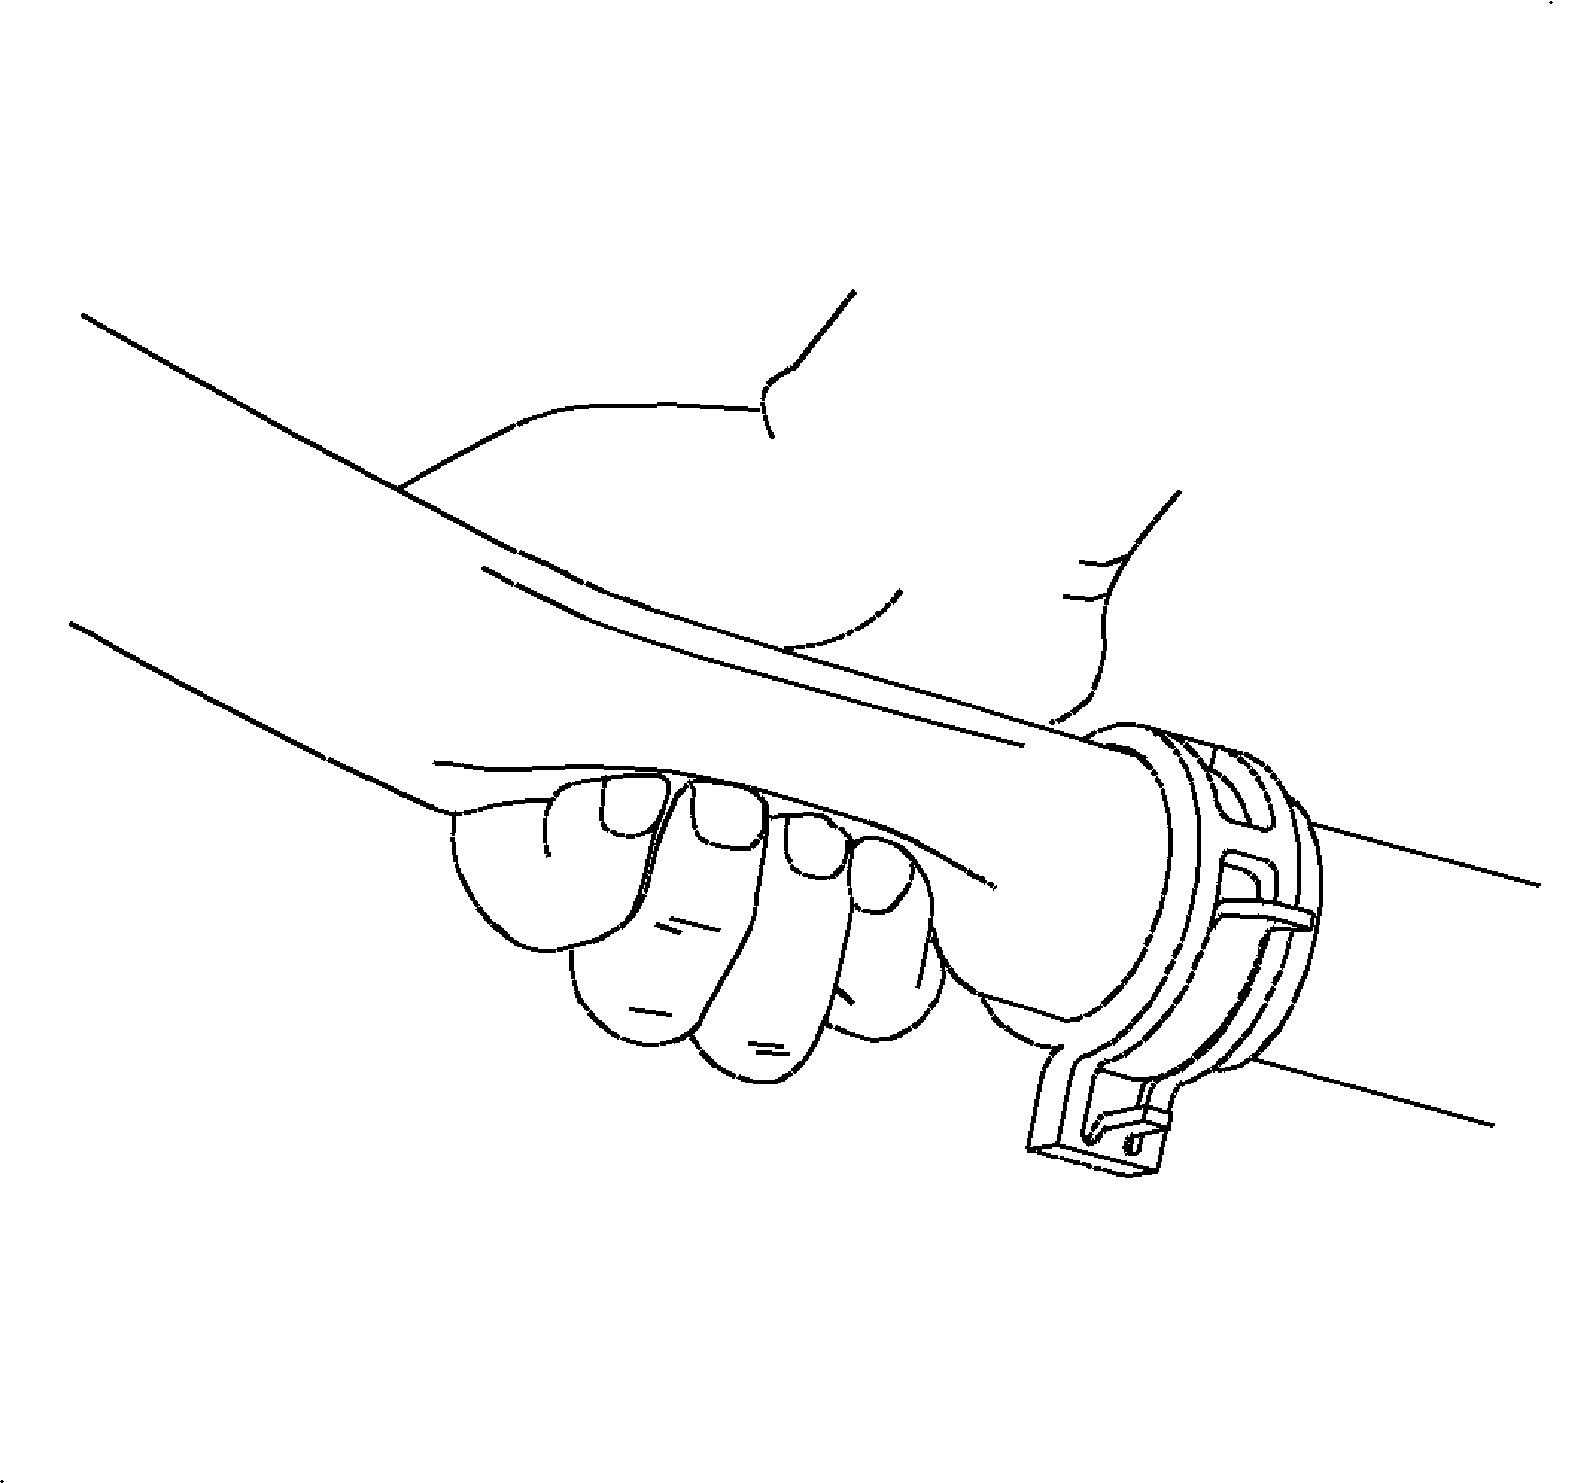
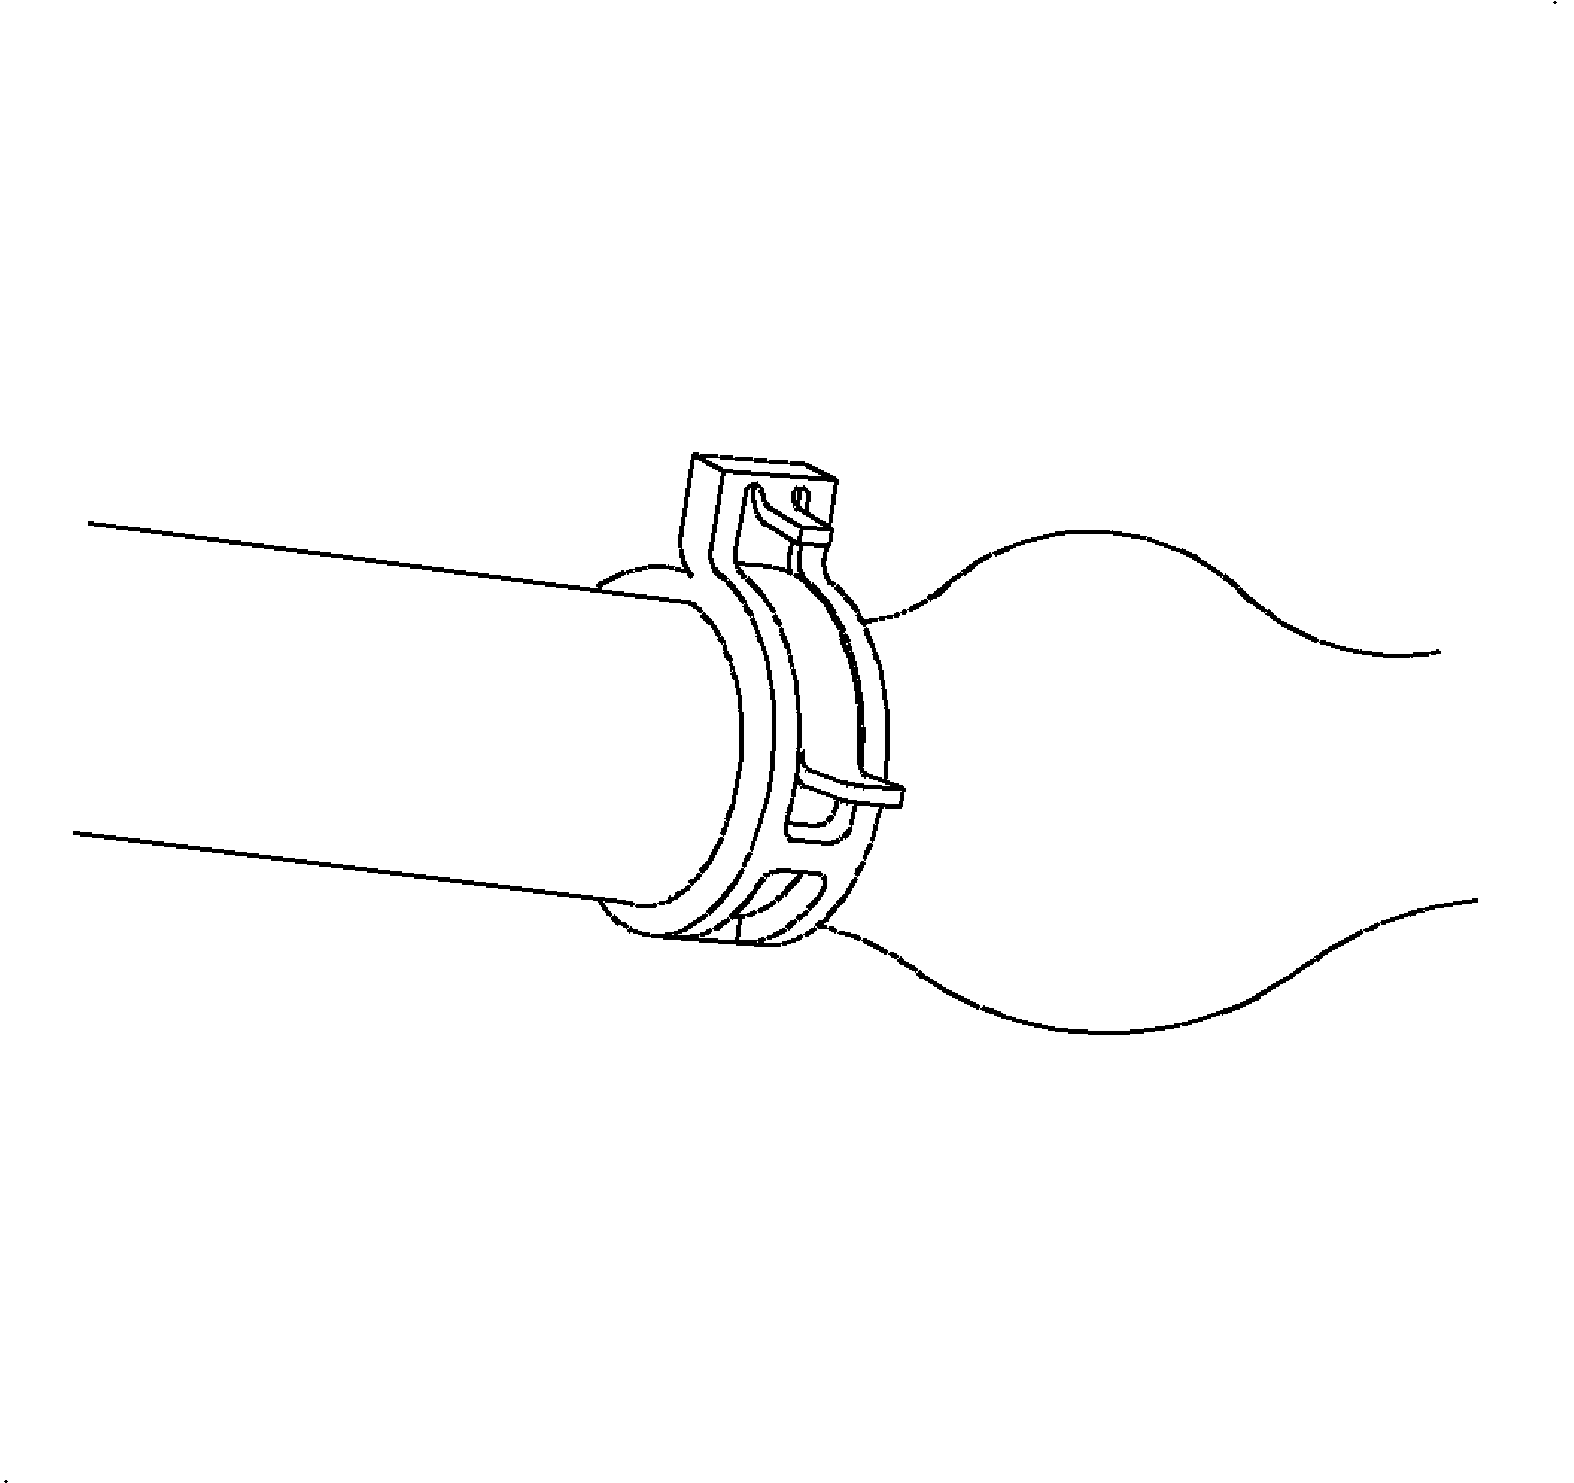
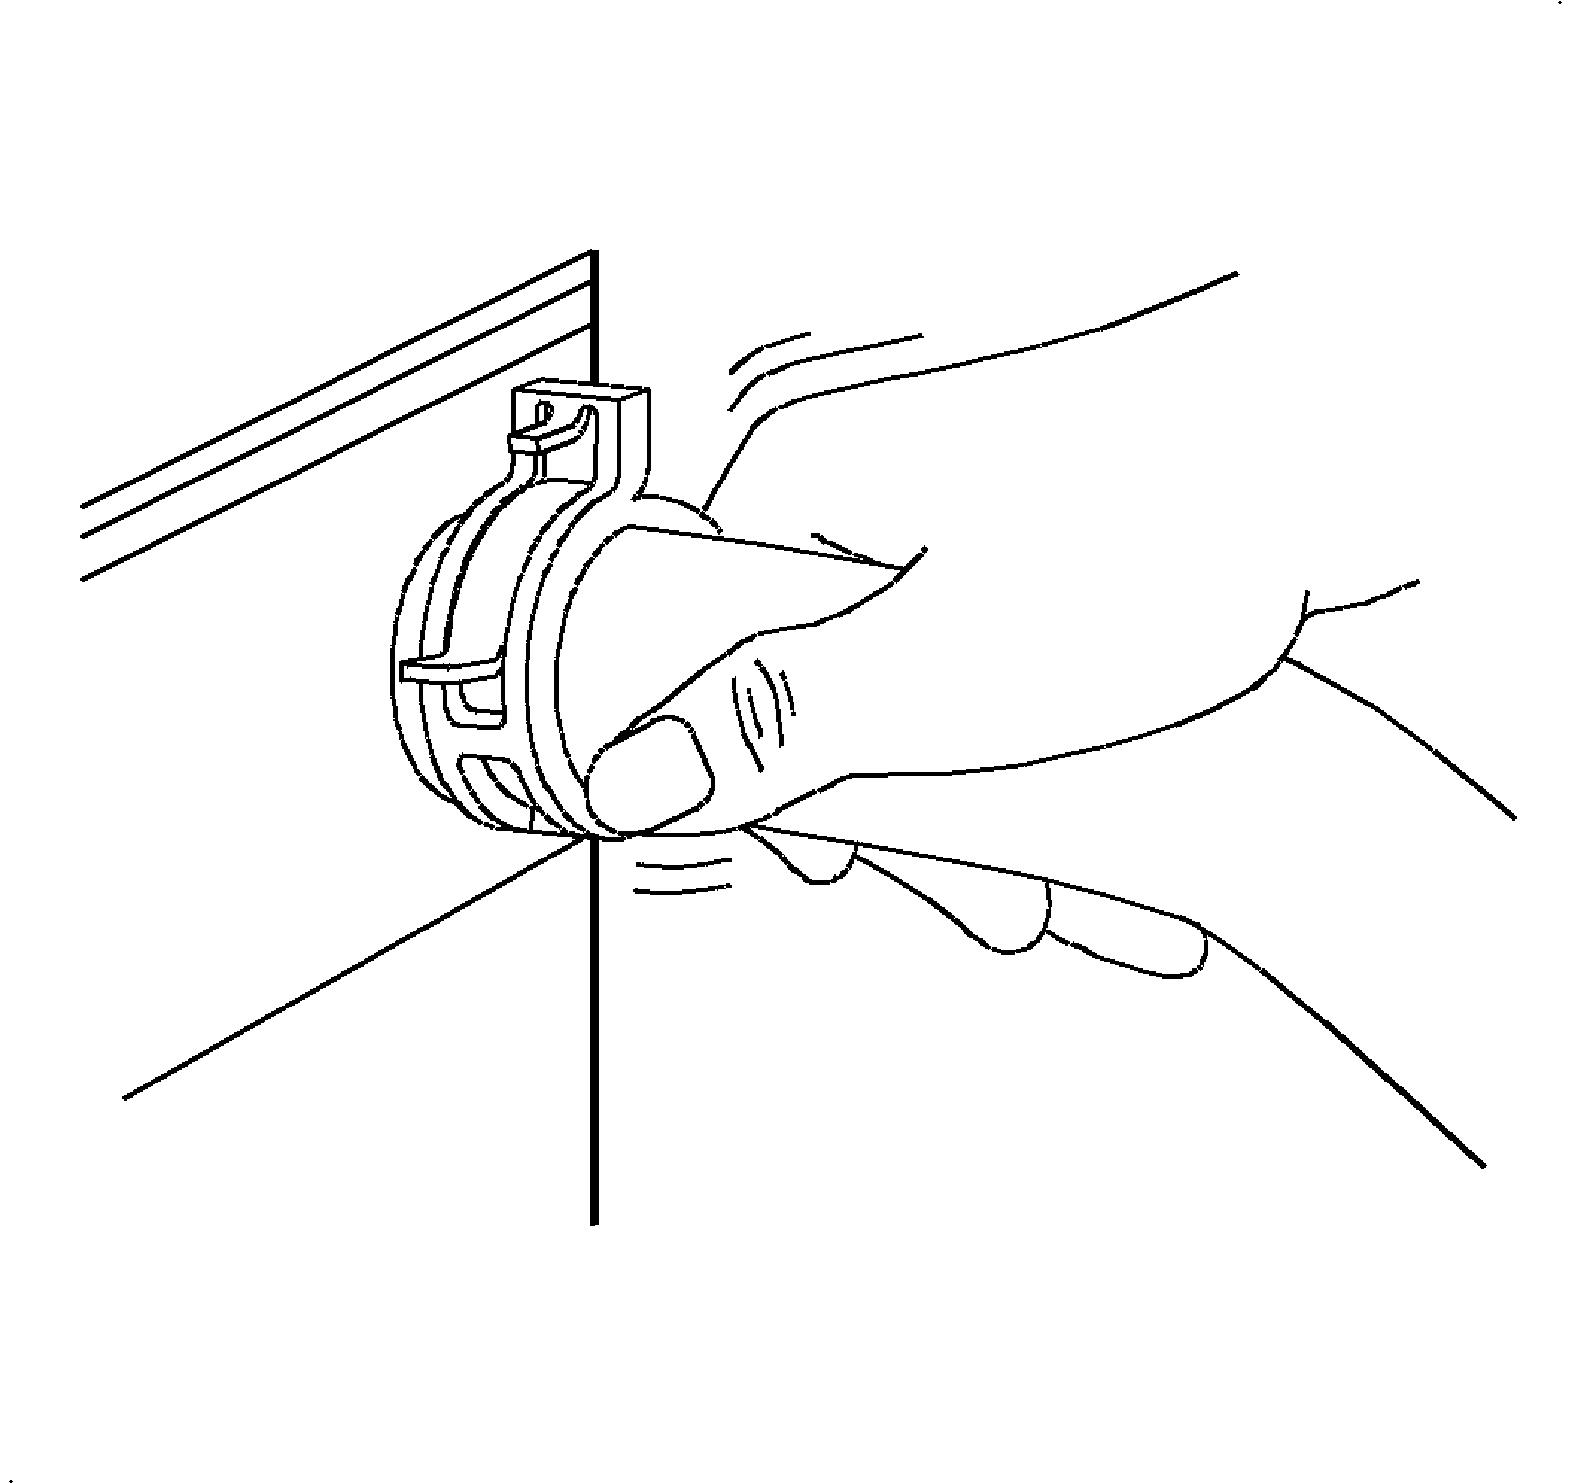
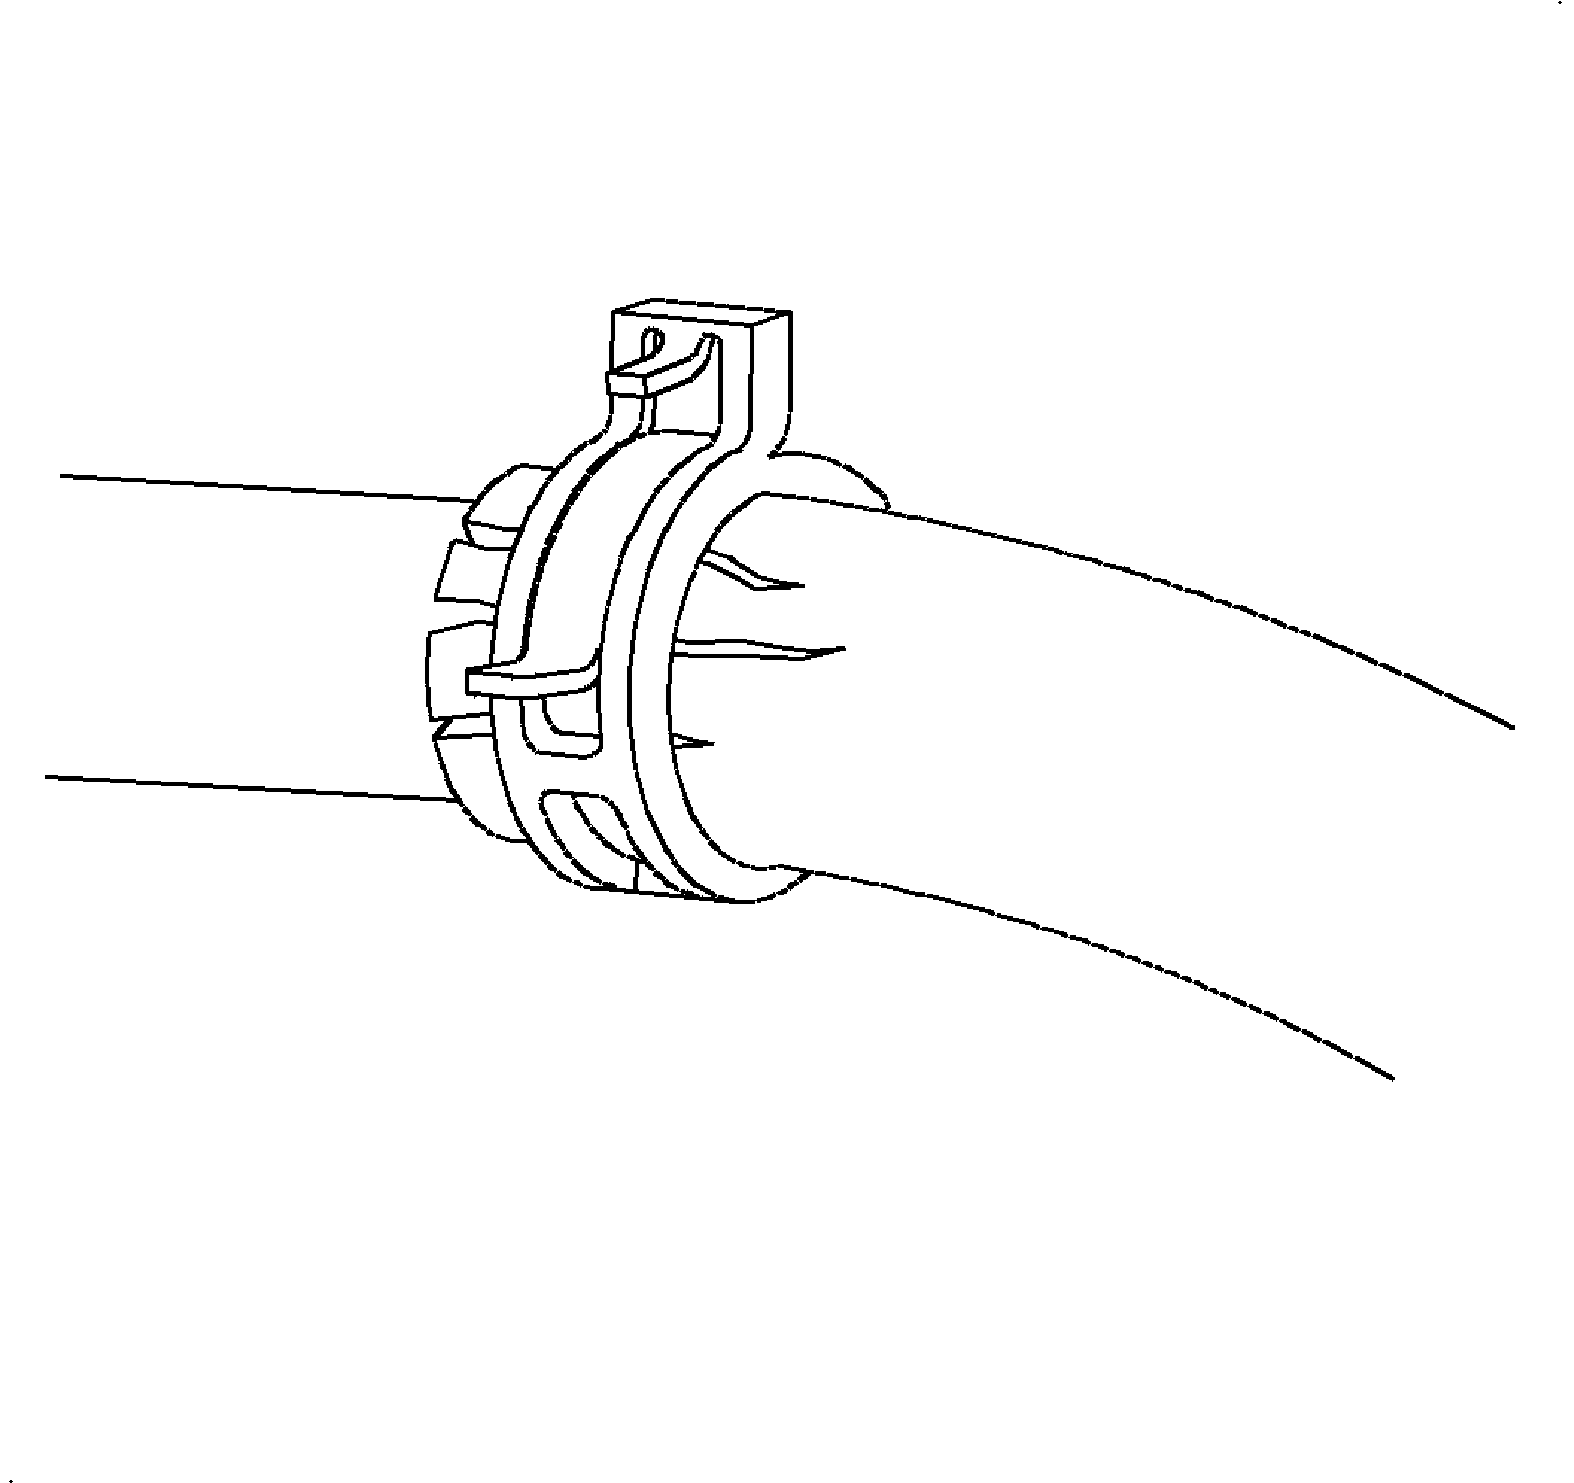
Hose Replacement
- Stop the engine.
- Drain the coolant. Refer to Cooling System Draining and Filling
- Slit the hose end, twist left and right and pull straight off for easy removal.
- Clean off the outlets with a clean cloth. Use sandpaper if necessary.
- Dip the ends of the new hose into coolant for easier installation.
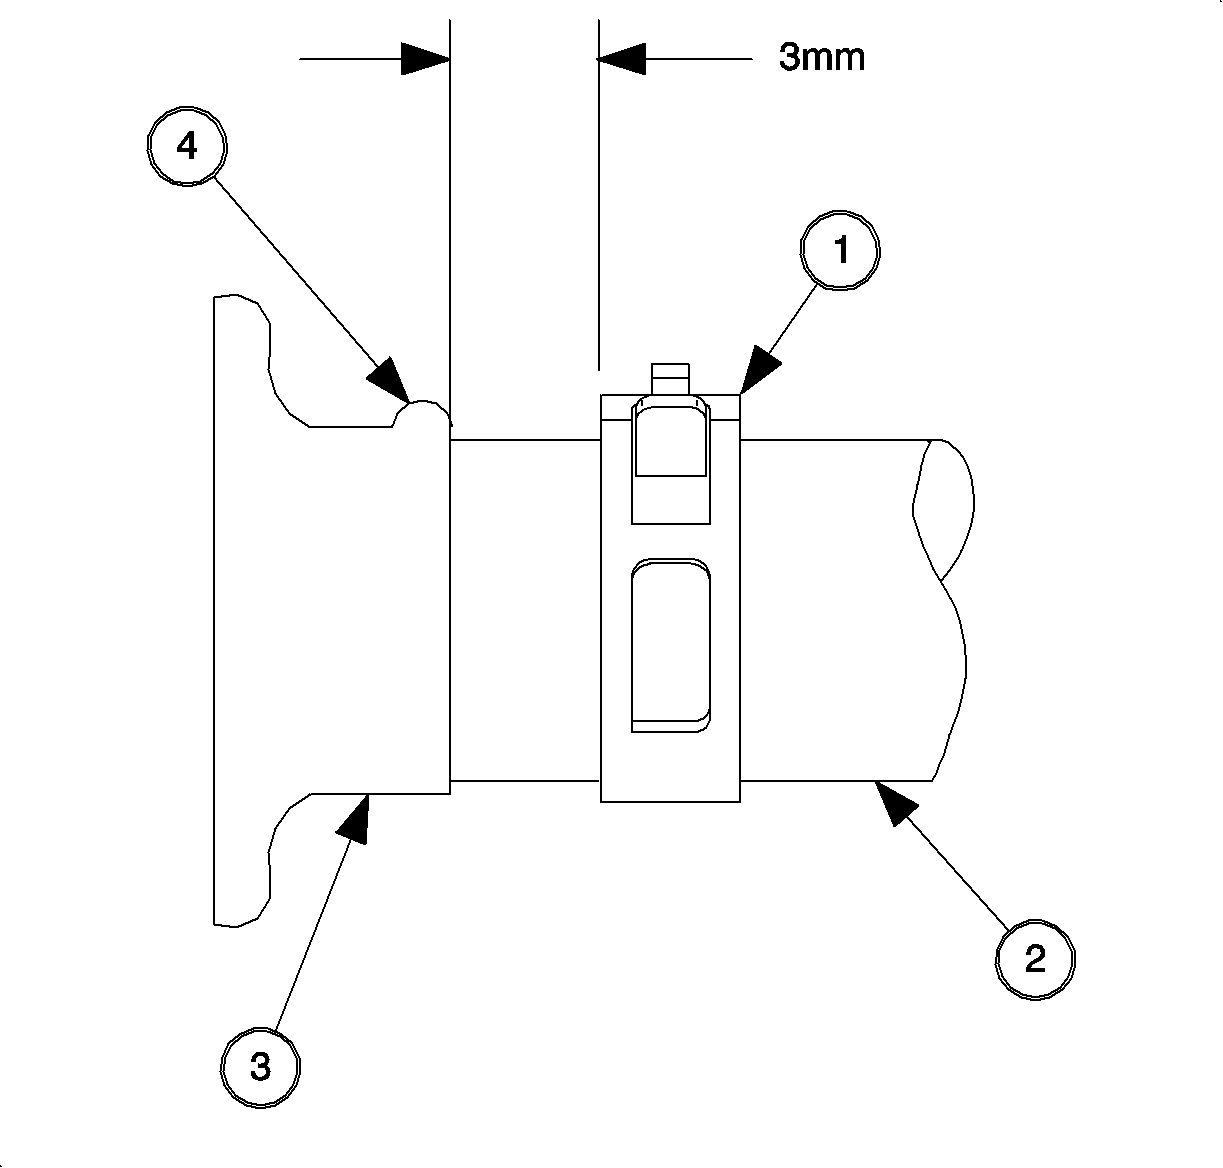
- Install clamps on the hose (1).
- Install the hose (2) onto the nipple (3) until the hose contacts the hose stop bead (4). The white line on the hose should be at the 12 o'clock position.
- Slide the clamp (1) to within 3 mm (0.12 in) of the hose end.
- Install the pressure tester on the bottle and check for leaks.
- Fill the cooling system. Refer to Coolant Replacement in this section of the service manual.
Clamp Positioning
- All Positions are given from the hoses point of view.
- Clamp Positions:
Notice: Hose clamps have been positioned at the factory for ease of assembly and removal in service. The clamps must be installed in the designed position to prevent damage to other components.
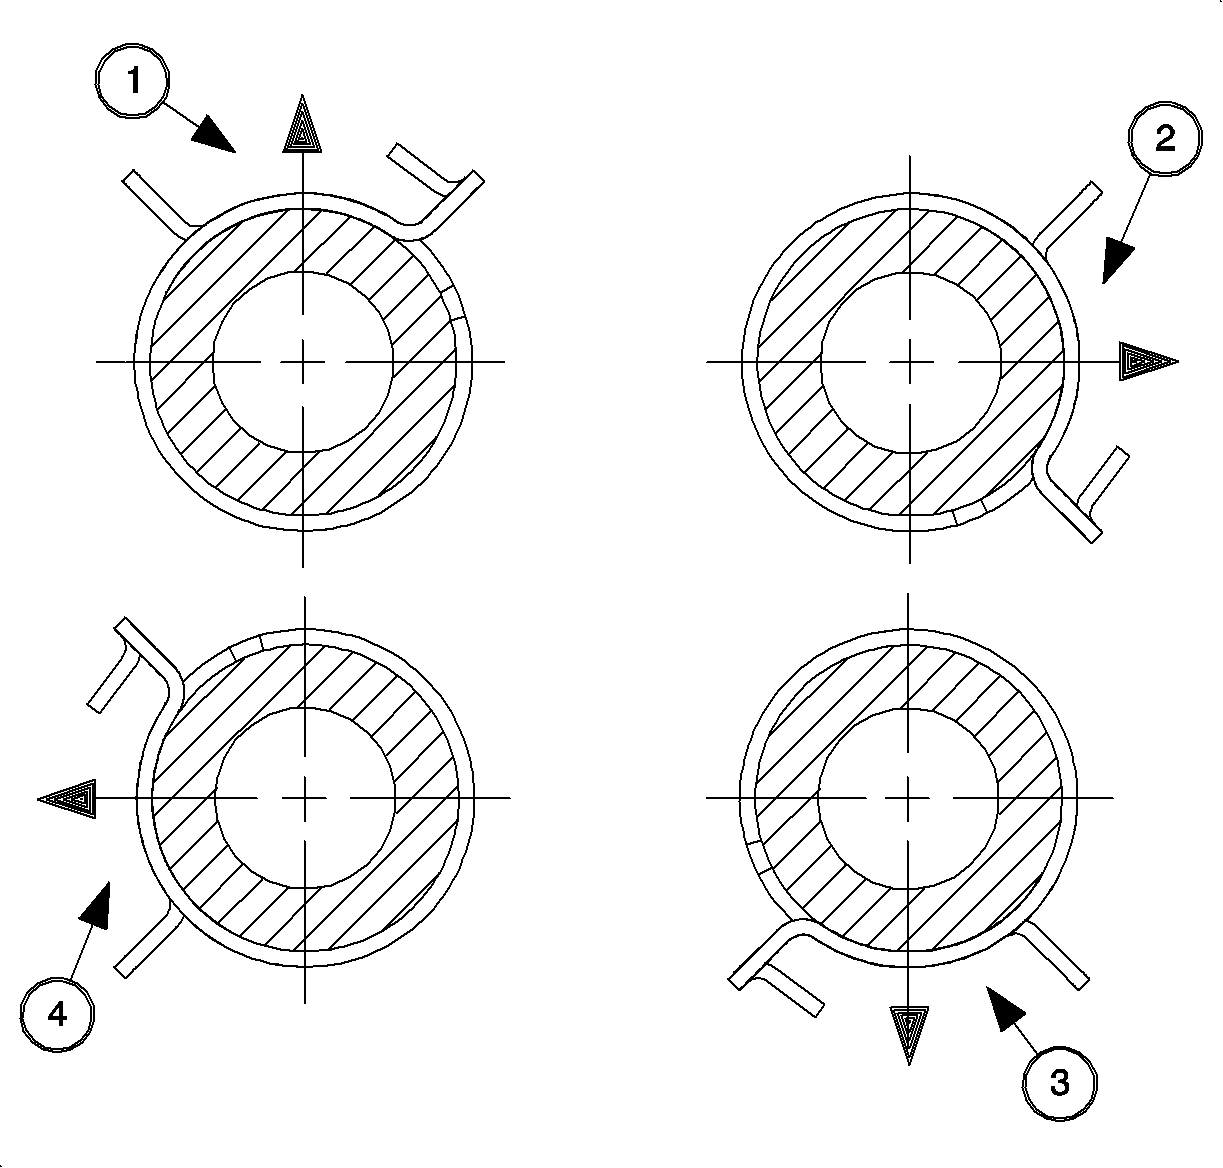
| • | 12 o'clock |
| • | 3 o'clock |
| • | 6 o'clock |
| • | 9 o'clock |
