For 1990-2009 cars only
Removal Procedure
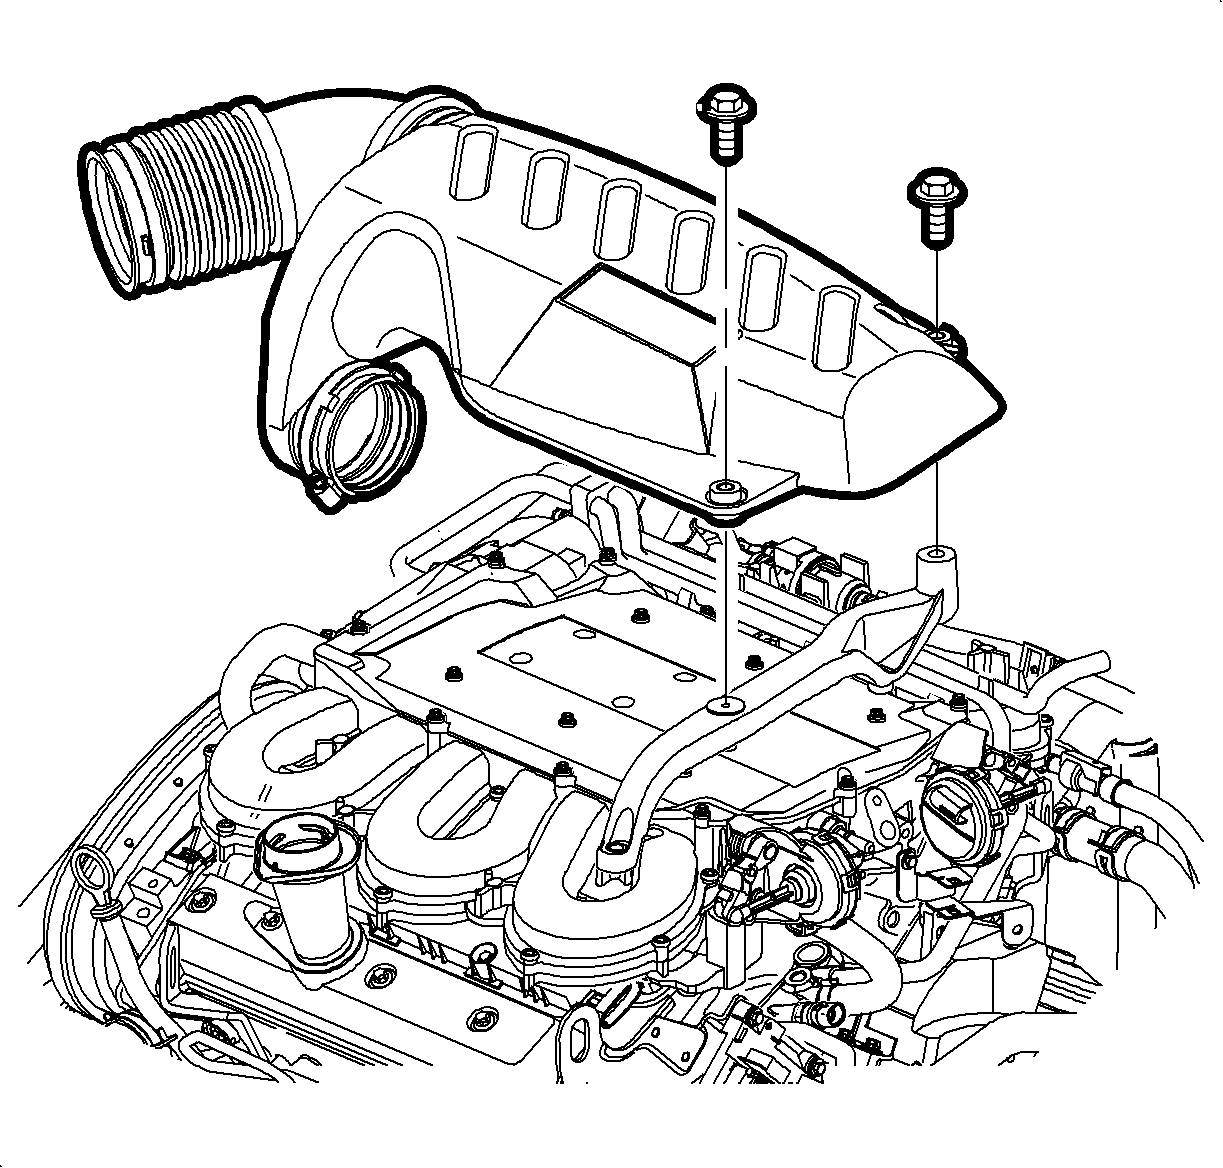
- Loosen the clamp at the air cleaner assembly and throttle body assembly.
- Remove the attachment bolts from the outlet resonator/duct assembly.
- Remove the outlet resonator/duct assembly.
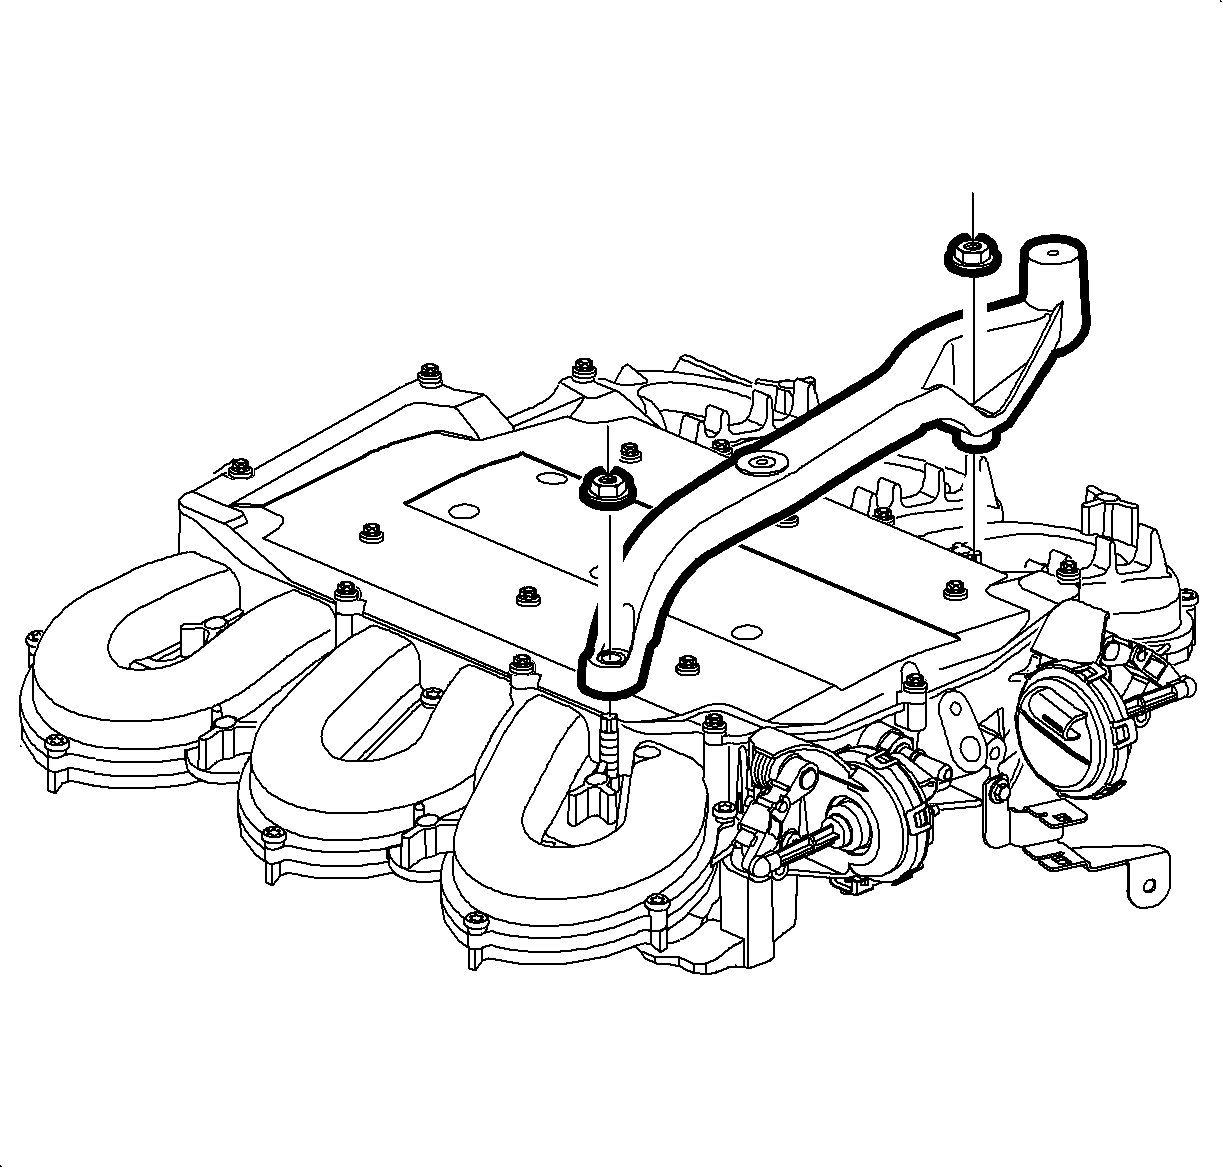
- Remove the resonator outlet duct assembly bracket from the manifold.
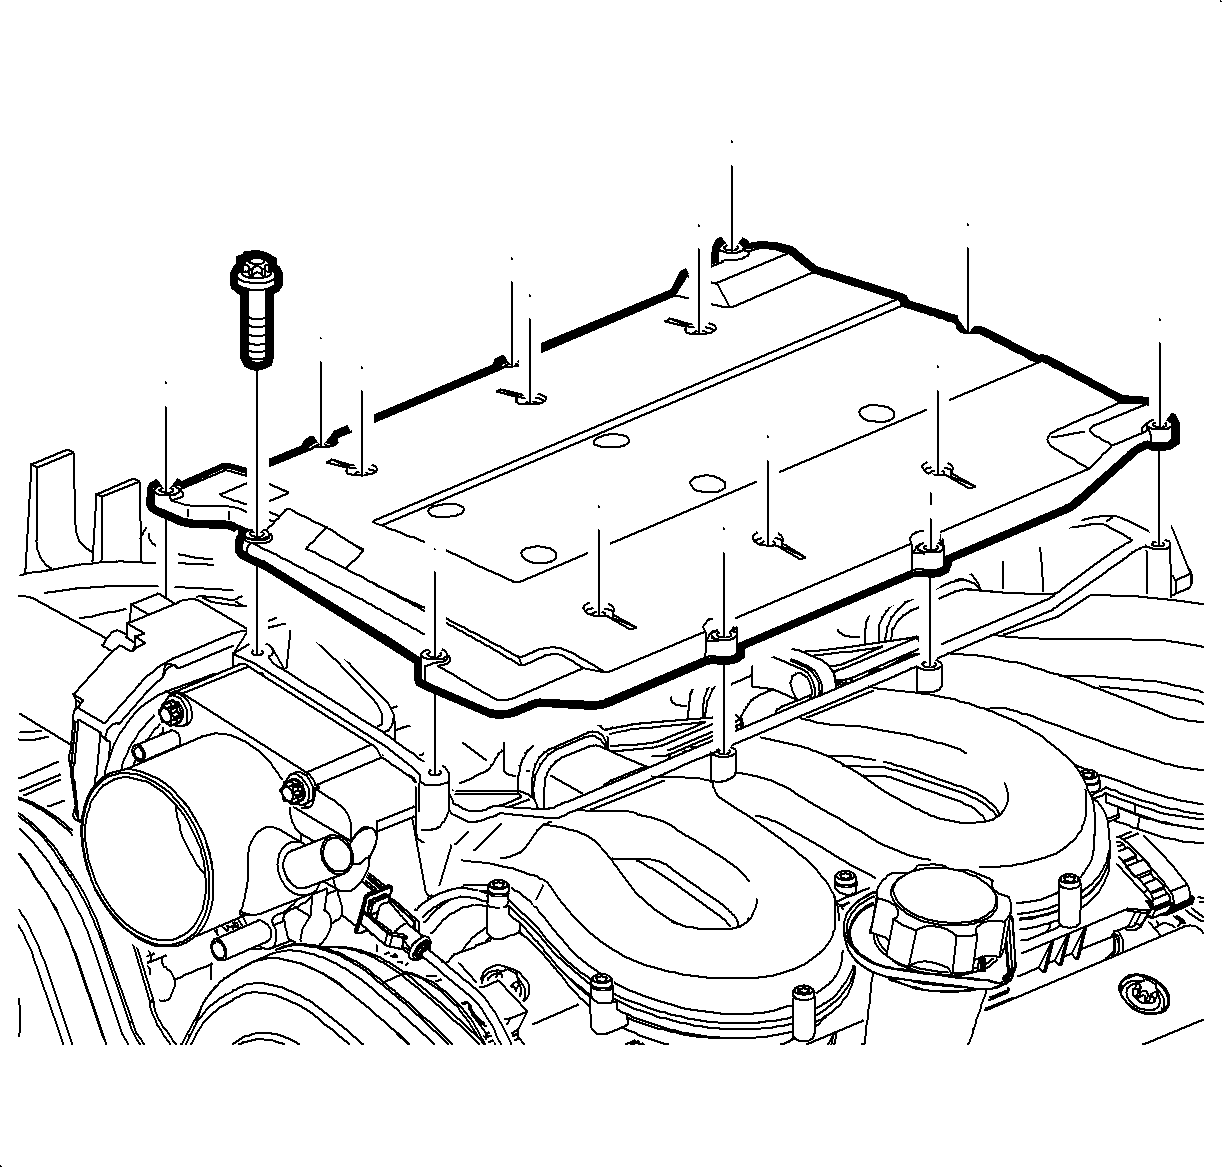
- Remove the intake manifold cover bolts and cover.
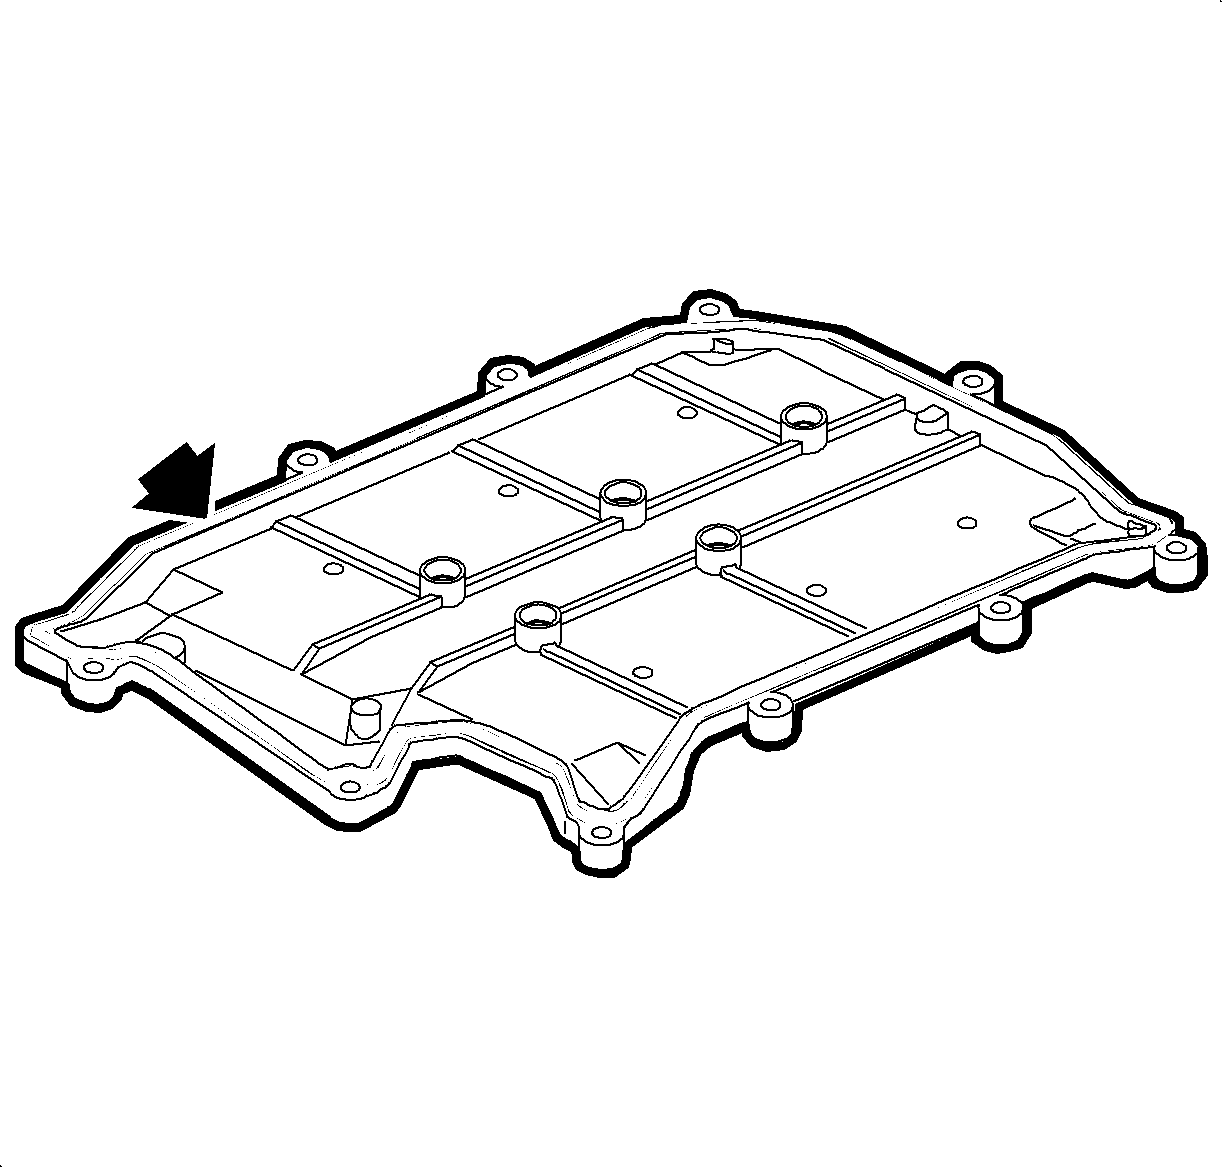
- Inspect the top cover gasket. The top cover gasket is re-usable if not damaged.
Notice: When servicing the intake manifold, do not use power tools. Damage to the threads or manifold may result.
Installation Procedure
- If the top cover gasket is damaged, replace the top cover assembly.
- Install the sleeve seals to intake manifold top cover.
- Apply the Loctite 242 to all intake manifold cover bolts.
- Install the top cover into position and tighten the outer intake manifold bolts.
- Tighten the inner intake manifold cover bolts to manifold.
- Install the outlet resonator duct assembly bracket to intake manifold.
- Install the outlet resonator duct assembly into position.
- Tighten the clamp at throttle body assembly.
- Position the outlet resonator duct assembly to support bracket and install the bolts.
- Tighten the clamp at the air cleaner assembly.


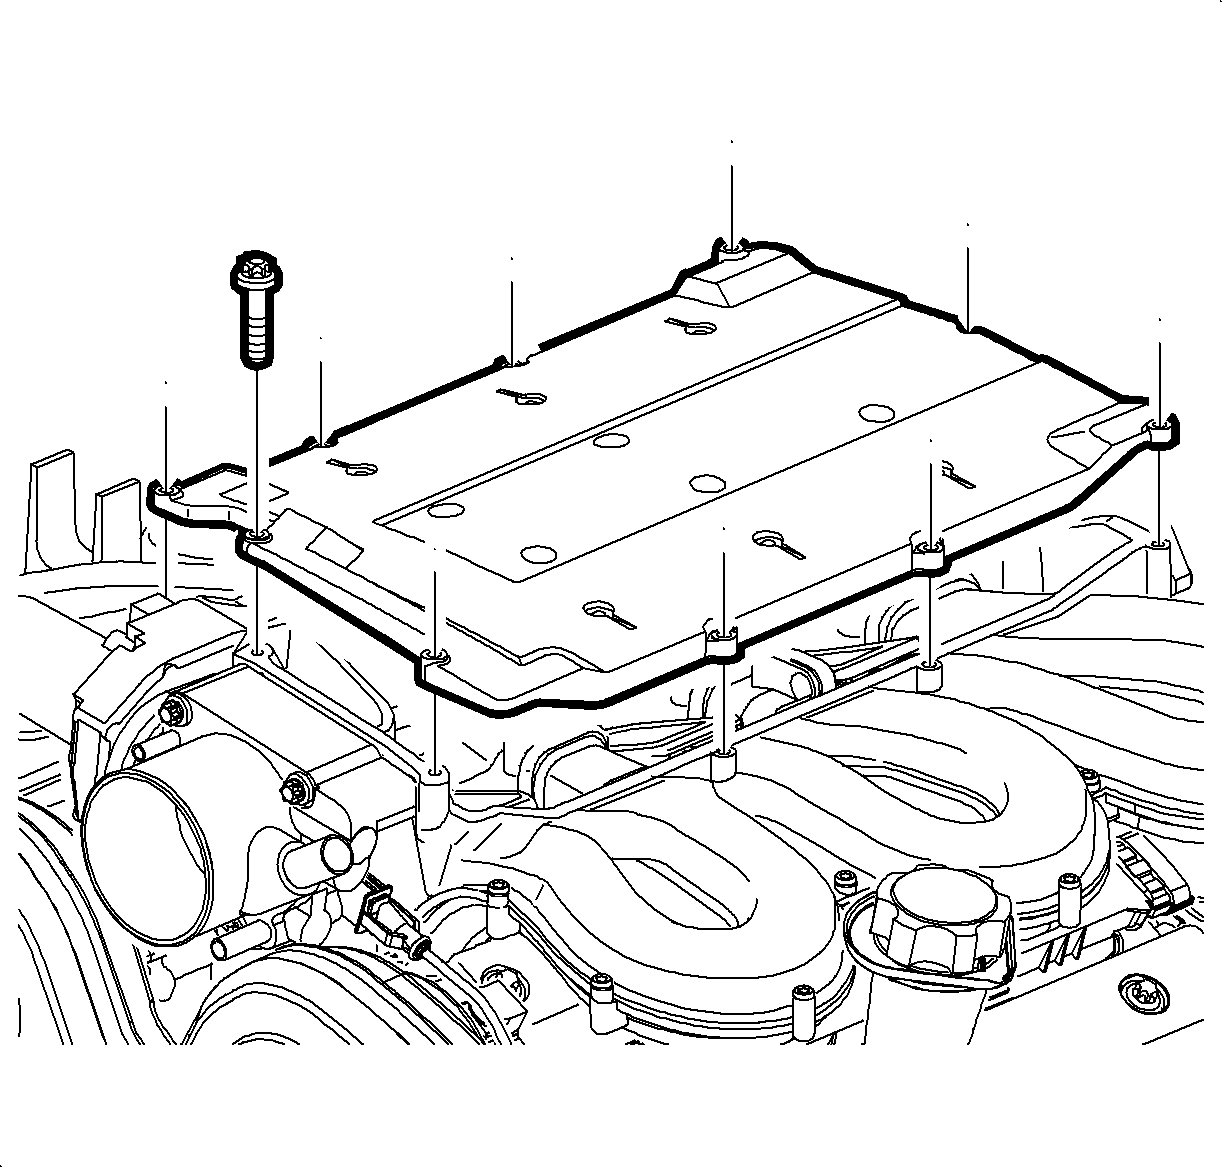
Tighten
Tighten the intake manifold top cover-to-manifold
bolts L81 to 4 N·m (35 lb in).
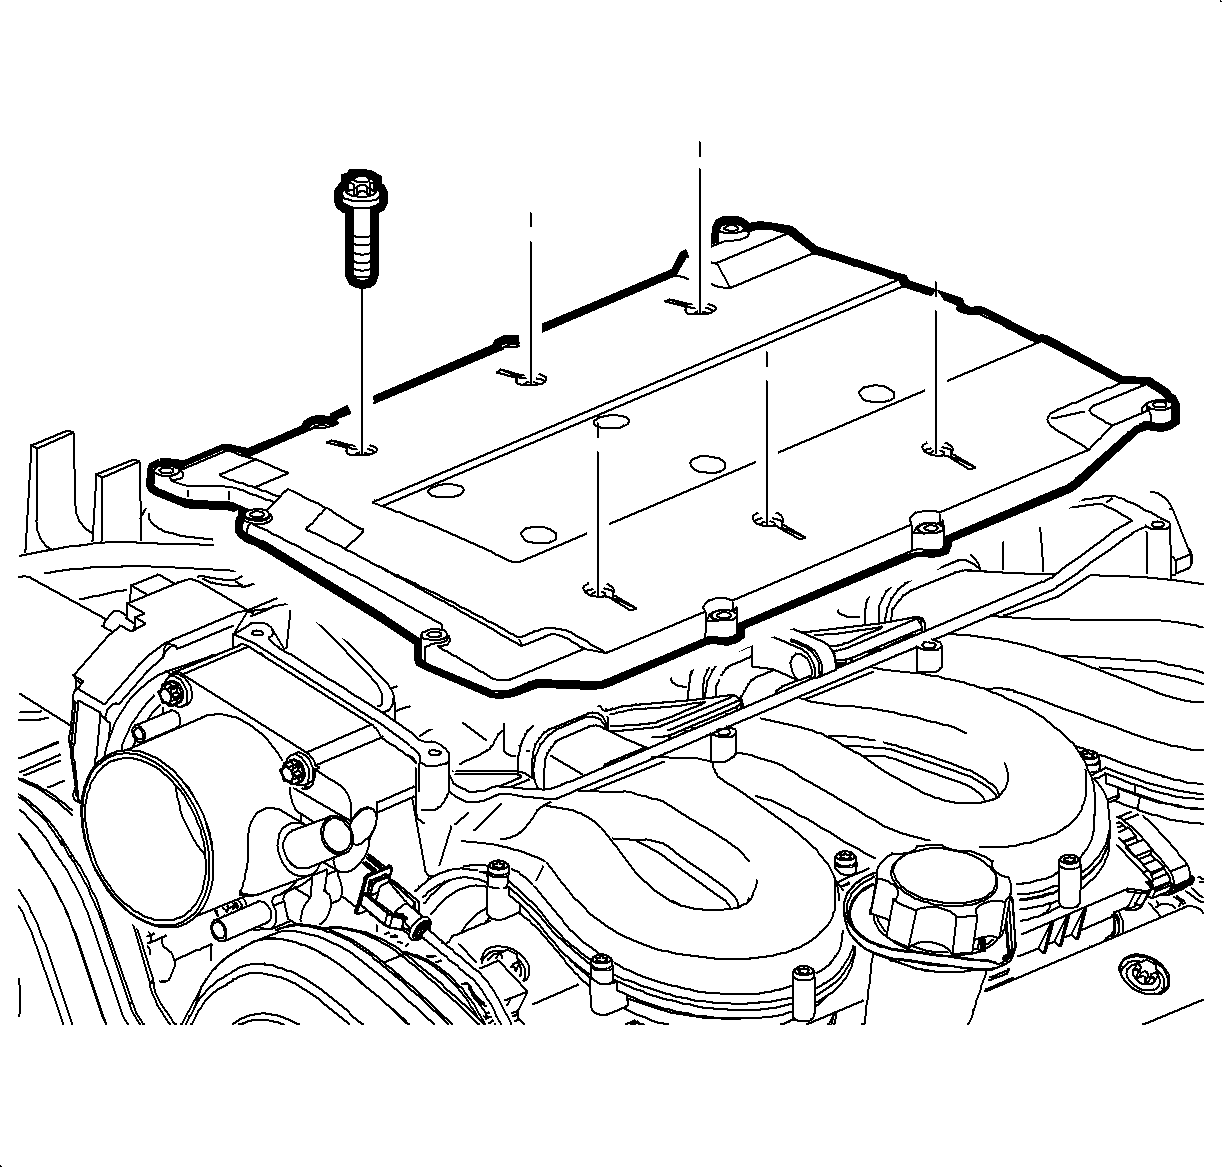
Tighten
Tighten the inner intake manifold cover bolts to
4.4 N·m (39 lb in).

Tighten
Tighten the outlet resonator duct assembly bracket-to-intake
manifold nuts L81 to 5 N·m (44 lb in).

Tighten
Tighten the outlet resonator/duct assembly-to-support
bracket bolts L81 to 10 N·m (89 lb in).
