Tools Required
| • | J 37088-A Fuel Line Disconnect Set |
| • | J 44095 Fuel Pressure Adapter Fitting |
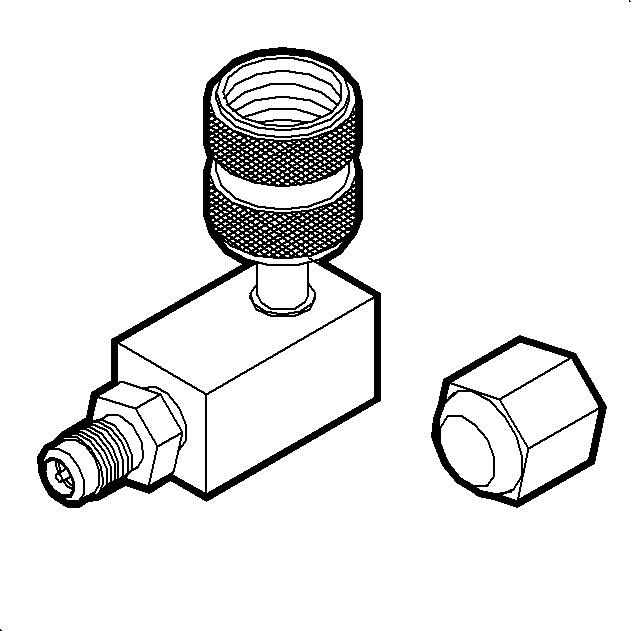
| • | SA9127E Gage Bar Set |
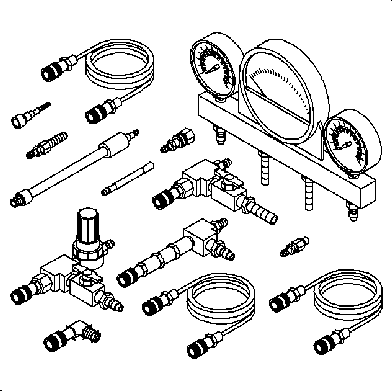
Removal Procedure
- Disconnect the negative battery cable.
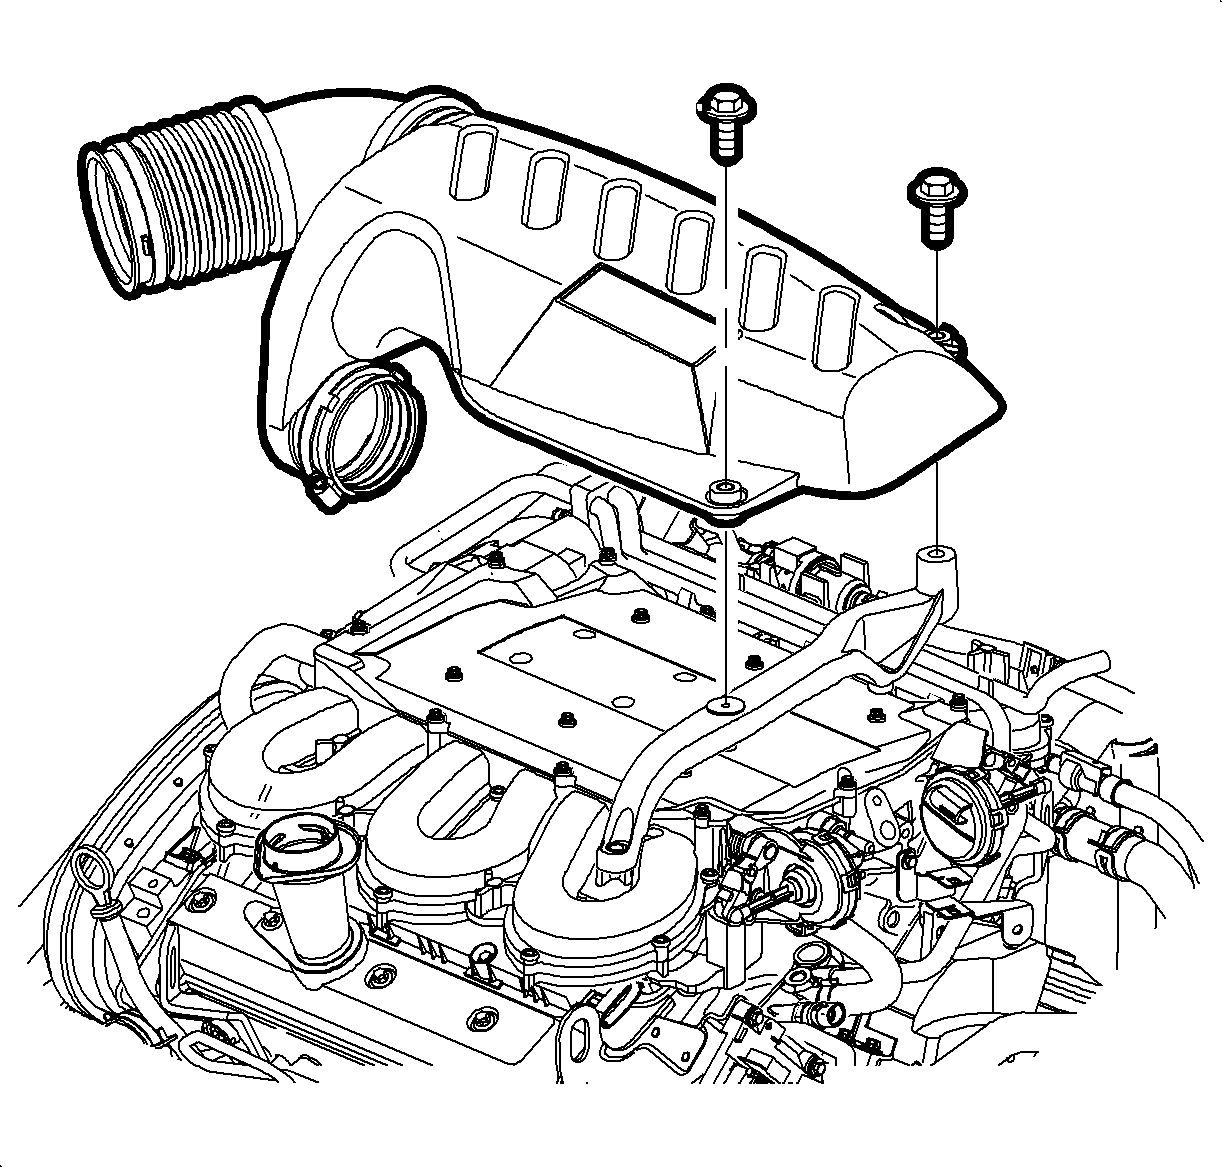
- Loosen the clamp at the air cleaner and throttle body assembly.
- Remove the attachment bolts from the outlet resonator/duct assembly.
- Remove the outlet resonator/duct assembly.
- Remove the outlet resonator/duct assembly bracket from the manifold.
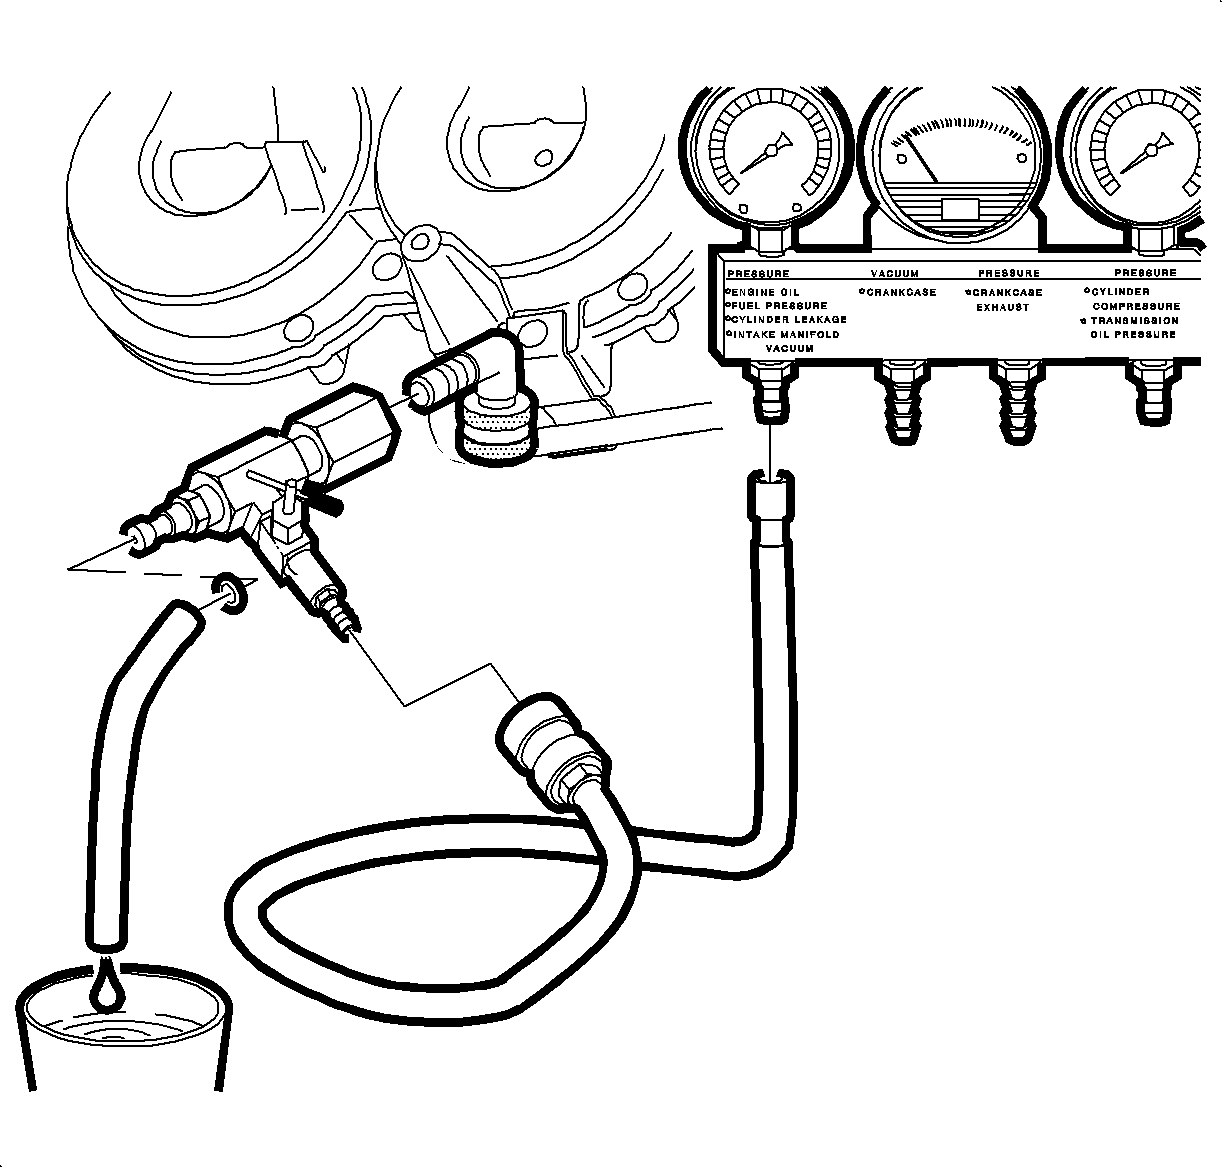
- Relieve the fuel system pressure. Refer to Fuel Pressure Relief .
- Disconnect the SA9127E or equivalent and the J 44095 after the pressure has been relieved.
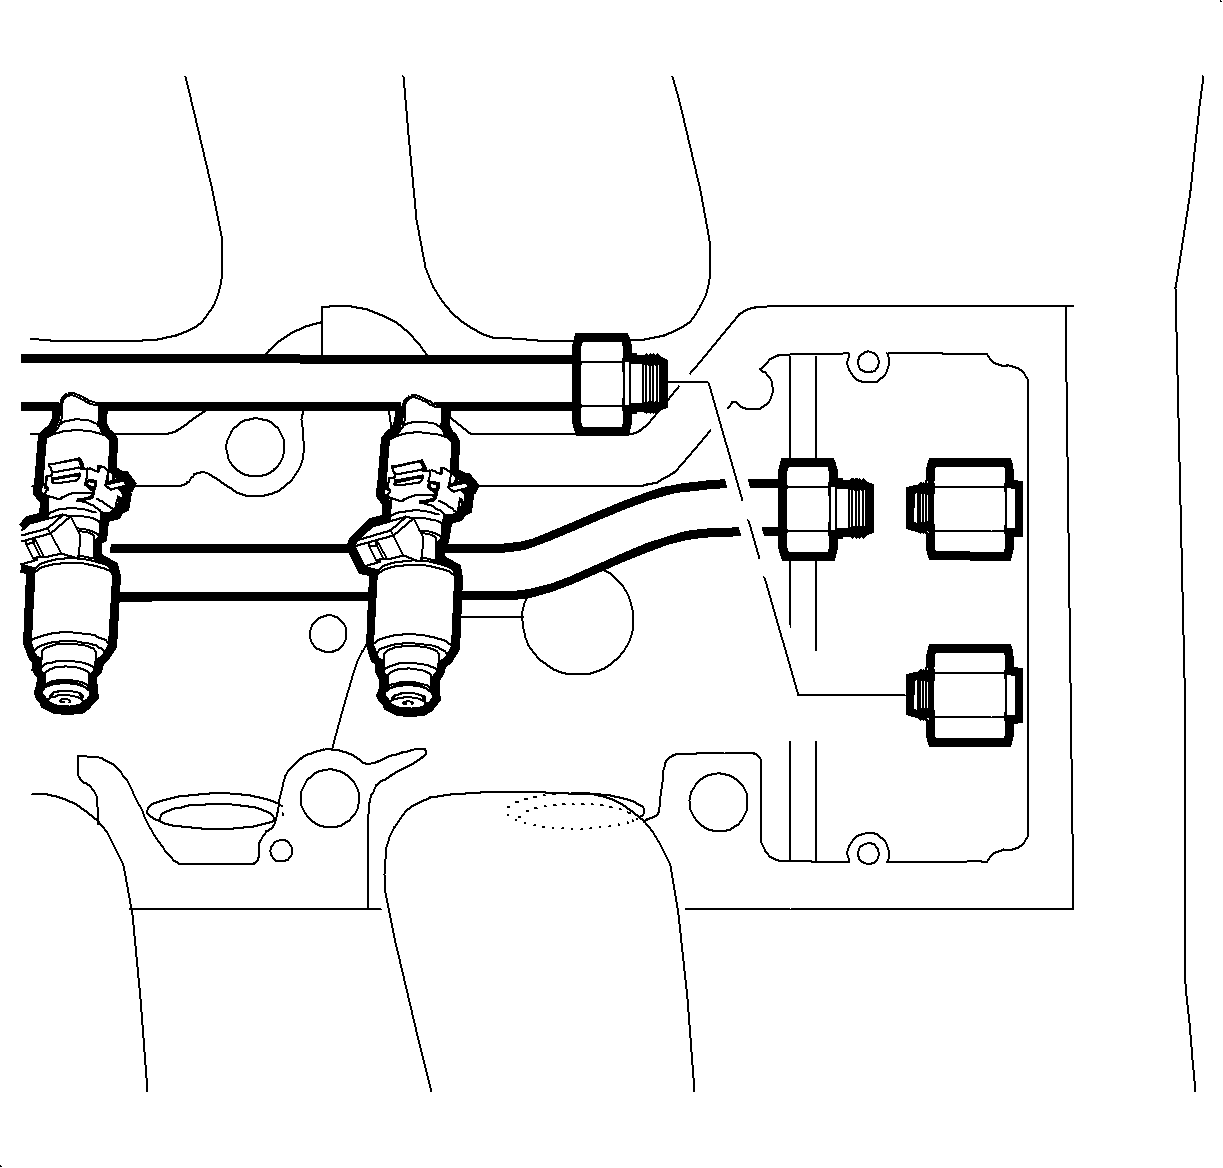
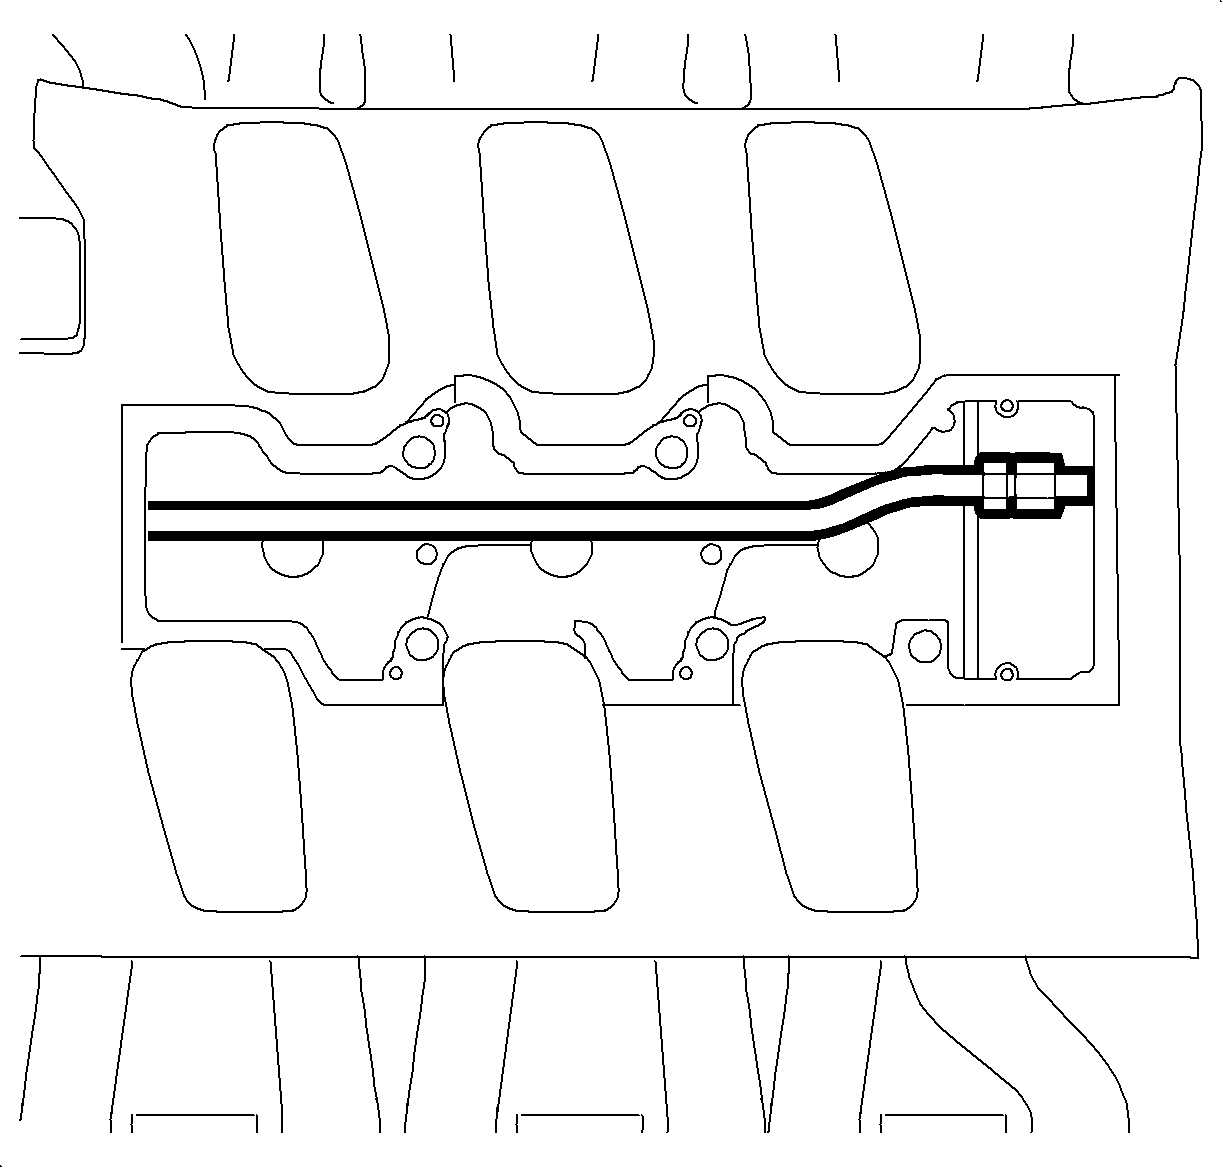
- Disconnect the fuel transfer line at quick connect from the fuel line using the J 37088-A or equivalent.
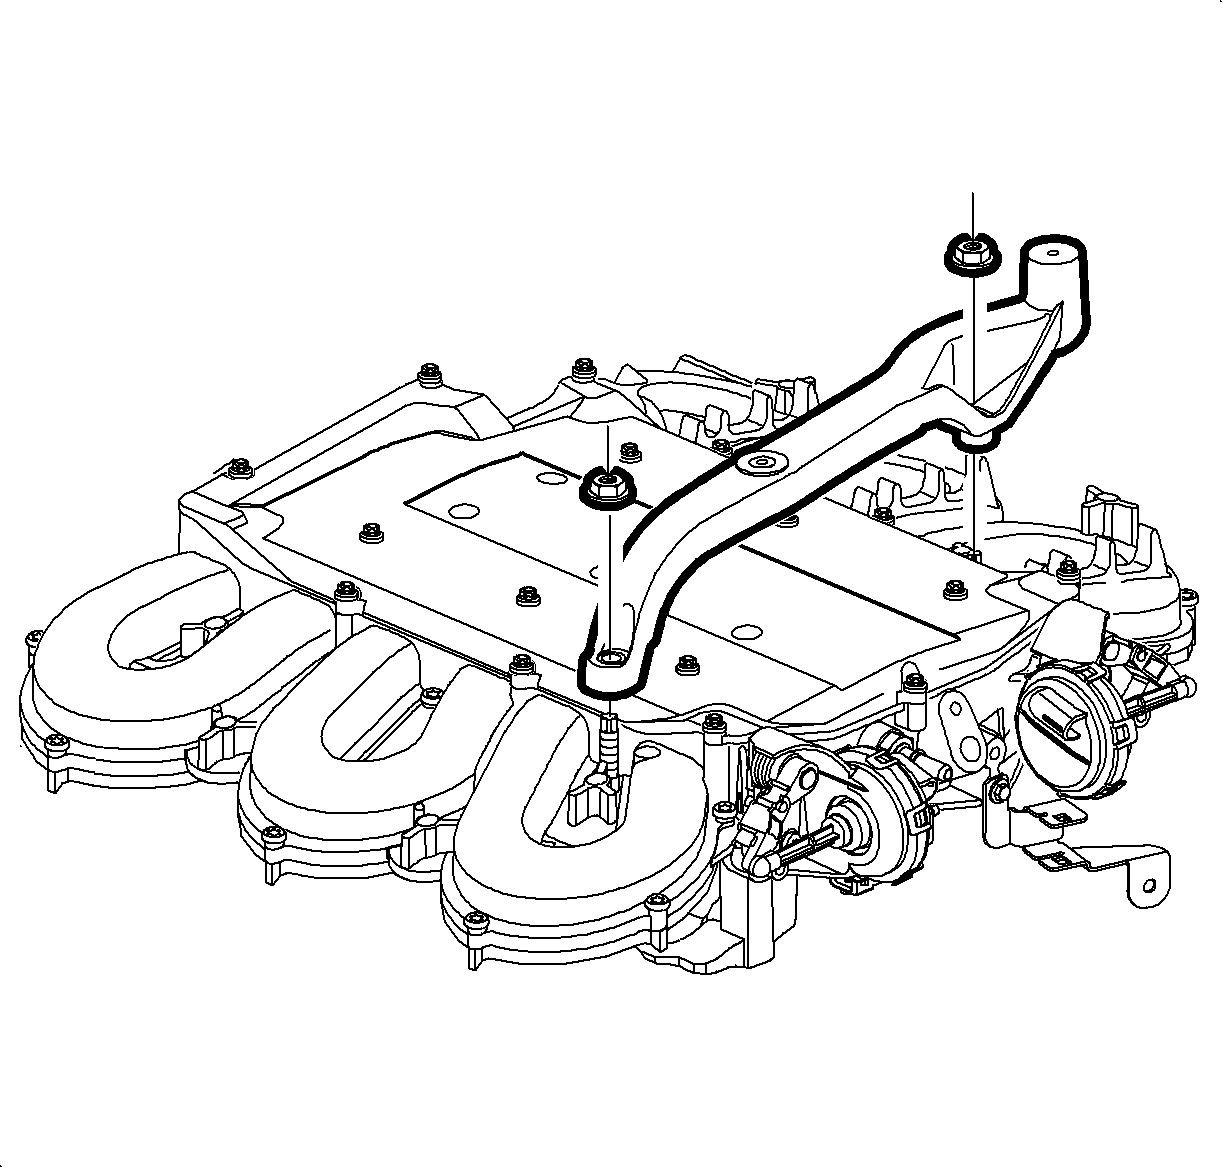
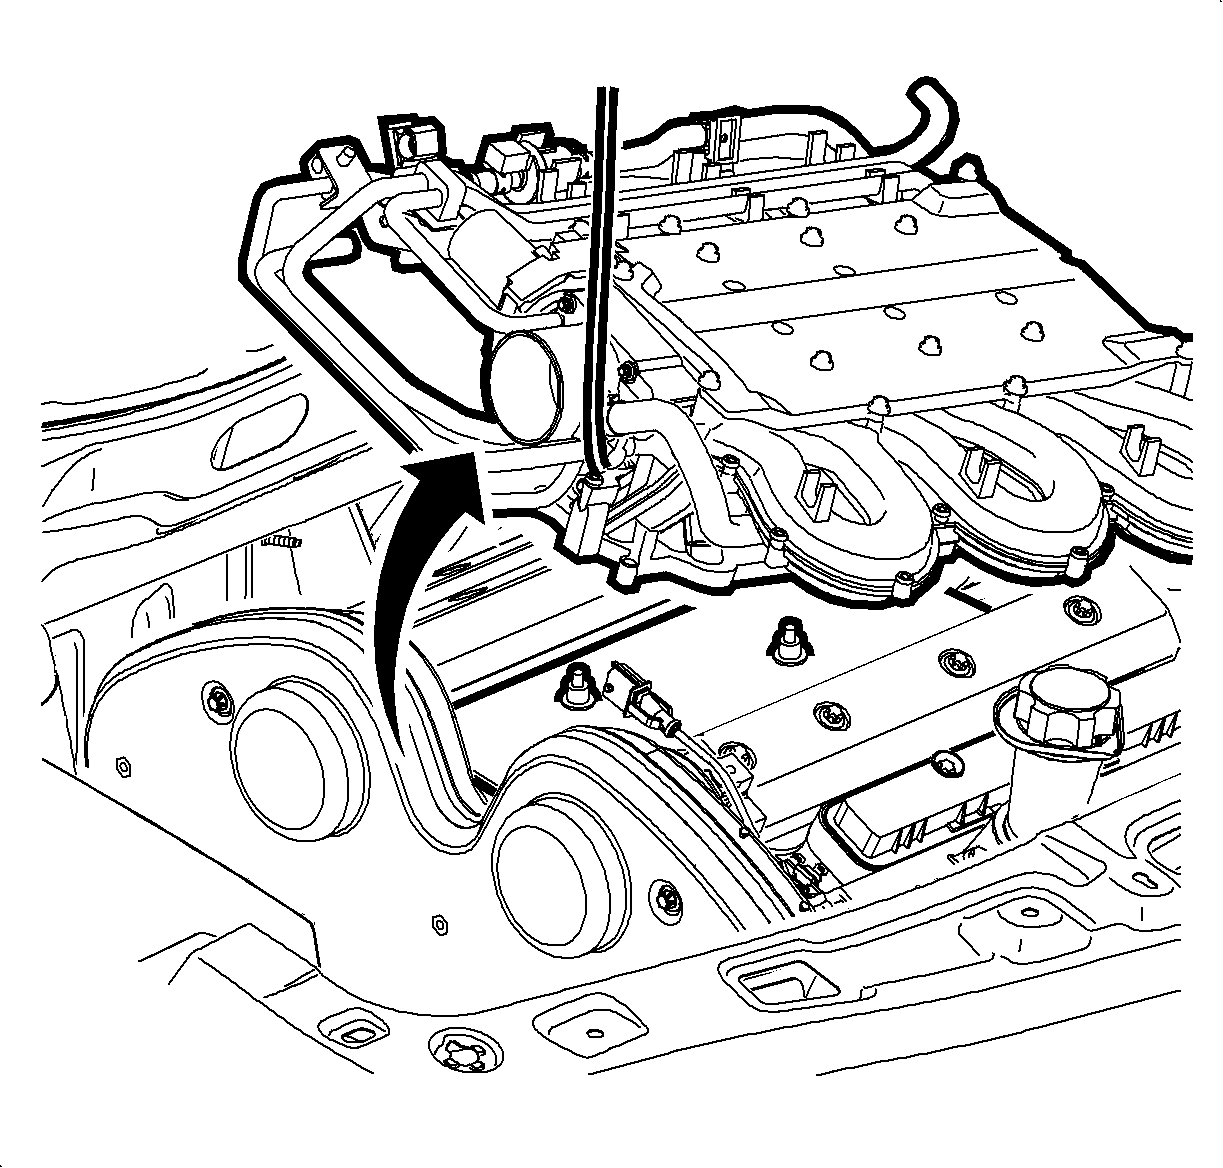
- Lift and support the intake manifold assembly. Refer to Intake Manifold Replacement .
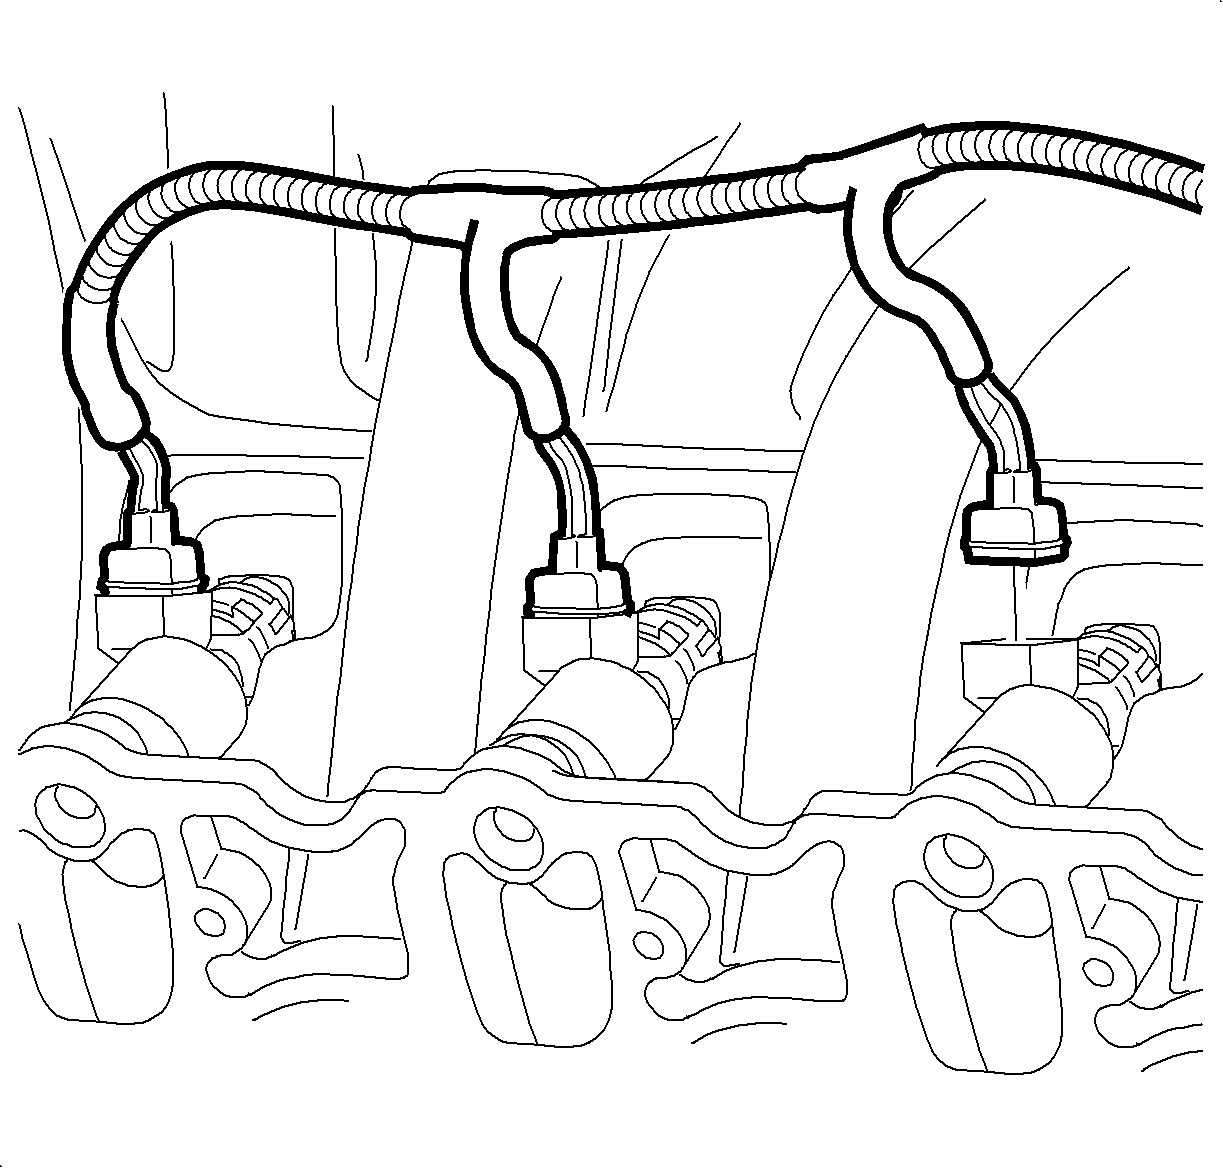
- Disconnect the electrical connectors at the fuel injectors.
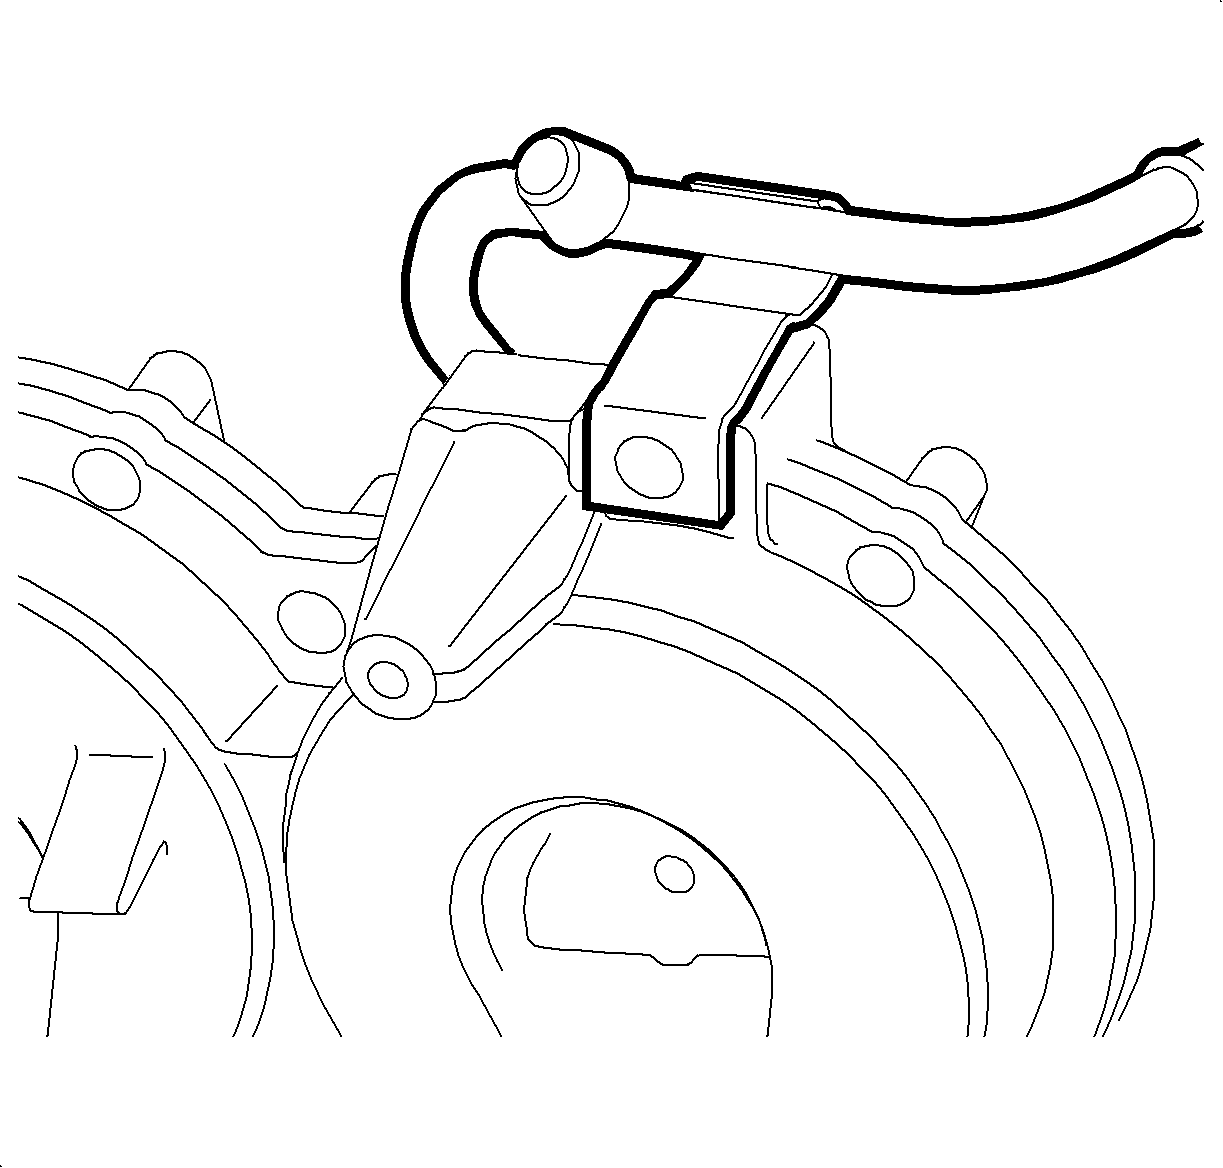
- Remove the fuel rail line bracket bolt.
- Position the intake manifold onto the cylinder head.
- Disconnect the fuel rail bracket bolt at the rear of the camshaft cover.
- Loosen the transfer line fittings.
- Remove the fuel rail attachment bolts to manifold.
- Remove the front fuel rail assembly with the injector from the intake manifold by lifting upward.
- Remove the rear curved fuel rail assembly with injectors from the intake manifold by lifting upward.
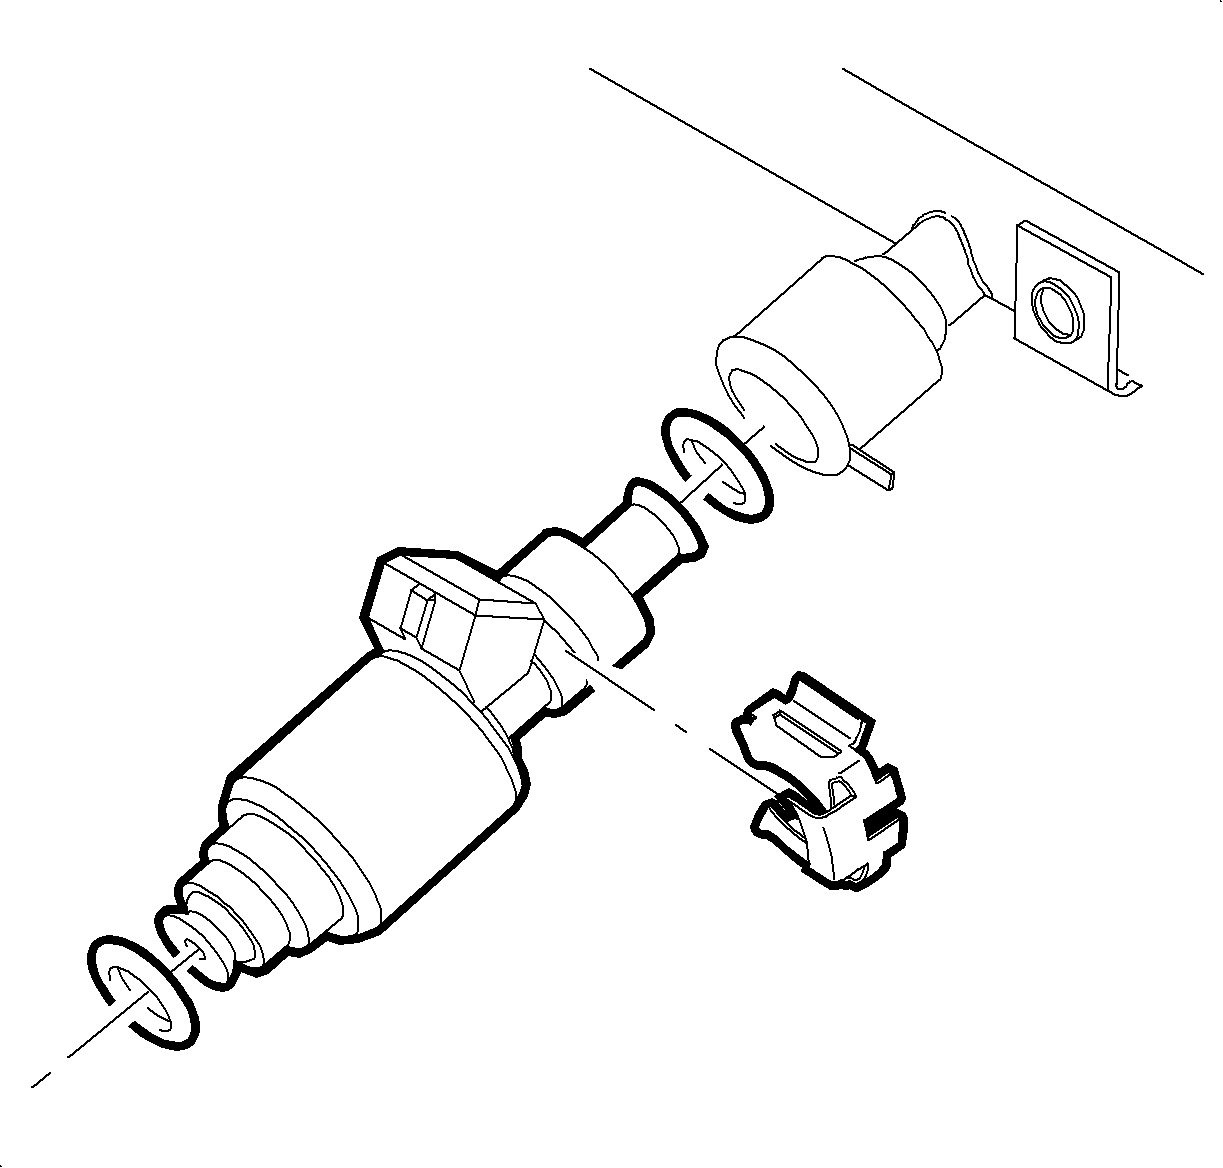
- Remove the fuel injector retaining clips.
- Remove the fuel injectors from the fuel rail.
- Remove and discard all injector O-ring seals by using a small pick.
Caution: Do not allow smoking or the use of open flames in the area where work on the fuel or EVAP system is taking place. Anytime work is being done on the fuel system, disconnect the negative battery cable, except for those tests where battery voltage is required.
Caution: Whenever fuel line fittings are loosened or disconnected, wrap a shop cloth around the fitting to collect fuel. Place the cloth in an approved container.
Notice: To avoid thread damage, only use hand tools when working with the intake manifold. Do not over tighten the bolts on the manifold.
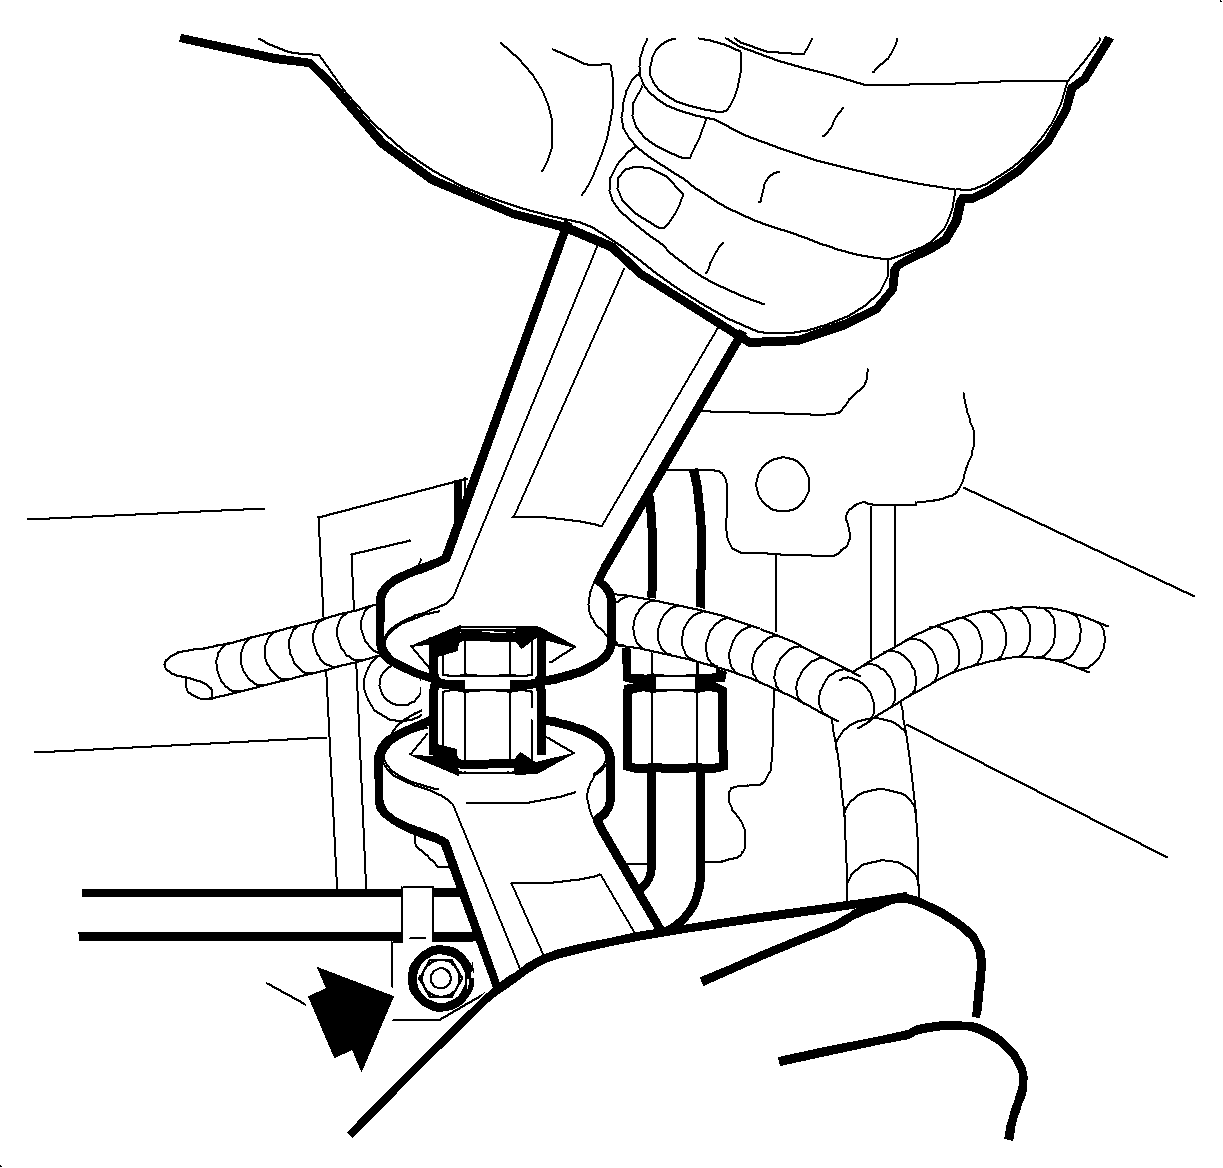
Important: Support the fuel rail lines with an open-end wrench while loosening the transfer line fittings.
Notice: When cleaning or servicing the fuel rail, care must be taken to assure that the plastic fuel rail surfaces that mate to the injector O-rings are not scratched.
Important: Whenever the fuel injector is removed from the fuel rail, upper and lower O-ring seals must be replaced.
Important: If the fuel rail is being replaced, remove all of the injectors and replace all O-rings, otherwise each injector can be removed individually.
Installation Procedure
- Install new upper and lower O-ring seals to injectors.
- Install the clip to the injector, aligning the tab on the injector to the notch in the clip.
- Align the notch in the clip to the tab on the fuel rail, and install the injector with the clip assembly to fuel rail assembly.
- Verify the injector is fully seated.
- Install the rear curved fuel injector assembly into position. Lightly press on the fuel rail to seat the fuel injectors into the injector ports.
- Install the front fuel injector assembly into position. Lightly press on the fuel rail to seat the fuel injectors onto the injector ports.
- Install the fuel rail to manifold bolts.
- Connect the fuel line quick connects.
- Connect the fuel rail bracket bolt at the rear of the intake manifold.
- Verify the gasket is positioned properly on the vacuum chamber.
- Install the vacuum chamber to intake manifold.
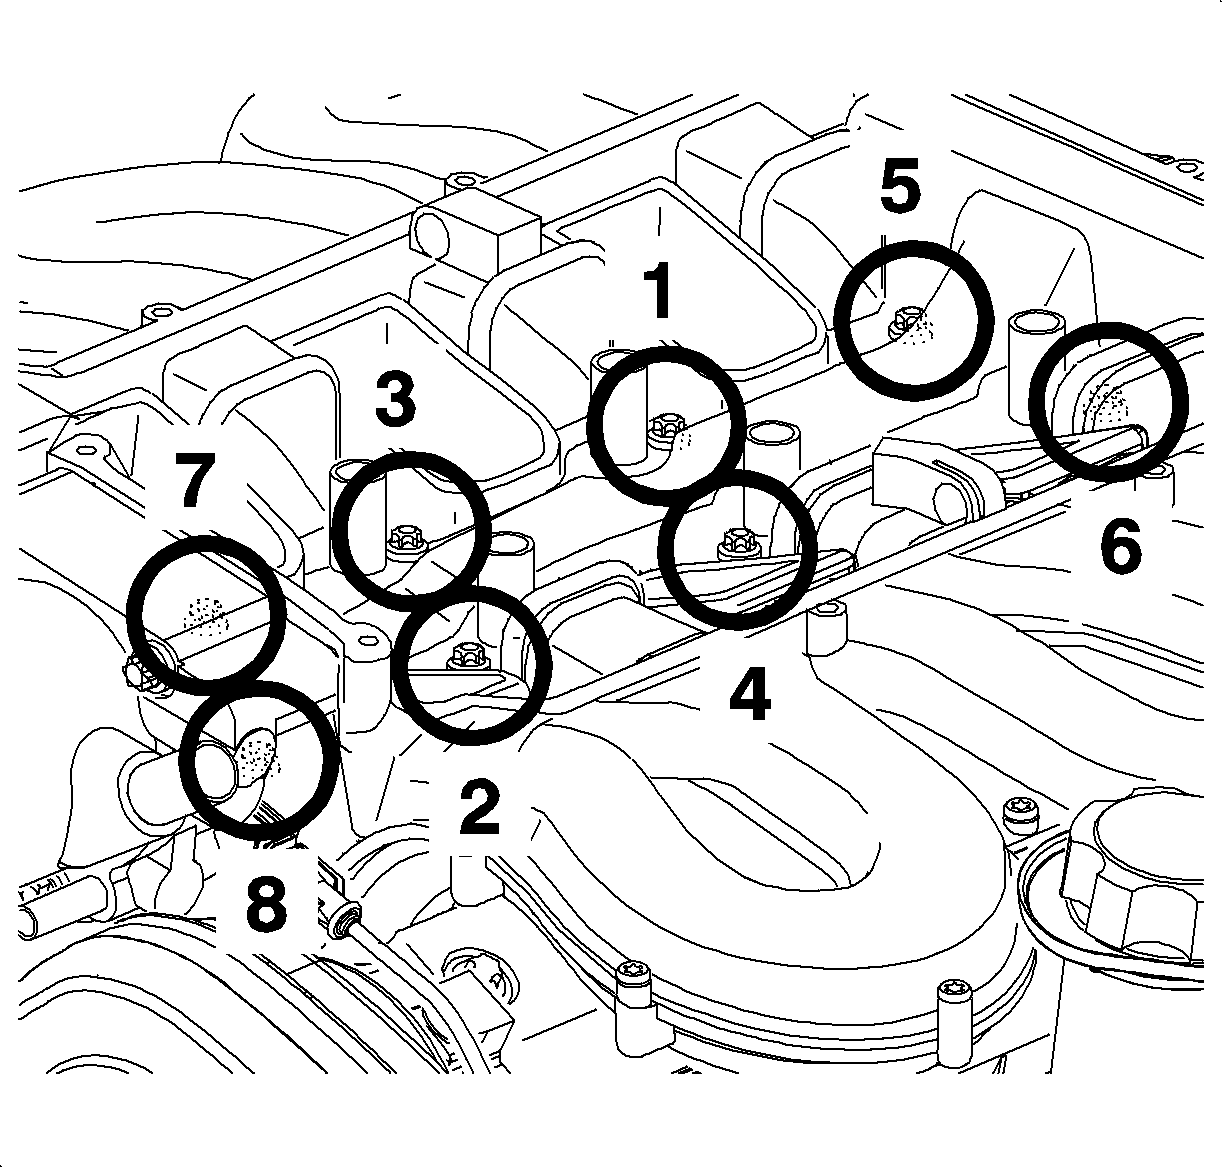
- Apply LOCTITE® 242 P/N 21485277 to the chamber bolts and tighten in sequence.
- Install the vacuum line to vacuum chamber port.
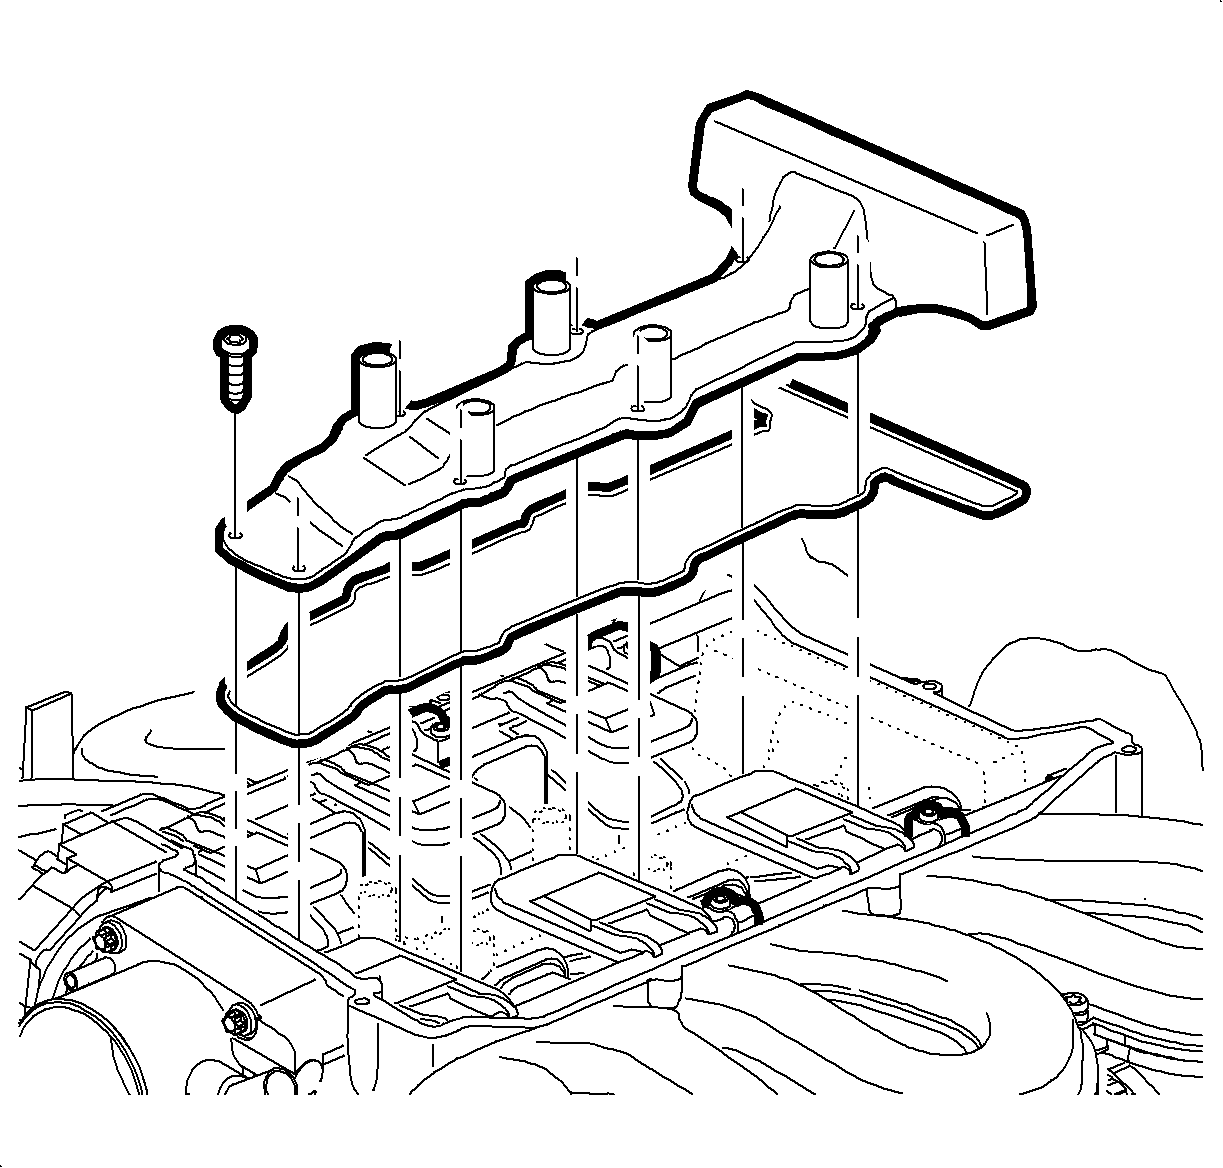
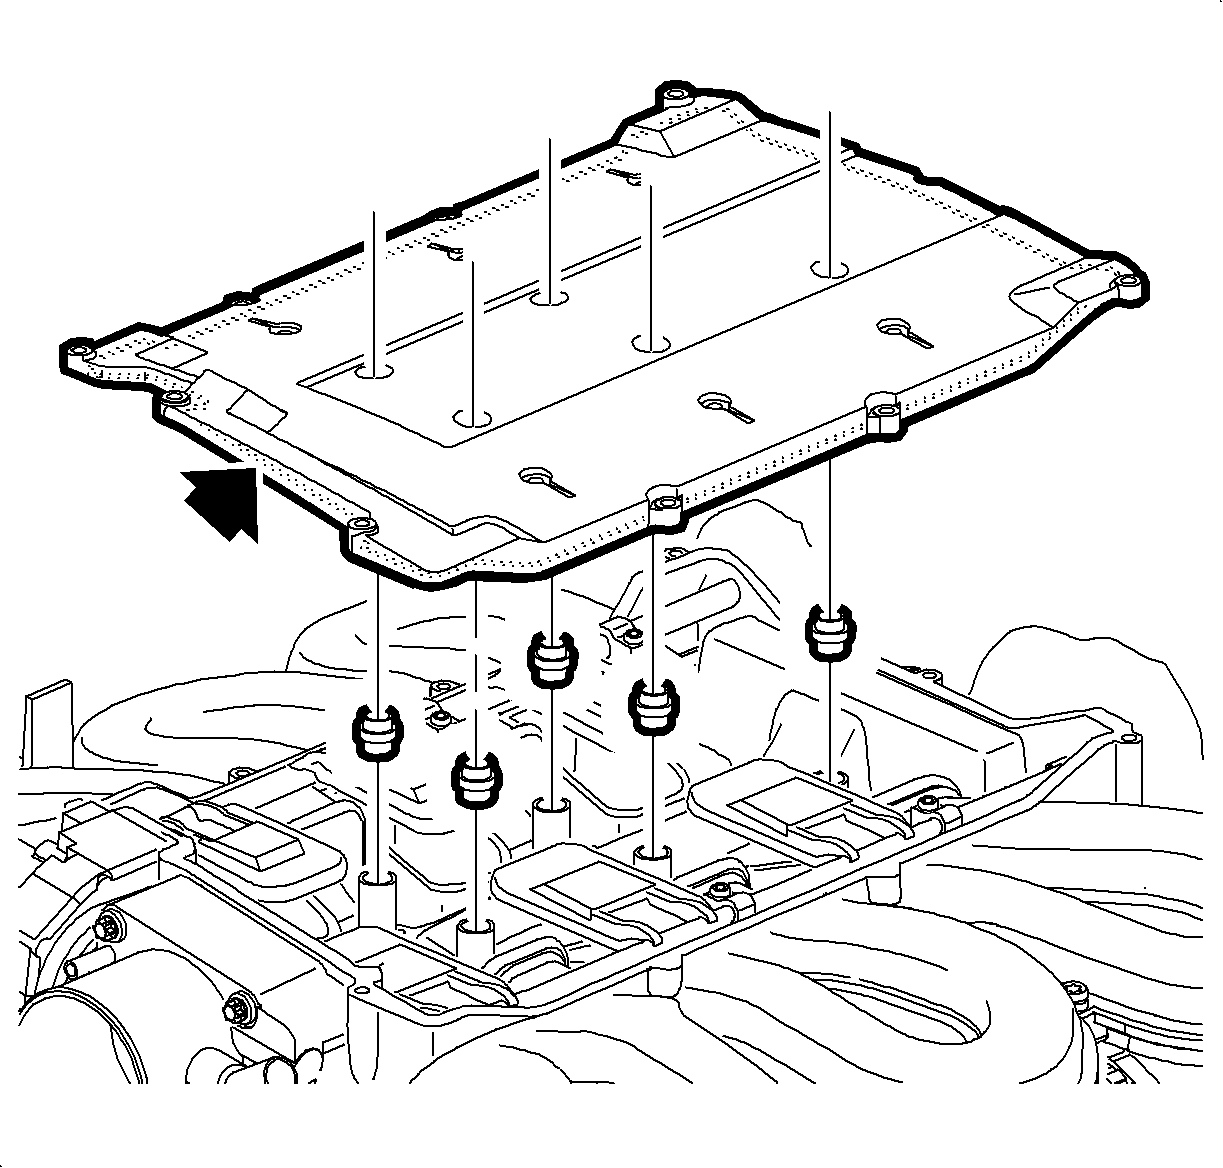
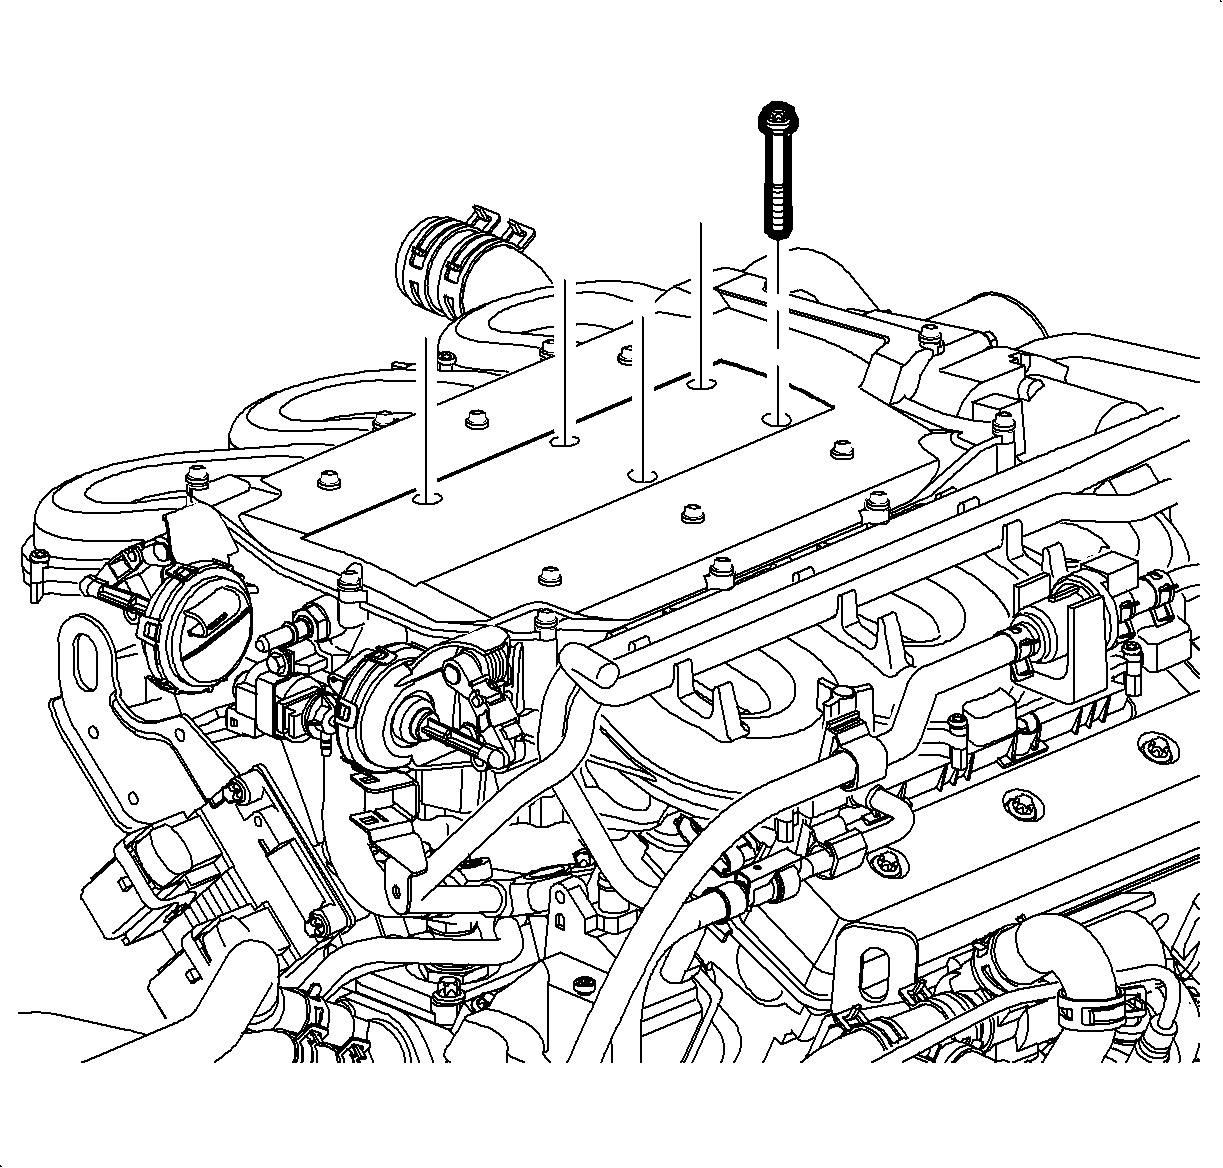
- Install the sleeve seals to the intake manifold top cover.
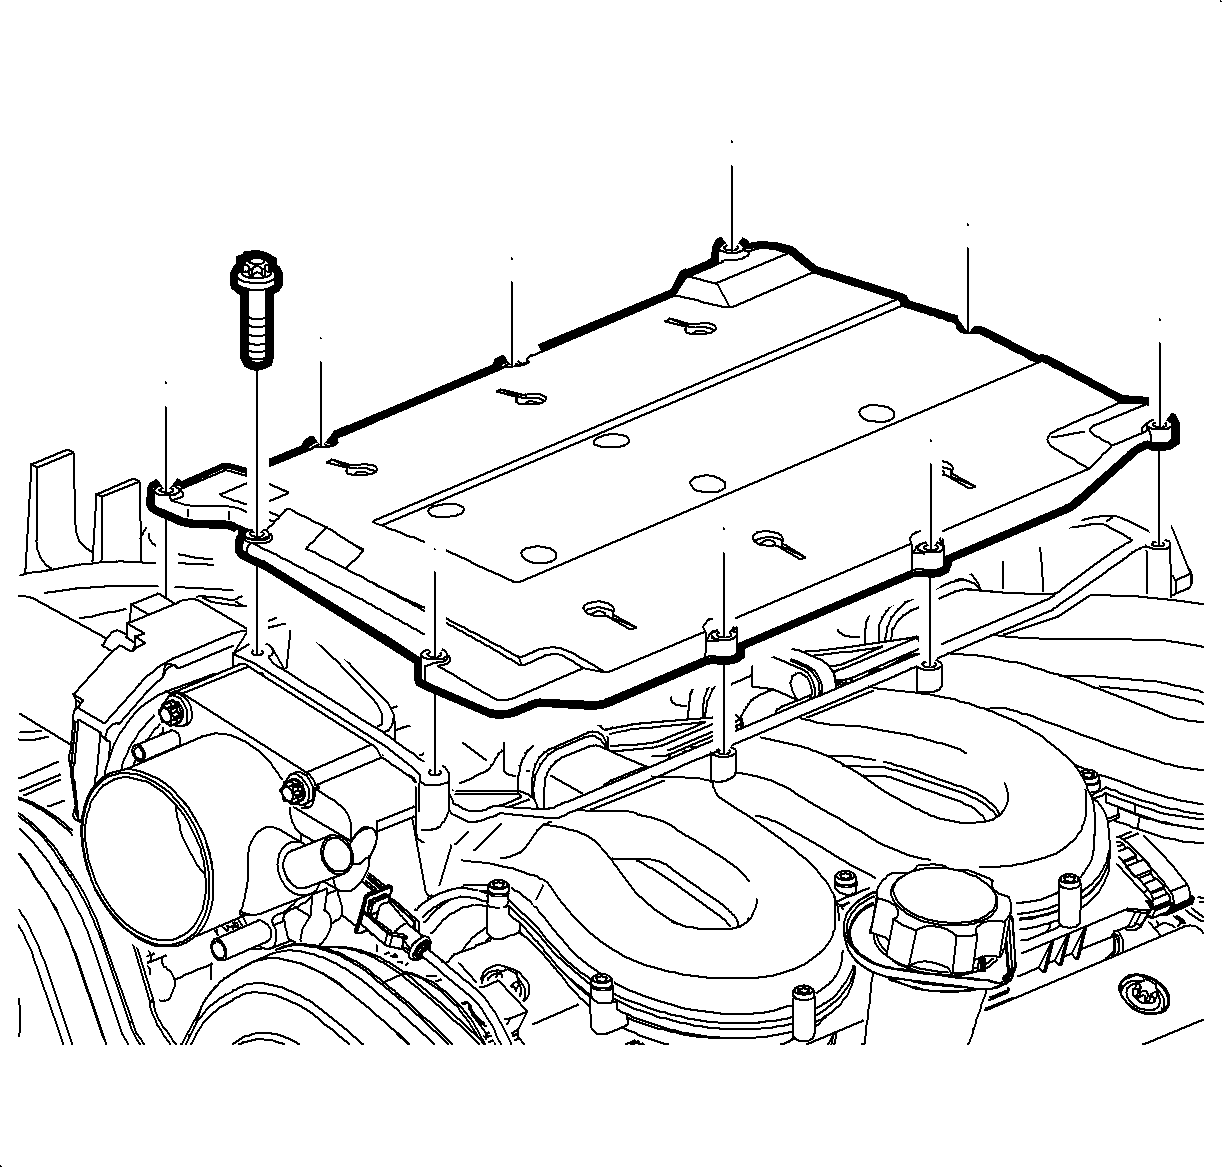
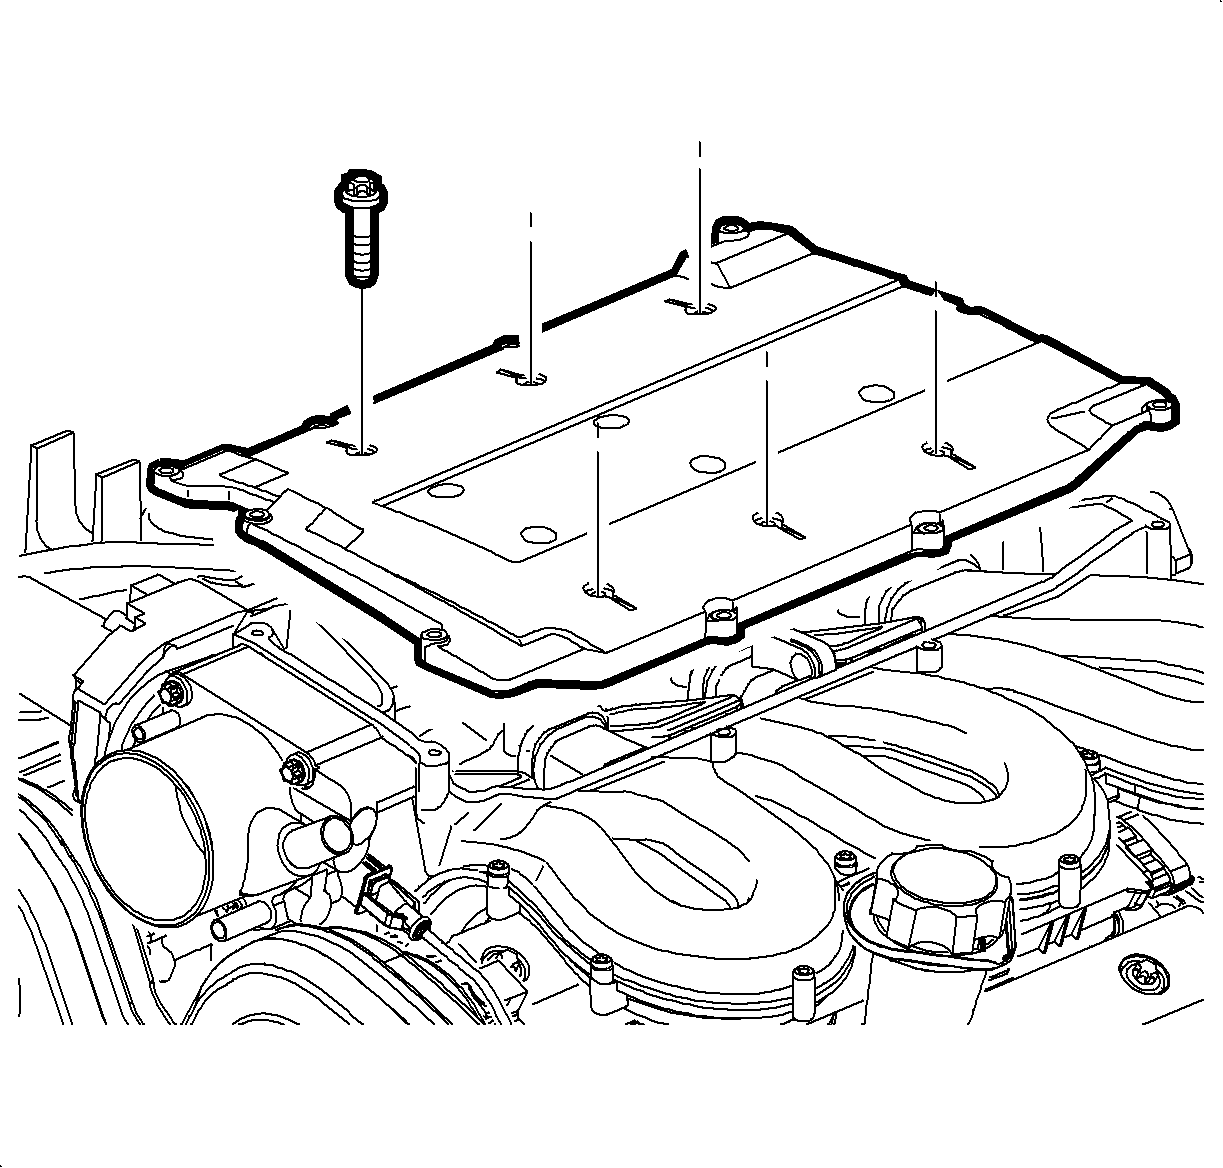
- Install the top cover into position. Apply LOCTITE® 242 and tighten the outer intake manifold bolts.
- Apply LOCTITE® 242 to the 6 inner manifold cover bolts.
- Raise the intake manifold up and connect the electrical connectors to fuel injectors.
- Attach the fuel line bracket to manifold.
- Install the intake manifold assembly. Refer to Intake Manifold Replacement .
- Install the outlet resonator/duct assembly bracket to intake manifold.
- Install the outlet resonator/duct assembly into position.
- Tighten the clamp at throttle body assembly.
- Position the outlet resonator/duct assembly to support bracket and install the bolts.
- Tighten the clamp at the air cleaner assembly.
- Connect the negative battery cable.
Important: The injector is fully seated when the tabs are aligned and the clip is engaged on the fuel rail. An audible click should be heard upon engagement. Verify the fuel rail port is engaged on each side of the clip.
Important: The rear curved fuel injector rail must be installed before the front rail assembly.
Tighten
Tighten the fuel rail-to-manifold bolts L81
to 7.5 N·m (66 lb in).
Important: Support the fuel rail lines with an open-end wrench while tightening the transfer line fittings.
Tighten
Tighten the transfer line fitting-to-fuel rail L81
to 15 N·m (11 lb ft).
Tighten
Tighten the fuel line bracket bolt L81 to
4.4 N·m (39 lb in).
Tighten
Tighten the vacuum chamber-to-intake manifold bolts L81
to 2.5 N·m (22 lb in).
Tighten
Tighten the intake manifold top cover to manifold
bolts L81 to 4.5 N·m (35 lb in).
Tighten
Tighten the intake manifold cover to manifold bolts
to 4.4 N·m (39 lb in).
Tighten
Tighten the fuel line bracket-to-manifold bolts
to 6 N·m (47 lb in).
Tighten
Tighten the outlet resonator/duct assembly bracket-to-intake
manifold nuts L81 to 5 N·m (44 lb in).
Tighten
Tighten the outlet resonator/duct assembly-to-support
bracket bolts L81 to 10 N·m (89 lb in).
Tighten
Tighten the battery terminal bolts to 17 N·m
(13 lb ft).
