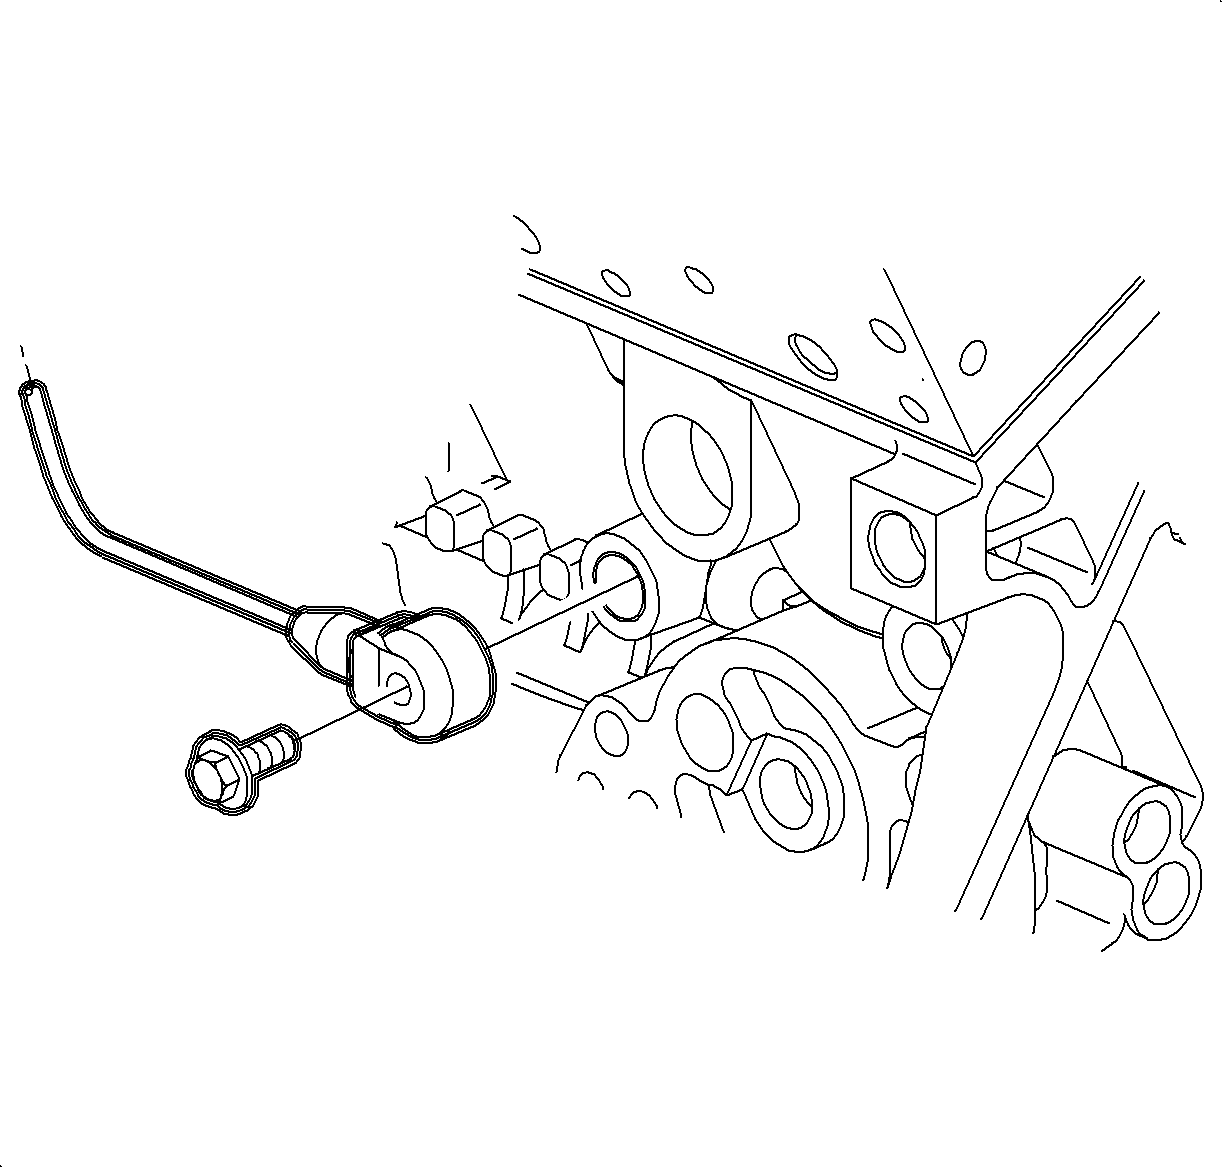
For 1990-2009 cars only
Removal Procedure
- Turn steering wheel all the way to the right.
- Turn the ignition OFF.
- Disconnect knock sensor 2 harness connector.
- Remove knock sensor 2 pigtail from camshaft position sensor clip. Pull sensor pigtail wire away from the one attachment clip located about 6 inches down the wire from the camshaft position sensor clip. Tie a four foot long string to one end of the knock sensor 2 connector and the other end to a fixed component near the camshaft position sensor.
- Raise the vehicle.
- Remove knock sensor 2 attachment bolt and guide the knock sensor with string out from the bottom. Remove string from the end of the knock sensor, but leave the string hanging.
Caution: Ensure that the vehicle is properly supported and squarely positioned. To help avoid personal injury when a vehicle is on a hoist, provide additional support for the vehicle on the opposite end from which the components are being removed.

Installation Procedure
- Tie the end of the string to the connector end of knock sensor 2.
- Pull up on the string above the A/C compressor to guide the sensor connector around the A/C compressor bracket.
- Once the knock sensor connector is above the A/C compressor, install knock sensor 2 attachment bolt with knock sensor 2 wire facing between the 9 and 10 o'clock position.
- Lower vehicle.
- Attach knock sensor wire to attachment clip located about 6 inches below the attachment clip on the camshaft position sensor.
- Attach knock sensor wire to attachment clip located on the camshaft position sensor.
- Connect knock sensor 2 harness connector. Push connector in until the lock position is felt and pull back to confirm engagement.
Notice: Refer to Fastener Notice in the Preface section.
Tighten
the knock sensor bolt to 20 N·m (15 lb ft).
