For 1990-2009 cars only
Removal Procedure
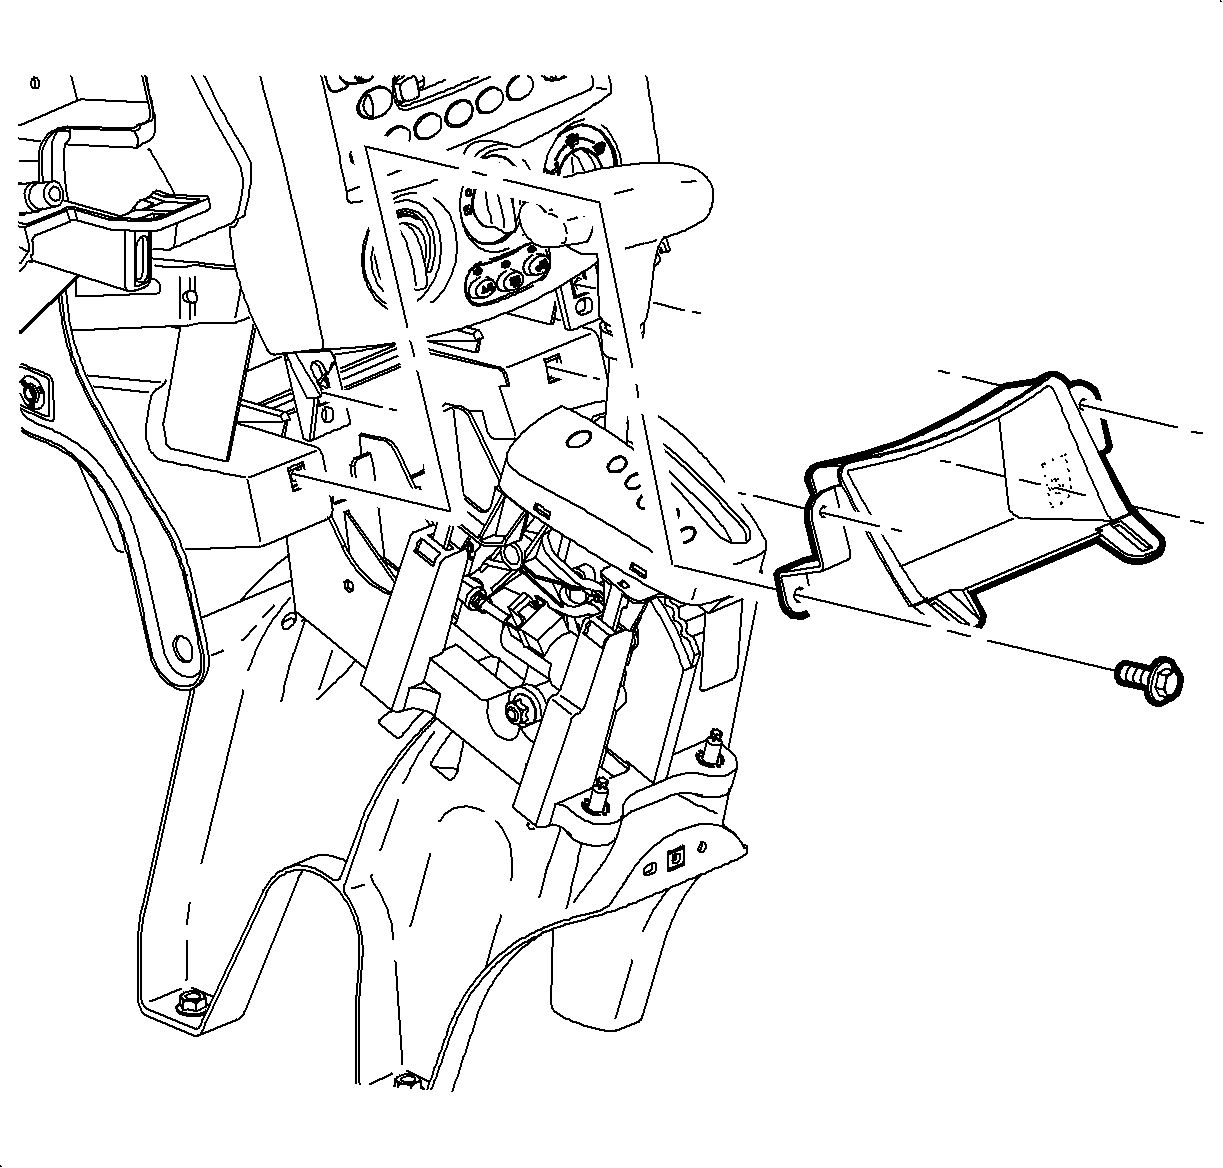
- Remove the console shift lever bezel. Refer to Console Shift Lever Bezel Replacement .
- Remove the I/P storage compartment screws.
- Remove the storage compartment from the I/P.
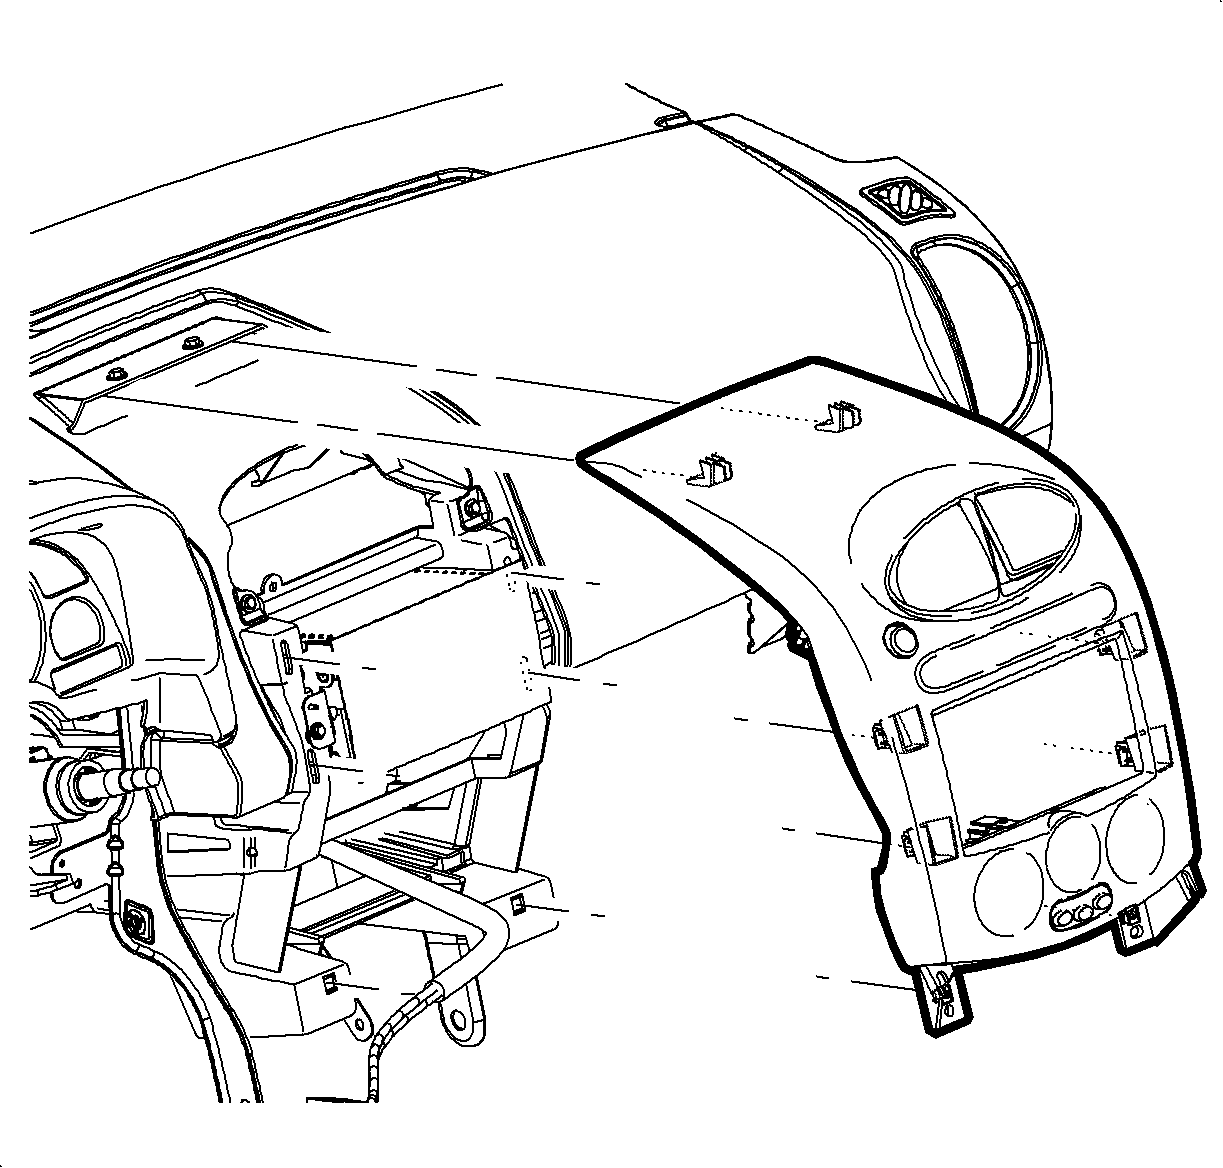
- Starting at the bottom, pull to disengage the trim bezel clips.
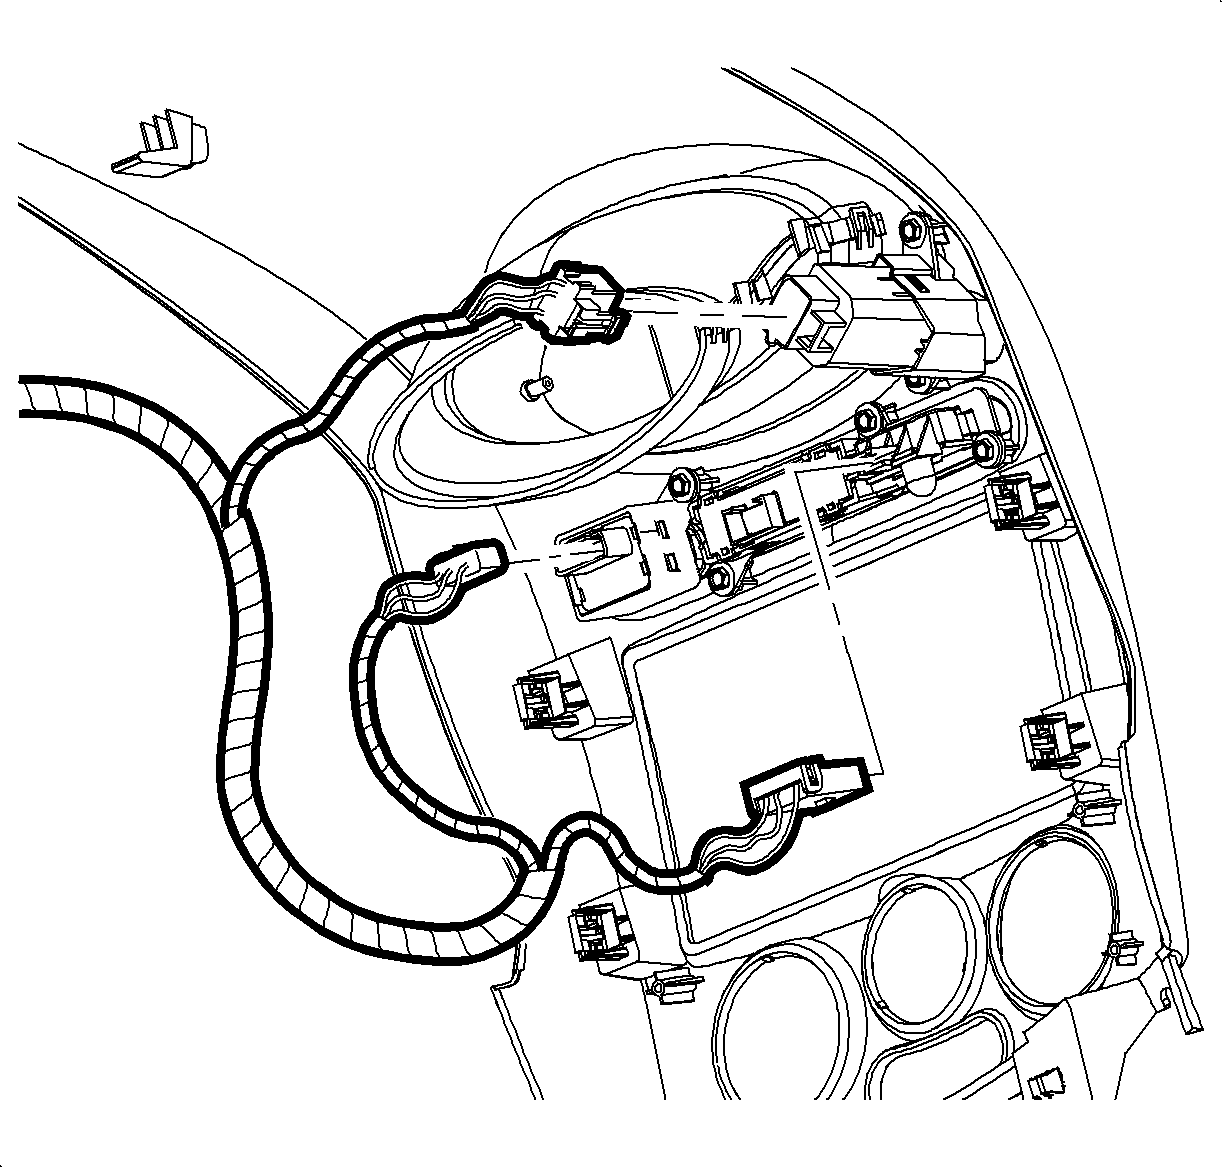
- Disconnect the HVAC control head connections.
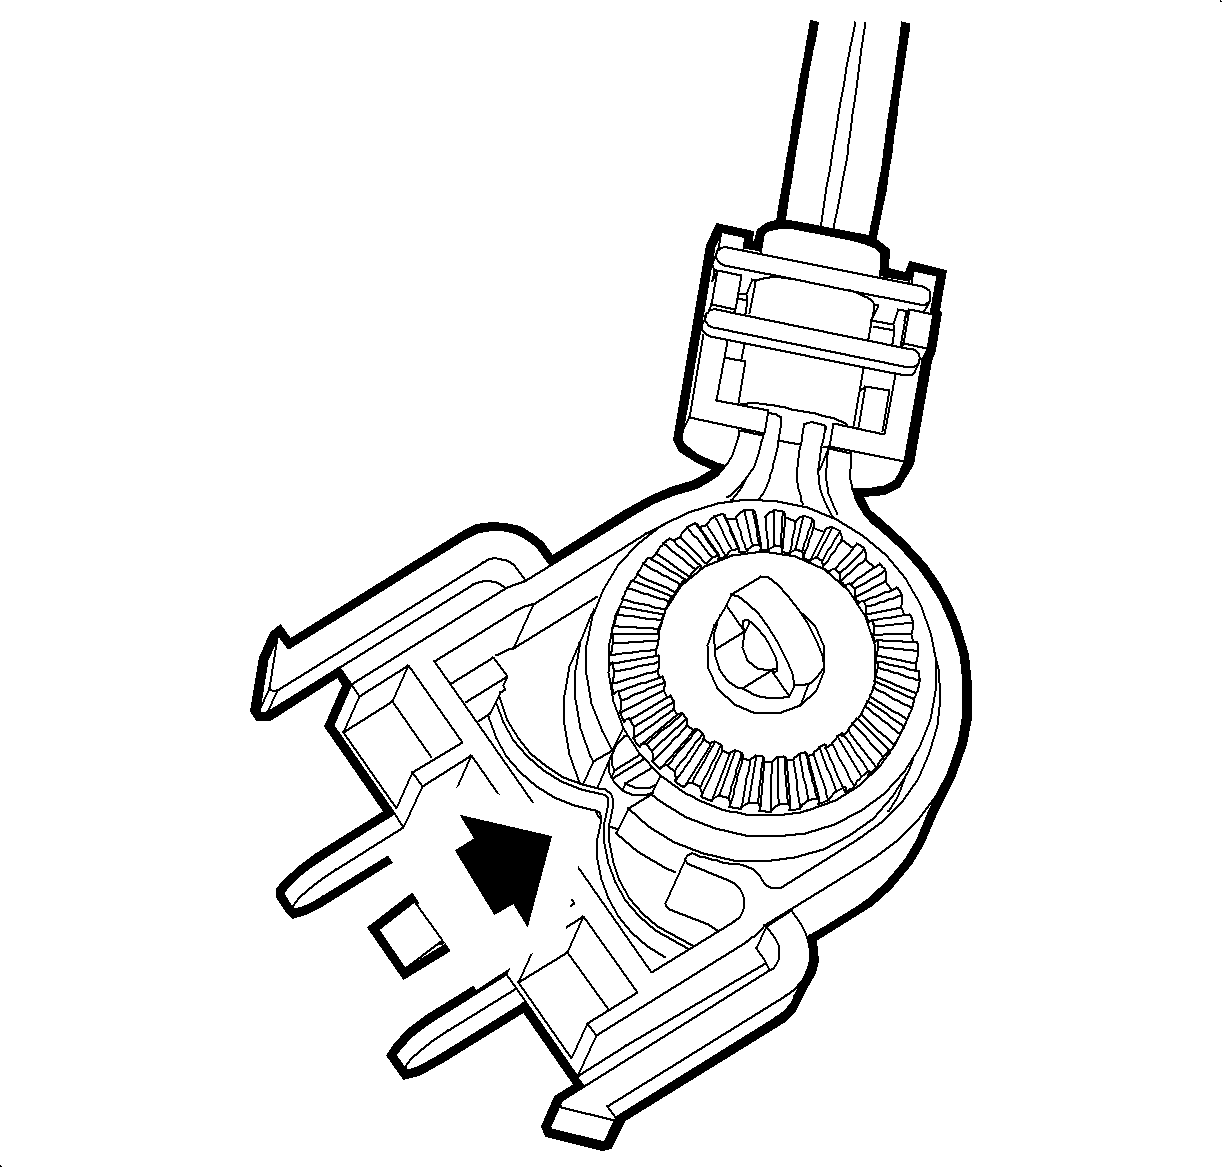
- Disconnect the electrical connectors from the bezel mounted switches.
- Remove the center trim bezel from the vehicle.

Installation Procedure
- Position the center trim bezel in the vehicle.
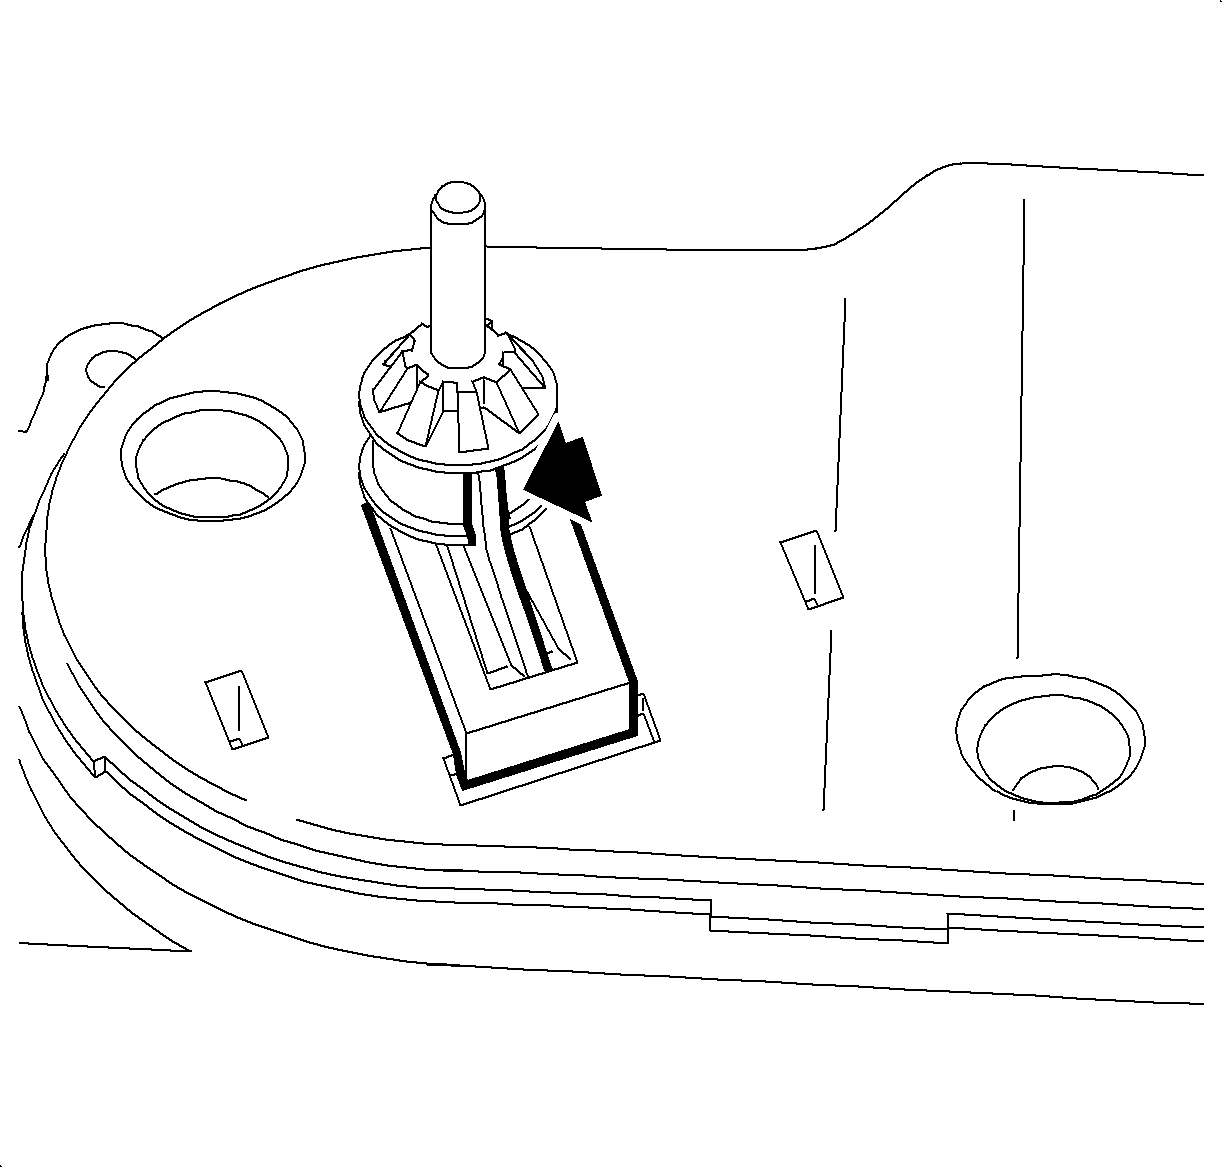
- Center the temperature cable knob by inserting the alignment tab into the centering slot of the temperature knob shaft.
- Center the HVAC module temperature door by aligning the cable lug of the temperature control cable with the center point detent spring.
- Install the temperature cable to the HVAC control head by aligning the snap tabs to the knob shaft and by snapping into place.
- Connect the other control head connectors.
- Connect the electrical connectors to the bezel mounted switches.
- Starting at the top of the bezel, push to engage the trim clips.
- Position the I/P storage compartment.
- Install the storage compartment screws.
- Install the console shift lever bezel. Refer to Console Shift Lever Bezel Replacement .
Notice: Refer to Fastener Notice in the Preface section.
Tighten
Tighten the screws to 2.5 N·m (22 lb in).
