For 1990-2009 cars only
Removal Procedure
- Disconnect the negative battery cable. Refer to Battery Negative Cable Disconnection and Connection in Engine Electrical.
- Set the tires in a straight-ahead position. Center the steering wheel.
- Remove the steering wheel. Refer to Steering Wheel Replacement .
- Remove the trim covers. Refer to Steering Column Trim Covers Replacement .
- Remove the SIR coil. Refer to Inflatable Restraint Steering Wheel Module Coil Replacement .
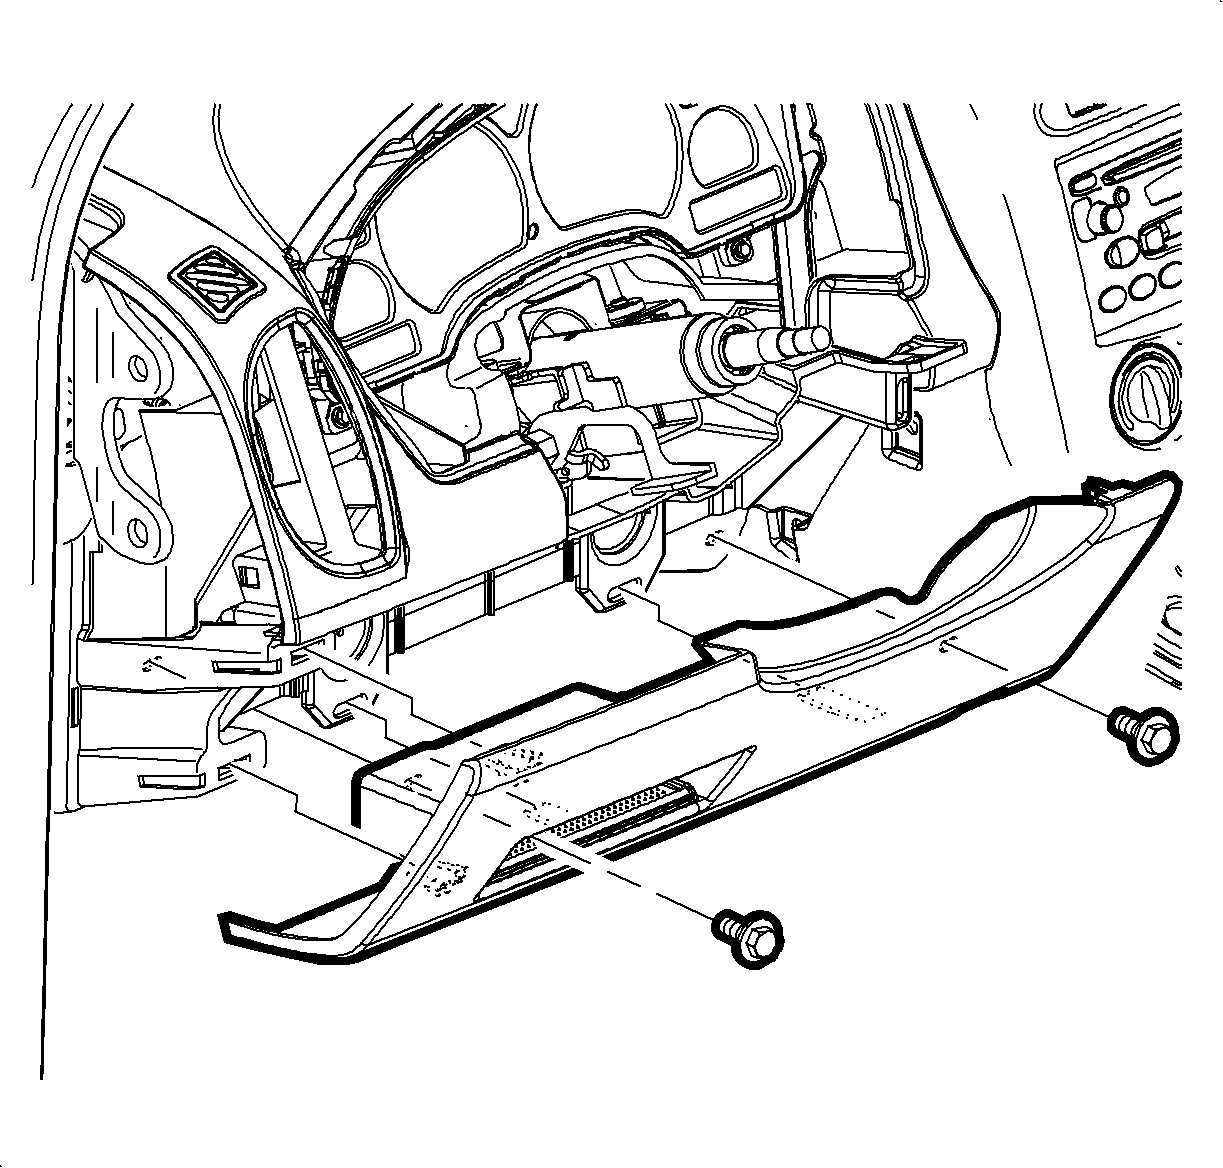
- Remove the knee bolster screws. Unsnap the knee bolster.
- Remove the multifunction levers. Refer to Turn Signal Multifunction Switch Replacement .
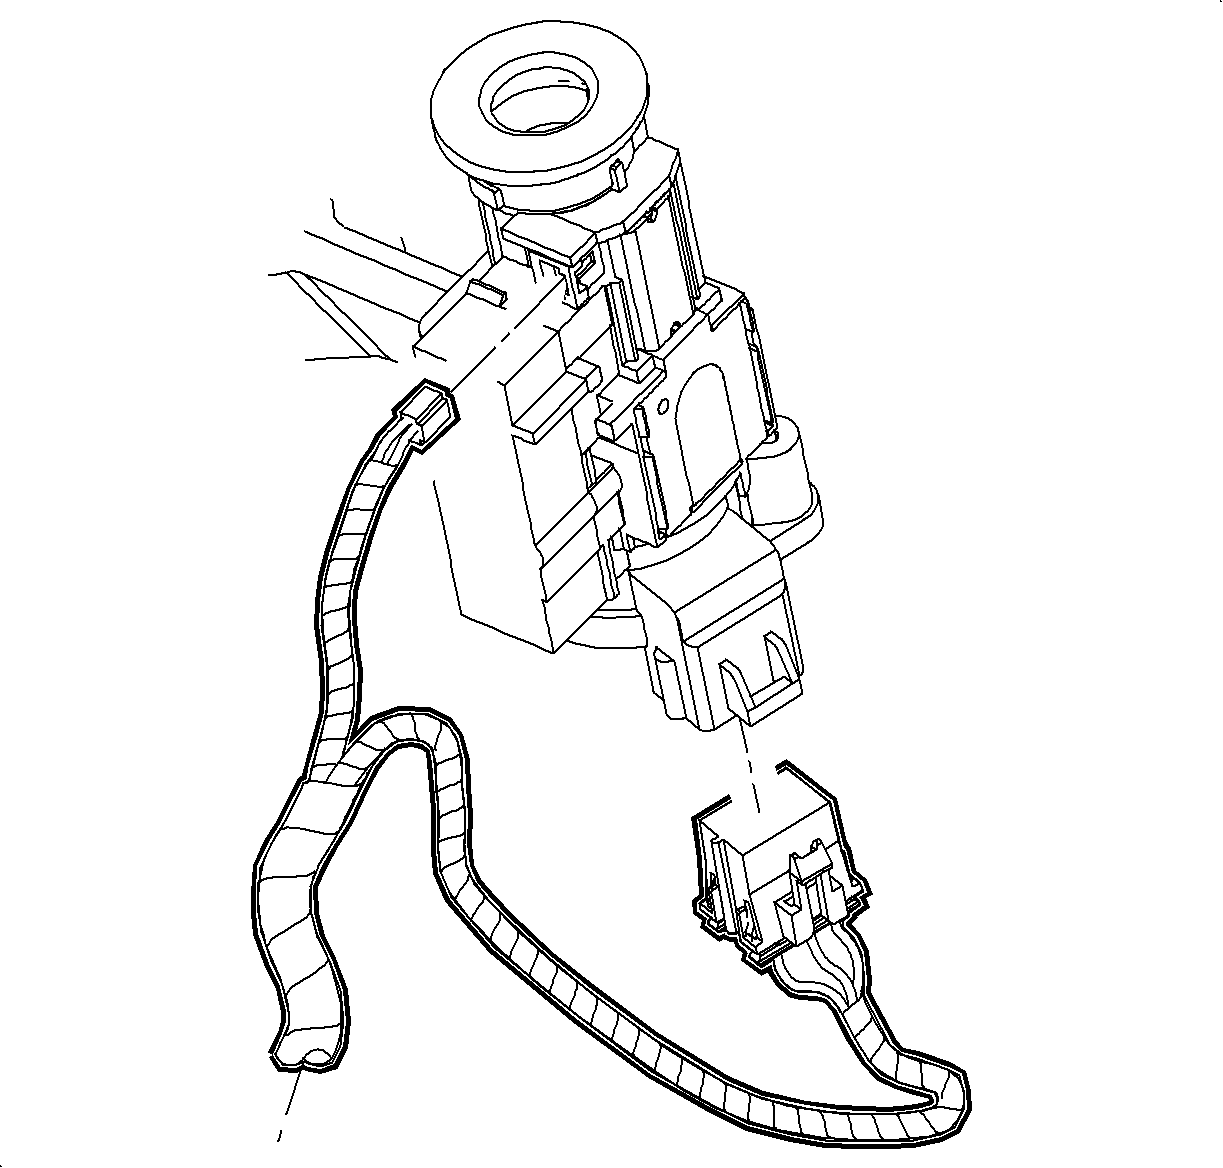
- Disconnect the ignition housing electrical connectors.
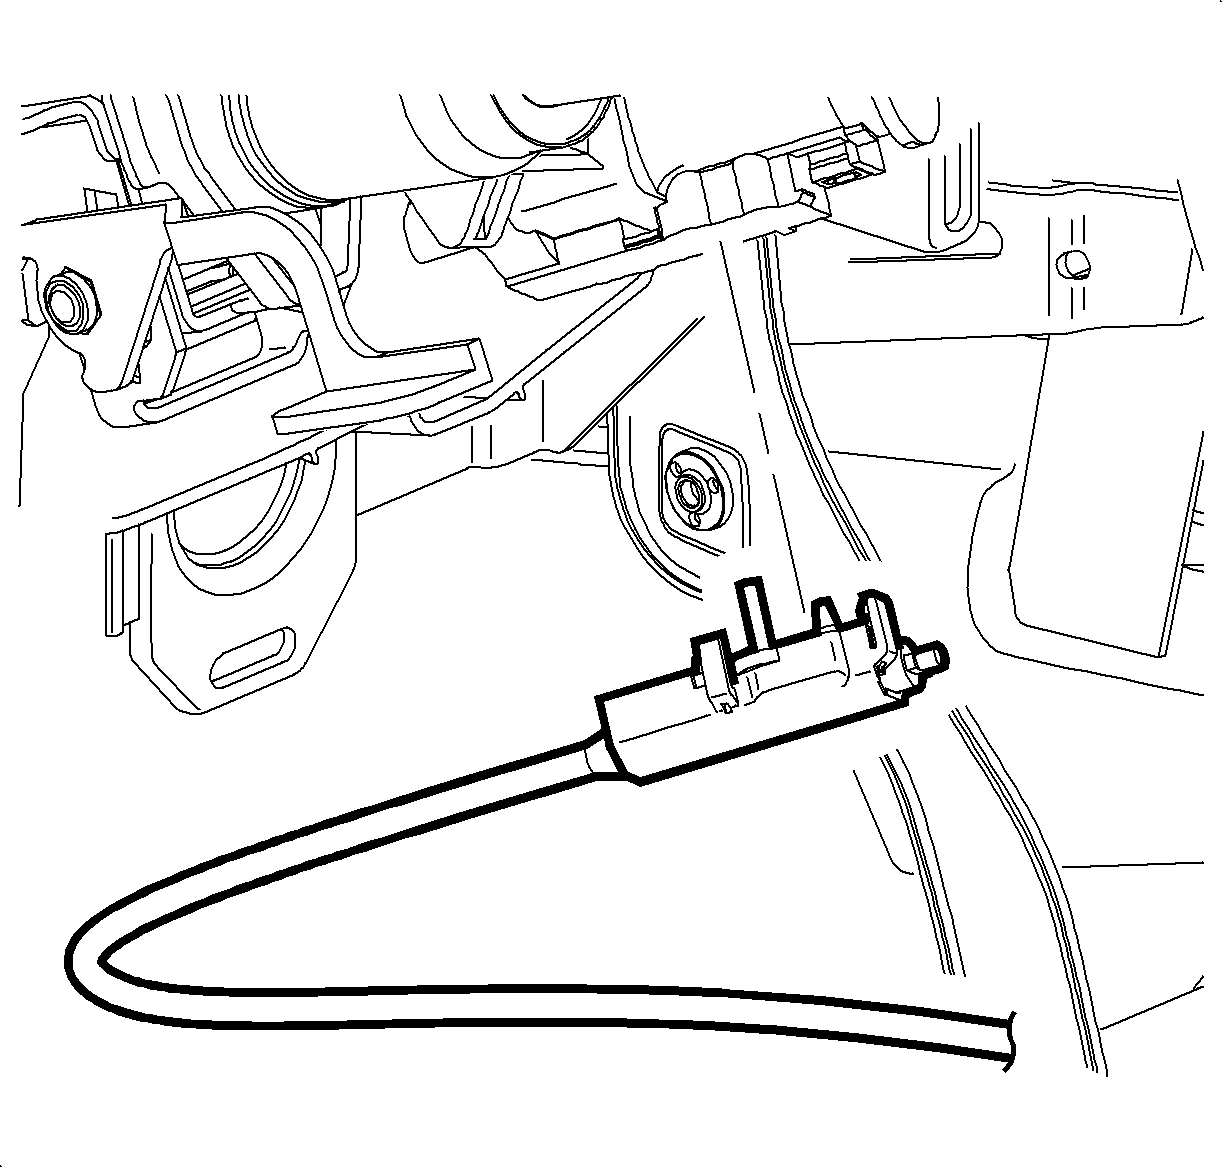
- Disengage the retaining tabs on the park lock cable assembly. Remove the assembly from the ignition module.
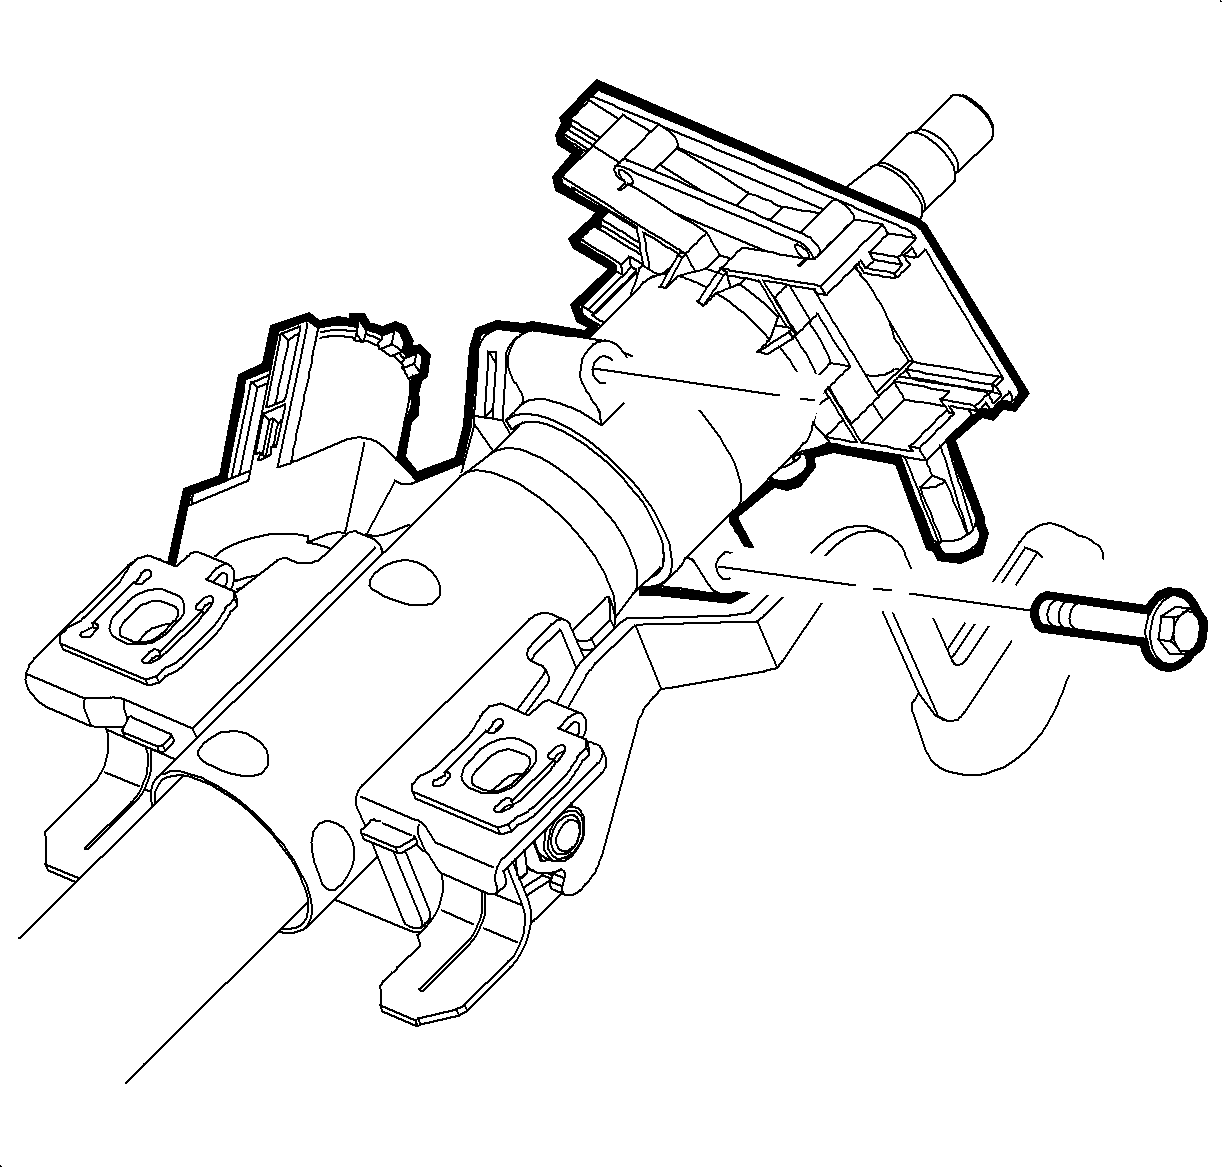
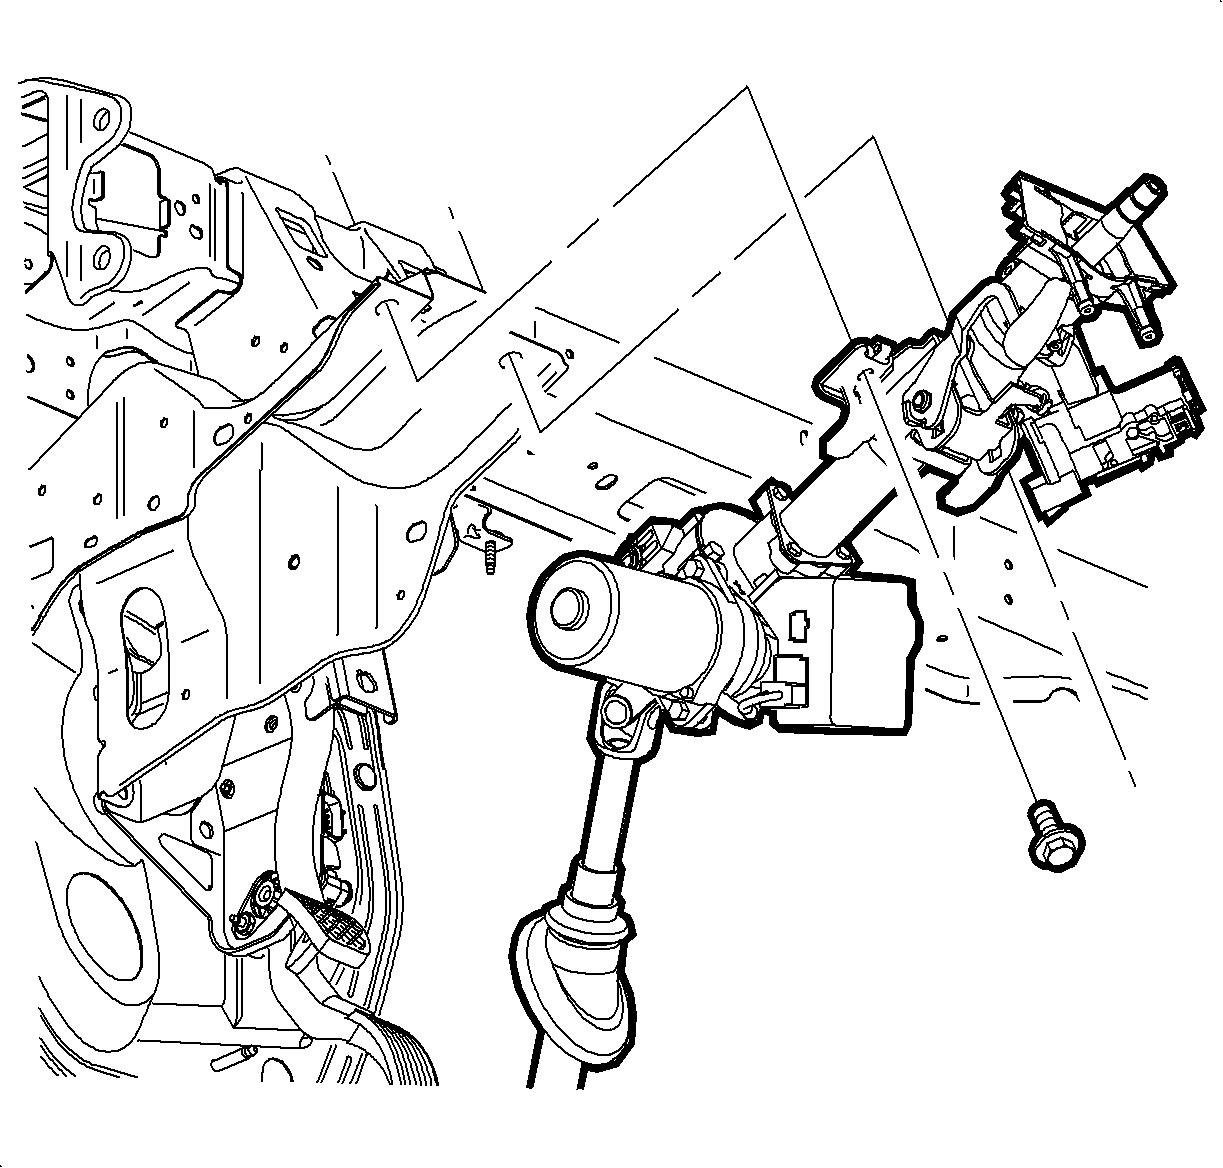
- Remove the lock housing bolts.
- Remove the lock housing. Slide the bracket from the column.
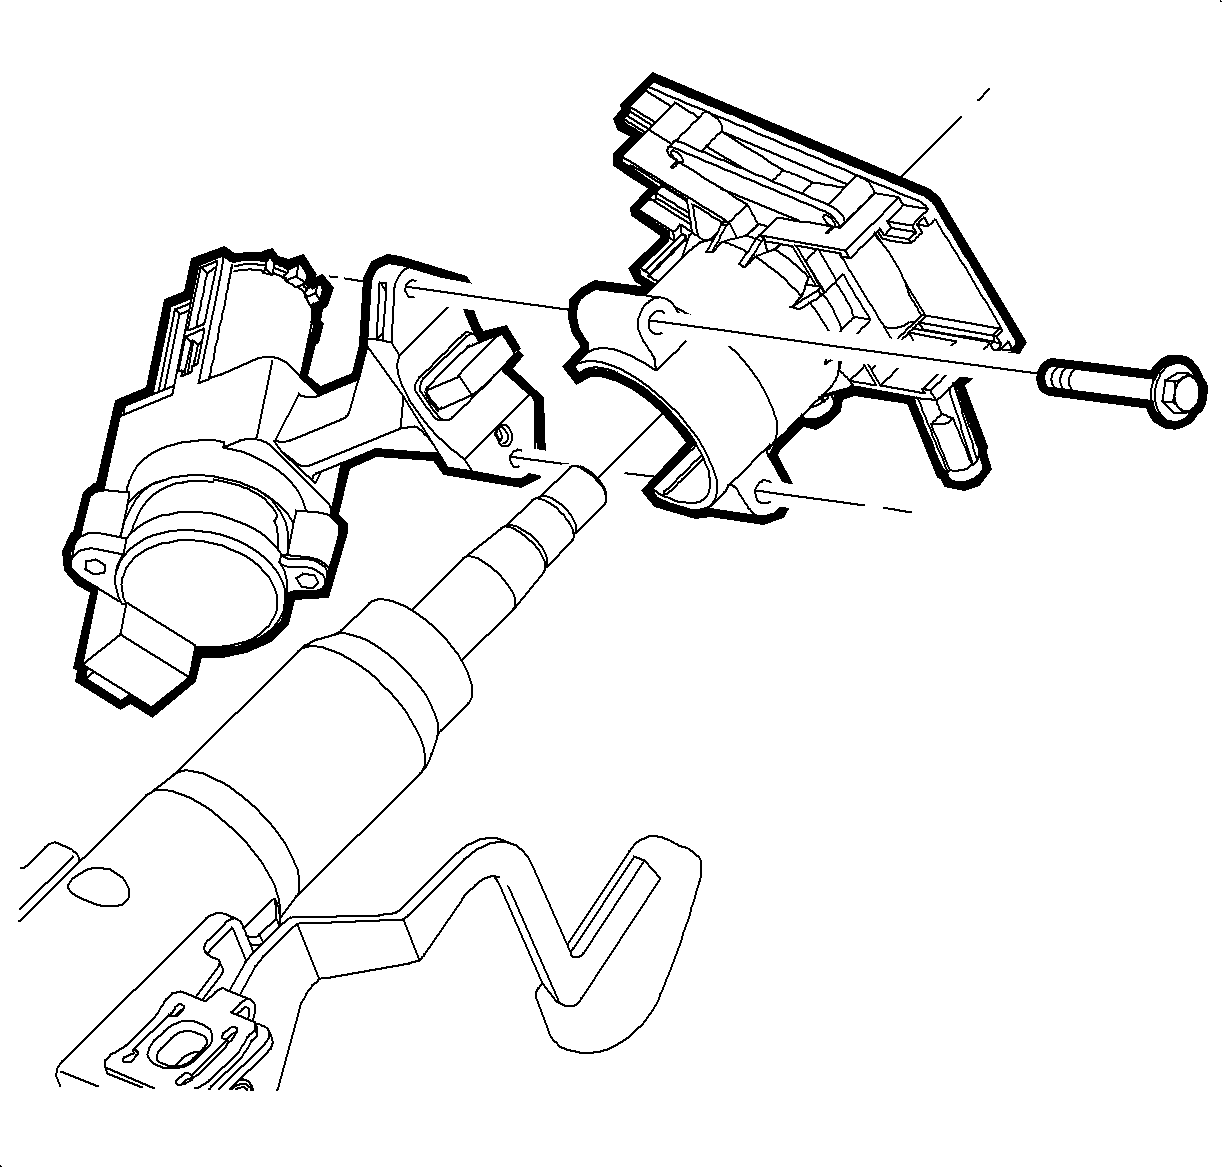
- Disconnect the EPS electrical connectors from the EPS controller.
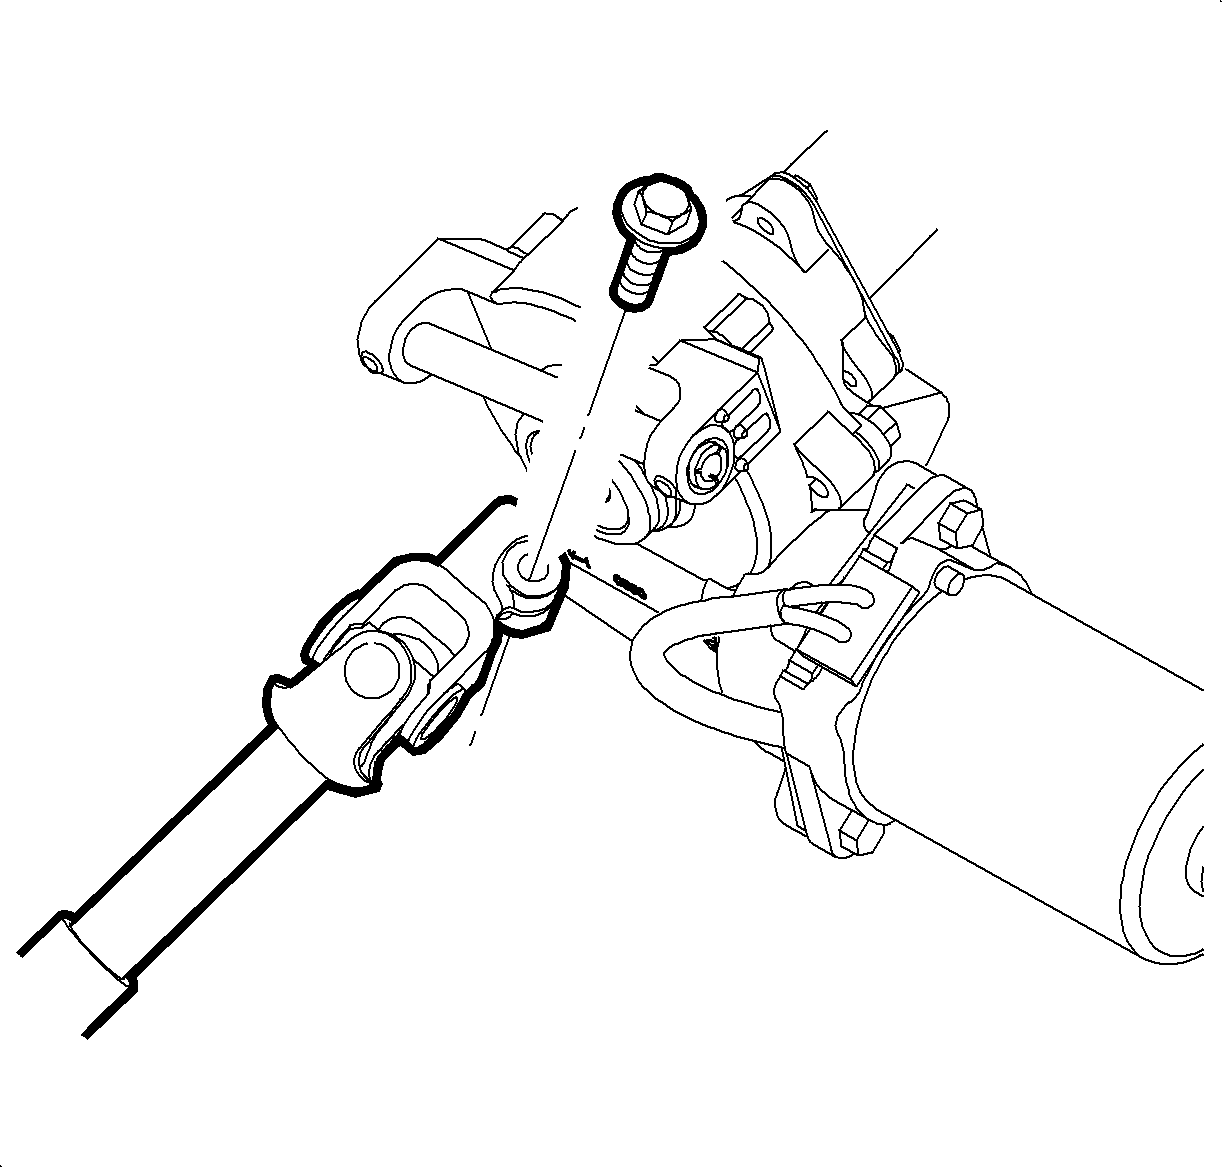
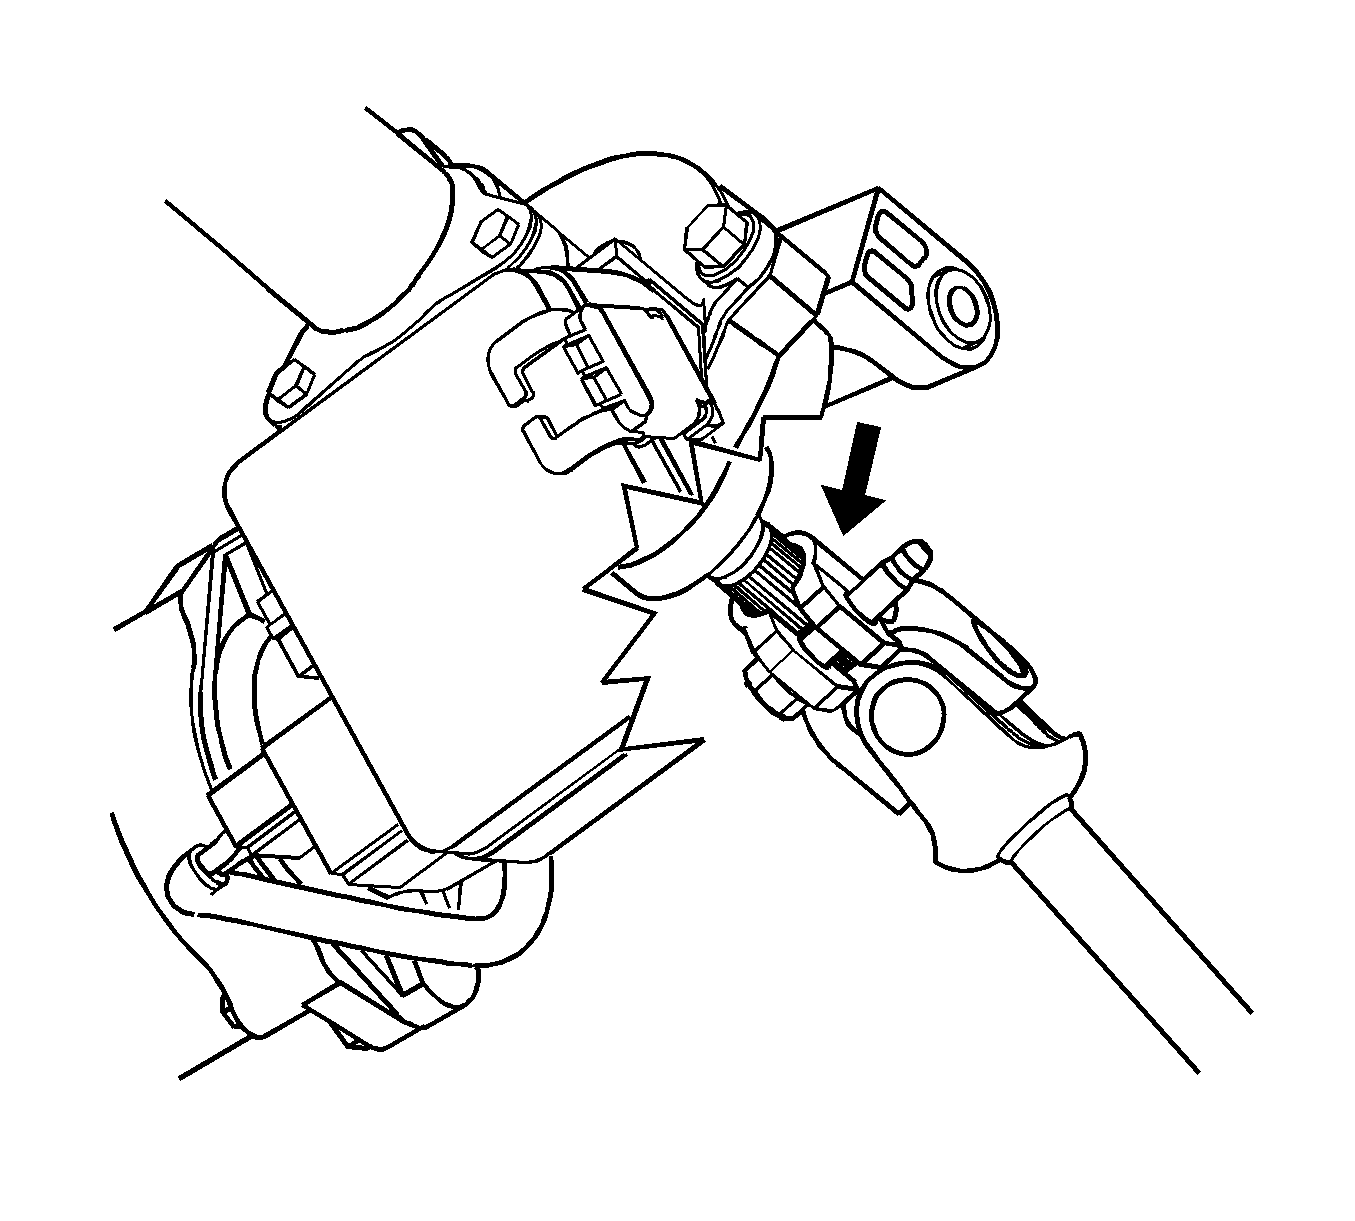
- Remove and discard the column to I-shaft bolt.
- Remove the lower column pivot bolt.
- Remove the upper column attachment bolts.
- Remove the steering column.
Notice: Rotating steering wheel while it is disconnected from the steering gear may cause damage to SIR coil.
Important: Place a scribe mark on the column to I-shaft connection for reassembly alignment.

Installation Procedure
- If replacing the steering column, duplicate the scribed mark placed on the old column shaft.
- Position the steering column into the vehicle.
- Hand start the steering column pivot bolt.
- Hand start the steering column mounting bolts.
- Slide the intermediate shaft onto the steering column while aligning the previously scribed marks.
- If the steering column to intermediate shaft was not previously scribed, refer to Intermediate Steering Shaft Replacement .
- Install a new intermediate shaft pinch bolt.
- Connect the EPS electrical connectors to the EPS controller.
- Install the lock housing and multifunction lever bracket. Refer to Multifunction Turn Signal Switch Housing Replacement .
- Attach the park lock cable to the ignition module.
- Connect the ignition housing electrical connectors.
- Snap the knee bolster into position and install fasteners.
- Install the SIR coil. Refer to Inflatable Restraint Steering Wheel Module Coil Replacement .
- Install the column trim covers. Refer to Steering Column Trim Covers Replacement .
- Install the steering wheel. Refer to Steering Wheel Replacement .
- Connect the negative battery cable. Refer to Battery Negative Cable Disconnection and Connection in Engine Electrical.
Notice: Refer to Fastener Notice in the Preface section.
Tighten
Tighten the steering column pivot bolt and mounting
bolts to 25 N·m (18 lb ft).
Tighten
Tighten the bolt to 34 N·m (25 lb ft).
Important: After installing a new service replacement EPS column, the controller contained within the column must be programmed.
