For 1990-2009 cars only
Removal Procedure
- Remove the upper rear garnish molding. Refer to Rear Upper Garnish Molding Replacement .
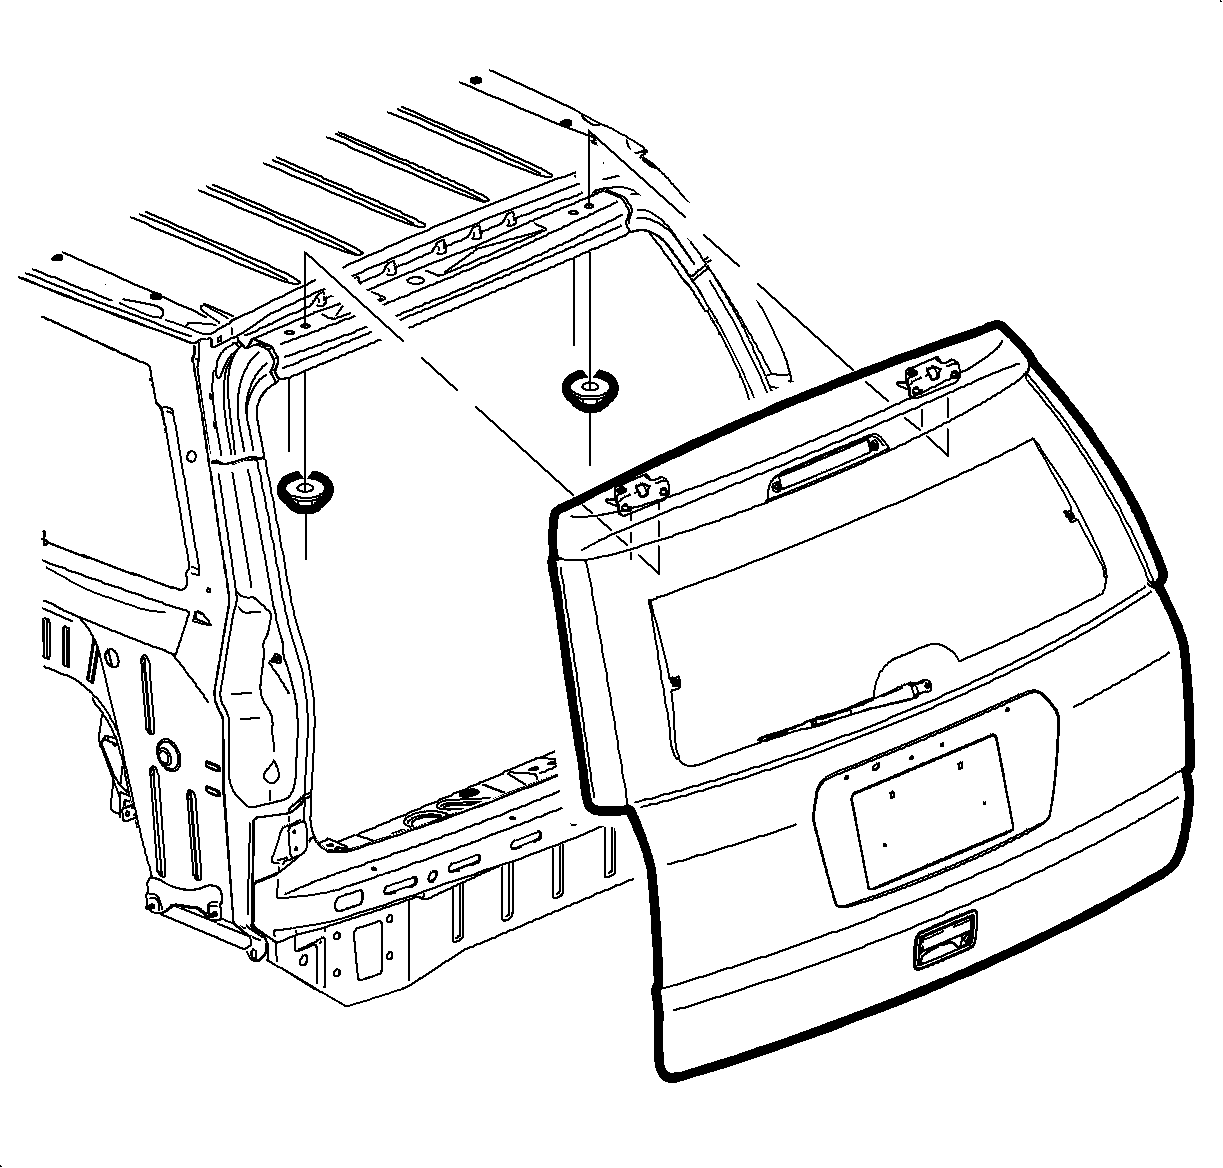
- Open the lift gate and support.
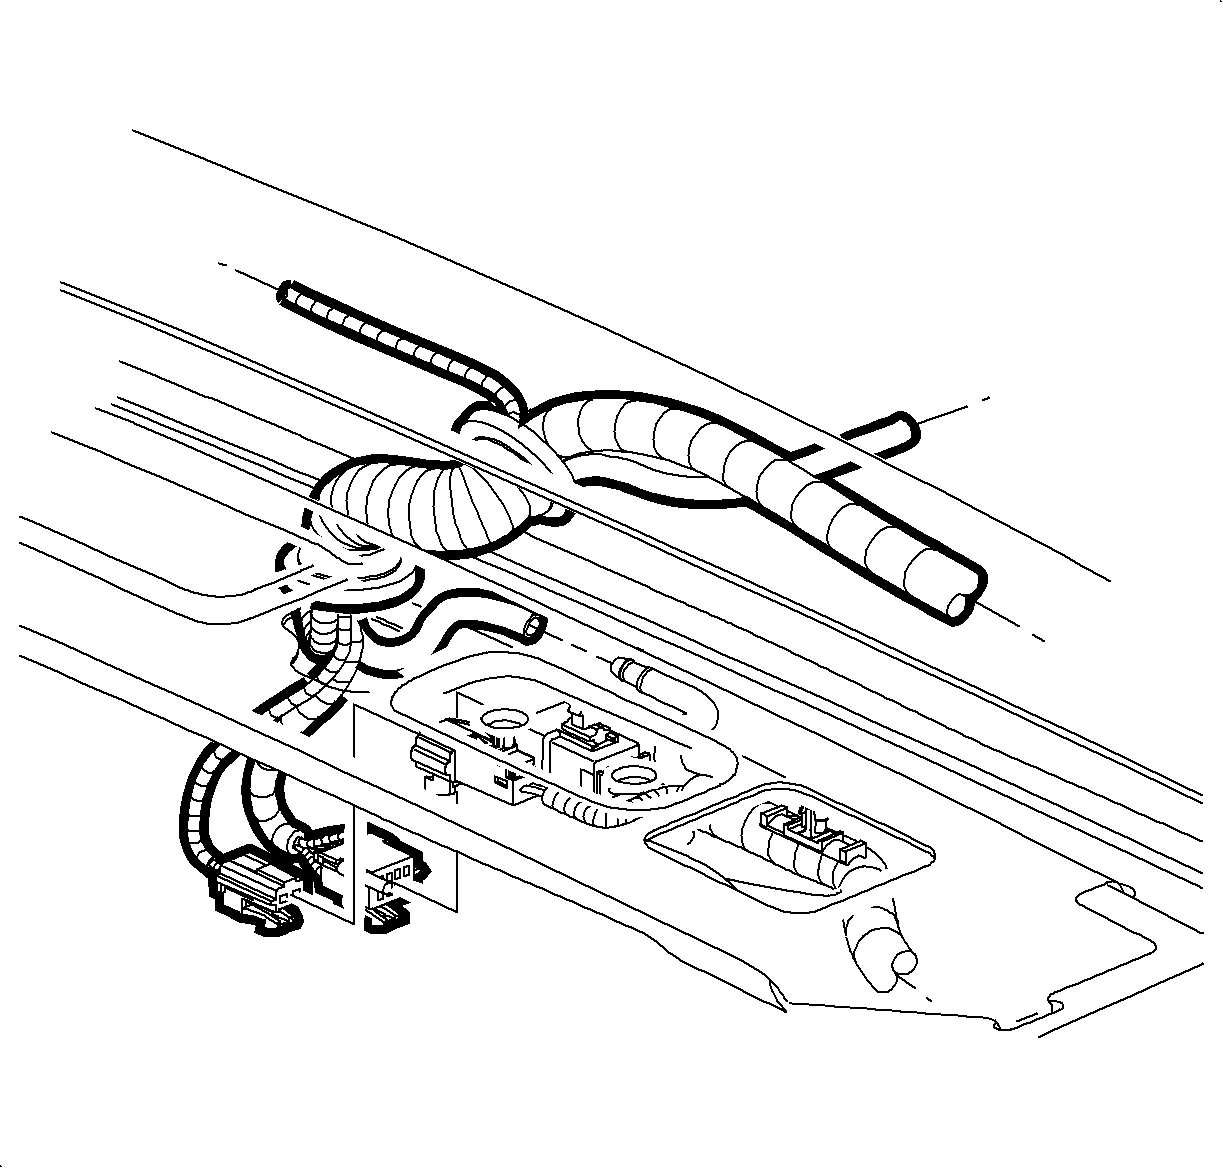
- Disconnect the 2 lift-gate wiring connectors.
- Disconnect the rear washer hose.
- Pull the lift-gate wiring grommet, the connectors and the rear washer hose out of the rear header.
- Remove the lift gate struts. Refer to Liftgate Strut Replacement .
- Mark the location of the lift-gate hinges to the body with a grease pencil.
- Remove the lift-gate hinge attachment nuts from the inside rear header, leaving the lift-gate hinges attached to the lift gate.
- Remove the lift gate from the vehicle with an assistant, and place the outside face down on a clean, padded surface.
Caution: When a lift gate hold open device is being removed or installed, provide alternate support to avoid the possibility of damage to the vehicle or personal injury.


Installation Procedure
- Position the lift gate hinges to the marked location points on the body, with an assistant.
- Install the lift-gate hinge attachment nuts inside the rear header.
- Verify the alignment of the lift gate; adjust as necessary.
- Install the lift gate struts. Refer to Liftgate Strut Replacement .
- Install the lift gate wiring grommet, the connectors and the hose into the rear header.
- Connect the 2 lift-gate wiring connectors.
- Connect the rear washer hose.
- Install the upper rear garnish molding. Refer to Rear Upper Garnish Molding Replacement .

Notice: Refer to Fastener Notice in the Preface section.
Important: New hinge to body nuts must be used to ensure a proper seal.
Tighten
Tighten the lift-gate hinge nuts to 25 N·m
(18 lb ft).

