Insufficient A/C Cooling During Periods of High Humidty (Replace A/C Compressor)

| Subject: | Insufficient A/C Cooling During Periods of High Humidity (Replace A/C Compressor Hose) |
| Models: | 2002 & 2003 Saturn VUEs |
| Attention: | Fixed Operations Manager, Parts Manager, and Technician |
This bulletin is being revised to update the models affected. Please discard Corporate Bulletin Number 03-01-39-003 (Section 01- HVAC).
Vehicles Built Up To and Including the Following VIN Breakpoints:
Engine/RPO | VIN Breakpoint |
|---|---|
2.2L, 4 Cylinder (VIN D -- RPO L61) | 3S854186 |
3.0L, 6 Cylinder (VIN B -- RPO L81) | 3S870115 |
Vehicles built after the above VIN breakpoints have the new A/C compressor hose installed.
Condition
Some customers may comment on insufficient cooling during periods of high humidity with the A/C on.
Cause
Insufficient cooling may be the result of a low refrigerant charge caused by a condition known as "liquid slugging". This condition may occur after the vehicle sits for an extended period of time which may allow liquid refrigerant to migrate to the low point of the A/C system or the A/C compressor. During engine start-up and/or during compressor engagement at high speeds, the compressor is unable to compress the liquid refrigerant and forces the liquid refrigerant out through the A/C system pressure relief valve (PRV).
Correction
Replace A/C compressor hose using the procedure in this bulletin.
Procedure:
- Verify customer comment by performing HVAC Performance Test in the HVAC section of the 2002-2003 Saturn VUE Service Manual. If system performance indicates a low refrigerant charge, go to the next step. If performance test does not indicate a low system charge, review Diagnostic Charts in the HVAC section of the 2002-2003 Saturn VUE Service Manual to repair/eliminate condition associated with customer's comment.
- Raise vehicle on hoist.
- Using service tool Black Light J42220 with specially tinted goggles, inspect PRV for leakage. (PRV is located on the A/C hose manifold on the side of the A/C compressor.) The PRV has a paper seal installed on the bottom over the opening. If the PRV has vented, one of the following conditions will be observed:

| • | The seal will glow |
| • | The seal will be torn |
| • | The seal will be missing |
If the seal meets any of the above conditions, lower vehicle and go to the Suction/Discharge Hose Removal procedure.
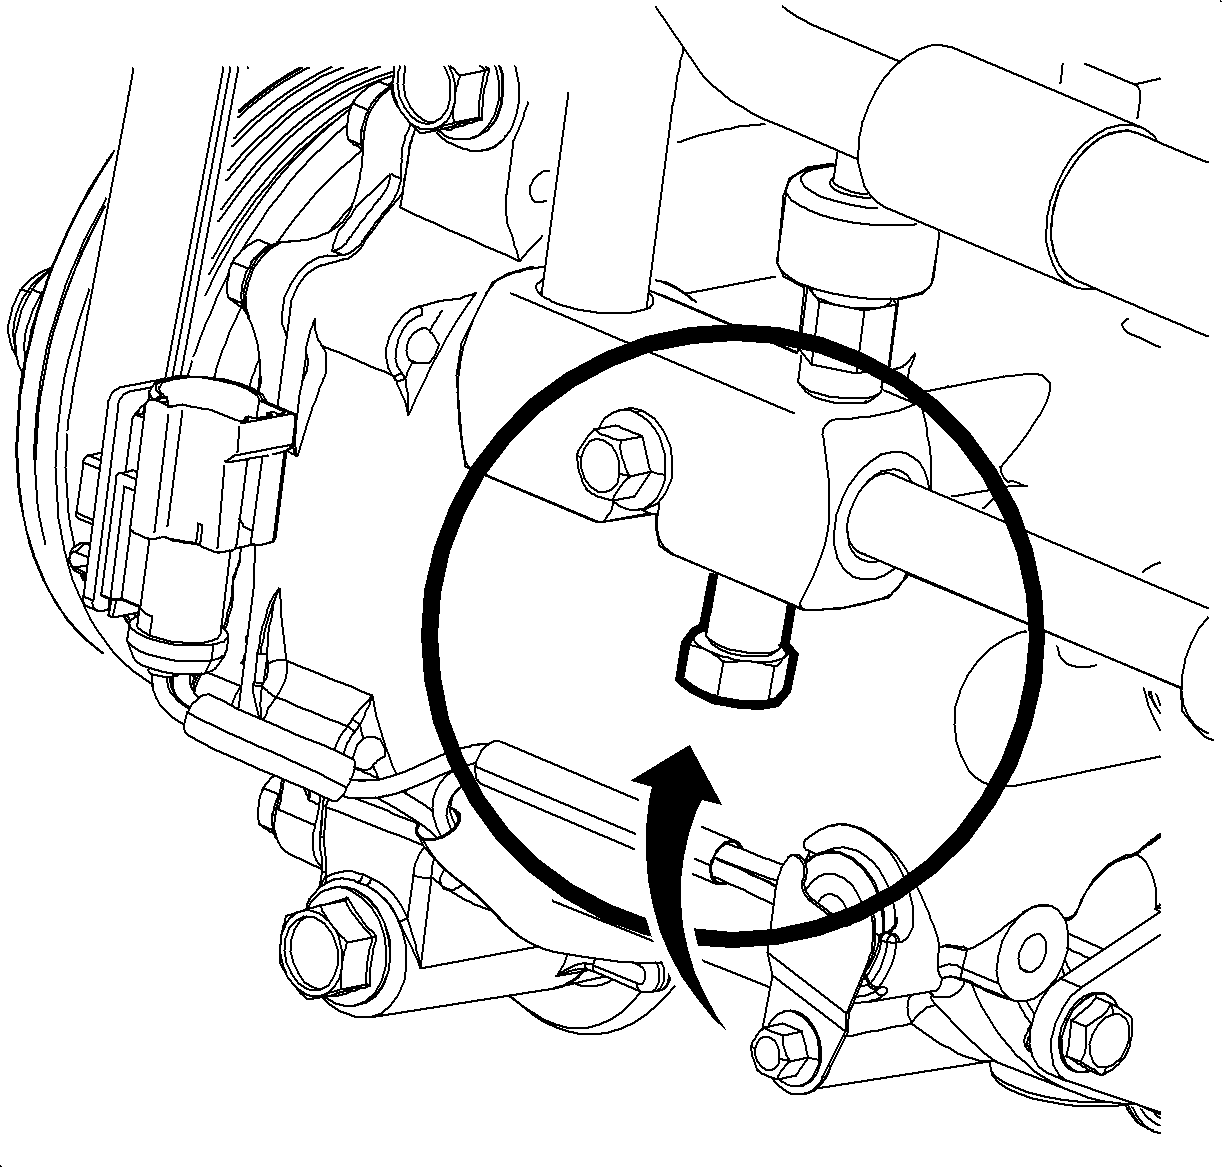
If the seal is intact and does not glow with the black light, inspect other components for leaks.
Suction/Discharge Hose
Removal:
Important: Verifying the purity of the refrigerant with a refrigerant identifier is recommended before recovery .
- Recover refrigerant using an approved refrigerant recovery system. Measure the amount of oil lost during recovery and record.
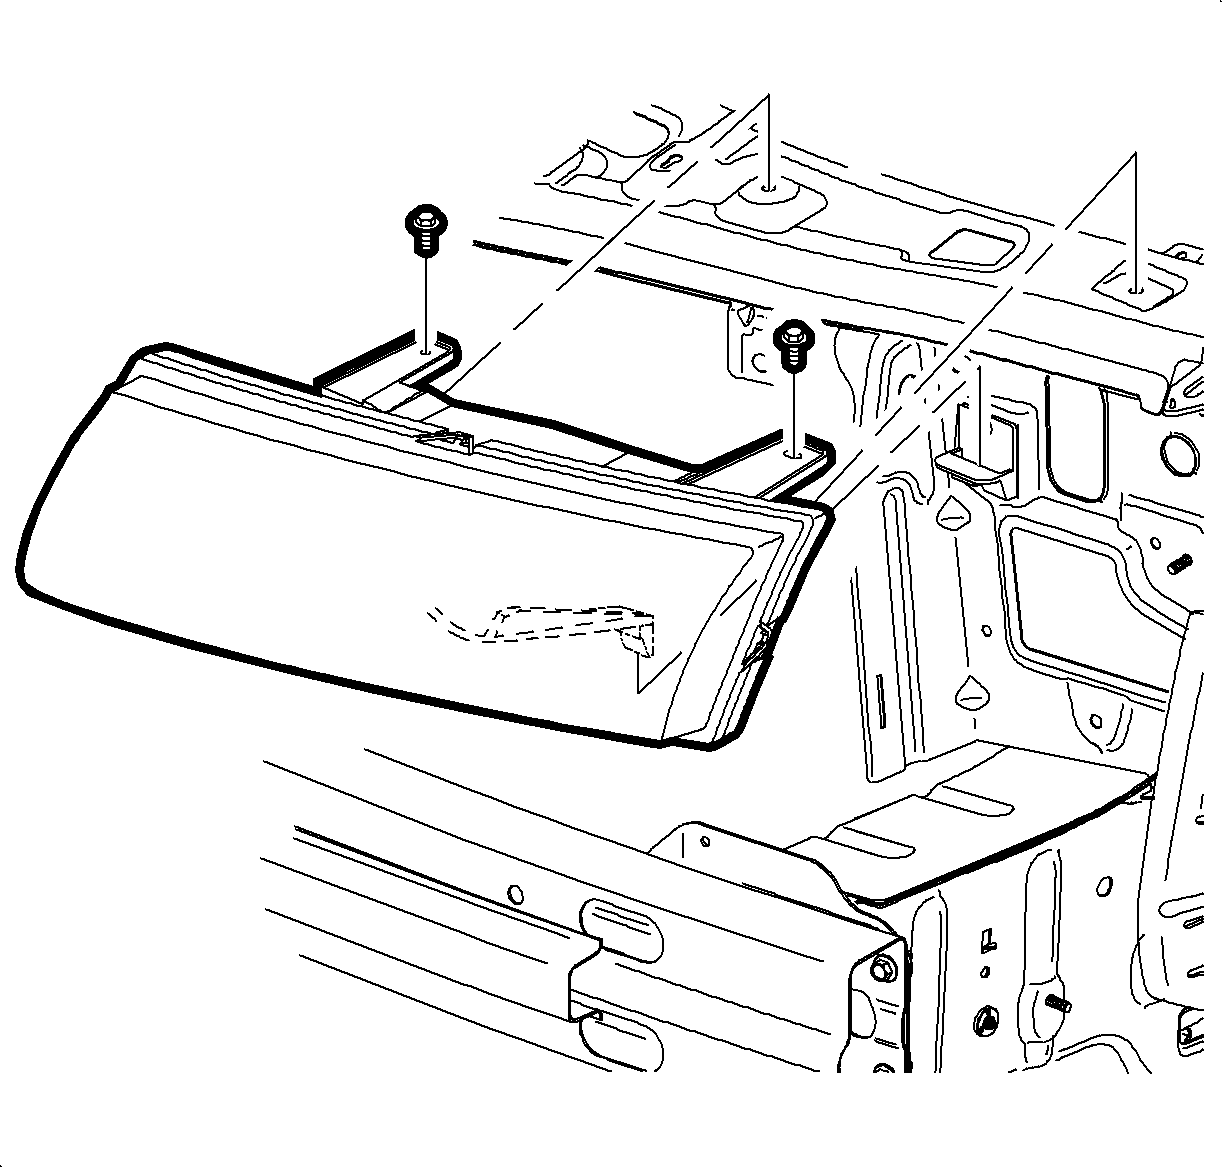
- Remove left headlamp. (Refer to "Headlamp Assembly" removal procedure in the "Front End" section of the 2002-2003 Saturn VUE Body Removal & Installation Service Manual.)
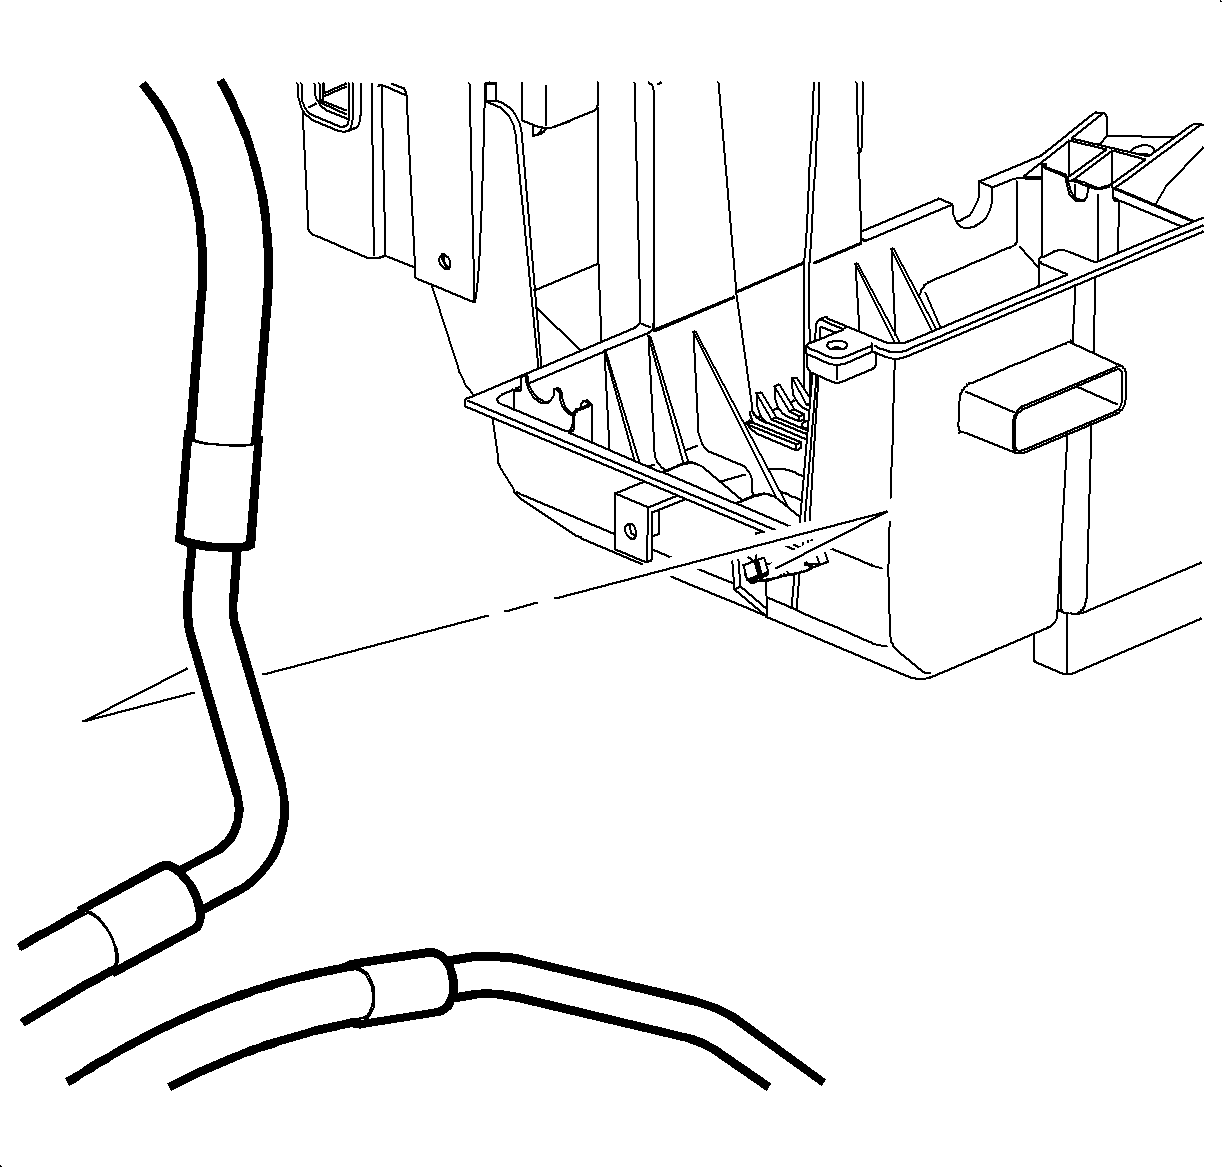
- Unclip suction hose from battery box clip.
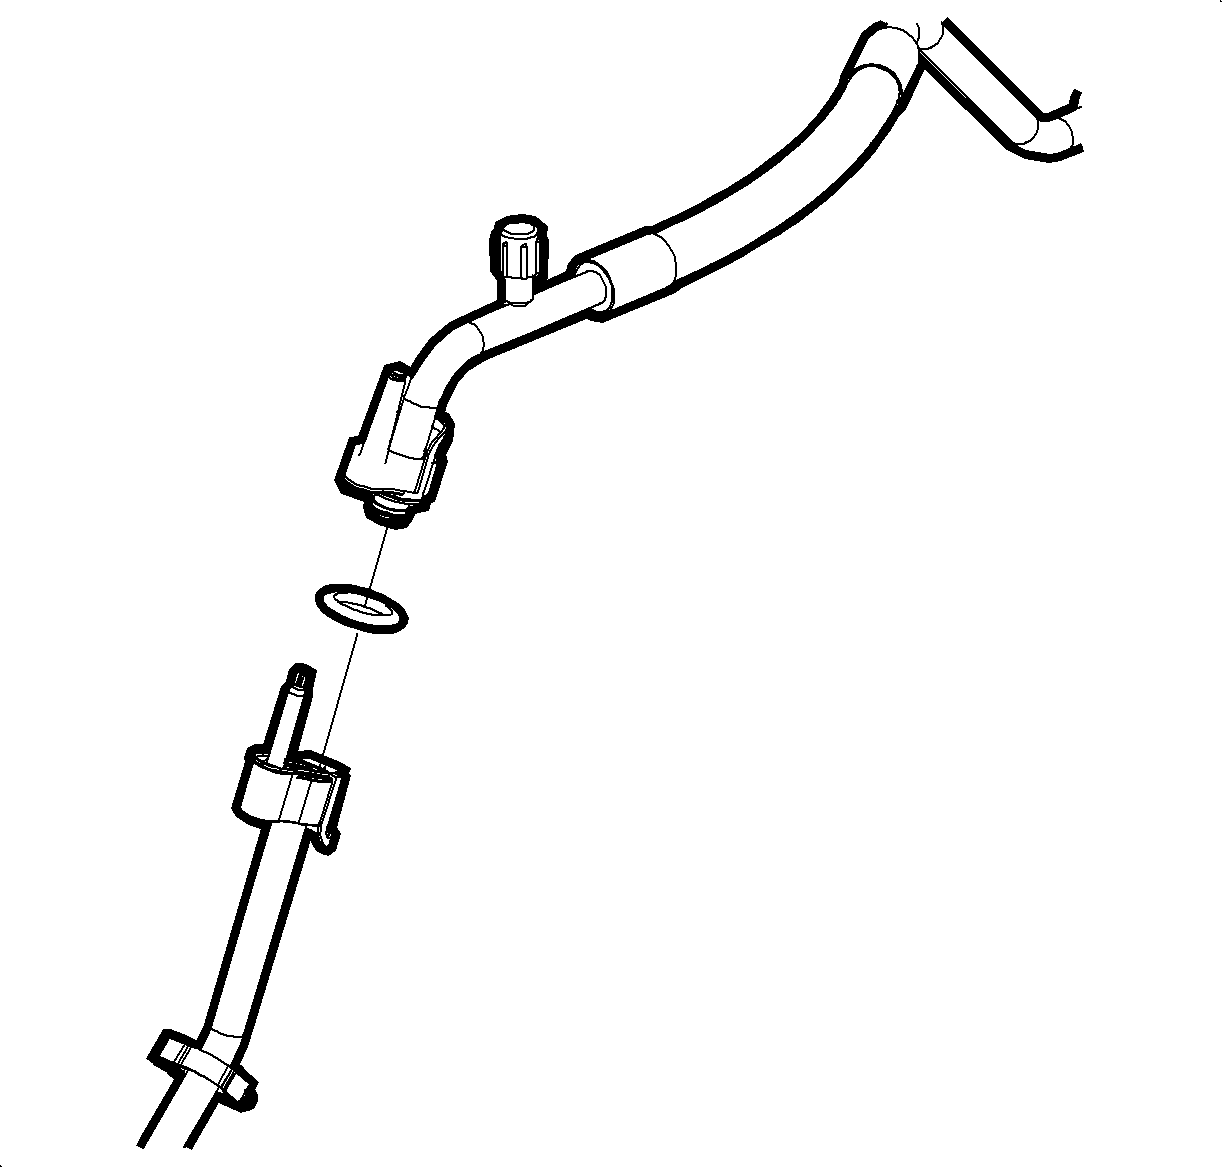
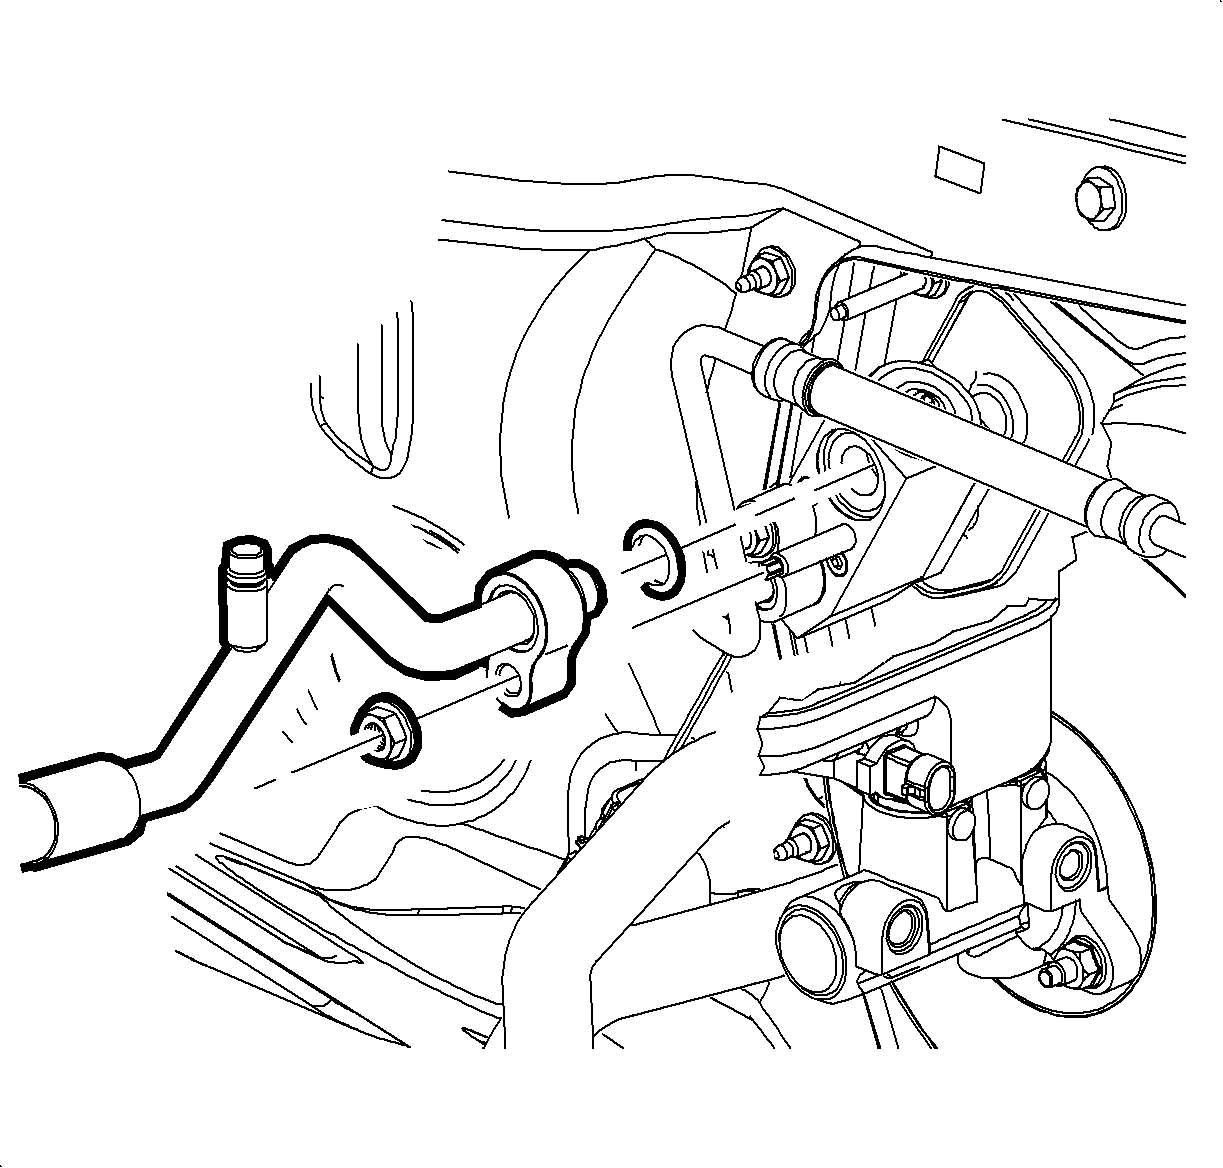
- On L81 vehicles, remove suction hose to suction hose jumper joint nut and line.
- Install protective cap to suction hose to prevent contamination and desiccant saturation.
- On L61 vehicles, remove nut from TXV on suction hose side and remove suction hose.
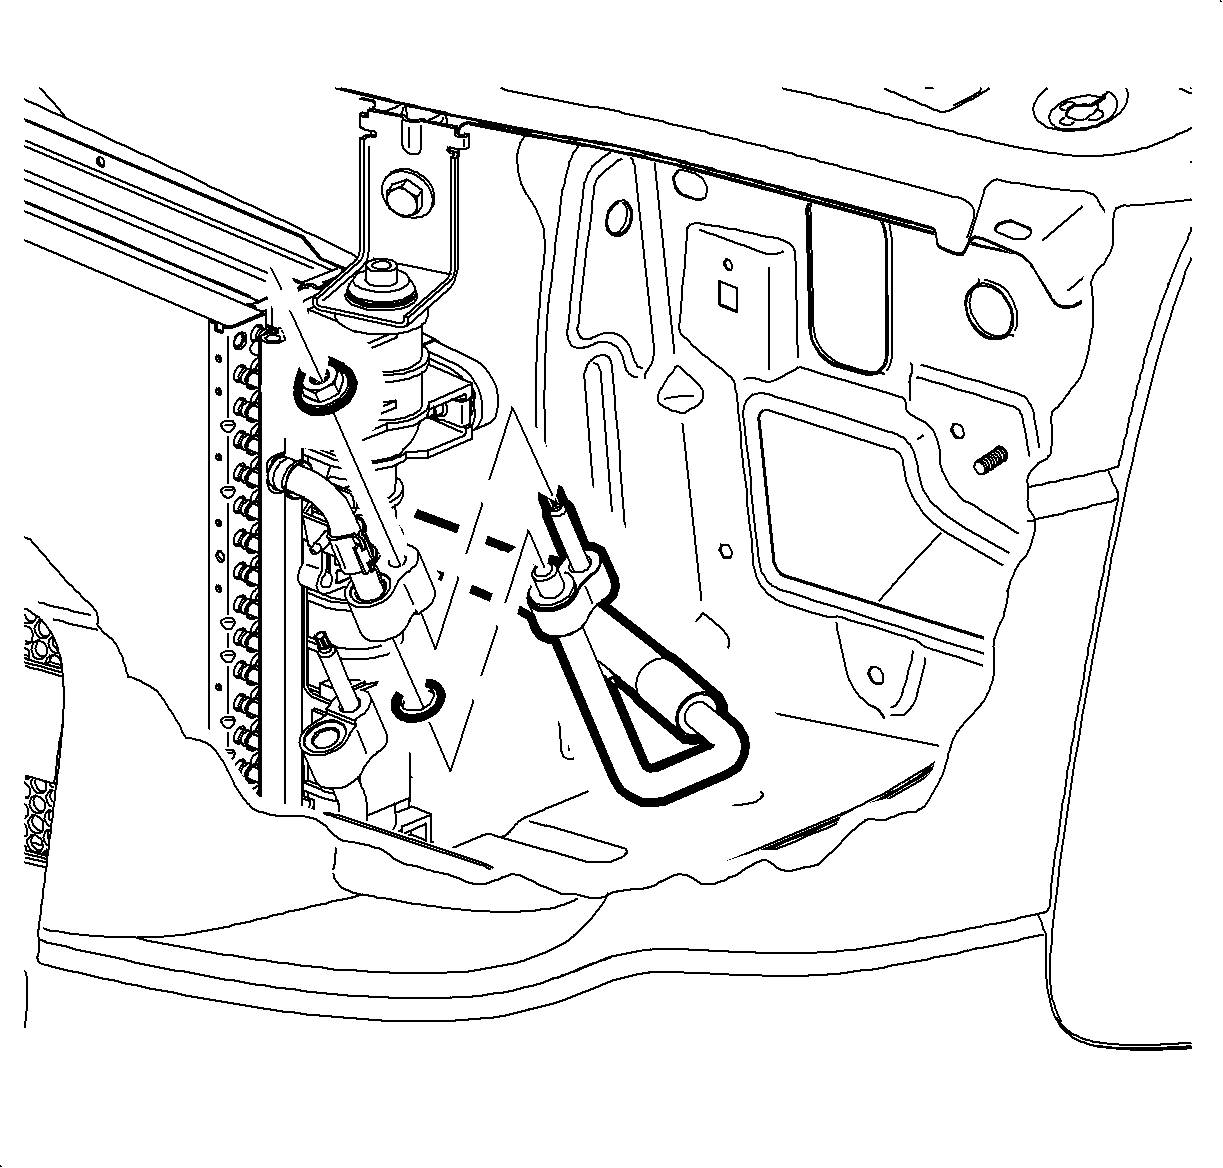
- Remove nut from discharge line stud on condenser and remove discharge line.
- Install protective cap to condenser to prevent contamination and desiccant saturation.
- Raise vehicle on hoist.
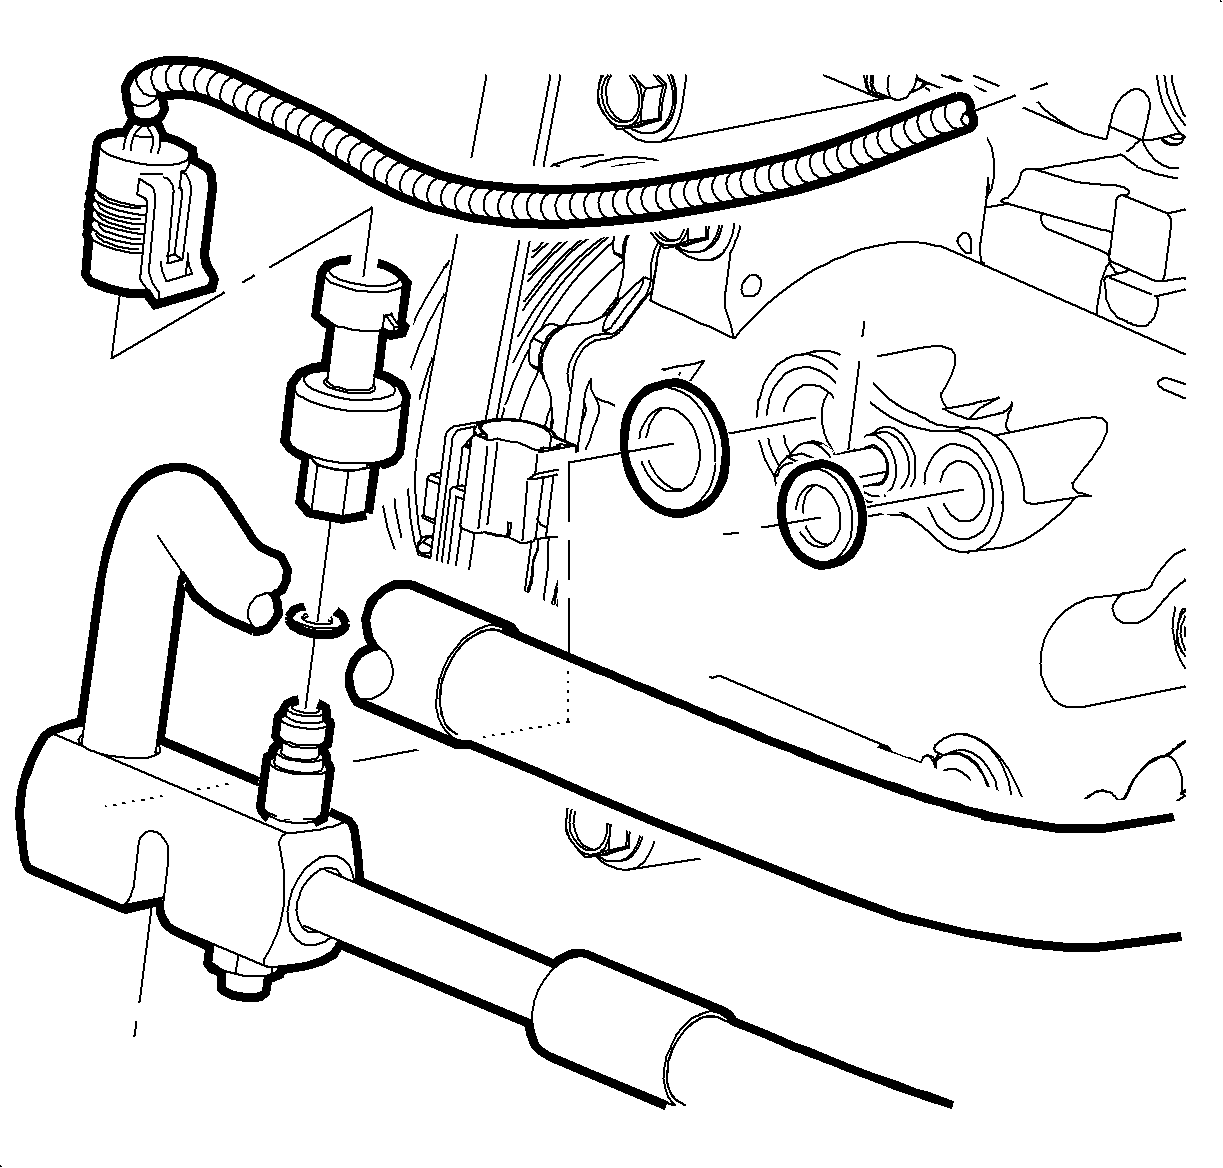
- Disconnect pressure transducer electrical connector.
- With open end wrench, remove pressure transducer. Pressure transducer will need to be installed on new suction/discharge hose.
- Drain oil from discharge line and measure the amount of oil removed from the system.
- Install protective cap to compressor to prevent contamination.
Notice: The quantity of oil lost must be added to system or damage to the compressor may occur.
Installation
- Remove protective cap from compressor end of suction/discharge hose assembly and compressor. Install new seal washers and install hose manifold block to compressor.
- Lubricate new pressure port O-ring with mineral oil.
- Hand start pressure transducer onto pressure port taking care not to pinch O-ring and tighten.
- Connect electrical connector to pressure transducer.
- On L81 vehicles, remove caps from suction hose and suction jumper and install new seal washer then hose.
- Lubricate pressure relief valve O-ring with new R-12 mineral oil. Install valve and torque to specification.
- Lower vehicle.
- On L61 vehicles, remove cap from TXV at TXV end of suction hose assembly. Install new hose with seal washer.
- Remove protective cap at condenser end of discharge hose assembly. Connect new hose with seal washer.
- Clip suction hose to battery box.
- Install left headlamp. (Refer to "Headlamp Assembly" installation procedure in the "Front End" section of the 2002-2003 Saturn VUE Body Removal & Installation Service Manual.)
- Evacuate, charge, and leak check the A/C system. Repair any leaks as required. If no leaks are found, return the vehicle to customer.

Important: Do not lubricate seal washers. By design, seal washer lubricant is not required. If a lubricant is used during installation, the oil used to lubricate the seal may be mis-diagnosed as a seal/joint leak.
Tighten
Tighten the Hose Assembly to Compressor to 27N·m20
(ft-lbs).
Notice: Use R-12 refrigerant oil (mineral) to lubricate O-rings. Use of R-134a (PAG) oil will cause premature corrosion of fitting joints.
Notice: Use only clean lint free cloths with non-petroleum based solvents to clean refrigerant system sealing surfaces. Allow solvent to dry with air. Do not allow solvent to enter refrigerant system. If a lint free cloth is not used, particles are left behind and will interfere with the seal.
Tighten
Tighten the Pressure Transducer to 10N·m89
(in-lbs).

Tighten
Tighten the Seal Washer-Suction Hose to 16N·m(12
ft-lbs).
Notice: Use R-12 refrigerant oil (mineral oil) to lubricate O-rings. Use of R-134A (PAG) oil will cause premature corrosion of fitting joints.

Tighten
Tighten the Pressure Relief Valve to 10N·m(89
in-lbs).

Tighten
Tighten the Nut-Suction Hose at TXV to 16N·m(12
ft-lbs).

Tighten
Tighten the Nut-Discharge Hose at Condenser to 16N·m(12
ft-lbs).


Parts Information
Part Number | Description |
|---|---|
22715410 | L61 (4 cylinder) A/C Compressor Hose |
22719785 | L81 (6 cylinder) A/C Compressor Hose |
22689755 | Pressure Relief Valve |
22670751 | Seal-A/C Refrigerant Pressure Sensor (O-Ring) |
Claim Information:
To receive credit for this repair during the warranty coverage period, submit a claim through the Saturn Dealer System for D3082 (Compressor discharge hose and/or line replace)
