For 1990-2009 cars only
Removal Procedure
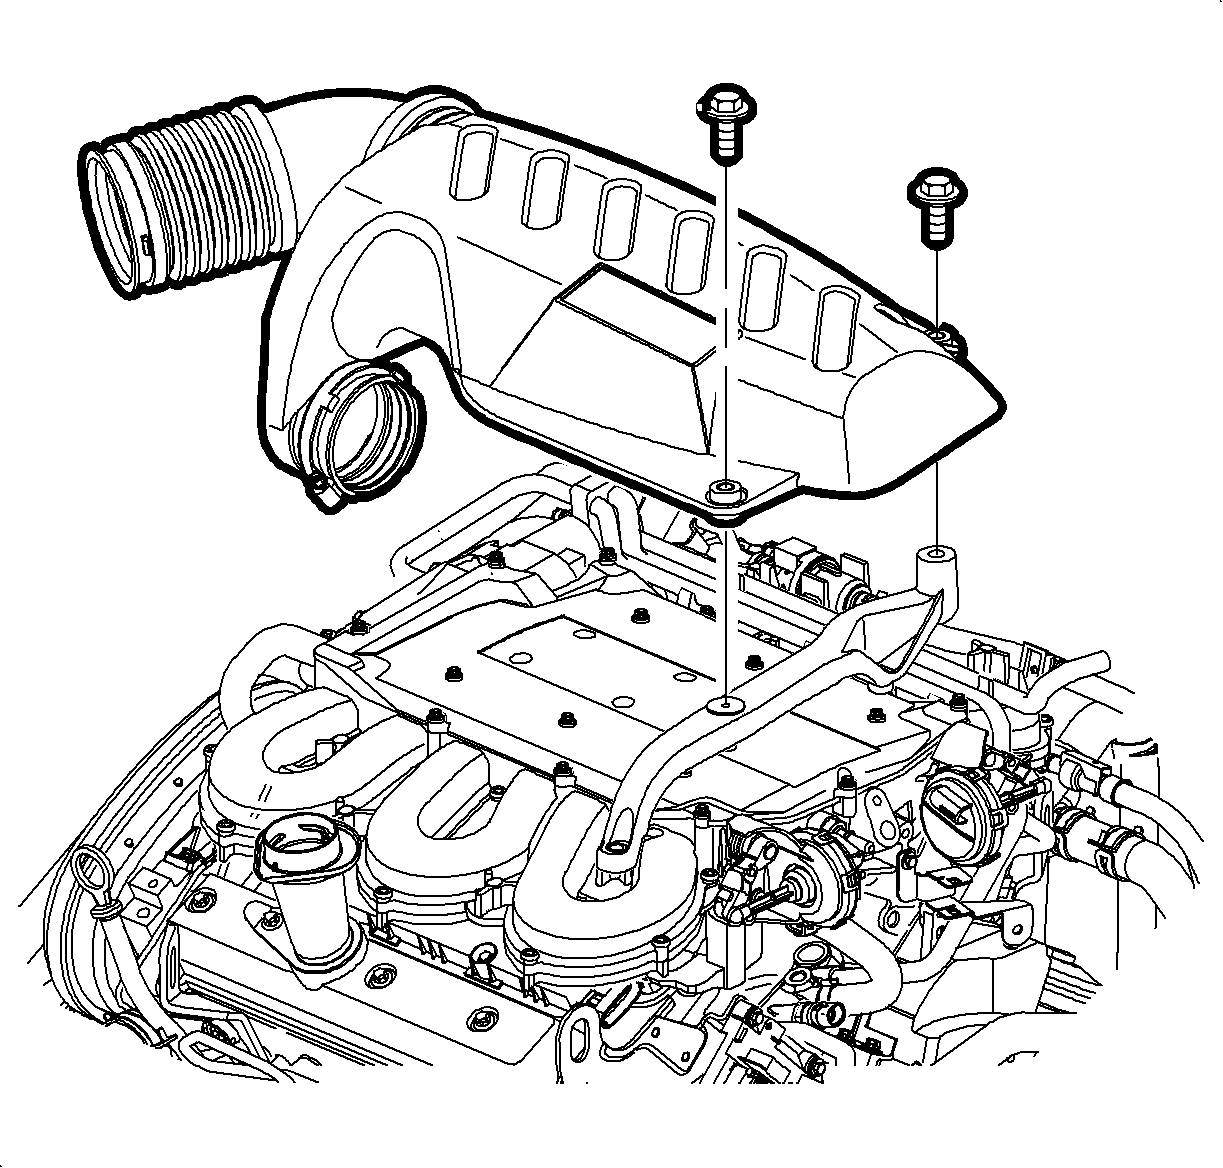
- Loosen the clamp at the air cleaner assembly and throttle body assembly.
- Remove attachment bolts from the outlet resonator/duct assembly to support bracket.
- Remove the outlet resonator/duct assembly.
- Cover the throttle body opening with a shop towel and use shop air to remove any dirt at the base of the throttle body.
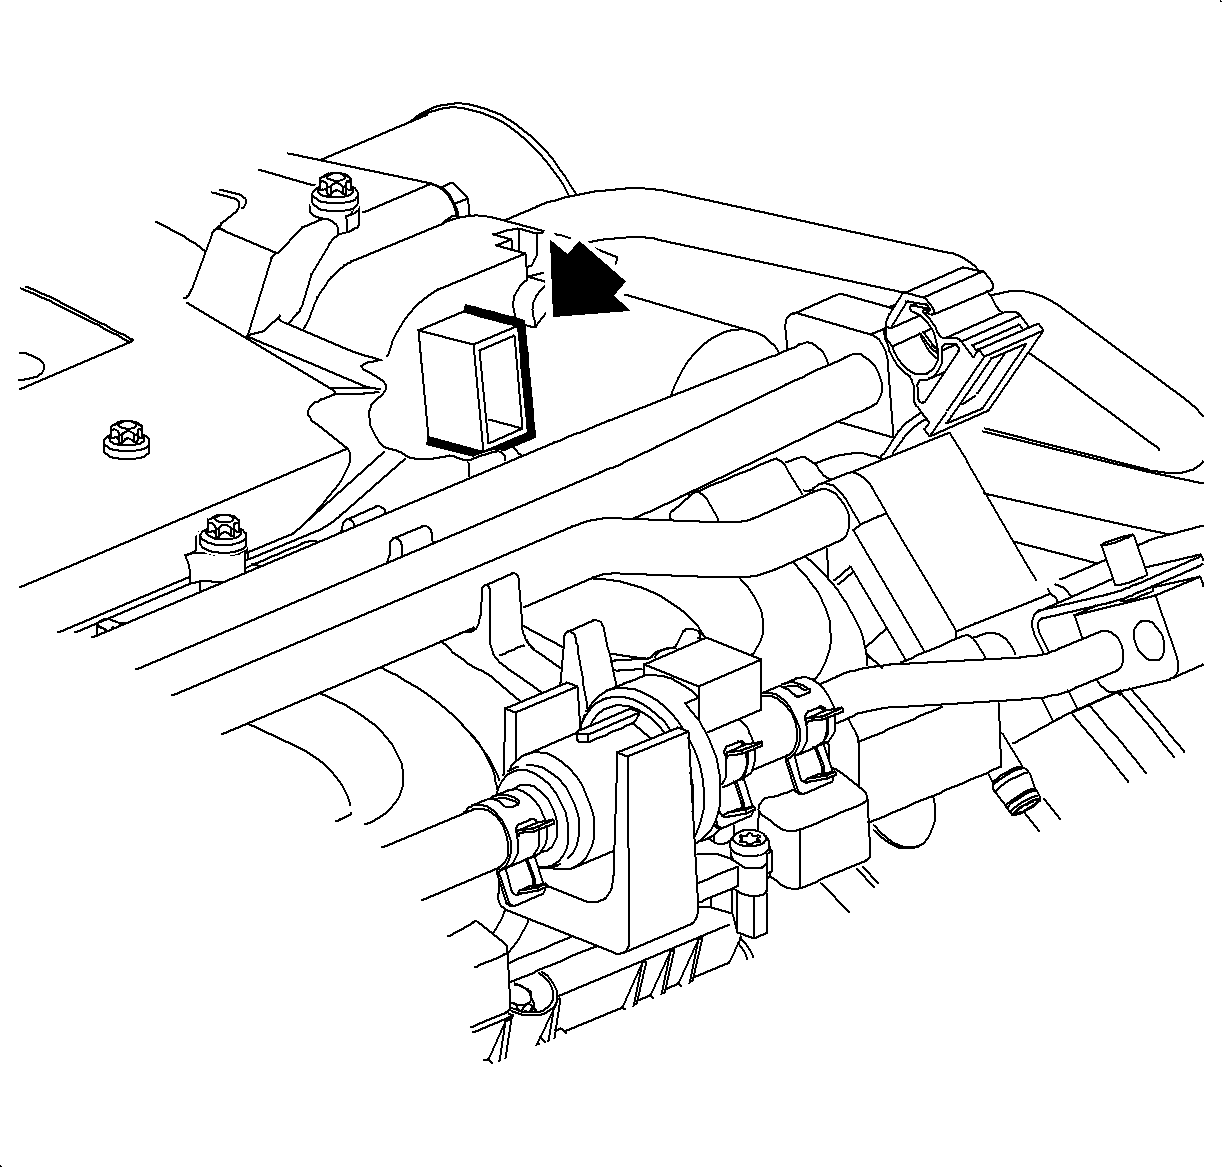
- Disconnect the electrical connector at throttle body.
- Disconnect the PCV fresh air hose at throttle body.
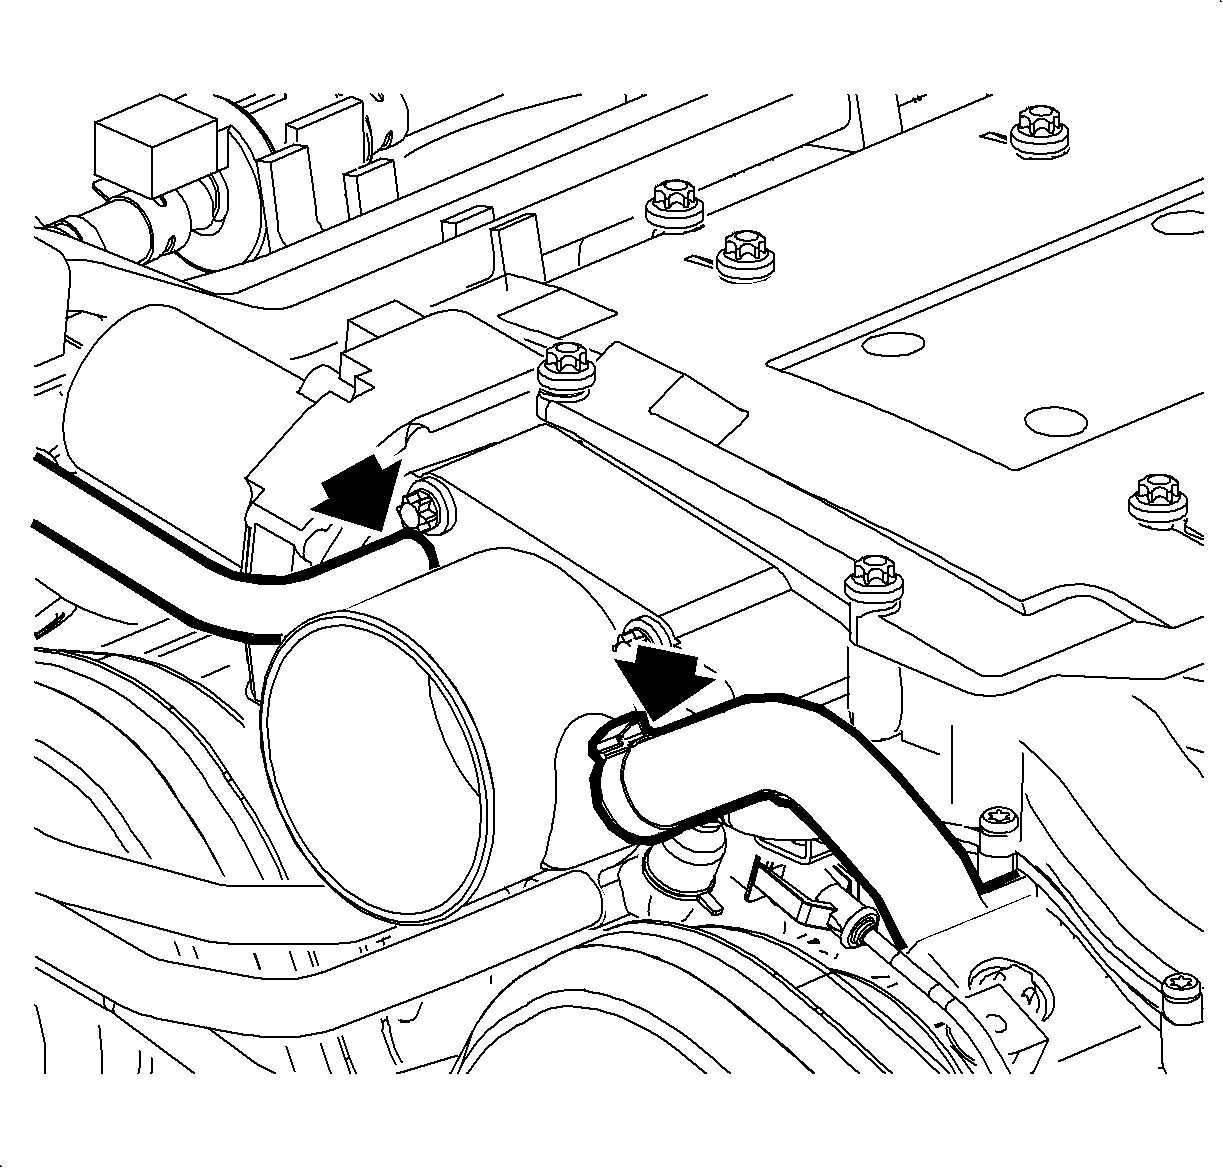
- Remove the purge and PCV vacuum lines.
- Clamp off the hoses to avoid leaking coolant on engine.
- Remove the coolant hoses at throttle body.
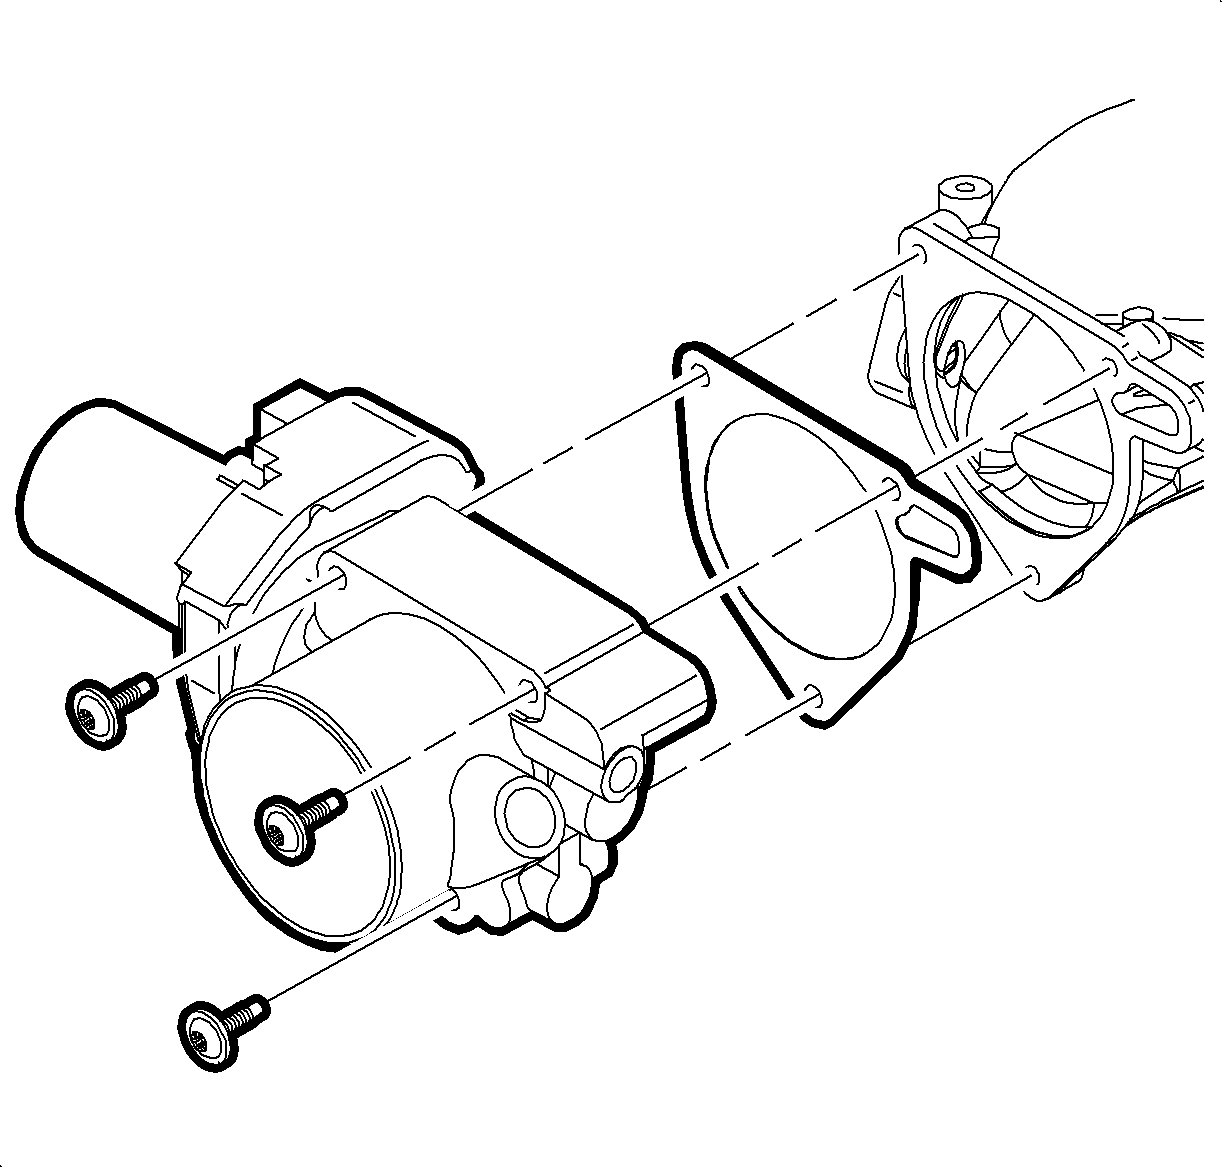
- Remove the throttle body bolts.
- Remove the throttle body.
- Block the intake manifold opening with a clean shop towel to prevent dirt from entering.


Notice: Cover the intake manifold opening with a shop towel whenever the throttle body is removed to prevent foreign material entry.
Installation Procedure
- Remove the shop towel from the throttle body opening.
- Install the throttle body gasket.
- Install the throttle body assembly and bolts.
- Install the throttle body bolts.
- Attach the hoses to the throttle body assembly and unclamp.
- Connect the PCV fresh air and vacuum hoses.
- Connect throttle body electrical connector.
- Install the outlet resonator/duct assembly into position.
- Tighten the clamp at the throttle body assembly.
- Position the outlet resonator/duct assembly to support bracket and install the bolts.
- Tighten the clamp at the air cleaner assembly.
- Connect negative battery cable.
- If the throttle body assembly has been replaced, and automatic relearn procedure must be completed by engine control module (ECM).
- To complete this relearn procedure, turn the ignition to RUN position for one minute.

Notice: Use care when tightening the throttle body bolts. Manifold damage will result if over torqued.
Tighten
Tighten the throttle body-to-intake manifold bolts
L81 to 7.5 N·m (66 ll in).


Tighten
Tighten the outlet resonator/duct assembly-to-support
bracket bolts 6-cylinder to 10 N·m (89 lb in).
Tighten
Tighten the batter terminal bolt to 17 N·m
(13 lb in).
Important: Do not depress the accelerator pedal assembly during this procedure.
