For 1990-2009 cars only
Front Side Door Trim Panel Replacement Early Production
Removal Procedure
- Remove the inner door handle. Refer to Door Inside Handle Replacement .
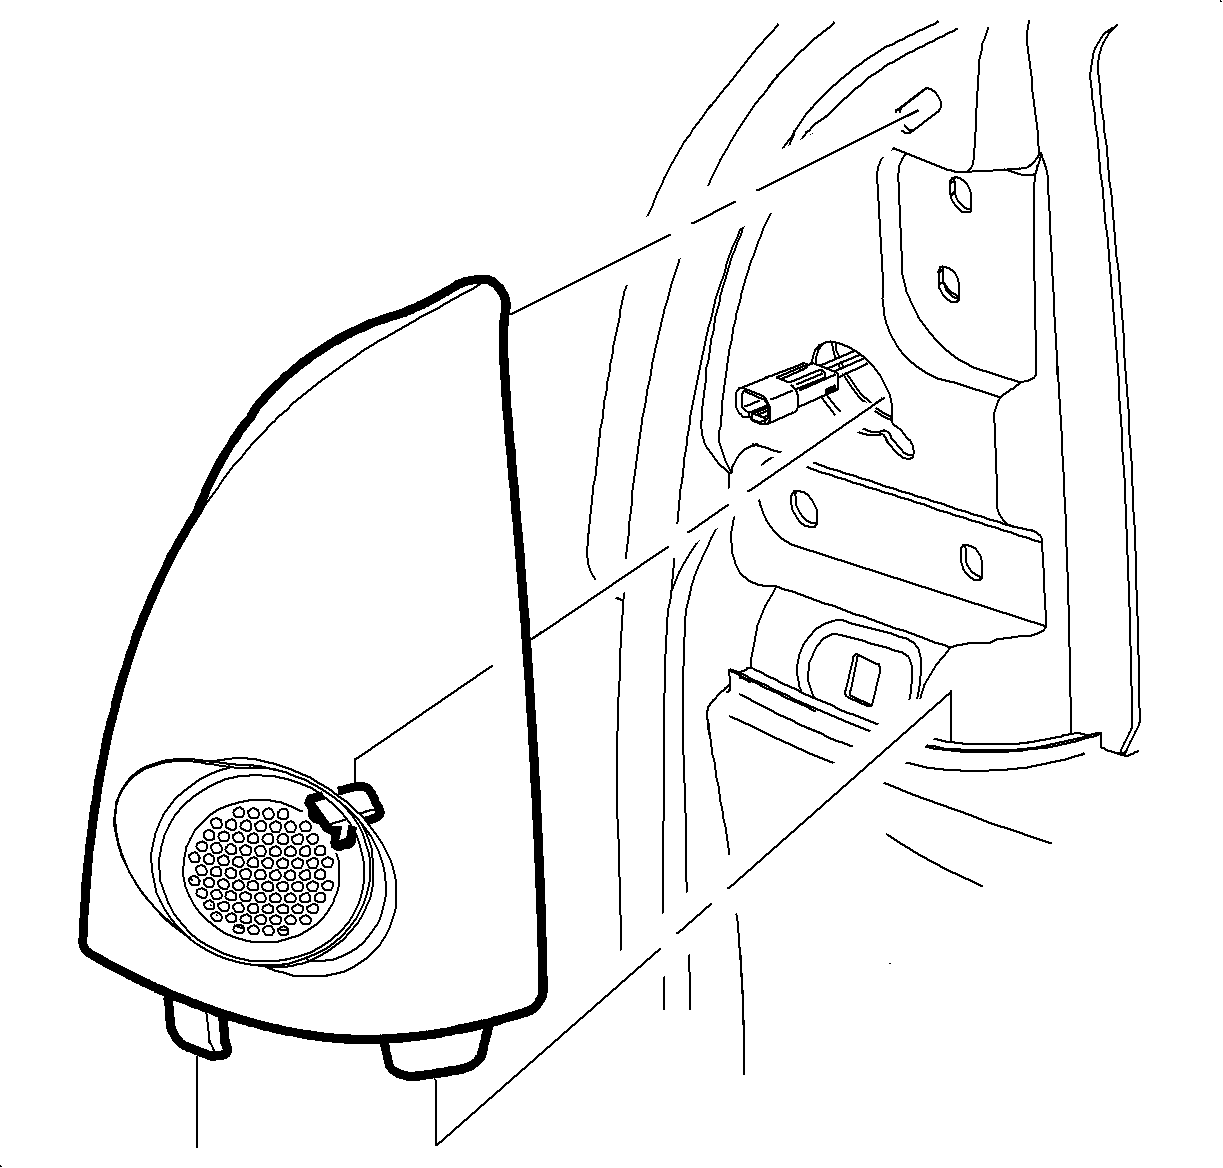
- Remove the upper extension trim panel. Refer to Upper Extension Trim Panel Replacement .
- Remove the screw located behind the trim panel.
- On vehicles without power windows, remove the window regulator handle. Refer to Door Window Regulator Handle Replacement .
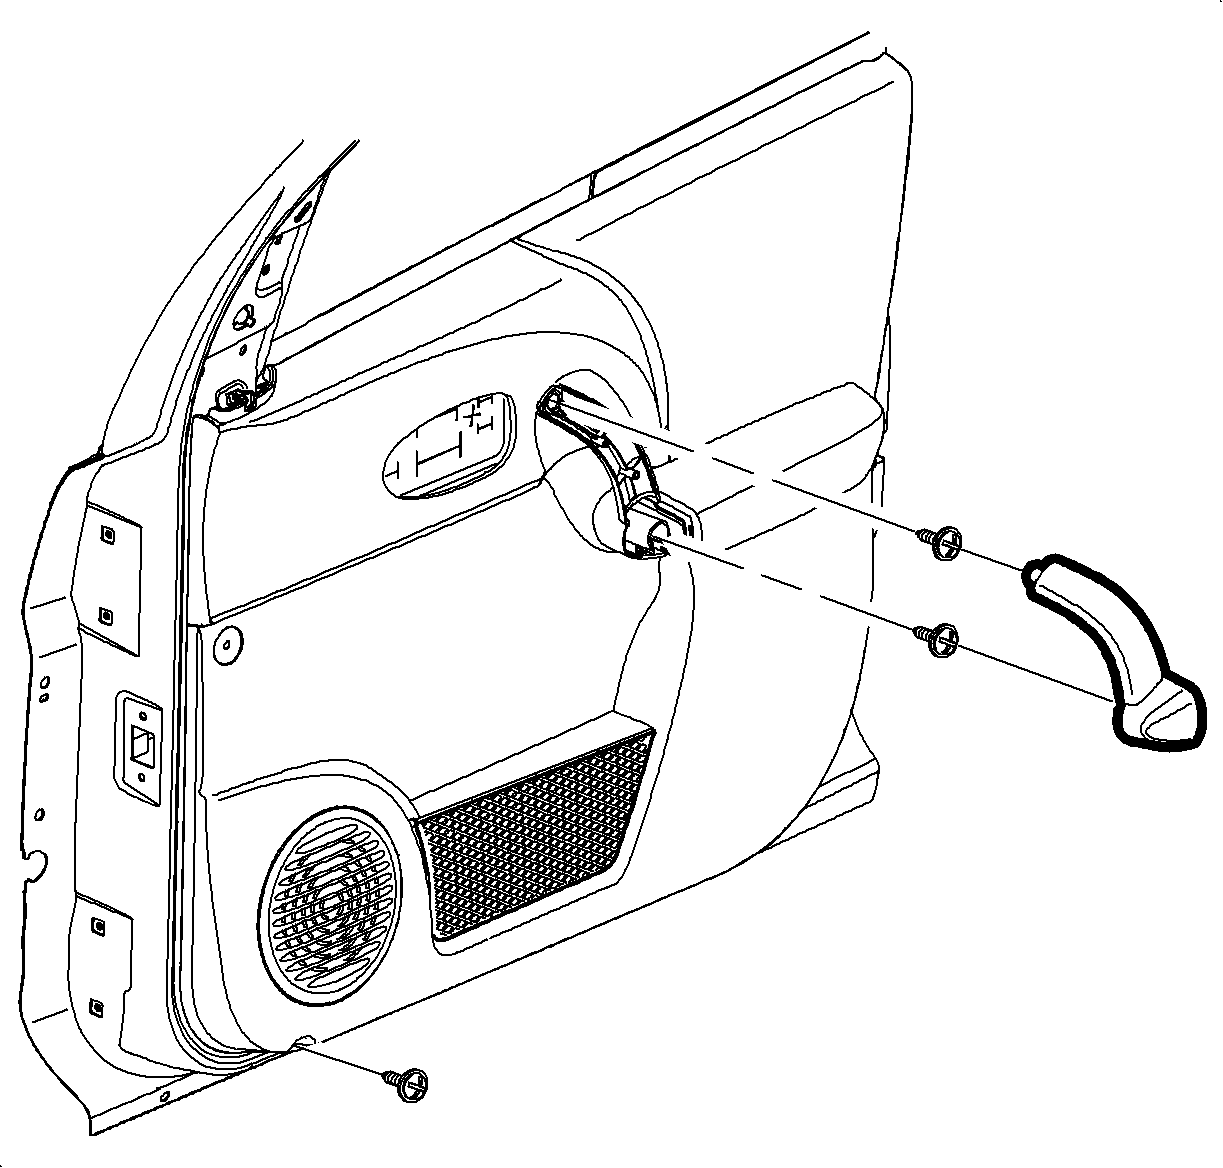
- Using a small flat-bladed tool, remove the pull handle escutcheon from the inside door by disengaging the retaining tab at the bottom of the escutcheon.
- Remove the trim panel fasteners located behind the escutcheon.
- Remove the trim panel fasteners located at the bottom of the door.
- Pull up on the door trim panel to disengage the trim panel hooks from the sheet metal.


Installation Procedure
- Position the door trim panel over the top of the door hooks.
- Push downward to engage the hooks to the structure.
- Install the fasteners located at the bottom of the door trim panel.
- Install the fasteners located behind the door trim pull handle.
- Snap the inside escutcheon into place.
- On vehicles without power windows, install the window regulator handle. Refer to Door Window Regulator Handle Replacement .
- Install the trim panel fastener located behind the upper extension trim panel.
- Install the upper extension trim panel. Refer to Upper Extension Trim Panel Replacement .
- Install the inside door handle. Refer to Door Inside Handle Replacement .

Notice: Refer to Fastener Notice in the Preface section.
Tighten
Tighten the fasteners to 2.5 N·m (22 lb in).
Tighten
Tighten the fasteners to 2.5 N·m (22 lb in).

Tighten
Tighten the fasteners to 2.5 N·m (22 lb in).
