For 1990-2009 cars only
Removal Procedure
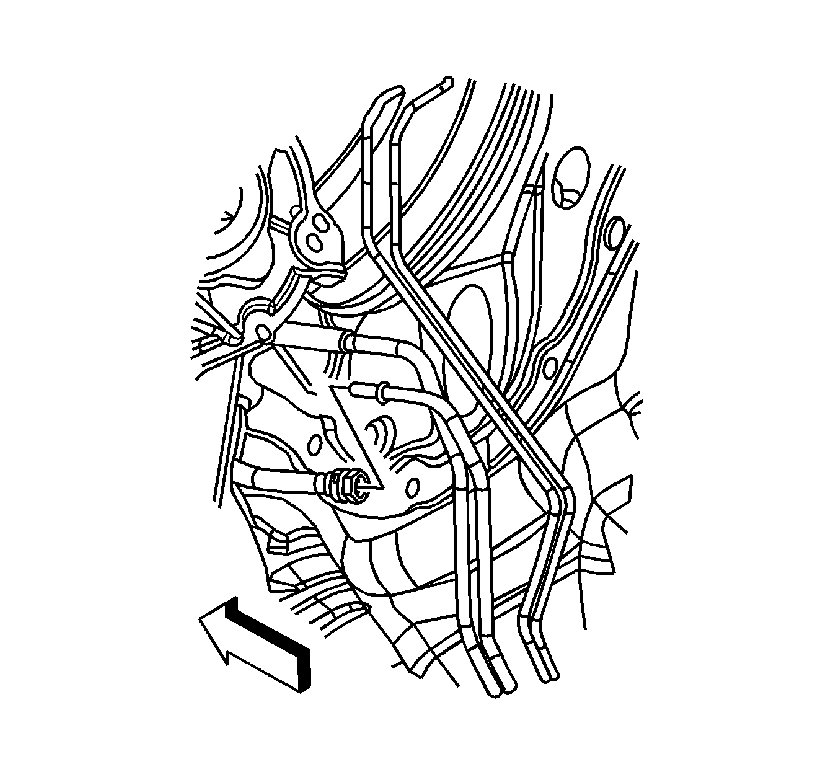
- Disconnect the EVAP purge pipe from the engine purge hose. Refer to Plastic Collar Quick Connect Fitting Service .
- Cap or plug the purge pipe and the engine purge hose to prevent contamination.
- Raise and support the vehicle. Refer to Lifting and Jacking the Vehicle .
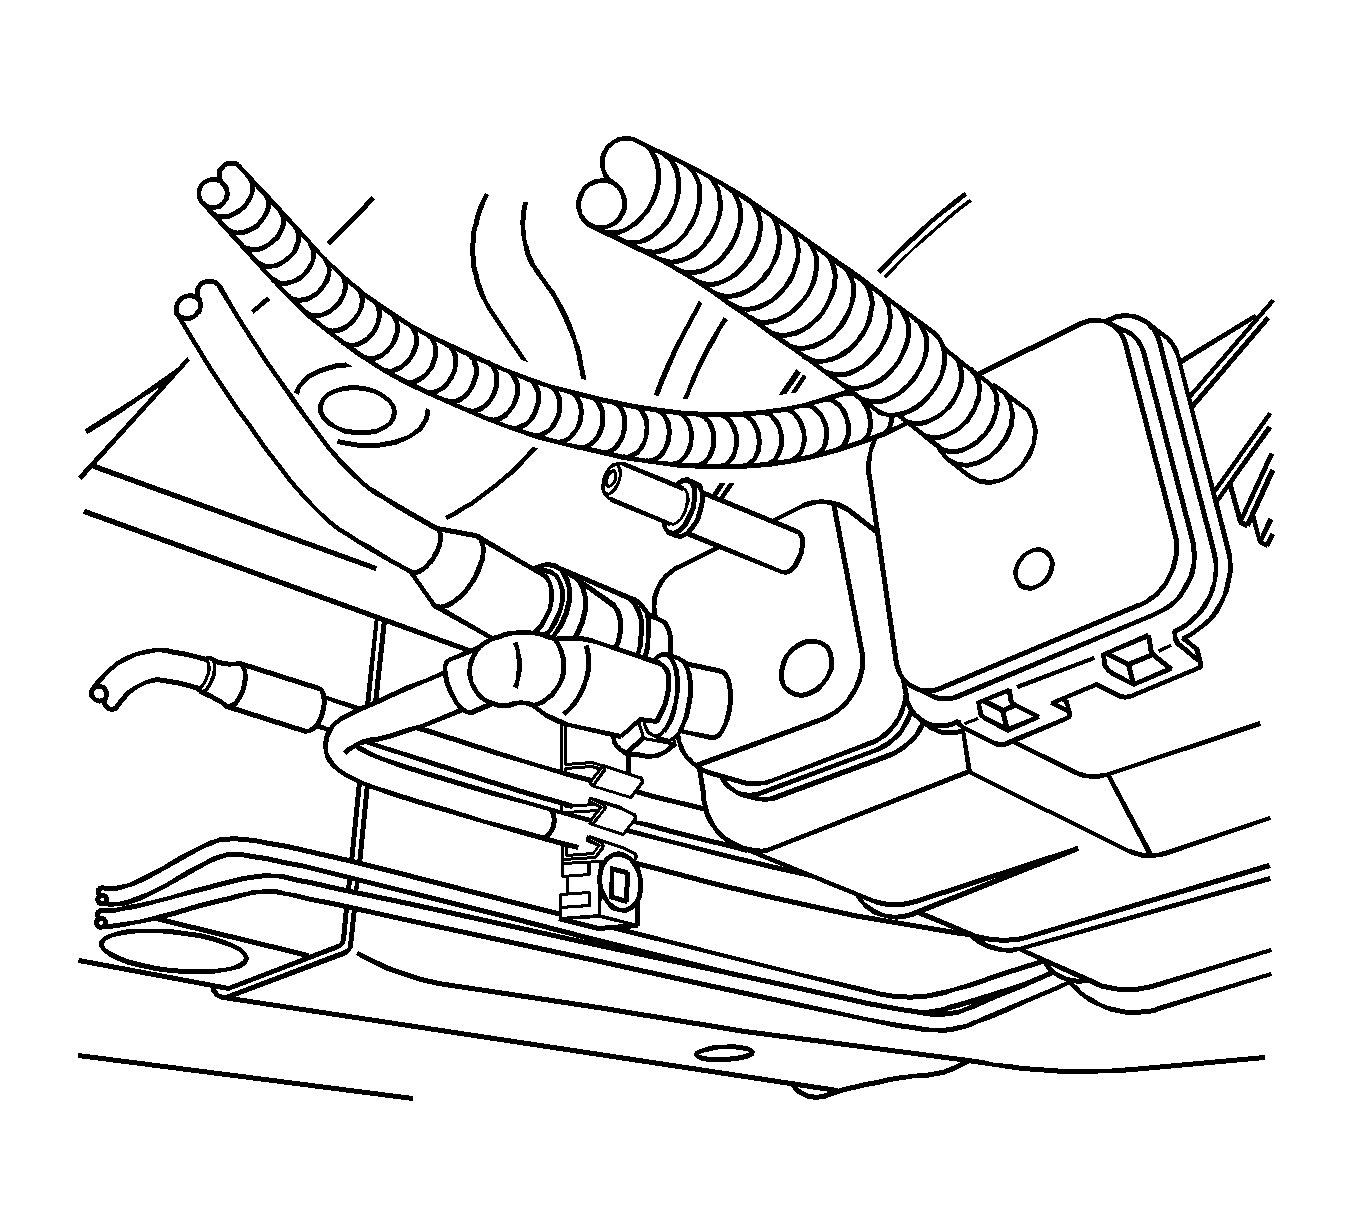
- Disconnect the EVAP pipe from the EVAP canister.
- Remove the rear brake pipe bracket retaining nuts and release the brackets from the body studs.
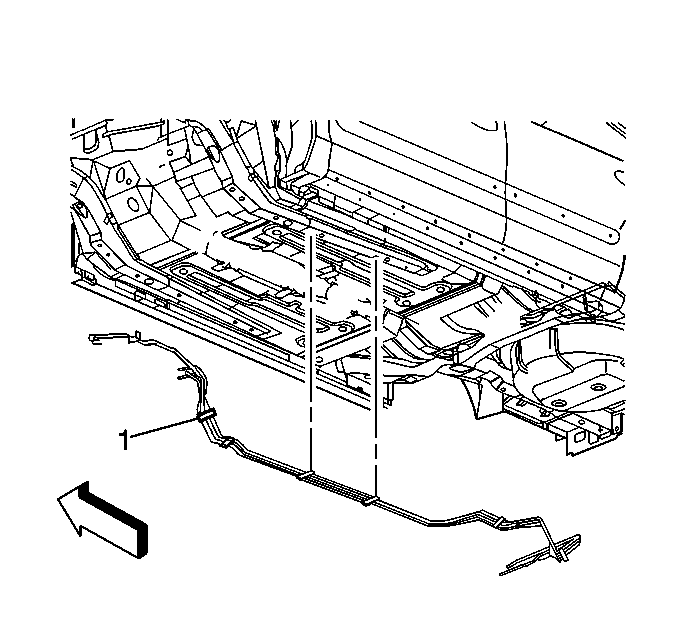
- Release the pipe retainers (1) from the vehicle underbody.
- Remove the purge pipe from the pipe retainers.
- Lower the rear of the pipe while moving the pipe rearward slightly, then lower the front of the pipe.
- Remove the purge pipe from the vehicle.


Installation Procedure
- Position the purge pipe to the vehicle.
- With the rear of the pipe positioned slightly rearward and down, raise the front of the pipe into position.
- Install the remainder of the pipe into position.
- Install the purge pipe to the pipe retainers.
- Secure the pipe retainers (1) to the vehicle underbody.
- Install the rear brake hose brackets to the body studs and install the rear brake hose bracket retaining nuts.
- Connect the EVAP pipe to the EVAP canister.
- Lower the vehicle.
- Remove the caps or plugs from the purge pipe and the engine purge hose.
- Connect the purge pipe to the engine purge hose. Refer to Plastic Collar Quick Connect Fitting Service .

Notice: Refer to Fastener Notice in the Preface section.

Tighten
Tighten the nuts to 10 N·m (89 lb in).

