For 1990-2009 cars only
Tools Required
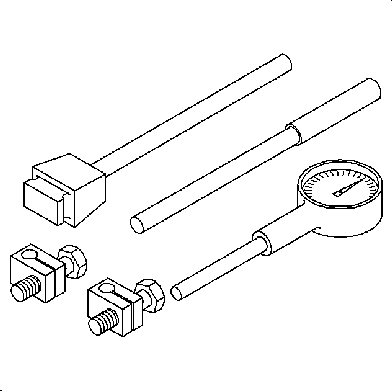
SA9179NE Dial Indicator
- Clean the clutch components, except the clutch fiber plates in solvent and air dry.
- Inspect the clutch piston check valve in the clutch pistons for looseness or damage.
- Inspect the O-ring seal groove in the clutch pistons for nicks, scratches, or burrs.
- Inspect for excessively worn or bent piston retainer caps.
- Inspect the clutch piston return springs for the correct free length. Refer to Transmission Clearance Specifications , Clutch Return Spring Free Length.
- Inspect the 4th and 5th/reverse clutch hub for worn grooves in the clutch plate notches that will prevent the clutch plates from sliding.
- Inspect the clutch steel plates for heat damage, excessive wear, or warping.
- Inspect the clutch fiber plates for heat damage, wear, and discoloration.
- Inspect the clutch backing plate for heat damage and excessive wear.
- Replace all faulty clutch components. Replace the clutch plates as a set.

Clutch Wave Plate Phase Difference Inspection
- Place the clutch wave plate on a surface plate, and set SA9179NE on the wave plate.
- Find the bottom (D) of a phase difference of the wave plate, zero the SA9179NE and make a reference mark on the bottom of the wave plate.
- Rotate the clutch wave plate of the clutch about 60-degrees apart from the bottom while holding the wave plate by the circumference. The SA9179NE should be at the top (E) of a phase difference. Do not rotate the wave plate while holding the surface, always rotate the plate by holding the circumference.
- Read the SA9179NE . The SA9179NE reads the phase difference (C) of the wave plate between the bottom and top.
- Rotate the wave plate of the clutch about 60-degrees. The SA9179NE should be at the bottom of a phase difference (F and H), and zero the SA9179NE .
- Measure the phase difference at the other 2 tops (G and I) of the wave plate by following steps 3 through 5.
- If the 2 values of the 3 measurements are within the standard, the wave plate is OK. If the 2 values of the 3 measurements are out of the standard, replace the wave plate.
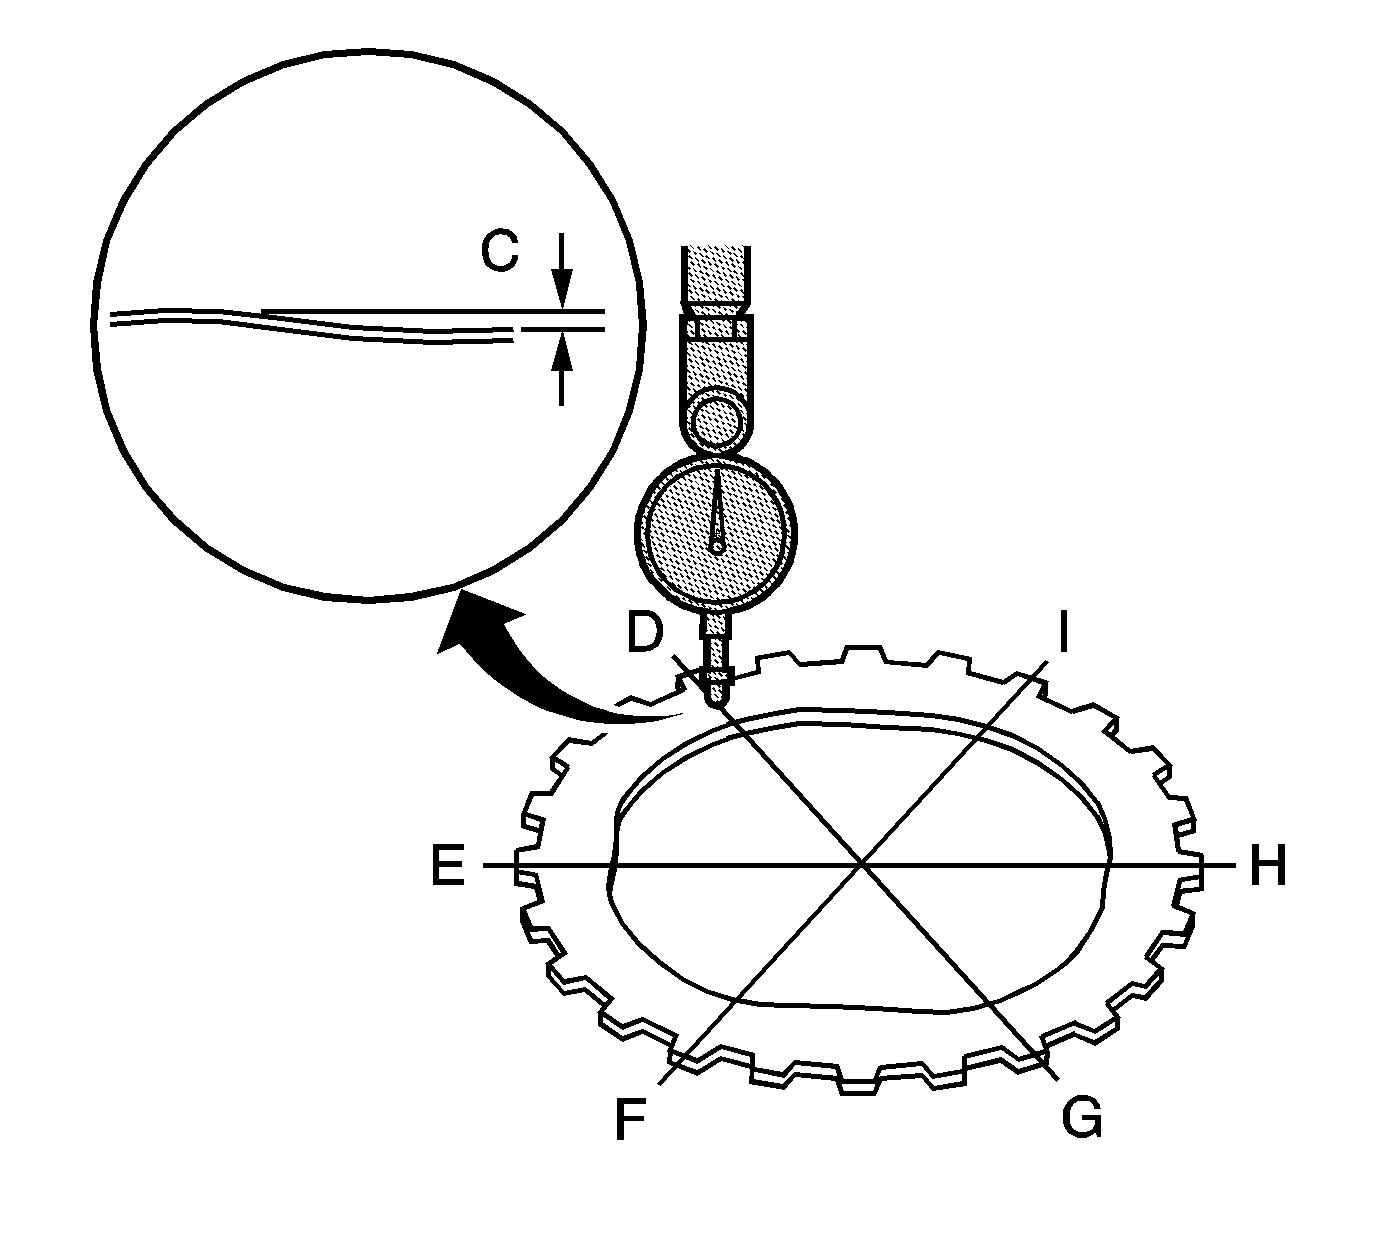
Specification
Standard: 0.05 mm (0.002 in) minimum
