Tools Required
| • | J 44871 Hub Seal Installer |
| • | J 44875 Right Bearing Race Installer |
Removal Procedure
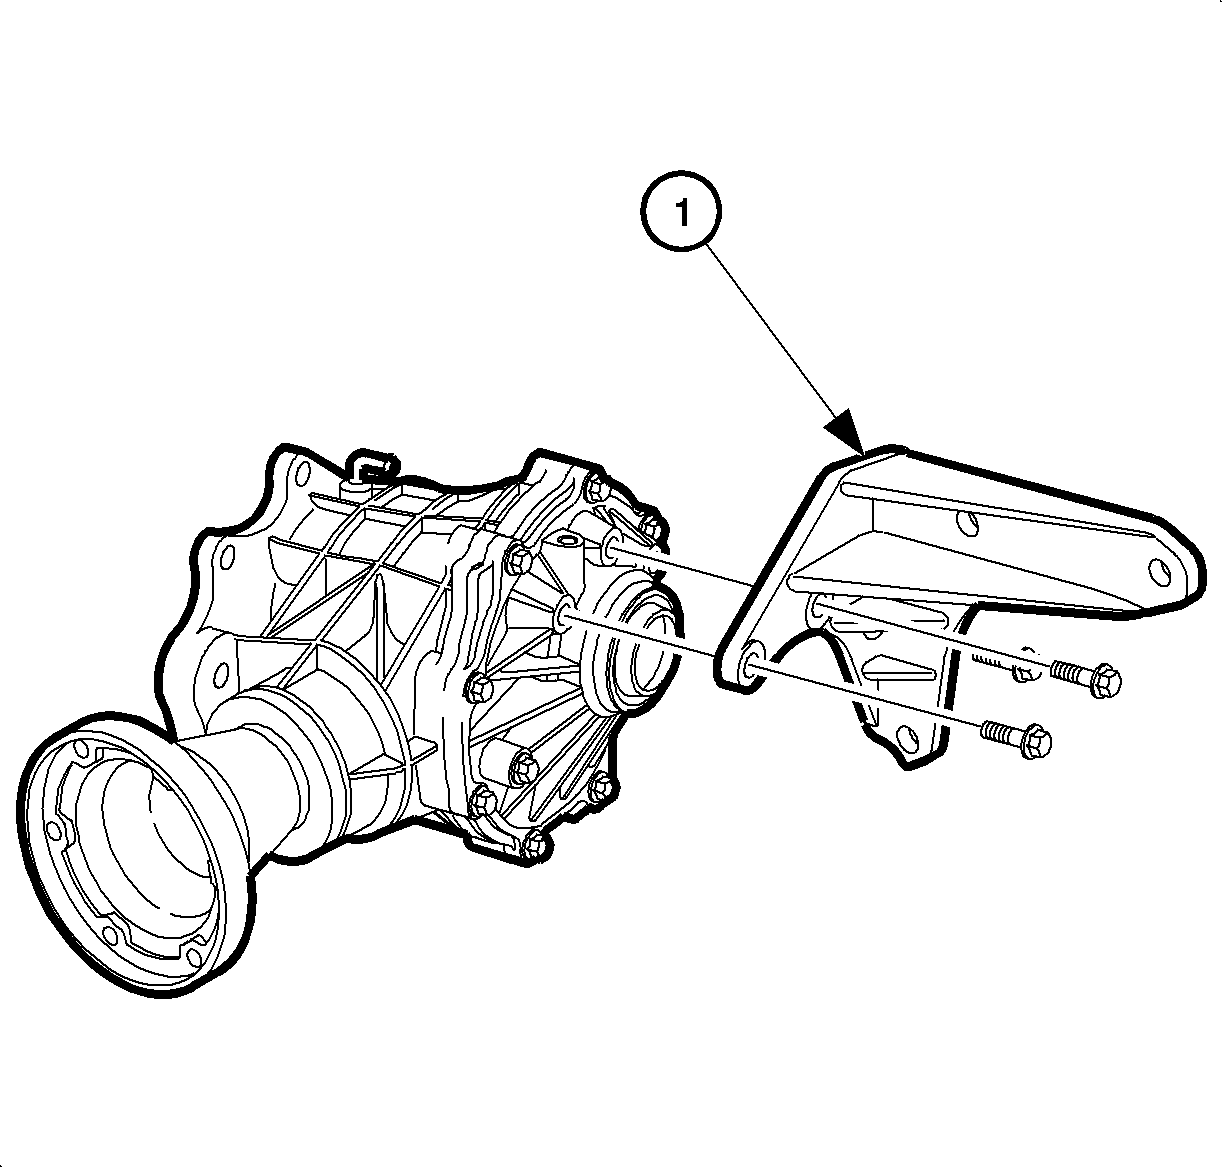
- Remove the 3 bolts from the bracket (1).
- Remove the bracket (1).
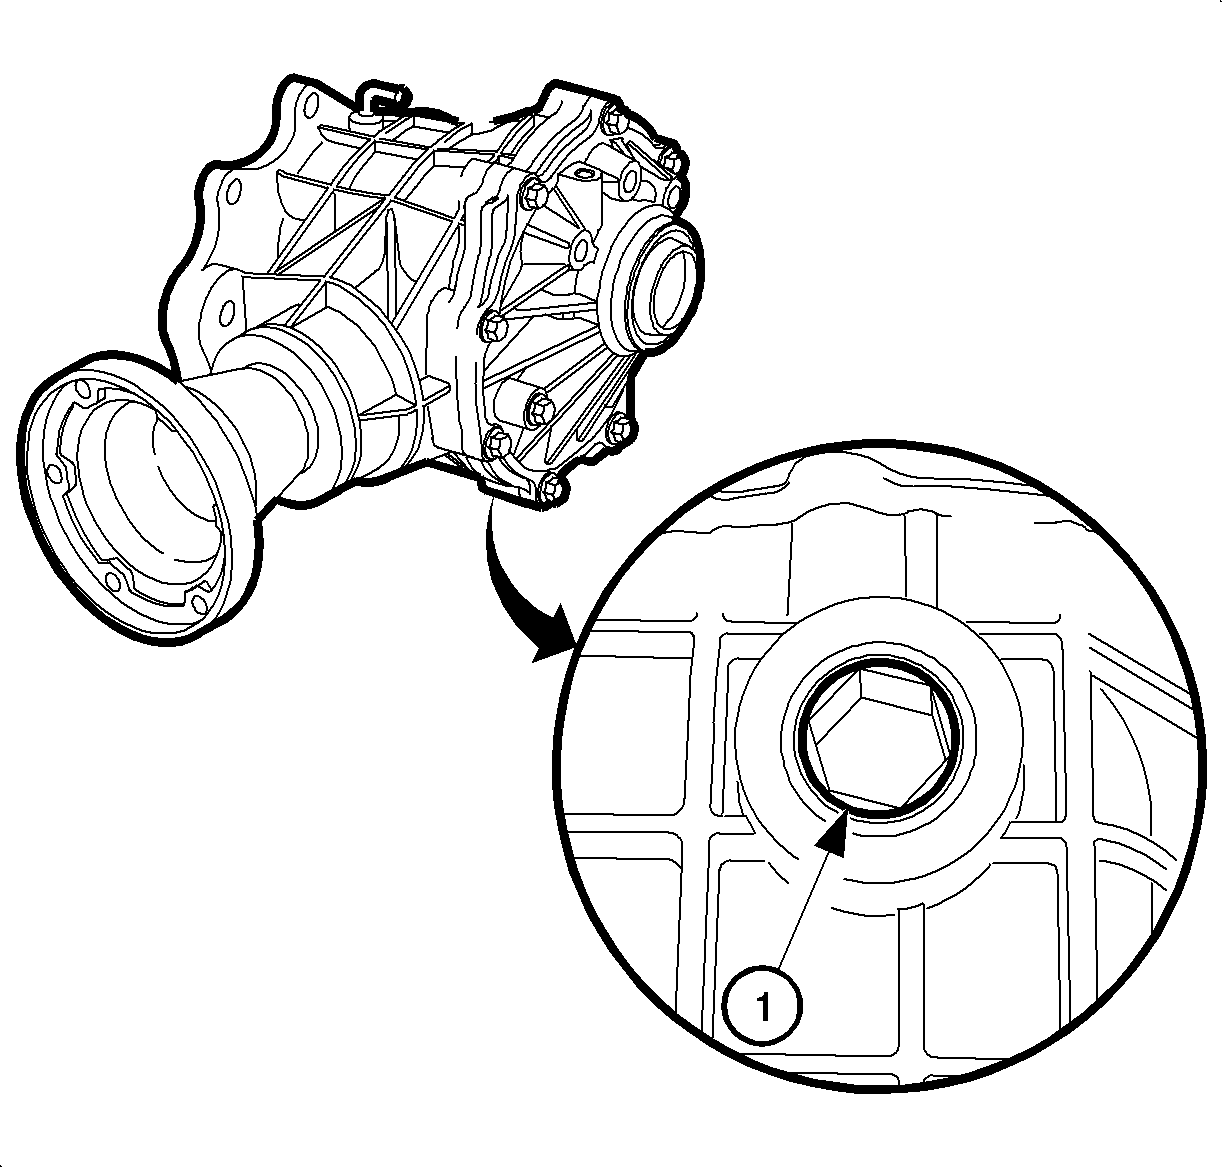
- Remove the drain plug (1).
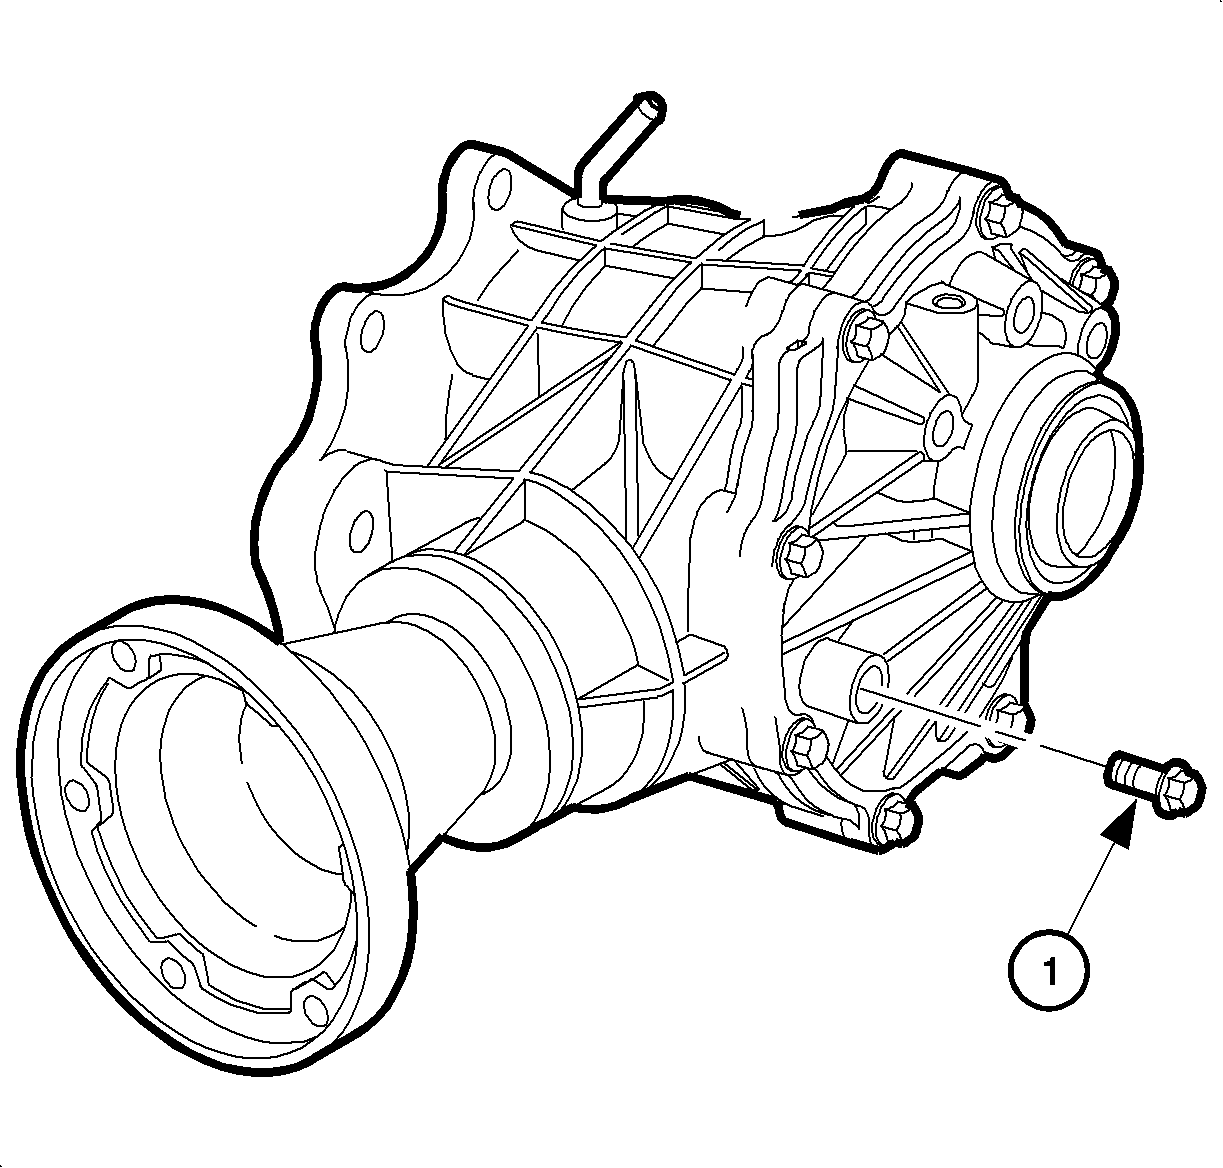
- Remove the fill plug (1) and drain the fluid.
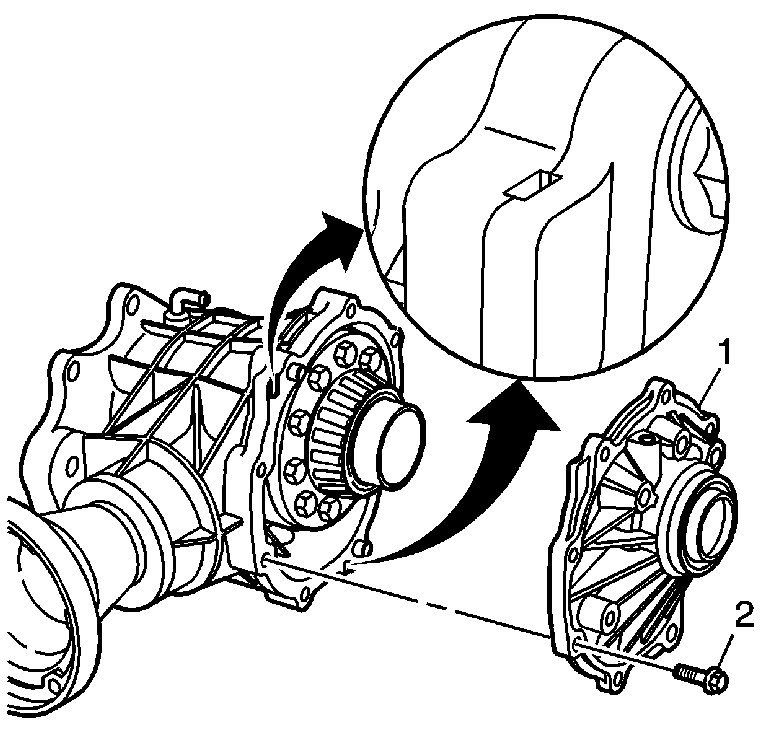
- Remove all bolts (2) from the side cover (1).
- Use the pry point relief slots to remove the cover.
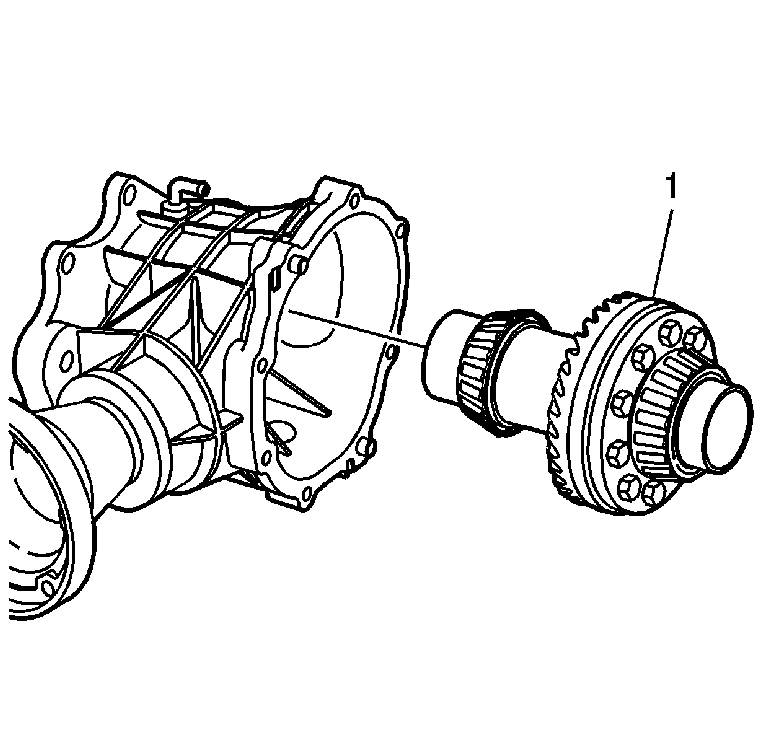
- Remove the carrier assembly (1) from the housing.
- Remove the bearing cup (1), shims (2) and seal (3) from the cover (4). Mark or tag the cup (1) and shims (2) for proper assembly.
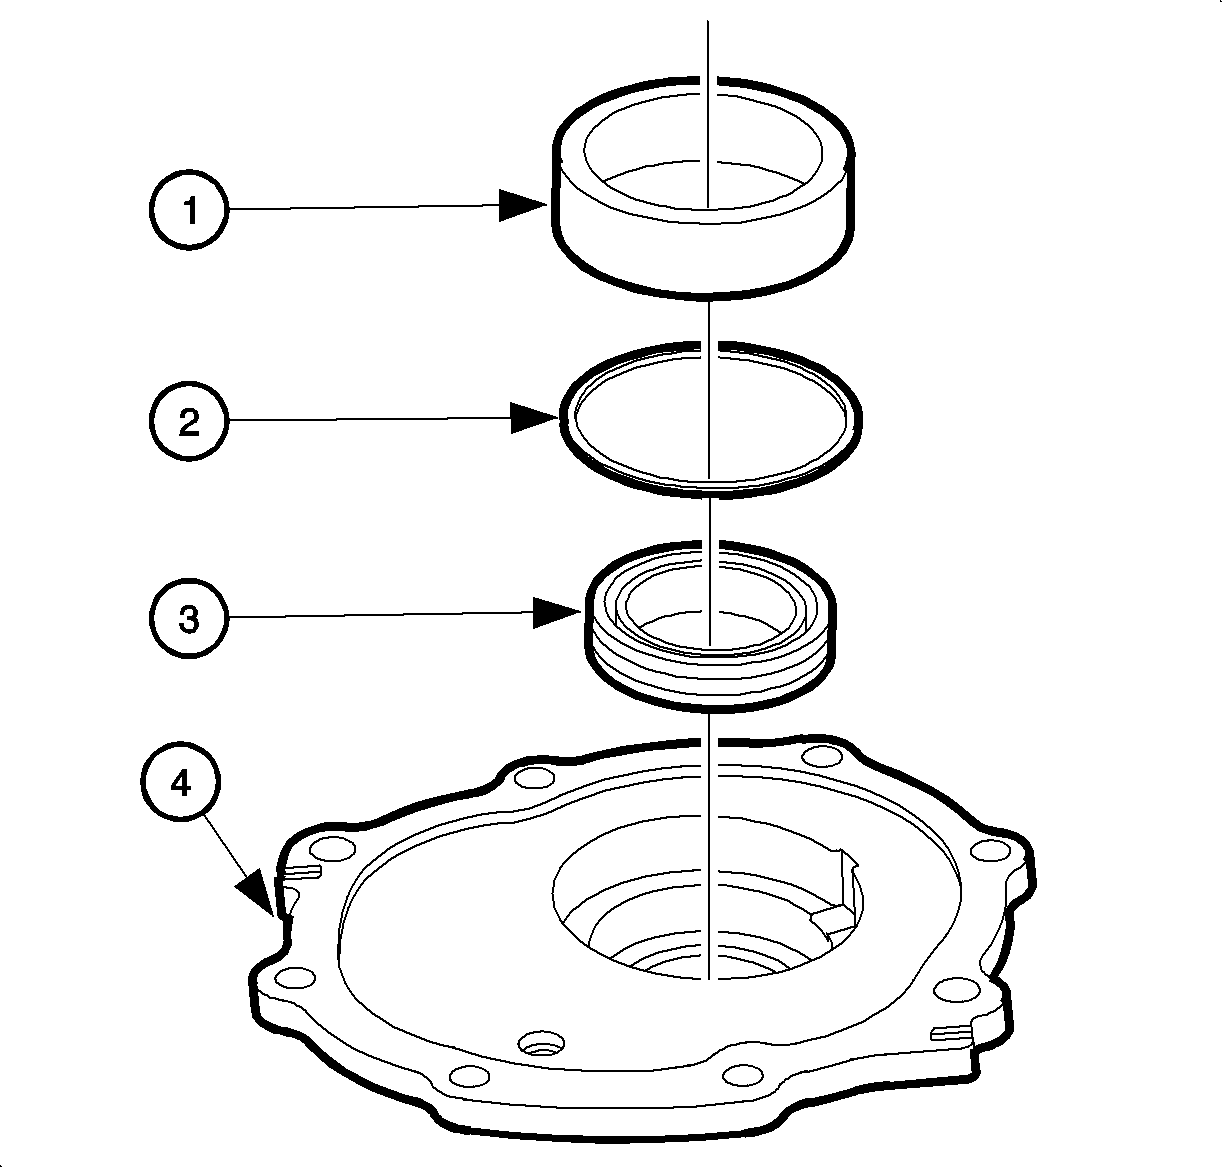
Notice: The bearing cup shims must be removed before the seal can be removed. Installing the seal through the bearing cup will damage the new seal. It may be necessary to heat the housing in order to remove the cup.
Installation Procedure
- Using the J 44871 and a driver handle, install the inner oil seal into the cover.
- Install the shim (2) and the bearing cup (3) into the side cover (1).
- Using the J 44875 and a driver handle, install the cup and the shim.
- Drive the seal (1) out from the inside of the carrier assembly housing.
- Using the J 44871 and a driver handle, install the oil seal to the housing.
- Clean the carrier assembly housing sealing surface (1) with solvent and scrape it clean with a razor blade.
- Clean the cover sealing surface (1) with solvent and scrape it clean with a razor blade.
- Install the carrier assembly (1) to the housing.
- Apply 2-3 mm (0.8-0.12 in) of sealer Saturn P/N 1052943 or equivalent to the housing (1).
- Install the side cover (1) and bolts (2, 3) to the housing.
- Apply sealant Saturn P/N 21485278 to the drain plug threads.
- Install the drain plug.
- After the transfer case is installed in the vehicle, fill the transfer case with fluid to the bottom of the fill plug hole, or 540 ml (18.2 oz).
- Apply sealant Saturn P/N 21005994 to the fill plug threads.
- Install the fill plug.
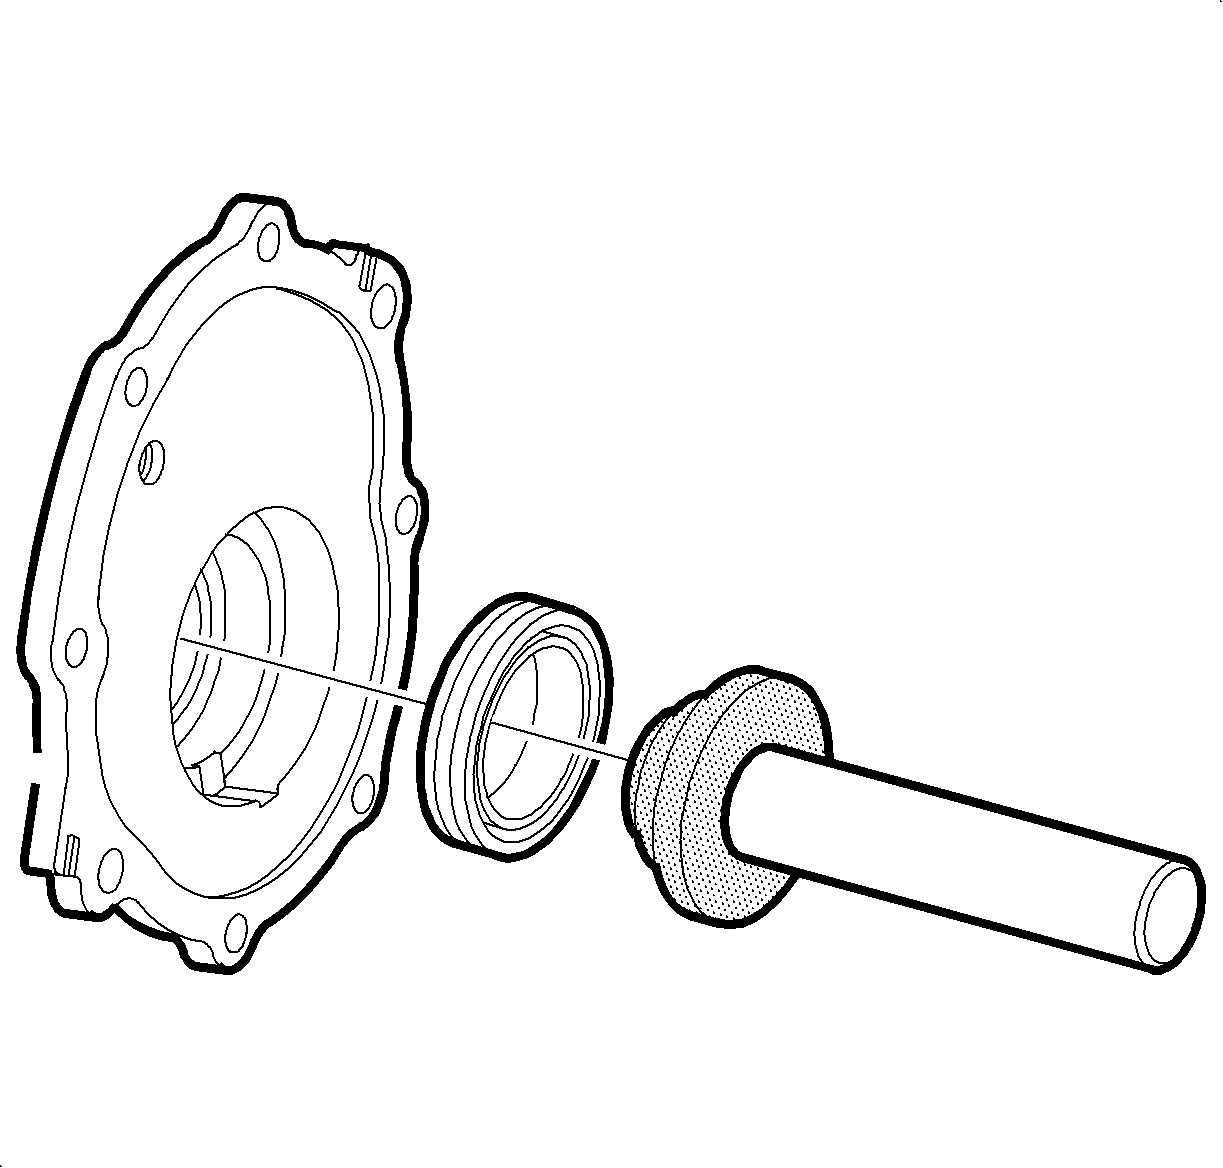
Notice: The bearing cup must be removed in order to install the seal. If the bearing cup is not removed first, seal damage may occur.
Important: Clean the seal bores before installing the new seals. Inspect the bores for nicks caused by seal removal.
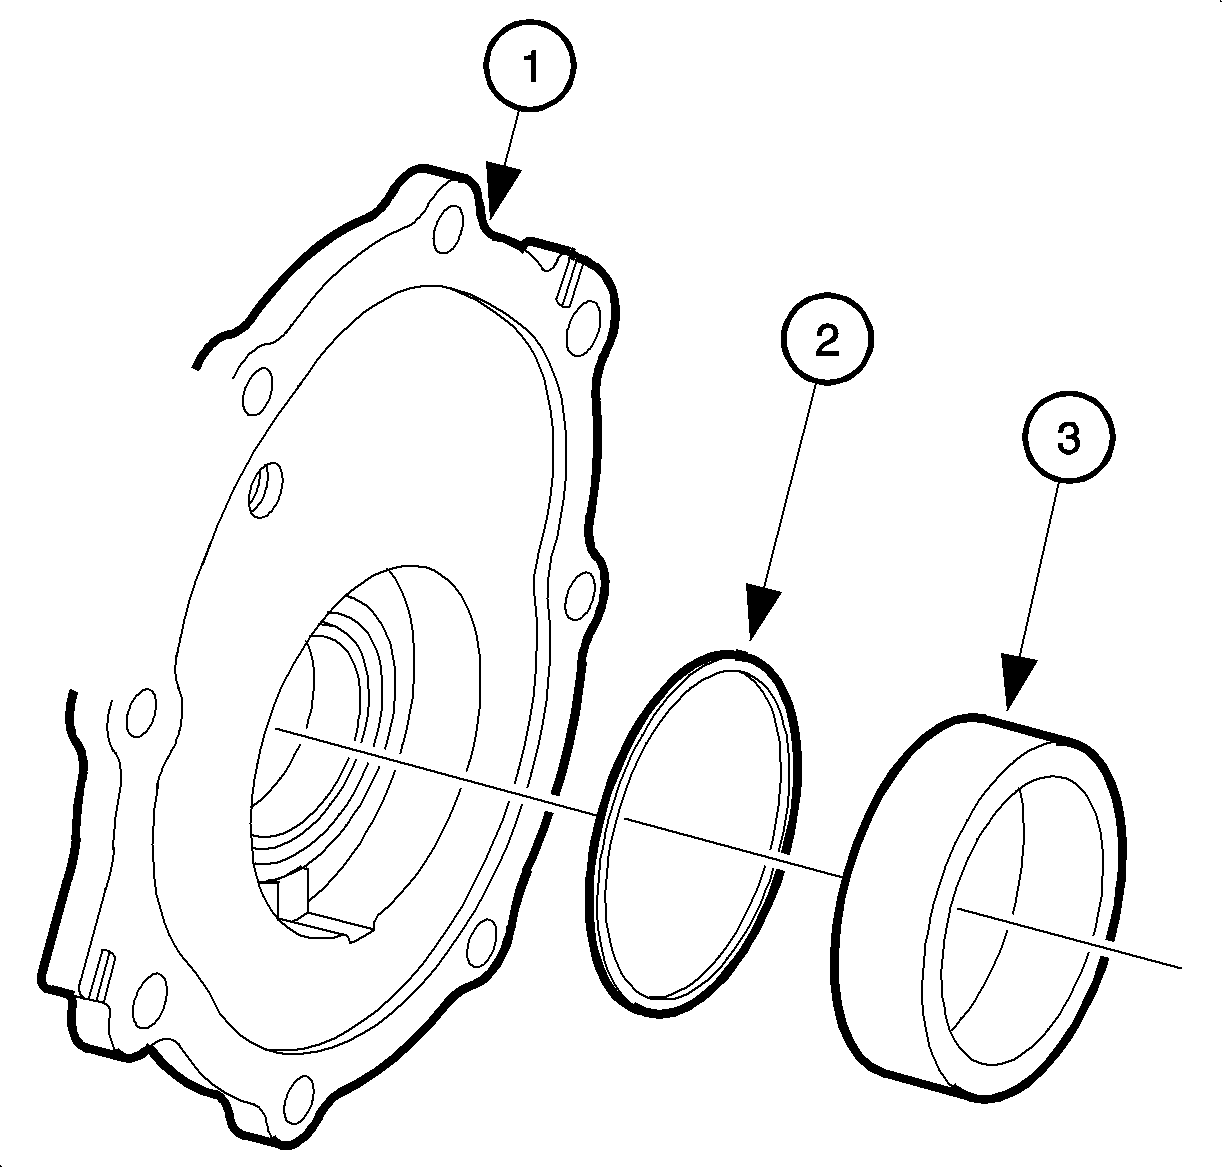
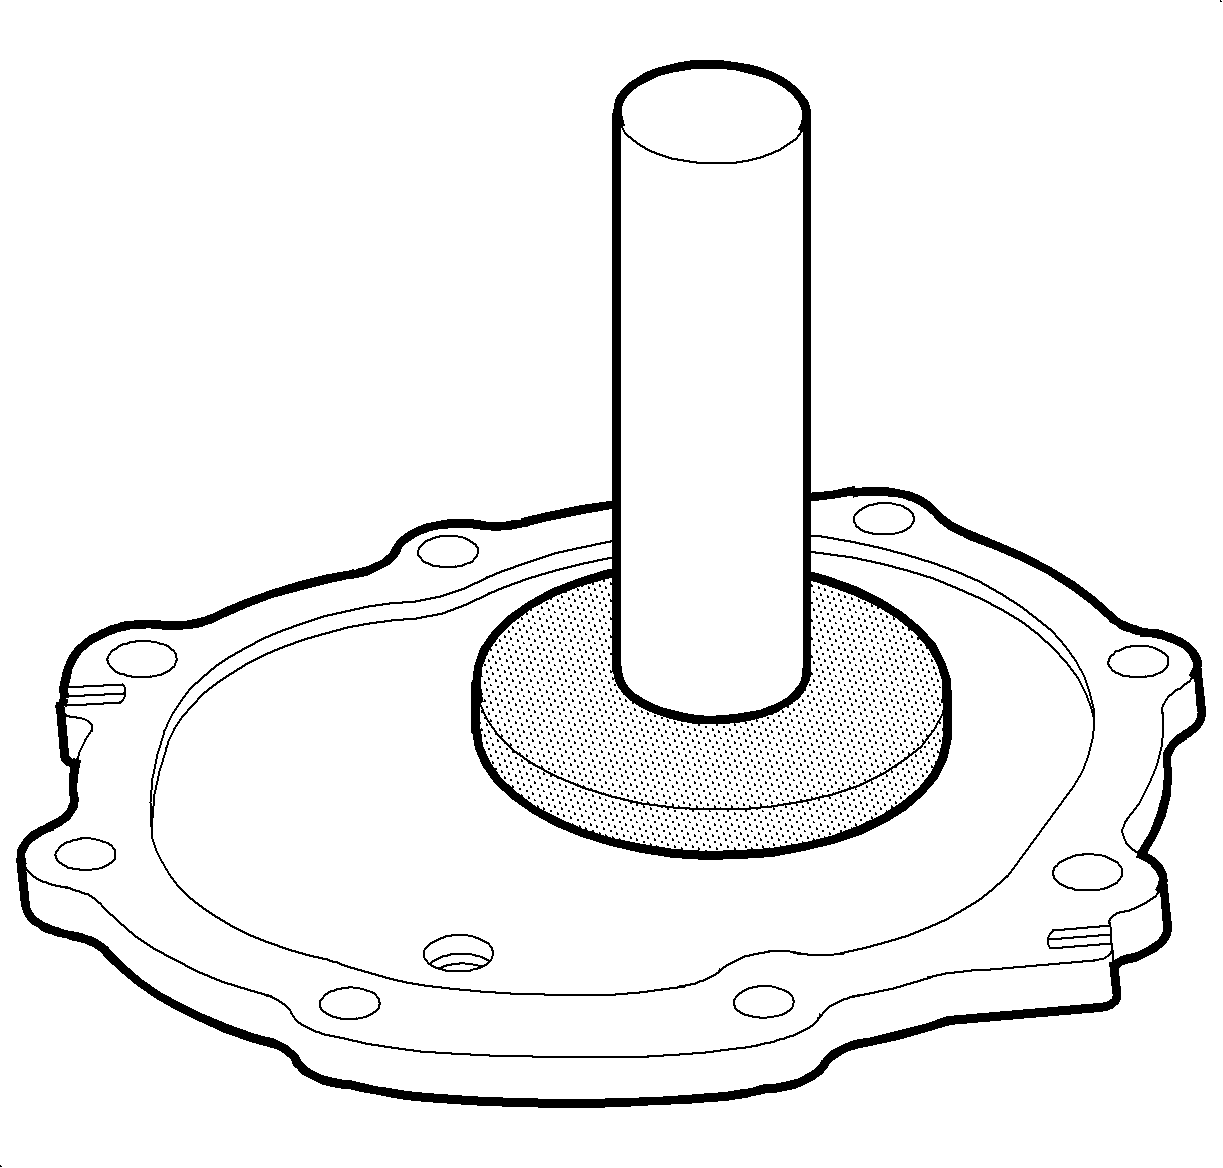
Notice: Do not heat the cover to install the cup. Heating the cover will damage the seal.
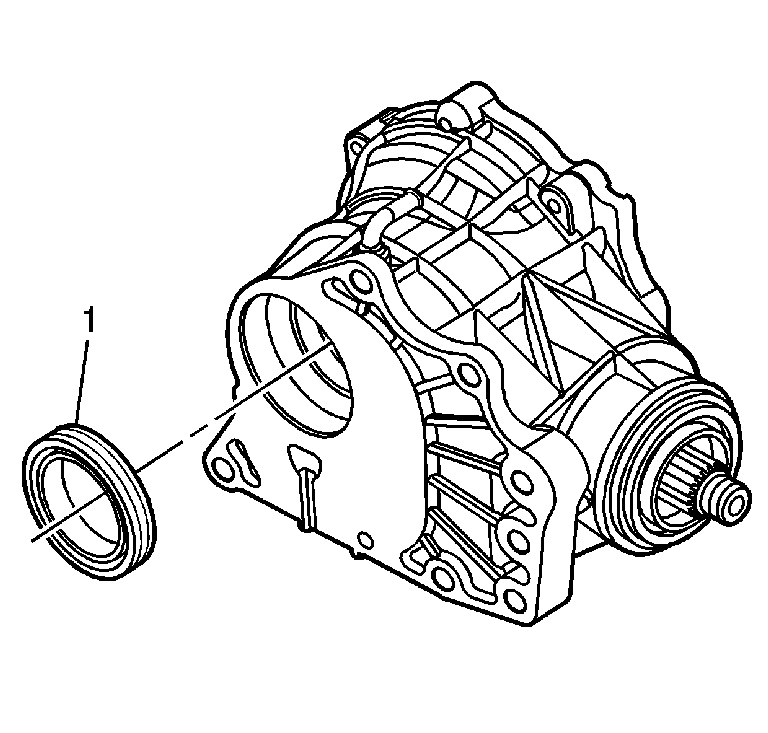
Important: It is not necessary to remove the bearing cup or shims in order to remove the seal from the carrier assembly housing.
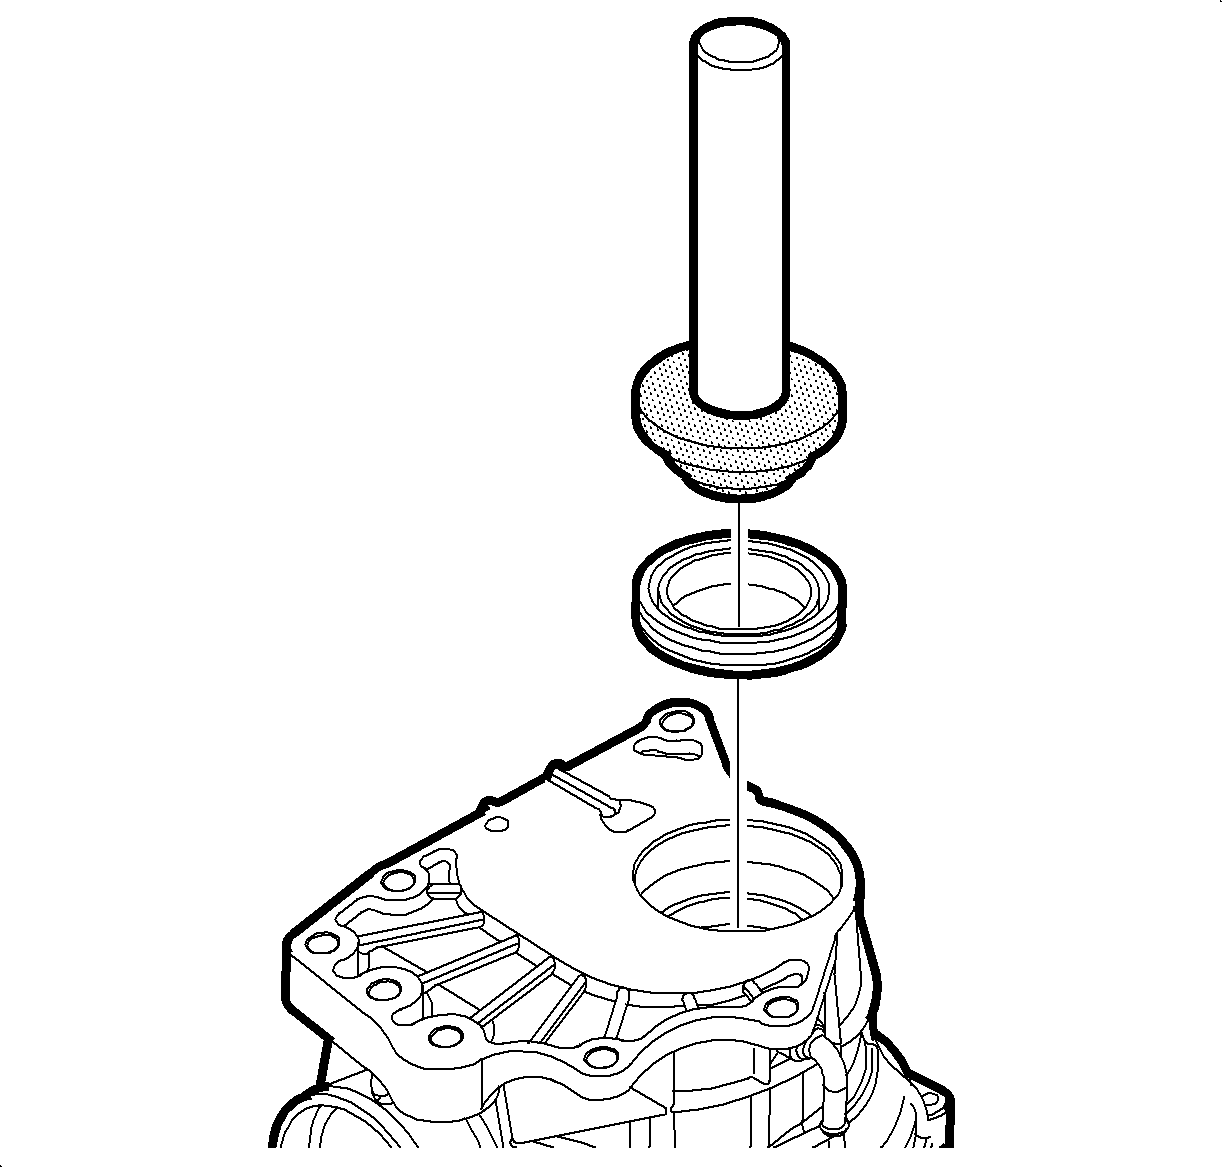
Notice: Do not install the seal from inside of the housing. The outside diameter of the bearing cup may cause seal damage.
Important: Clean the seal bores before installing new seals. Inspect the bores for nicks caused by seal removal.
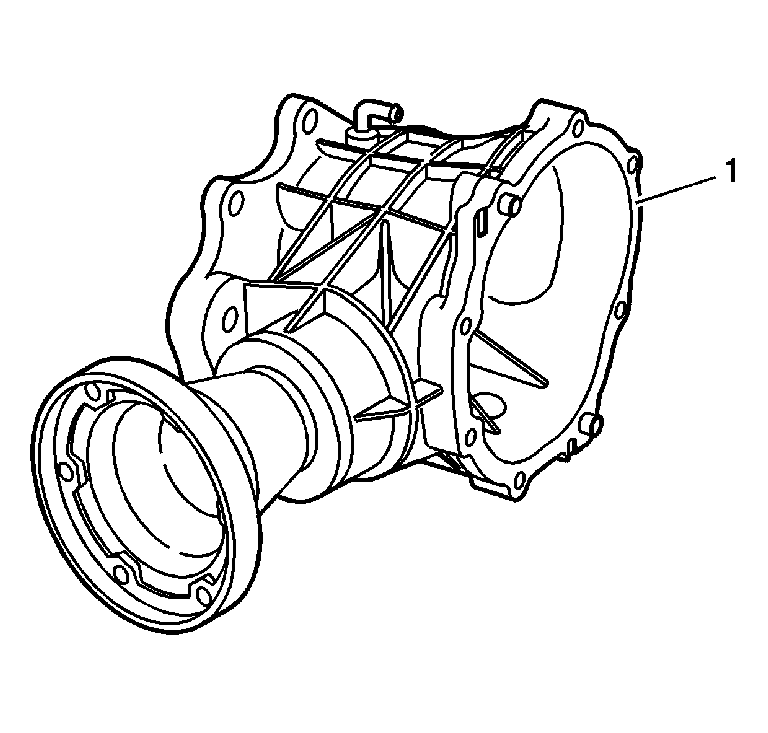
Important: Do not use motor-powered tools to clean surfaces.
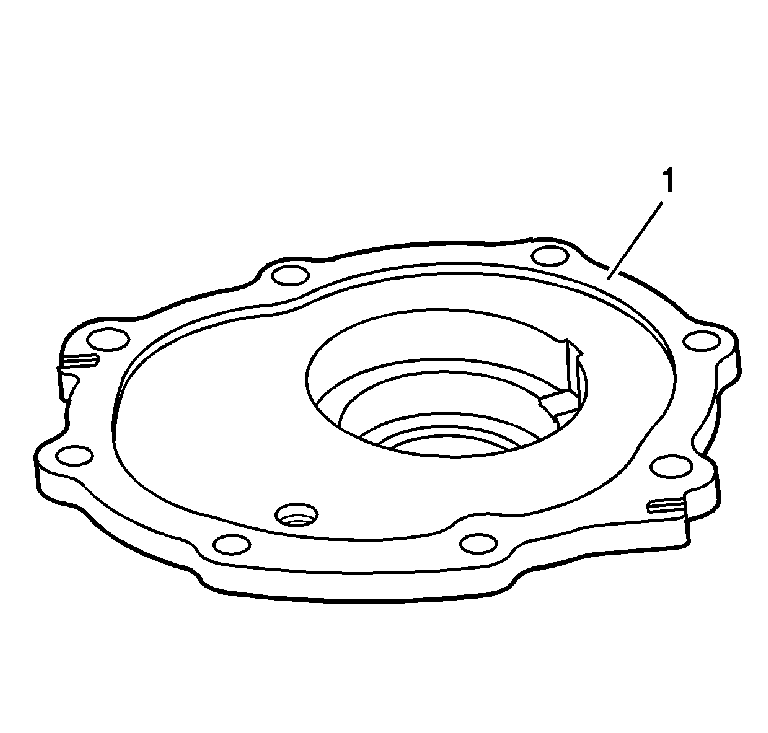

Important: Grease the seal lips in order to protect the seal and to ease in assembly.
Notice: Refer to Excessive Amounts of Sealant Notice in the Preface section.
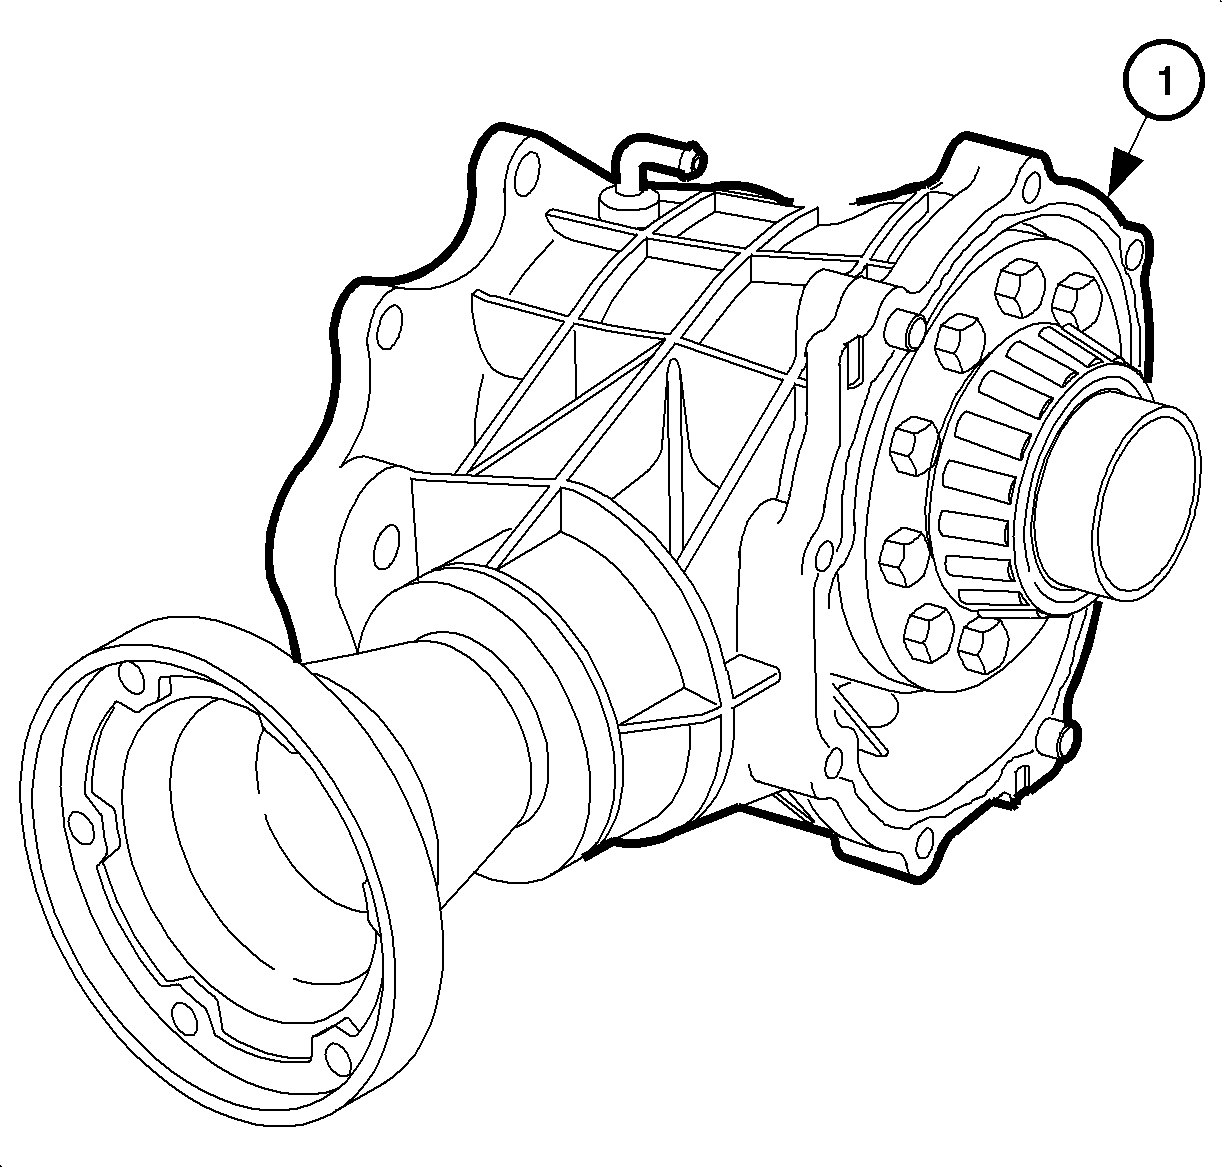
Notice: Refer to Fastener Notice in the Preface section.
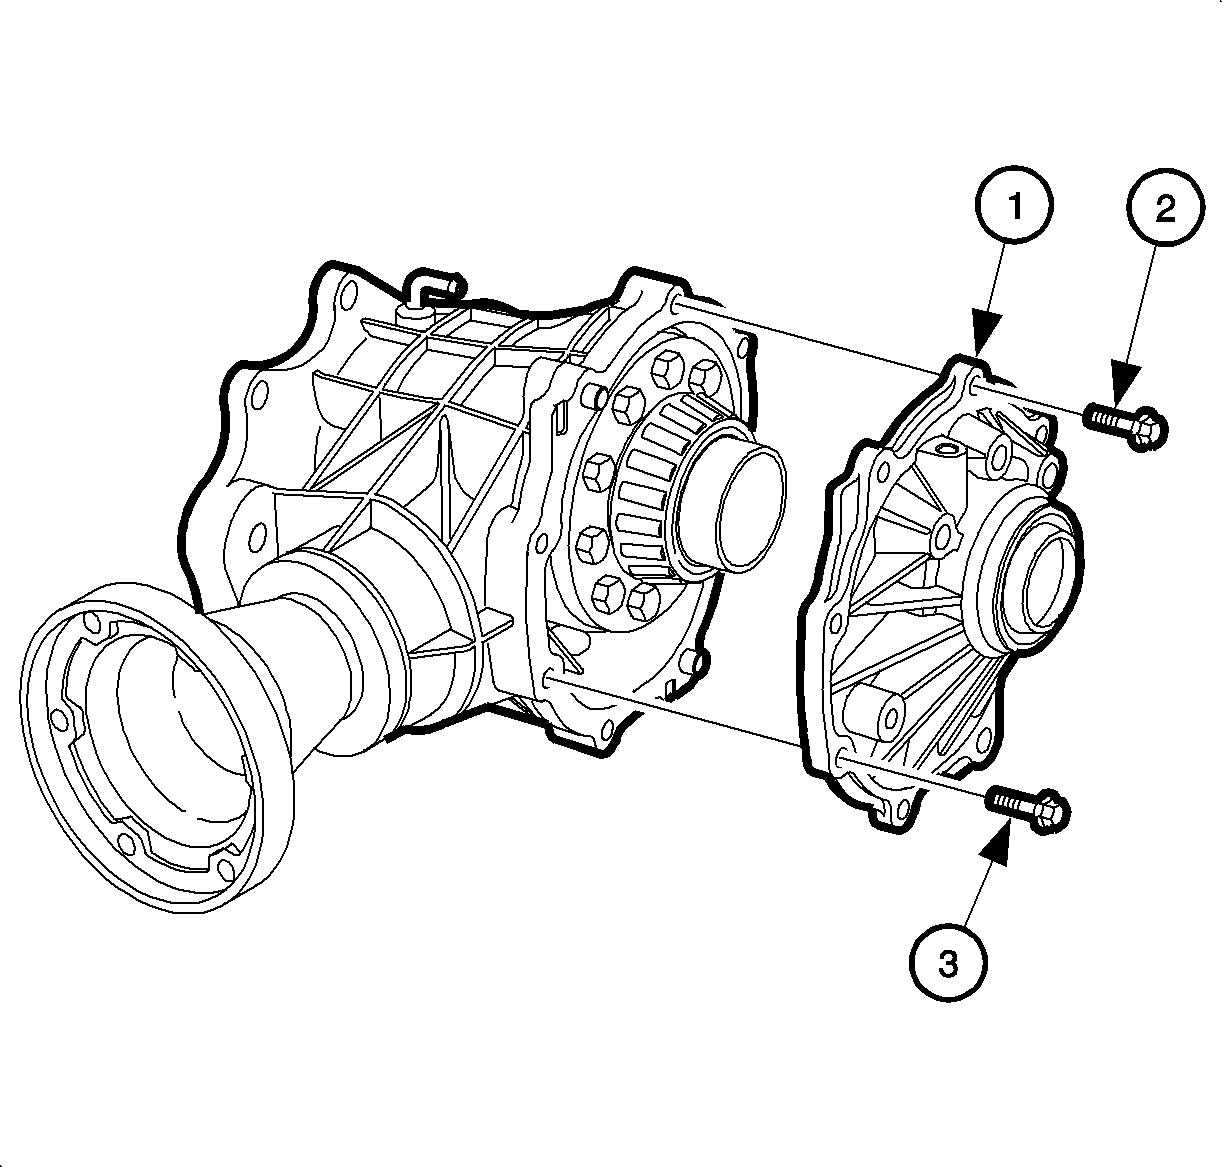
Important:
• Grease the seal lips in order to protect the seal and to ease in assembly. • Apply sealant Saturn P/N 12345382 to the bolt threads.
Tighten
Tighten the side cover bolts to 37 N·m (27 lb ft).
Tighten
Tighten the drain plug 24 N·m (18 lb ft).
Tighten
Tighten the fill plug 15 N·m (11 lb ft).
