For 1990-2009 cars only
Tools Required
J 41545 Park Neutral Position Switch Tool
Removal Procedure
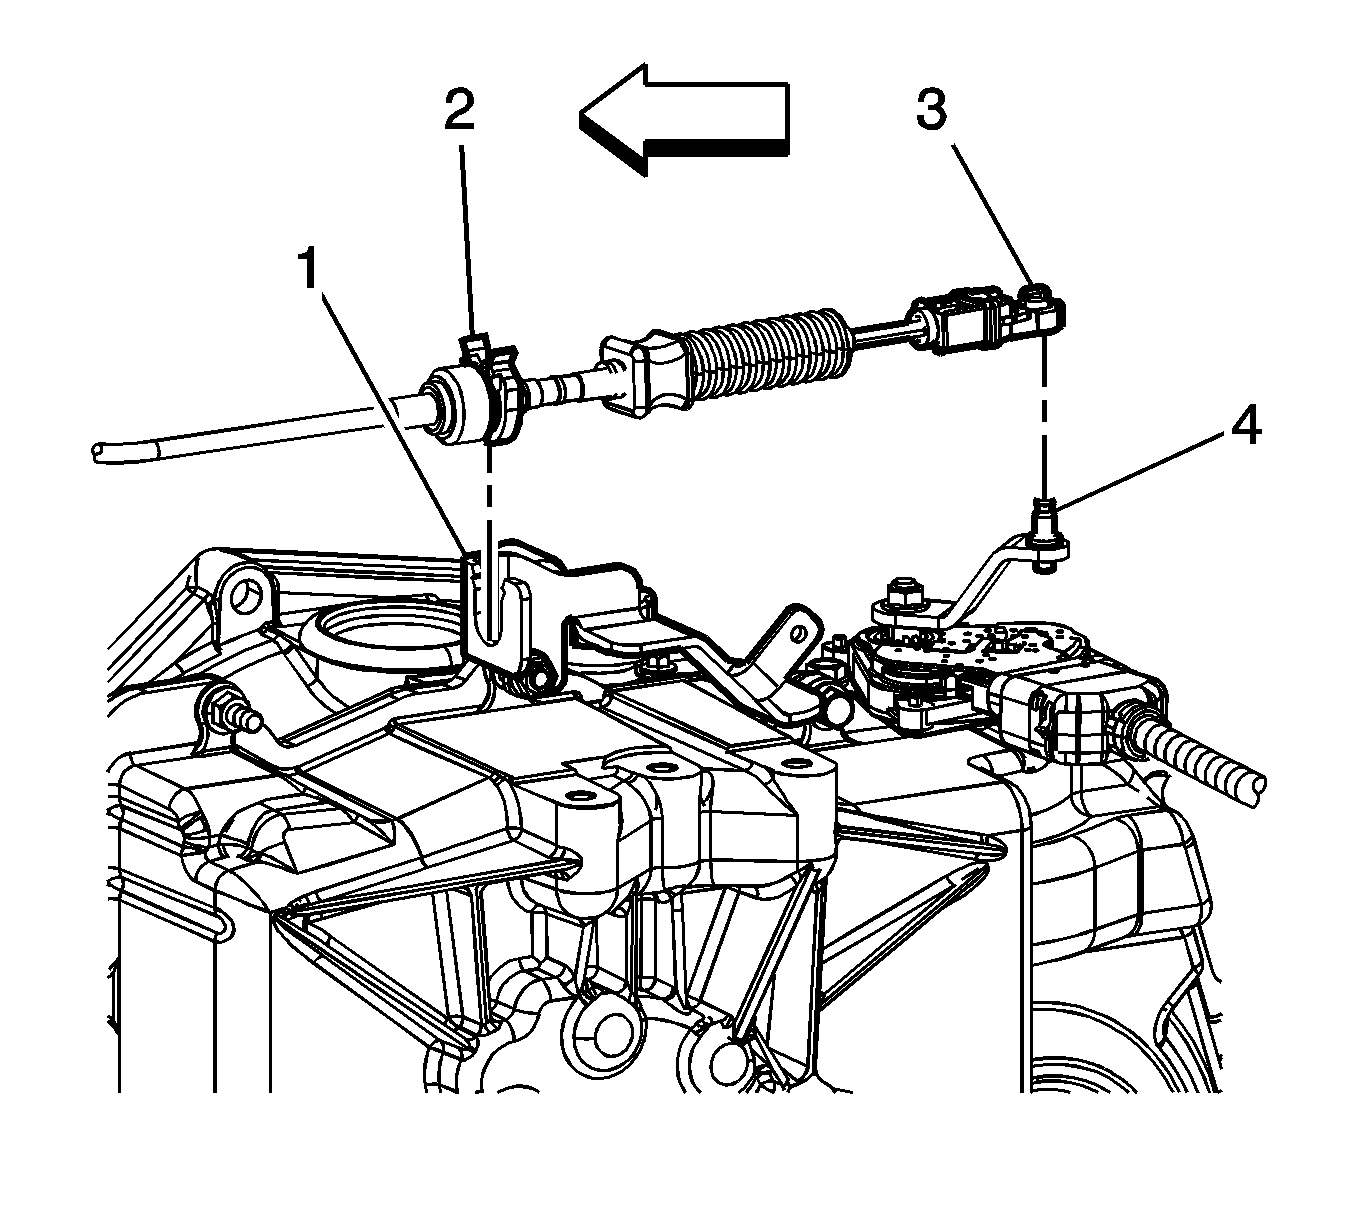
- Disconnect the shift control cable (3) from the range select lever (4).
- Release the shift control cable retaining clip (2) and remove the cable from the shift control cable bracket (1).
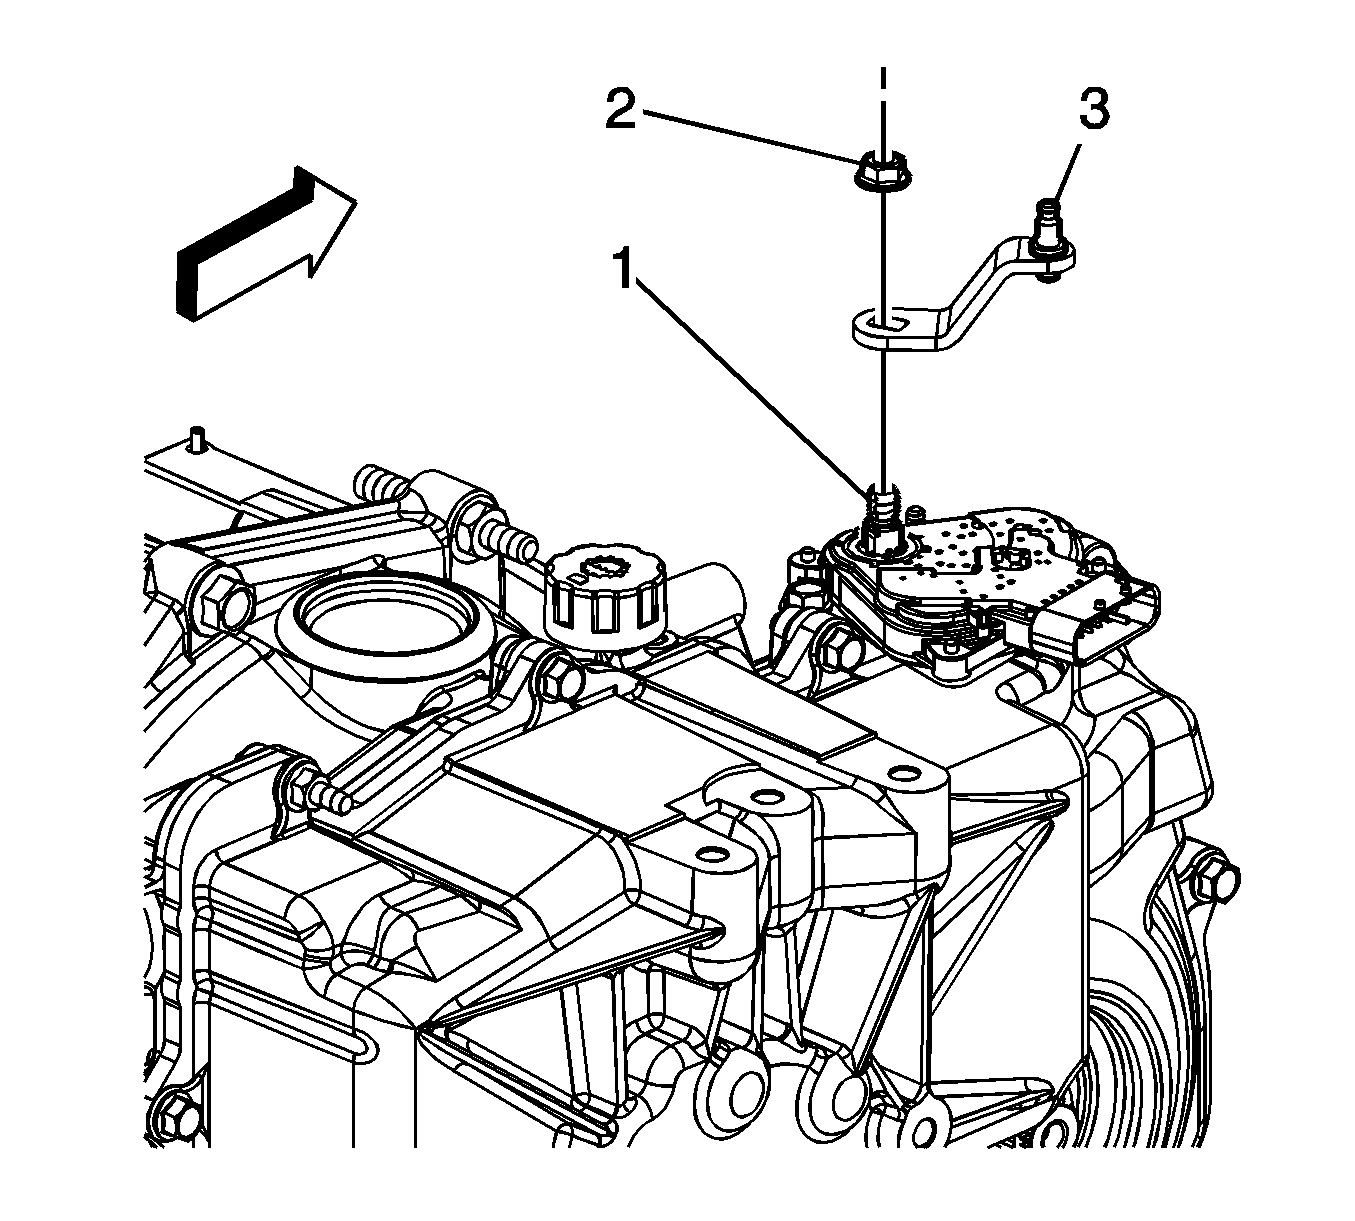
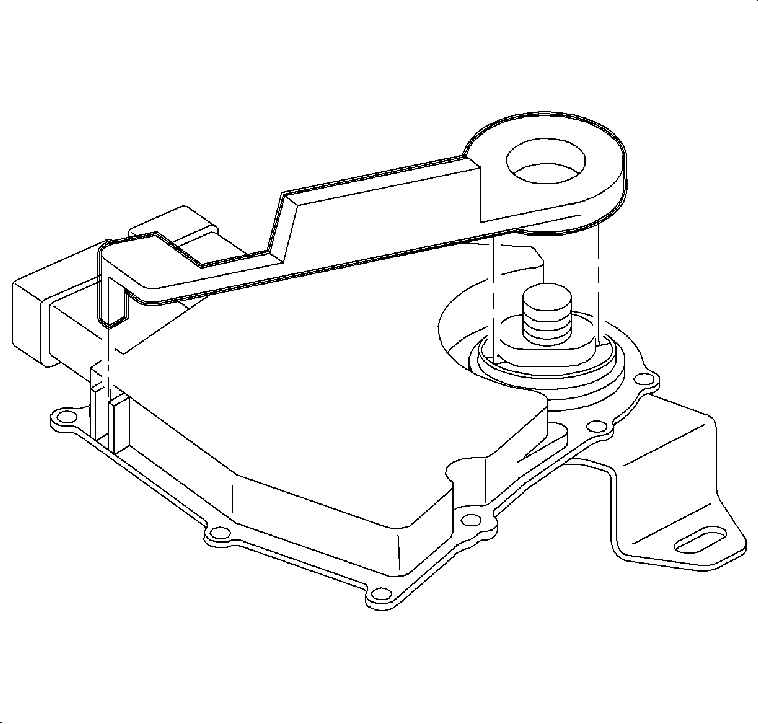
- Remove the transaxle range select lever nut (2).
- Remove the transaxle range select lever (3) from the transaxle manual shaft (1).
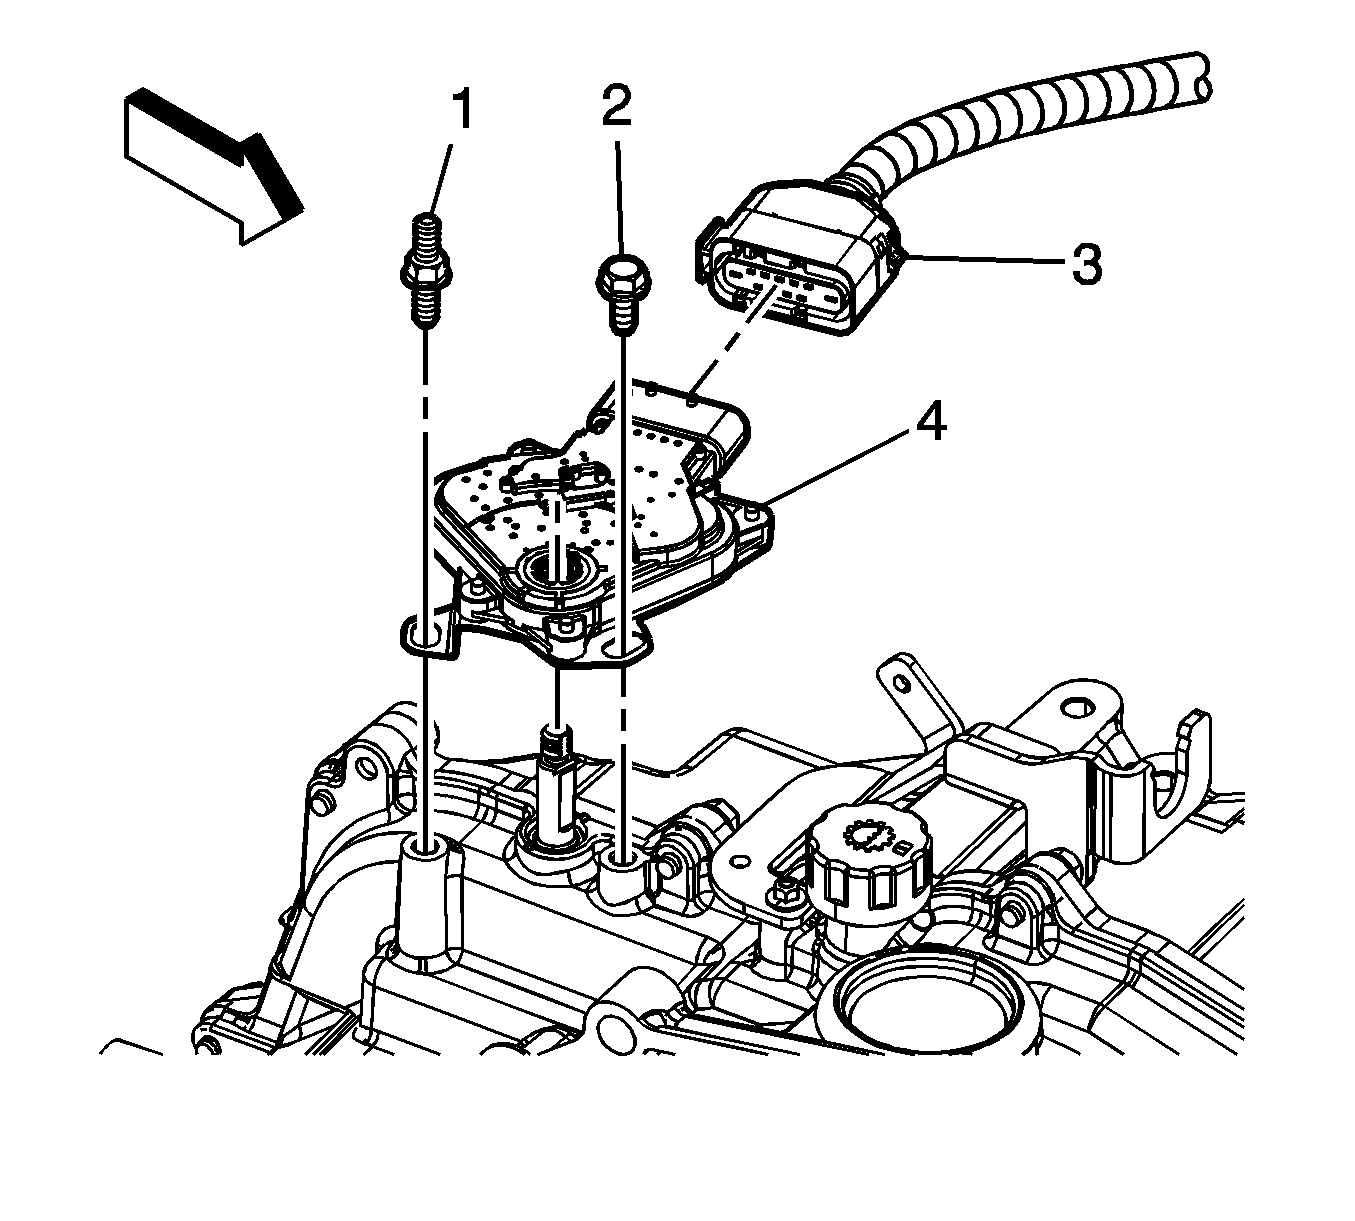
- Disconnect the PNP switch electrical connector (3) from the PNP switch (4).
- Remove the PNP switch bolt (2) and stud (1).
- Remove the PNP switch (4) from the transaxle.
Installation Procedure (Old Switch)
- Make sure the transaxle manual shaft is in the Neutral position.
- Align the flats on the PNP switch with the transaxle manual shaft and install the PNP switch.
- Loosely install the PNP switch bolt (2) and stud (1).
- Connect the PNP switch electrical connector (3).
- Insert the J 41545 as shown and rotate the PNP switch until the tool drops onto position.
- Tighten the PNP switch bolt and stud.
- Remove the alignment tool.
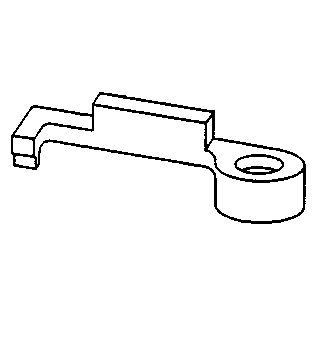
- Install the transaxle range select lever (3) to the transaxle manual shaft (1).
- Install the transaxle range select lever nut (2).
- Install the shift control cable and retaining clip (2) to the shift control cable bracket (1).
- Install the shift control cable (3) to the range select lever (4).
- Verify proper operation of the shift control cable and if necessary adjust the cable.
Important: After adjusting the switch, verify the engine only starts in Park or Neutral. If the engine starts in any other position, adjust the switch.
Notice: Refer to Fastener Notice in the Preface section.
Tighten
Tighten the bolt and stud to 20 N·m (15 lb ft).
Tighten
Tighten the nut to 35 N·m (26 lb ft).
| 12.1. | Place the shift lever in N (Neutral). Rotate the selector shaft clockwise from P (Park) through R (Reverse) into N (Neutral). |
| 12.2. | With the shift control assembly in N (Neutral) lift the cable connector locking clip up. |
| 12.3. | Push the clip on the cable connector until fully seated and flush with cable body. |
Installation Procedure (New Switch)
- Make sure the transaxle manual shaft is in the Neutral position.
- Align the flats on the PNP switch with the transaxle manual shaft and install the PNP switch.
- Install the PNP switch bolt (2) and stud (1).
- Connect the PNP switch electrical connector (3).
- Install the transaxle range select lever (3) to the transaxle manual shaft (1).
- Install the transaxle range select lever nut (2).
- Install the shift control cable and retaining clip (2) to the shift control cable bracket (1).
- Install the shift control cable (3) to the range select lever (4).
- Verify proper operation of the shift control cable and if necessary adjust the cable.
Important: After adjusting the switch, verify the engine only starts in Park or Neutral. If the engine starts in any other position, adjust the switch.
Notice: Refer to Fastener Notice in the Preface section.
Tighten
Tighten the bolt and stud to 20 N·m(15 lb ft).
Tighten
Tighten the nut to 35 N·m (26 lb ft).
| 9.1. | Place the shift lever in N (Neutral). Rotate the selector shaft clockwise from P (Park) through R (Reverse) into N (Neutral). |
| 9.2. | With the shift control assembly in N (Neutral) lift the cable connector locking clip up. |
| 9.3. | Push the clip on the cable connector until fully seated and flush with cable body. |
