For 1990-2009 cars only
Tools Required
| • | J 44851 Pinion Seal Installer |
| • | J 44873 Pinion Flange Holder and Remover |
Removal Procedure
- Raise and support the vehicle. Refer to Lifting and Jacking the Vehicle .
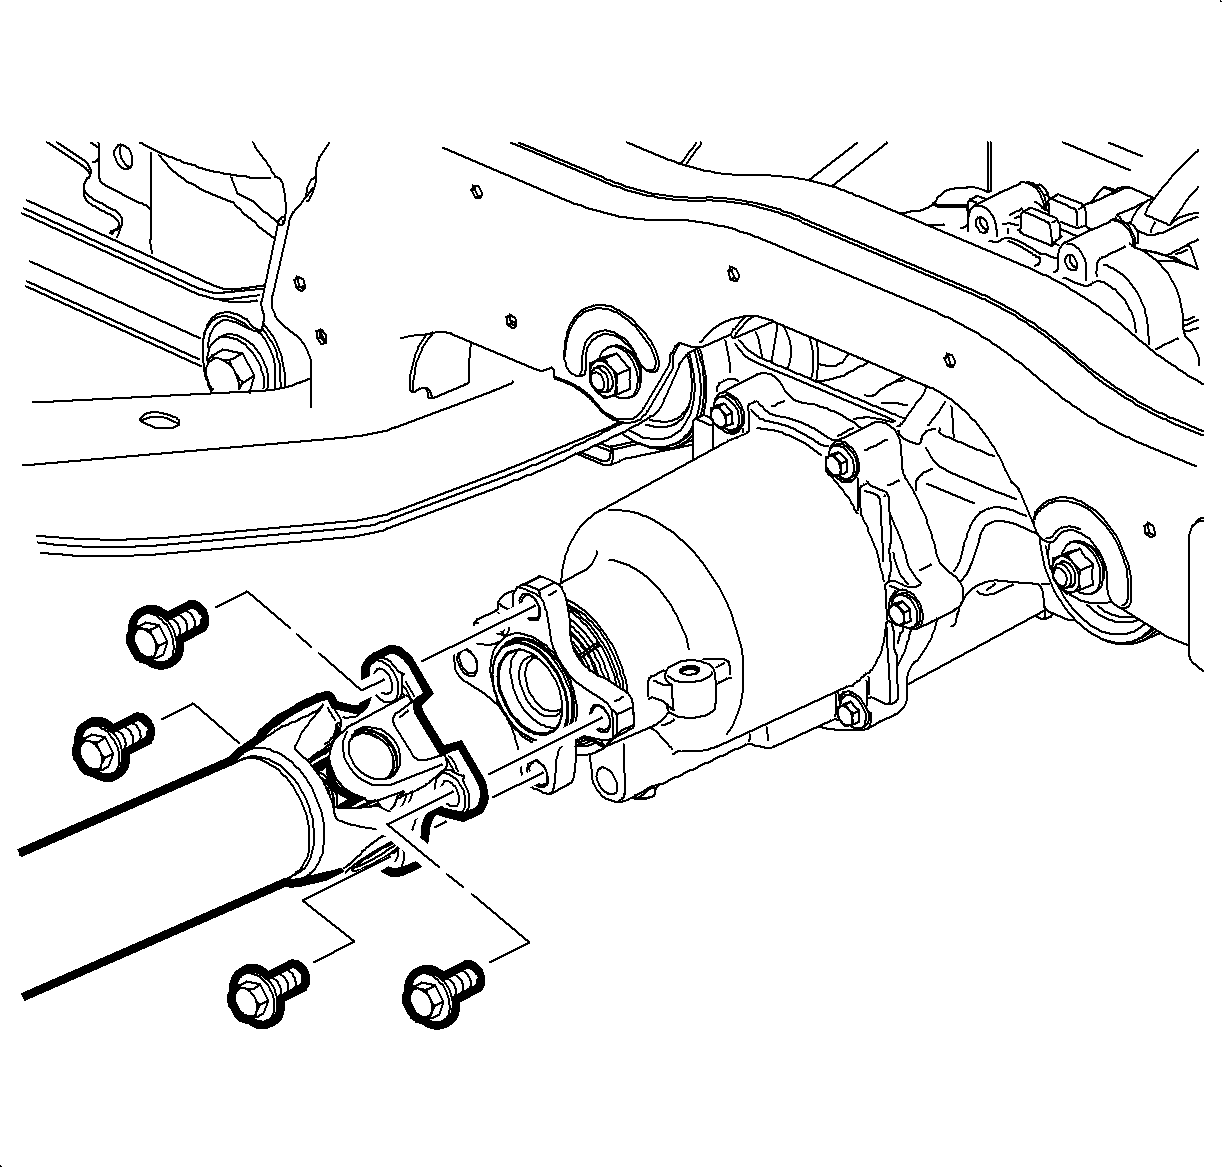
- Remove the propeller shaft underbody guard loop bolts.
- Remove the guard loop.
- Reference mark the propeller shaft flange-to-input flange relationship at the rear drive module (RDM).
- Remove the propeller shaft flange mounting bolts at the RDM input flange.
- Position the end of the propeller shaft away from the RDM and secure with heavy mechanics wire, or equivalent.
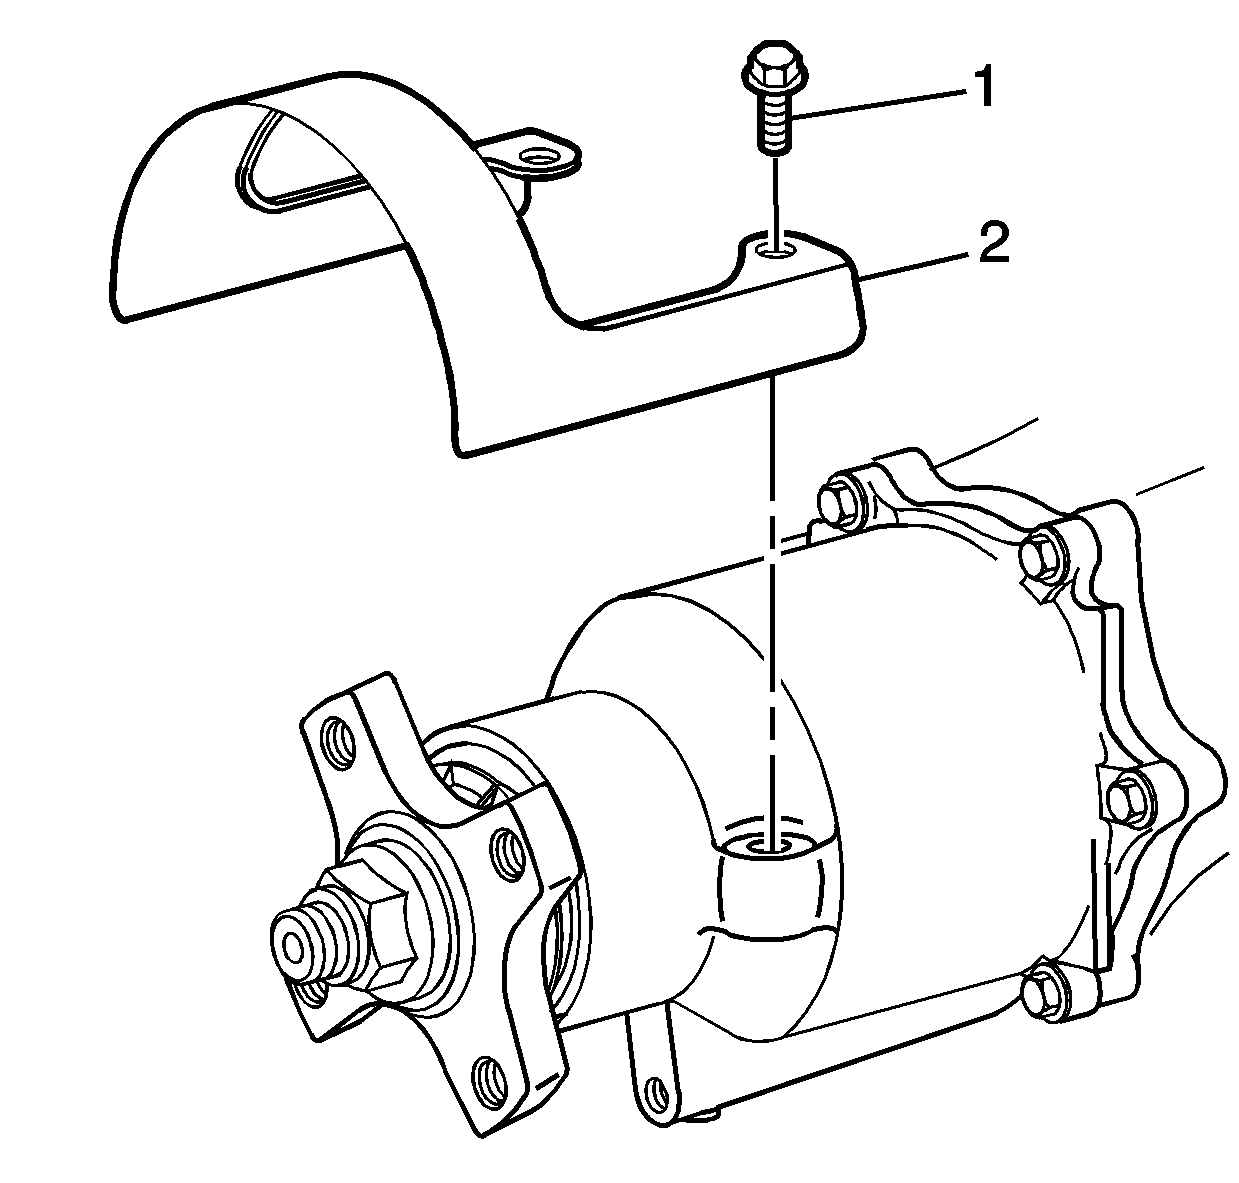
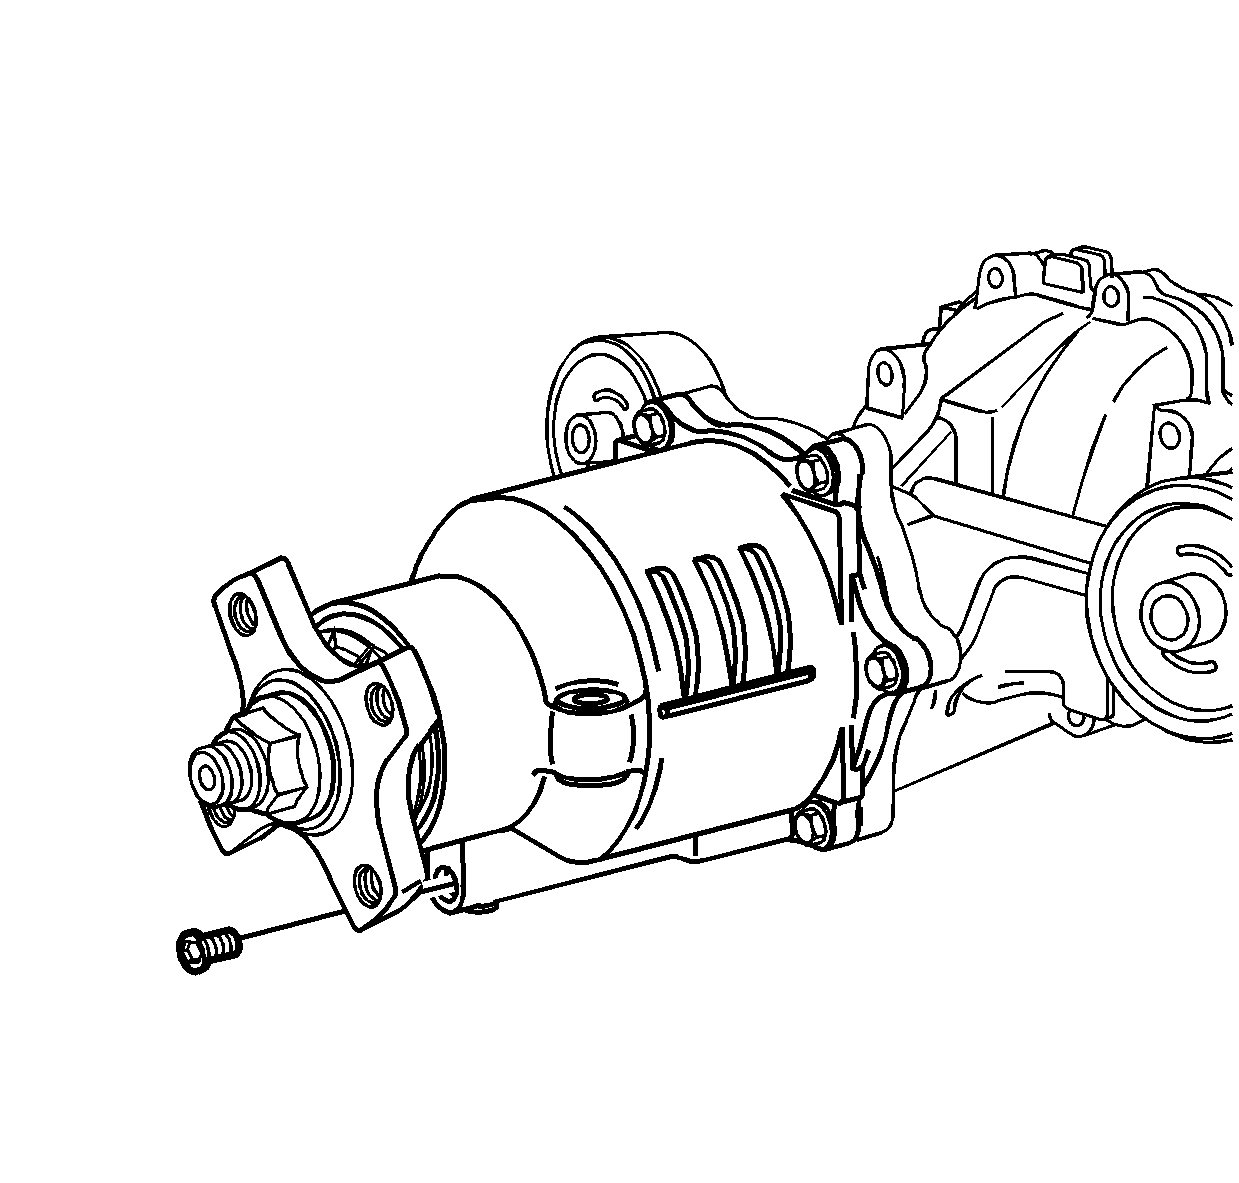
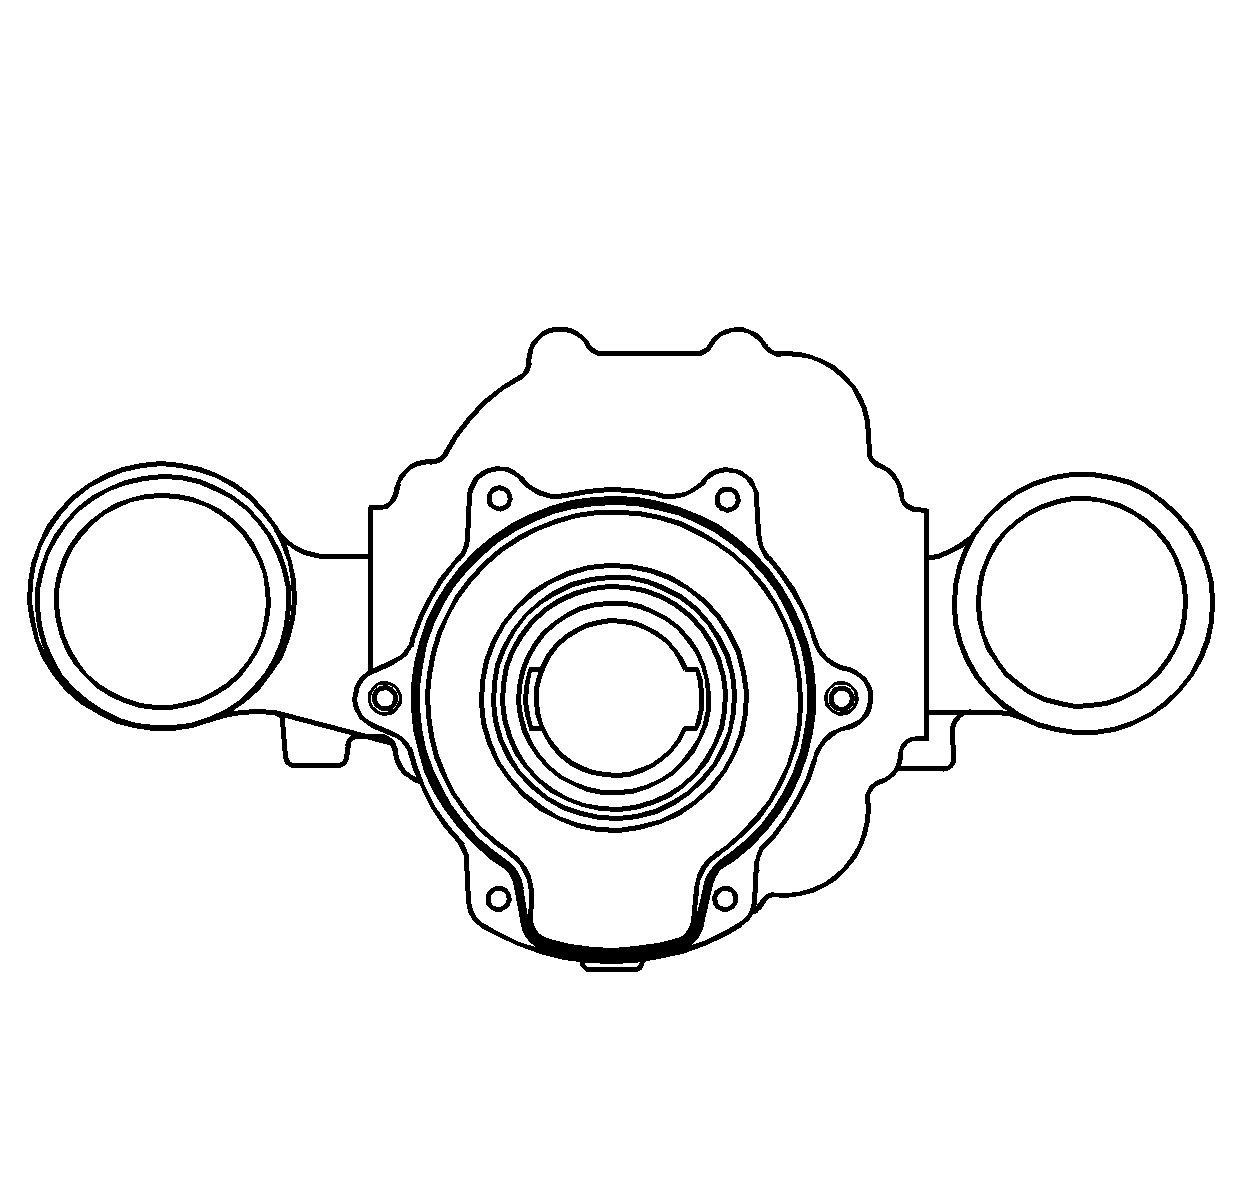
- Remove the propeller shaft shield mounting bolts (1) and the propeller shaft shield (2).
- Place a container under the RDM housing.
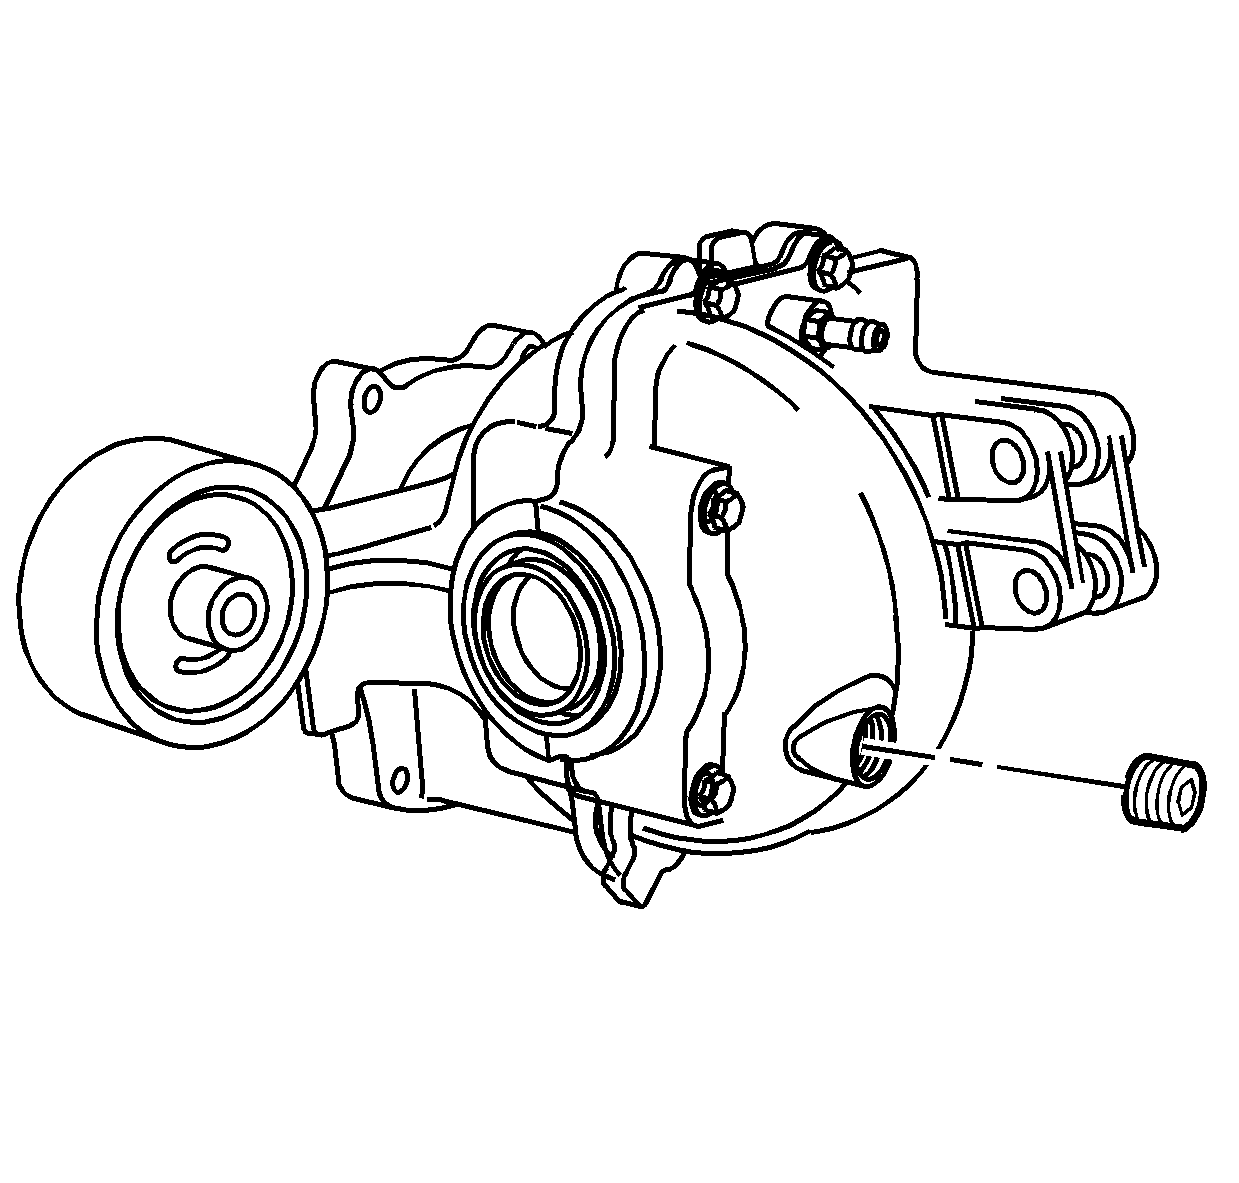
- Remove the RDM drain plug.
- Drain the RDM fluid.
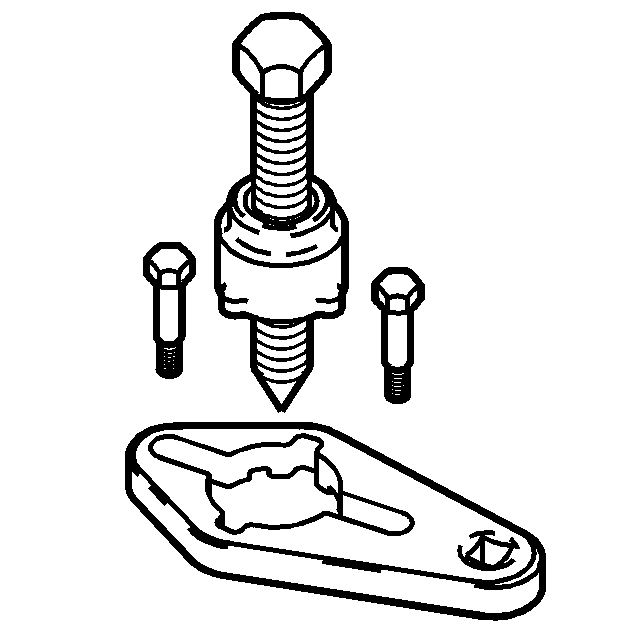
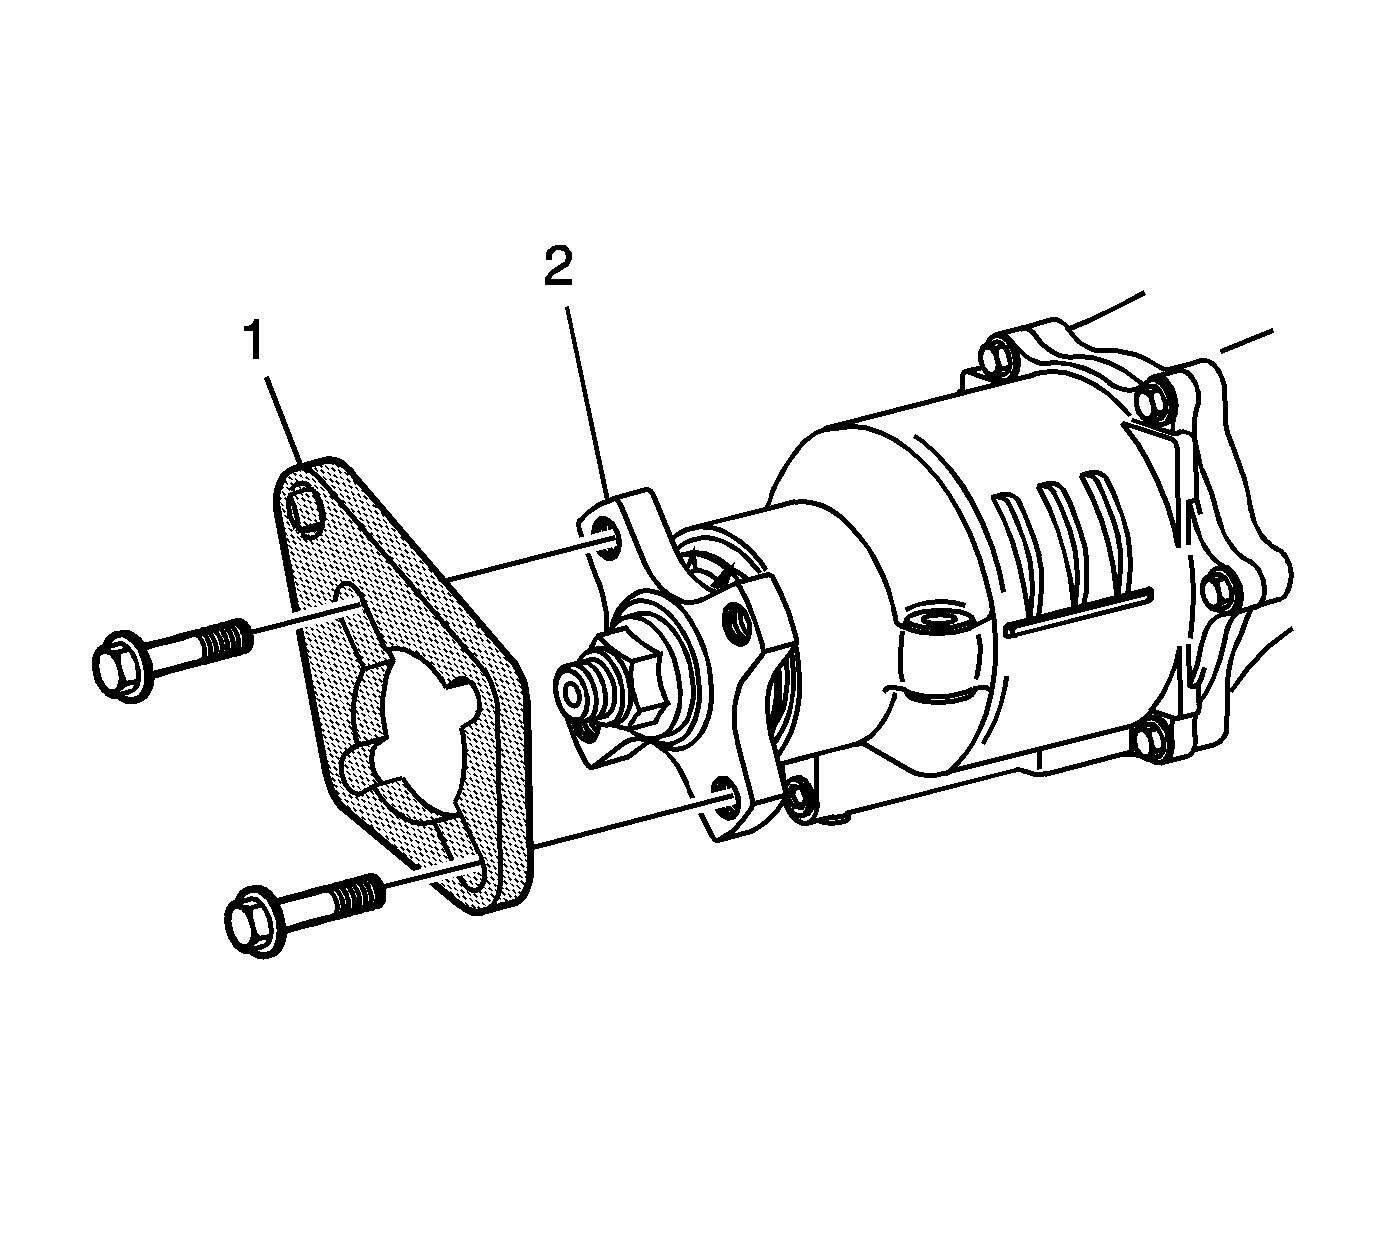
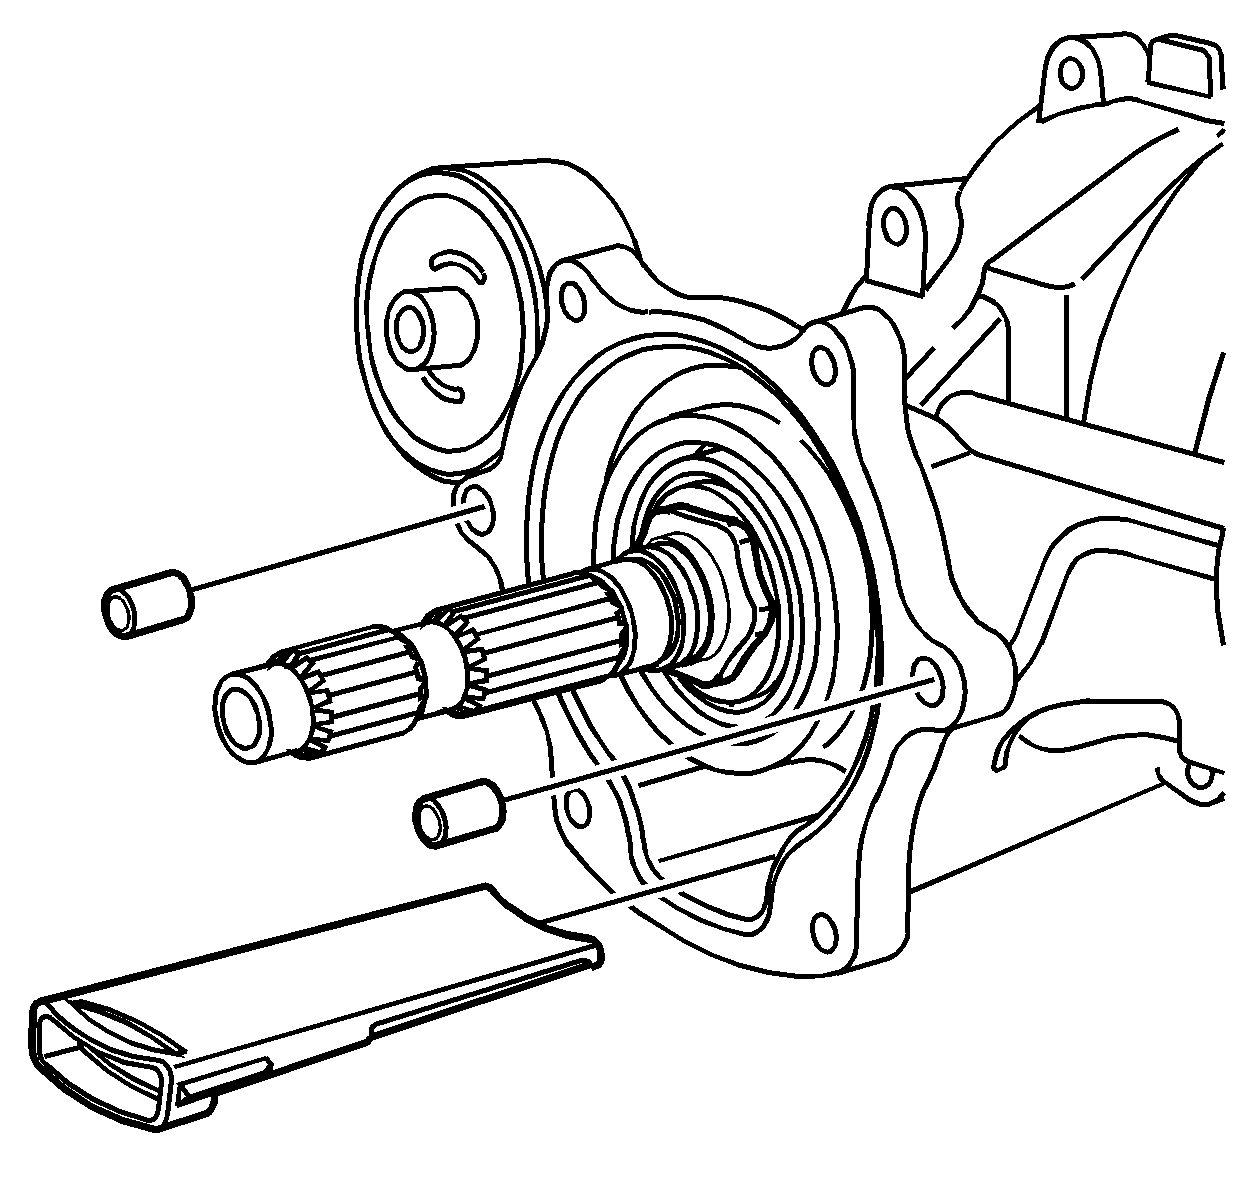
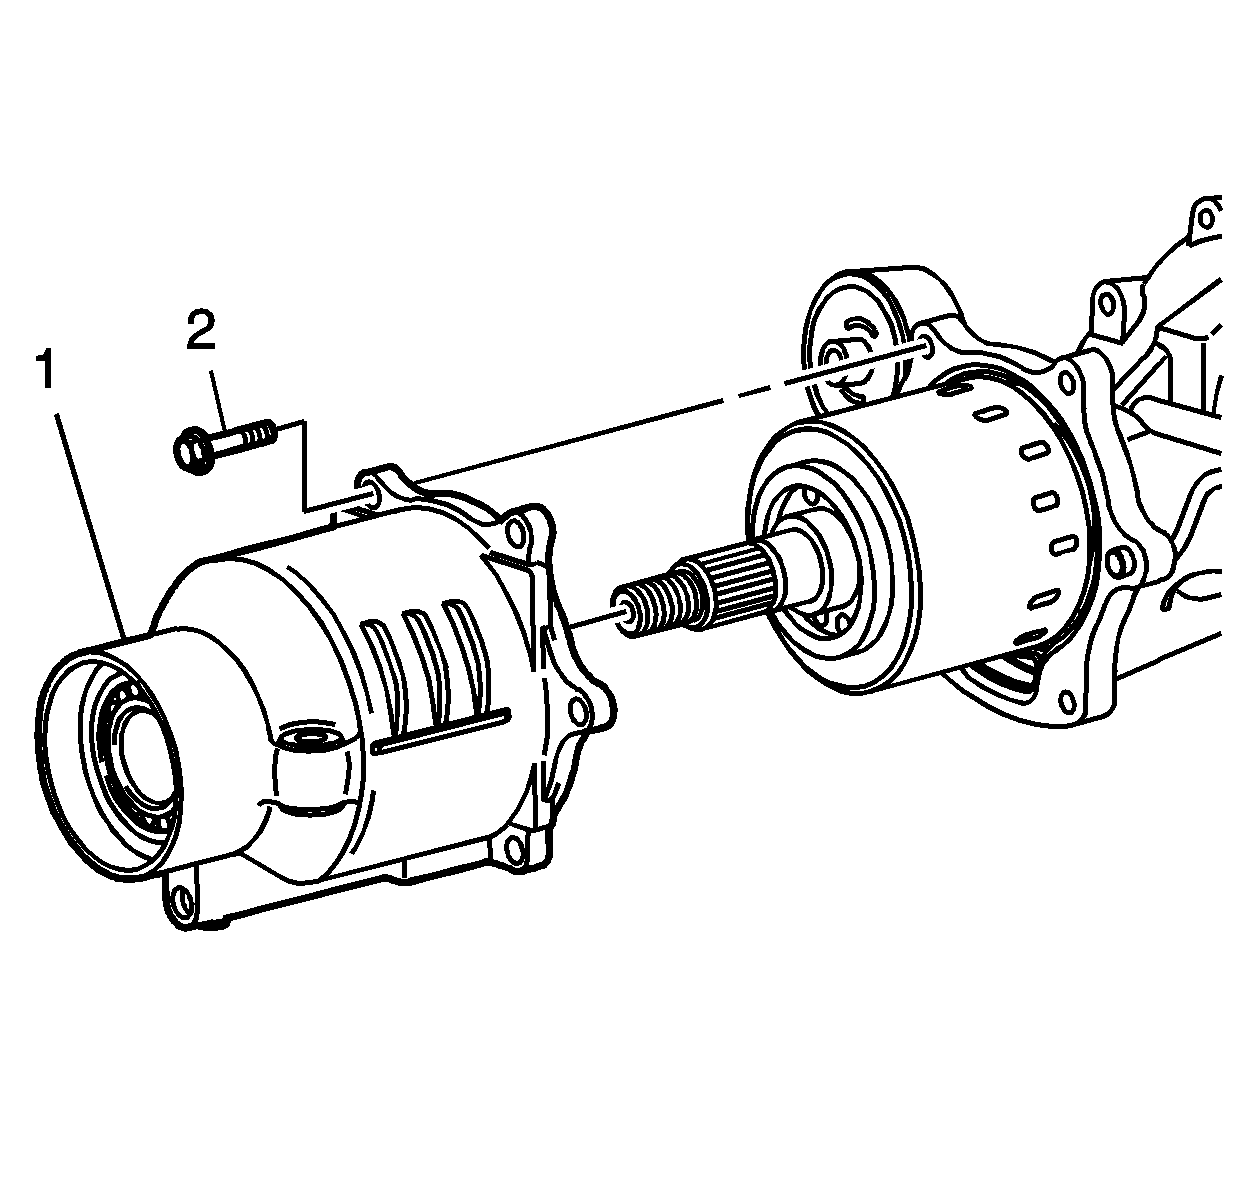
- Install the J 44873 (1) to the pinion flange (2).
- Using a breaker bar to hold the J 44873 stationary, loosen the pinion flange nut.
- Remove and discard the input flange nut (1).
- Remove the input flange (2).
- Remove the RDM housing cover bolts (1).
- Carefully remove the housing cover (2) from the RDM.
- Remove all traces of sealer from the housing cover and RDM sealing surfaces.
- Clean the housing cover and RDM sealing surfaces with denatured alcohol or equivalent, and dry with a clean, lint free cloth.
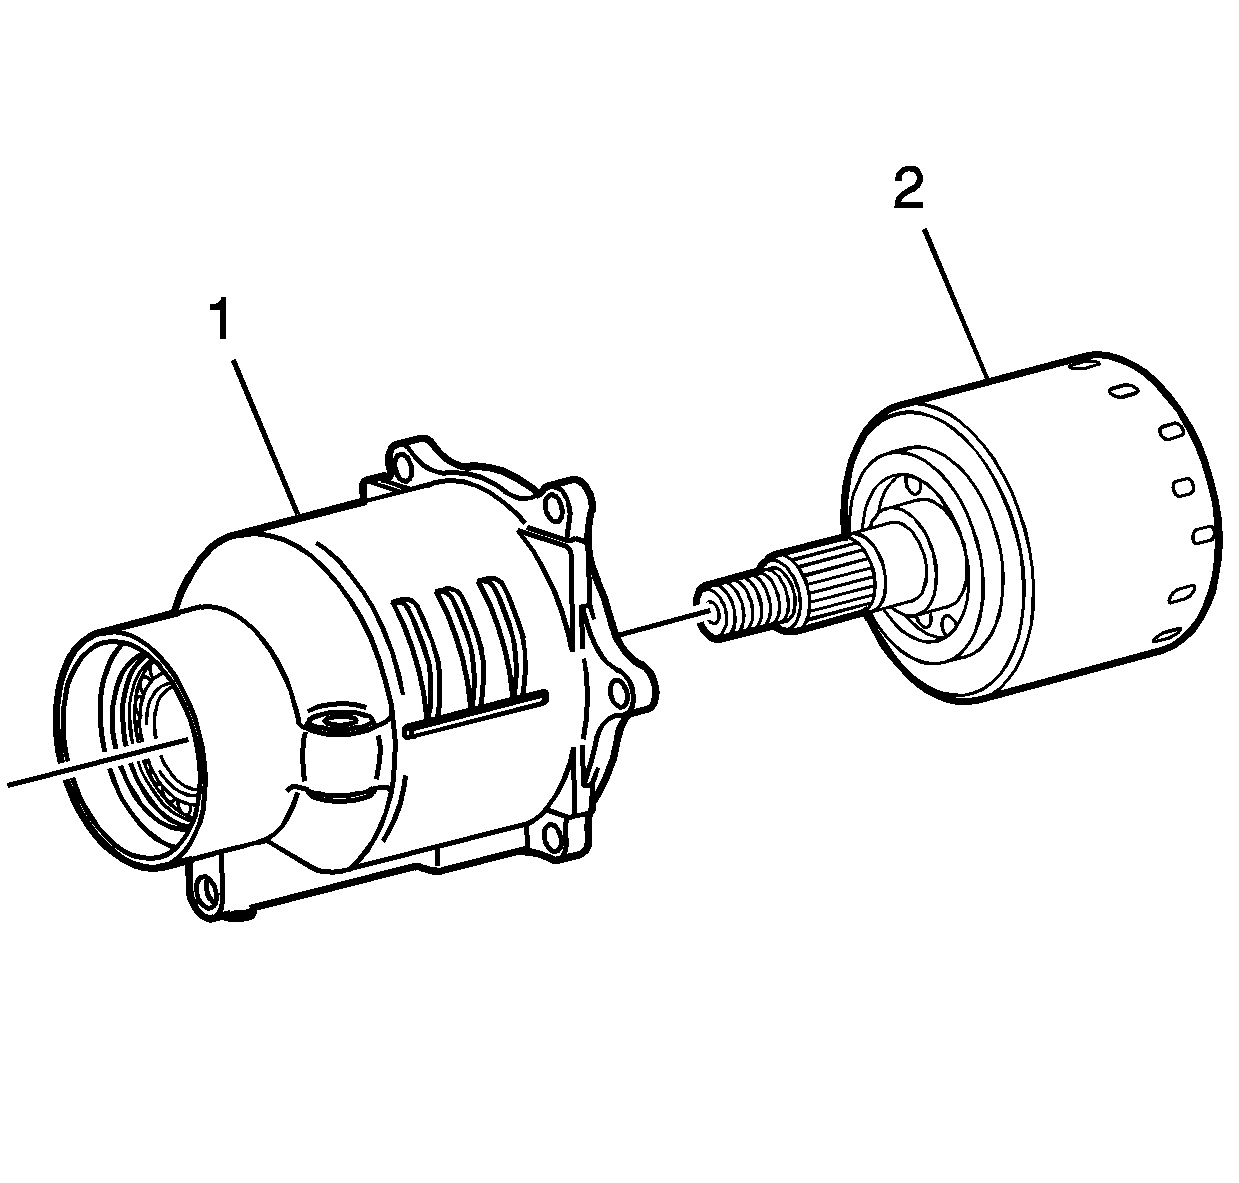
- Remove the clutch drum (2) from the housing cover (1).
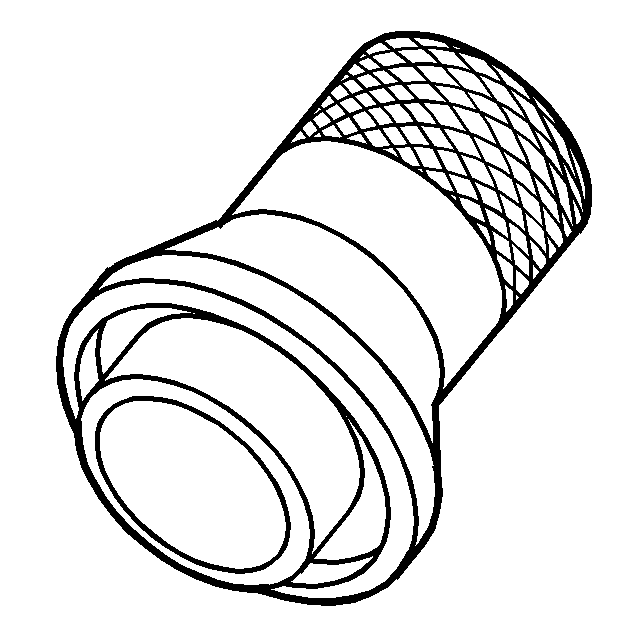
- Remove the input flange oil seal (1) from the housing cover.
- Remove and discard the filter assembly.


Important: Do not gouge the housing cover and RDM sealing surfaces.
Installation Procedure
- Install a new filter assembly.
- Install the locating pins, if removed.
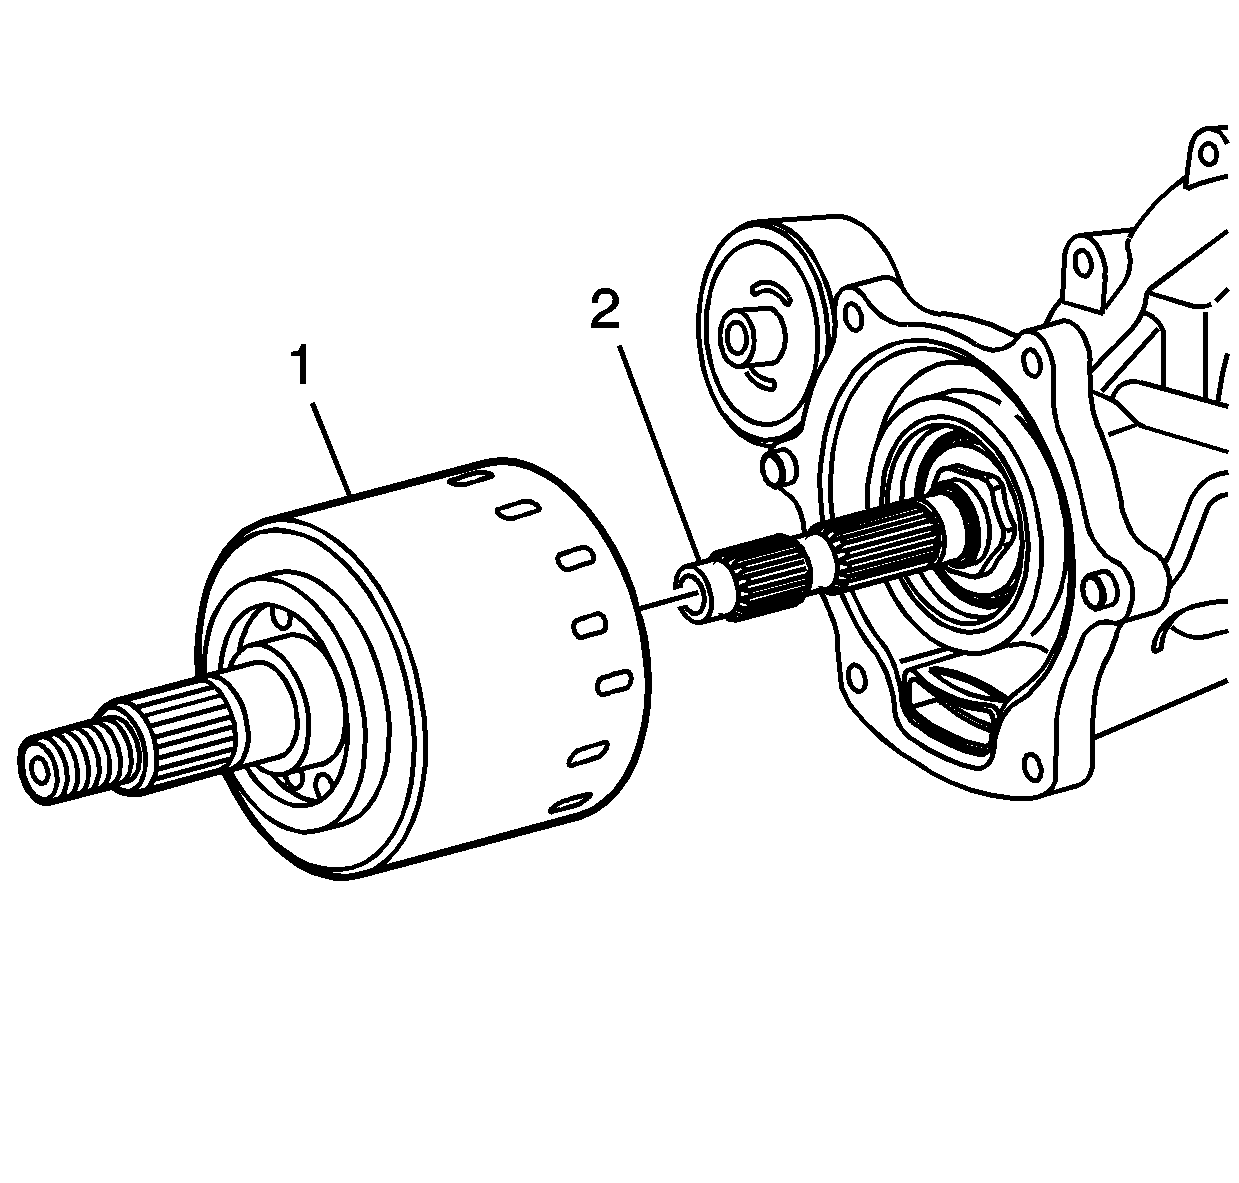
- Install the clutch drum (1) to the pinion shaft (2) by shaking the drum while rotating the drum back and forth to engage the splines of the pump rotor and bushing.
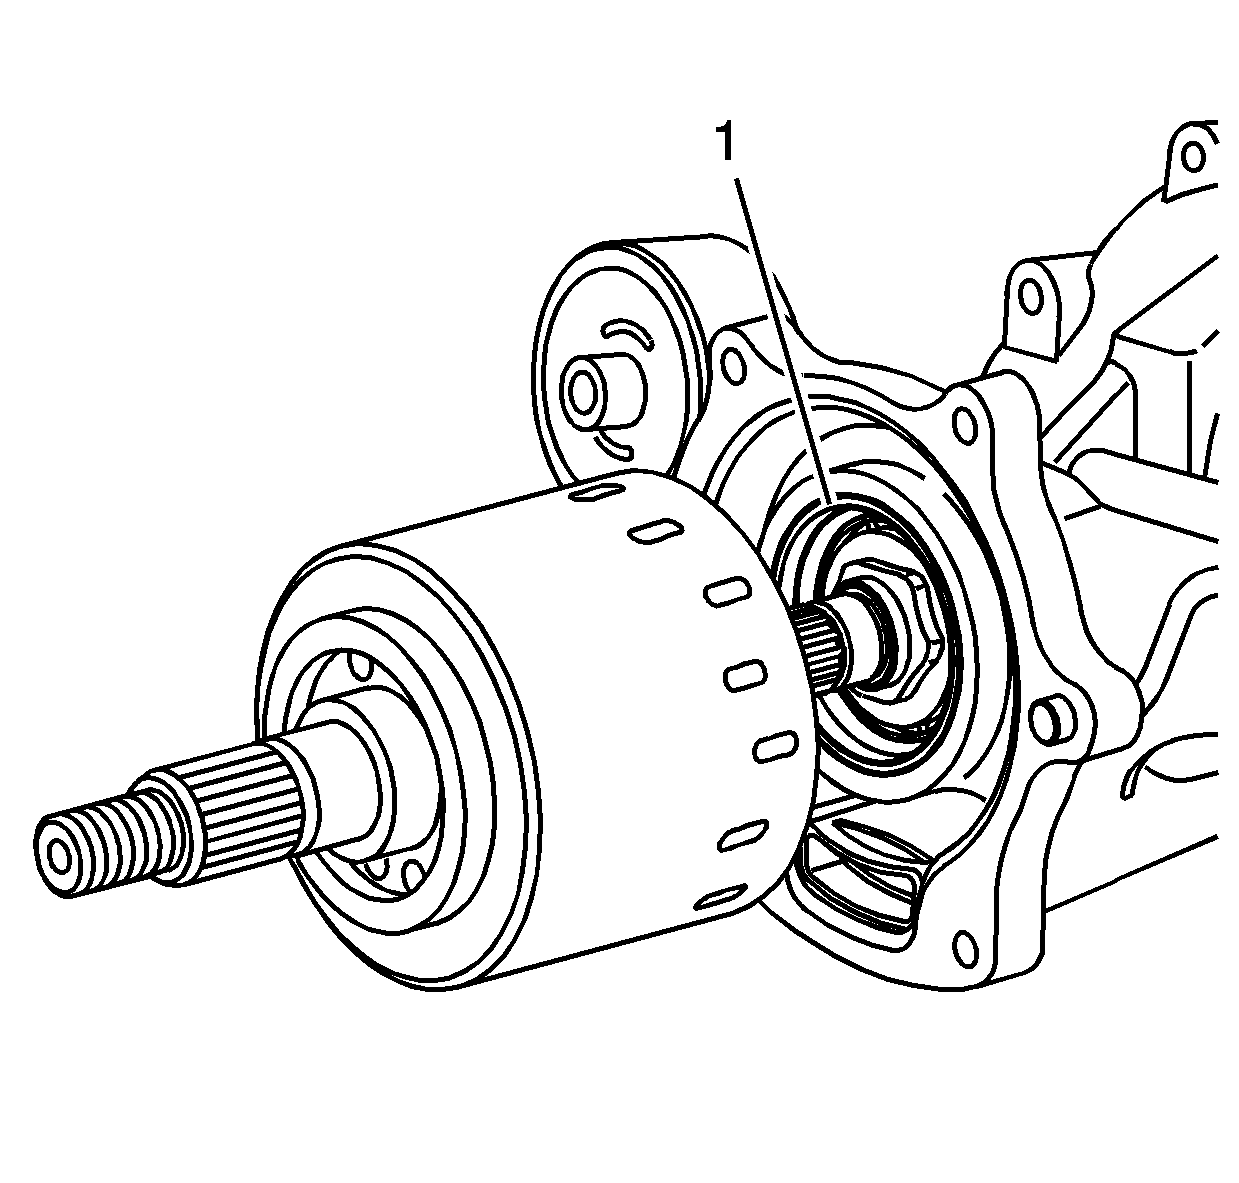
- When properly engaged, the clutch drum will be fully seated against the clutch drum oil seal (1).
- Apply a continuous bead of sealer Saturn P/N 12346240 of equal height and width to the RDM housing sealing surface.
- Install the clutch housing cover (1) to the RDM.
- Hand install the clutch housing cover bolts (2).
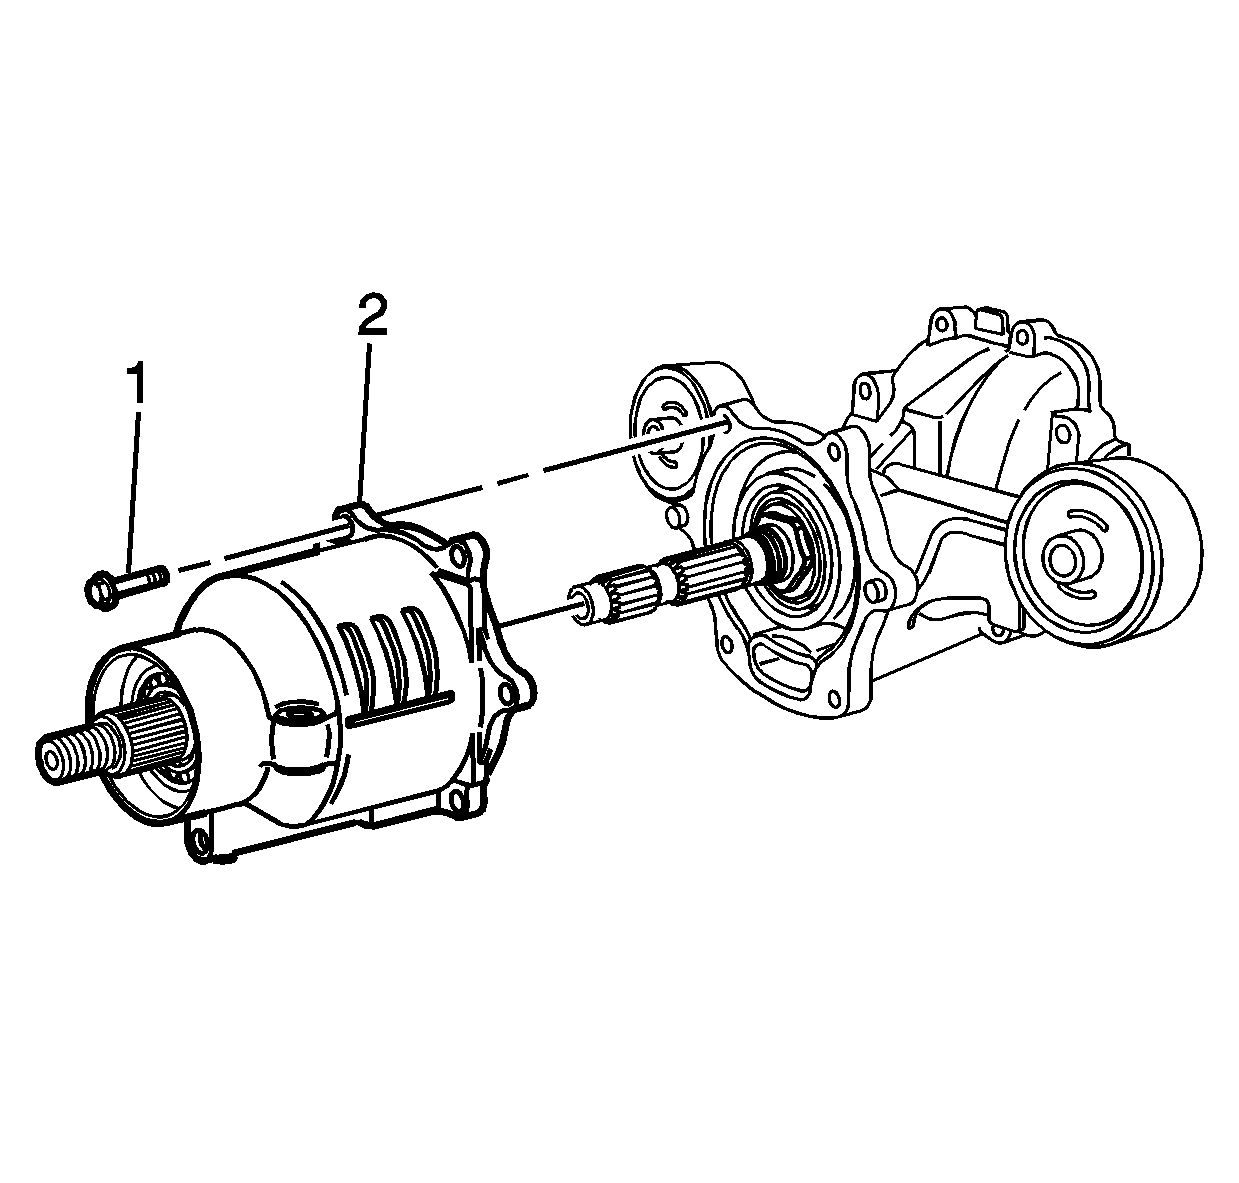
- Install the housing cover mounting bolts (1).
- Allow the sealer to cure a minimum of 8 hours.
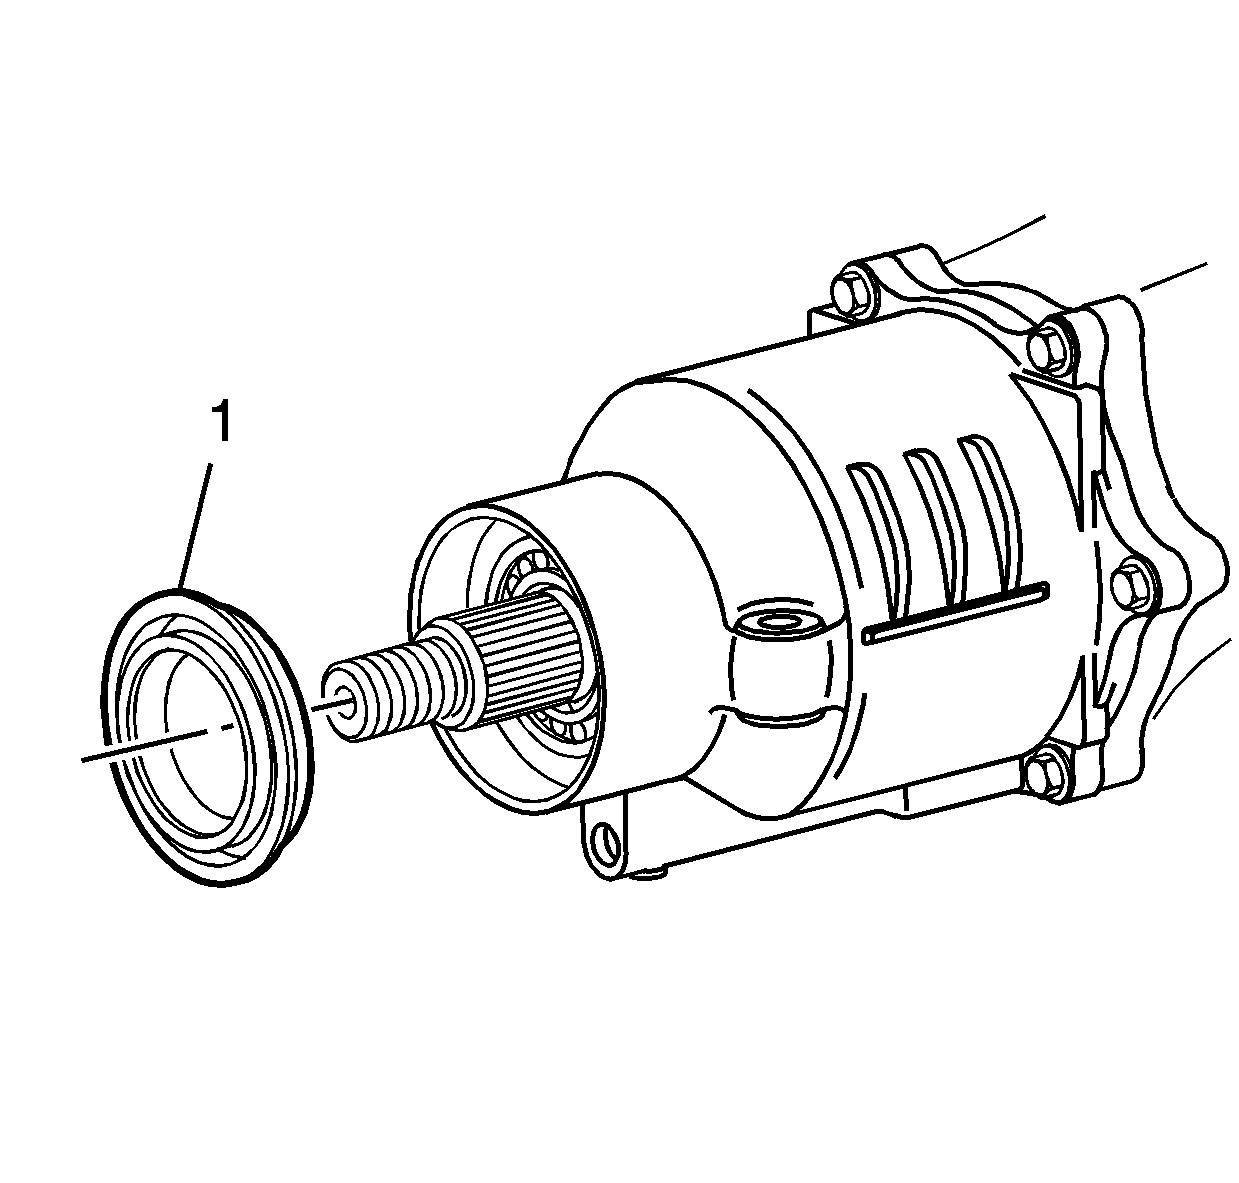
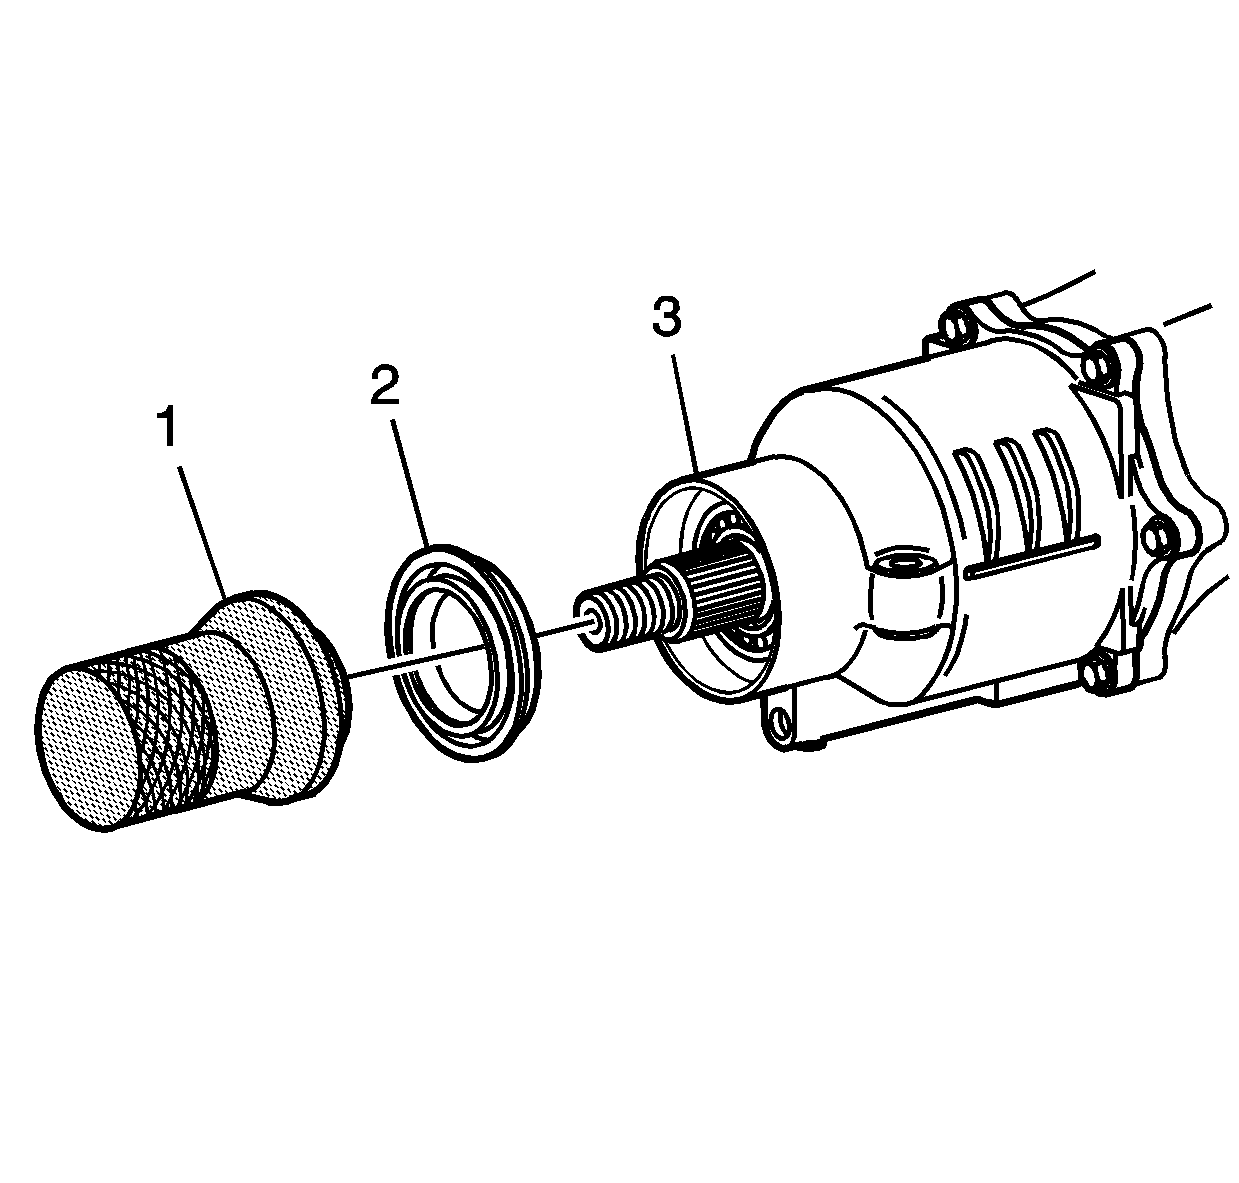
- Using the J 44851 (1) install the input shaft seal (2) to the housing cover (3).
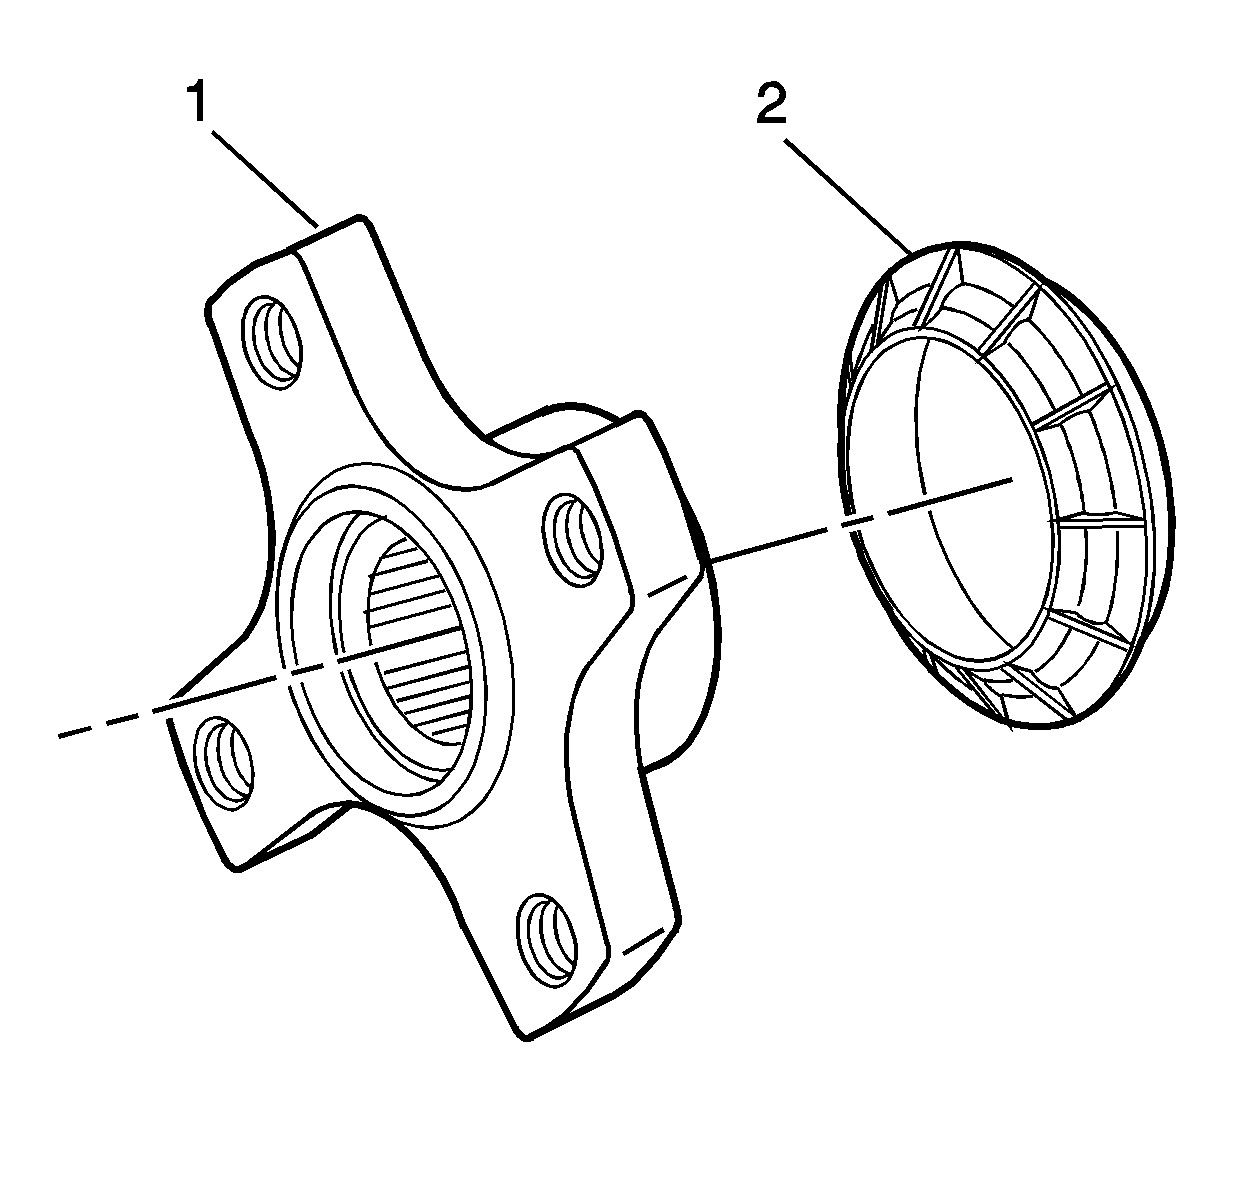
- Install the dust deflector (2) to the input flange (1) if removed.
- Install the input flange (2) to the clutch shaft.
- Hand install a new input flange nut (1) to the clutch shaft.
- Install the J 44873 (1) to the pinion flange (2).
- Using a breaker bar to hold the J 44873 stationary, tighten the pinion nut.
- Thoroughly clean the drain plug threads and apply thread sealer Saturn P/N 21485278 to the plug threads.
- Install the RDM drain plug.
- Remove the RDM fill plug.
- Thoroughly clean the fill plug threads and apply thread sealer Saturn P/N 21485278 to the plug threads.
- Fill the RDM with lubricant. Refer to Rear Axle Lubricant Replacement .
- Install the fill plug.
- Thoroughly clean and apply threadlocker Saturn P/N 21005994 to the propeller shaft flange mounting bolt threads.
- Align the reference marks on the propeller shaft flange and the RDM input flange.
- Install the propeller shaft flange mounting bolts.
- Install the propeller shaft shield (2) to the RDM.
- Install the propeller shaft shield mounting bolts (1).
- Install the propeller shaft underbody guard loop.
- Install the propeller shaft underbody guard loop bolts.
- Lower the vehicle.
Specification
Apply sealer to a height and width of 2.5 mm (0.098 in).
Important: Do not disturb the sealer bead applied to the RDM sealing surface.
Notice: Refer to Fastener Notice in the Preface section.
Tighten
Tighten the bolts to 26 N·m (19 lb ft).
Important: Strict adherence to the sealer cure time must be observed.
Tighten
Tighten the nut to 203 N·m (150 lb ft).
Tighten
Tighten the plug to 30 N·m (22 lb ft).
Tighten
Tighten the plug to 35 N·m (26 lb ft).
Tighten
Tighten the bolts to 50 N·m (37 lb ft).
Tighten
Tighten the bolts to 25 N·m (18 lb ft).
Tighten
Tighten the bolts to 24 N·m (18 lb ft).
