For 1990-2009 cars only
Front Seat Cushion Outer Trim Panel Replacement 4-Way
Removal Procedure
- Remove the front seat. Refer to Front Seat Replacement - Bucket .
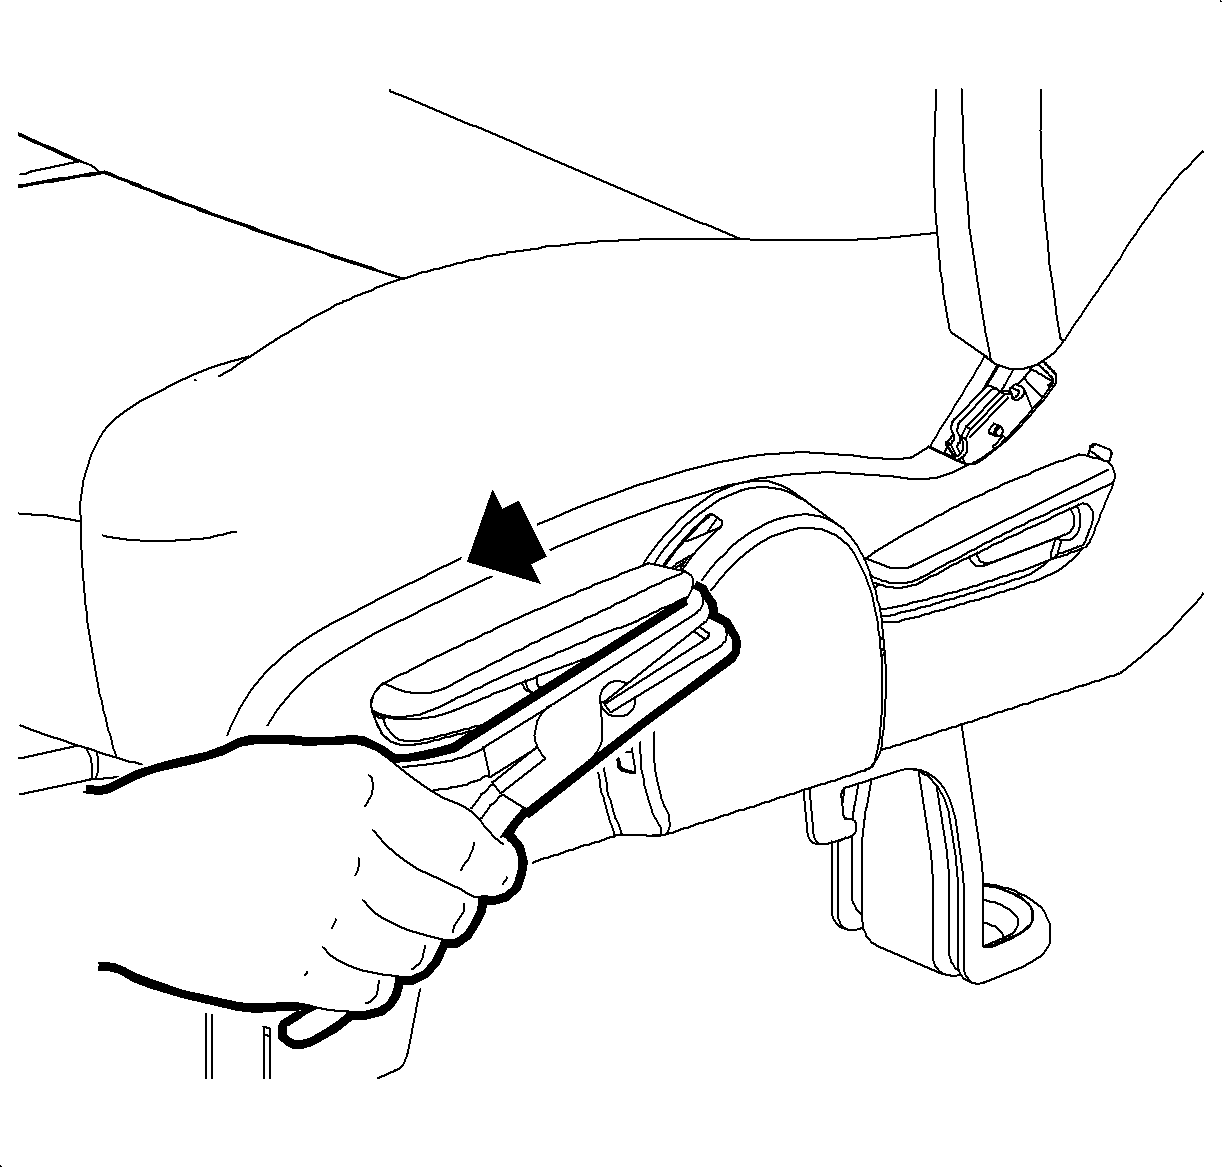
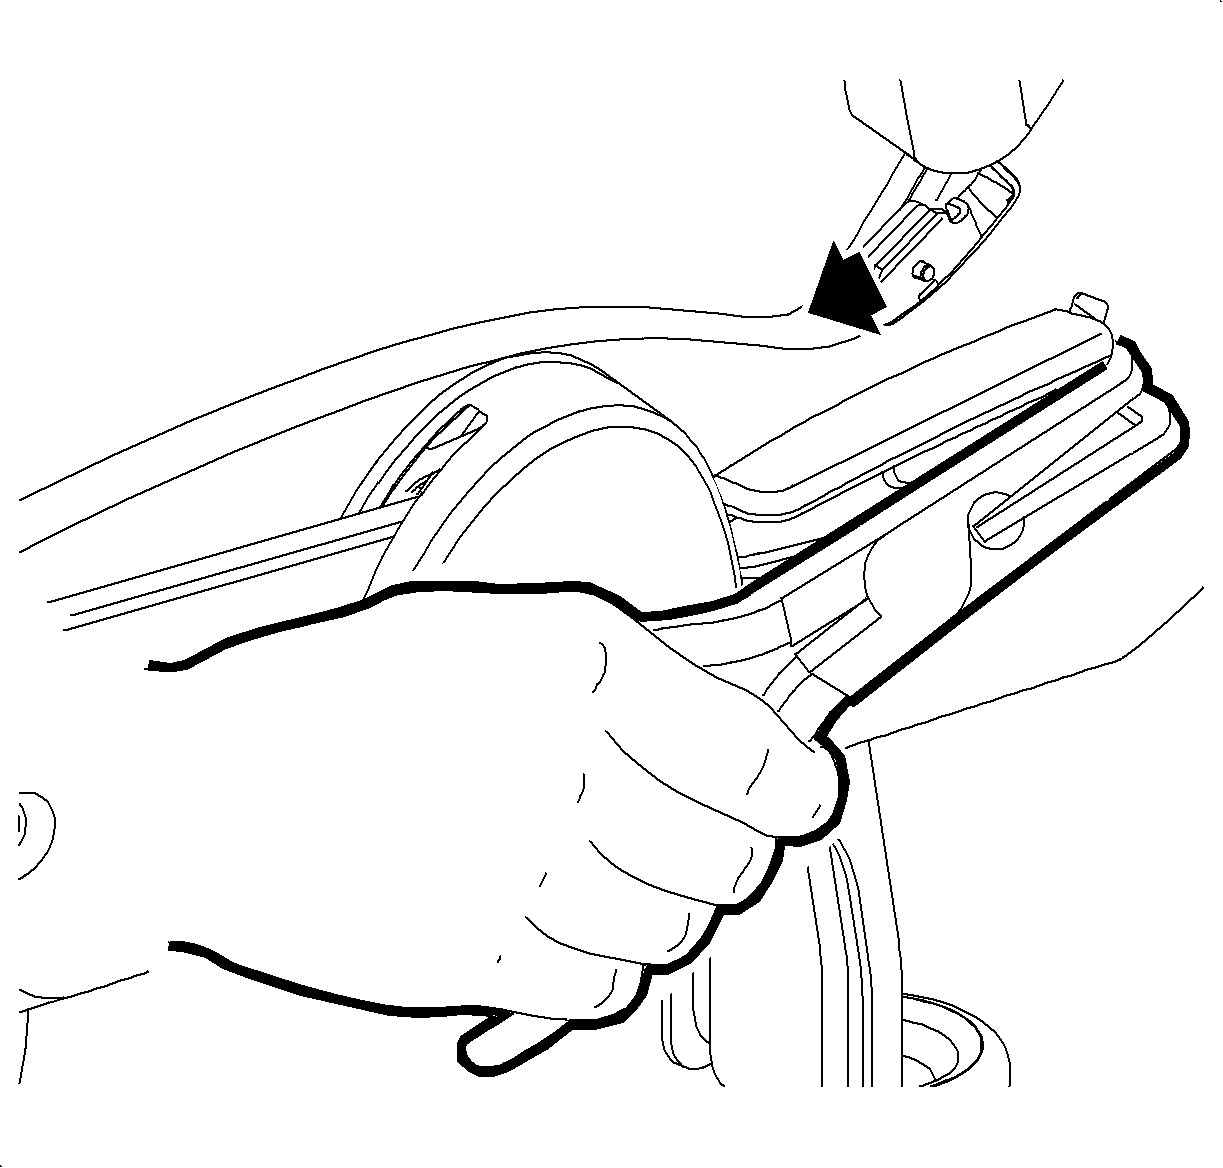
- Remove the riser handle trim by pulling firmly on the trim.
- Remove the recliner handle trim by pulling firmly on the trim.
- Remove the trim panel screws.
- Remove the trim panel from the seat.
Installation Procedure
- Position the outer trim panel on the seat. Secure the panel with the panel screws.
- Position the cover over the recliner handle. Push firmly to lock the handle into place.
- Position the cover over the seat riser handle. Push firmly to lock the handle into place.
- Install the front seat. Refer to Front Seat Replacement - Bucket .
Notice: Refer to Fastener Notice in the Preface section.
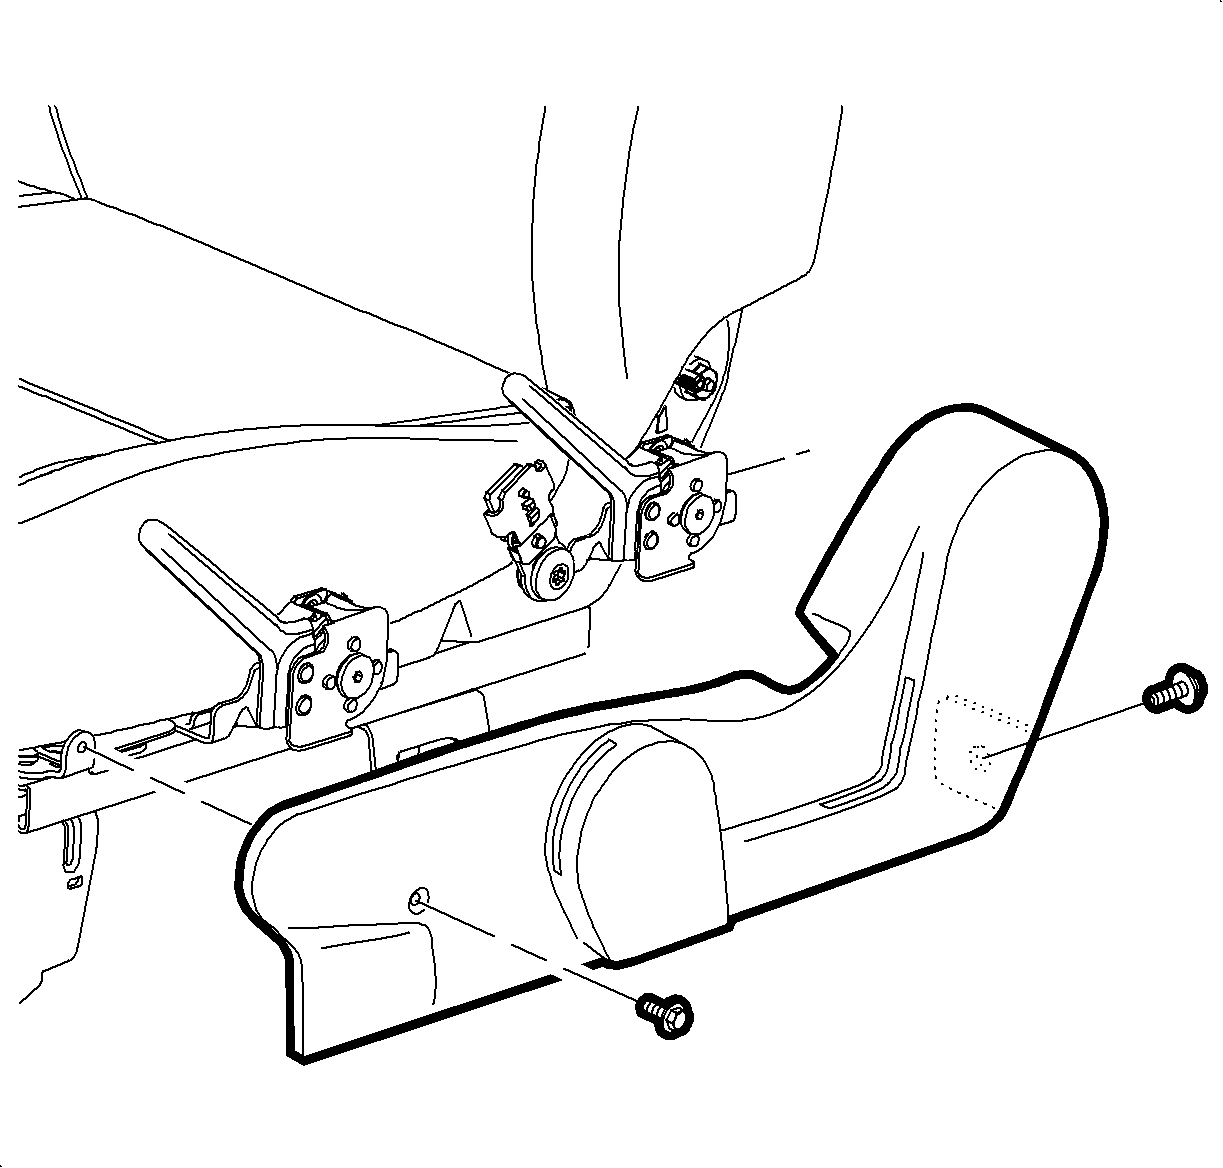
Tighten
Tighten the screws to 2.5 N·m (22 lb in).
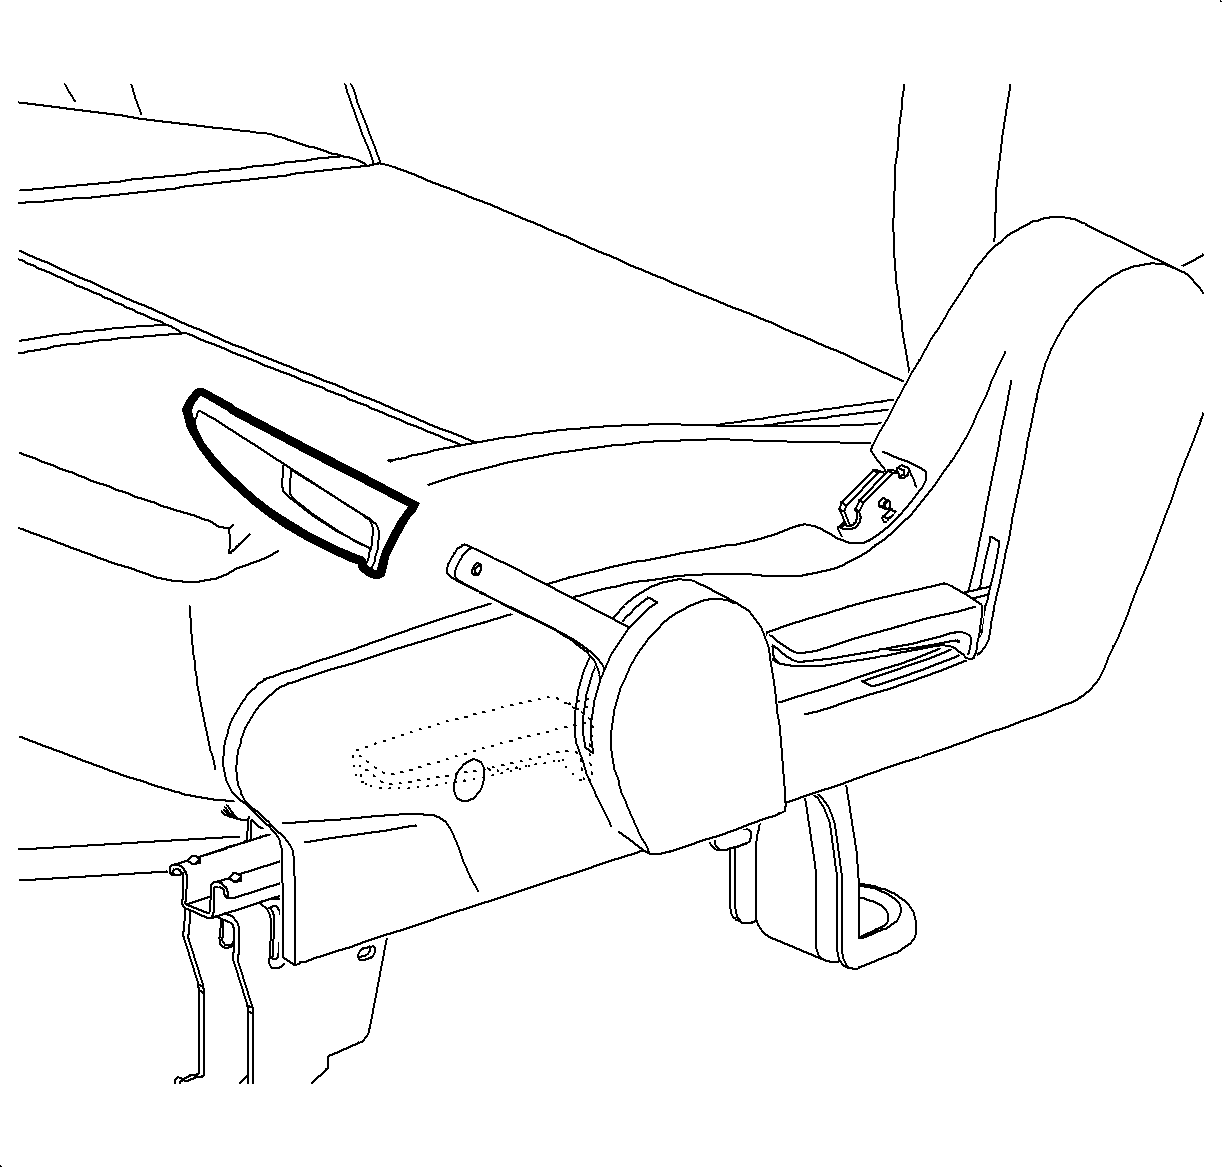
Front Seat Cushion Outer Trim Panel Replacement 2-Way
Removal Procedure
- Remove the front seat. Refer to Front Seat Replacement - Bucket .
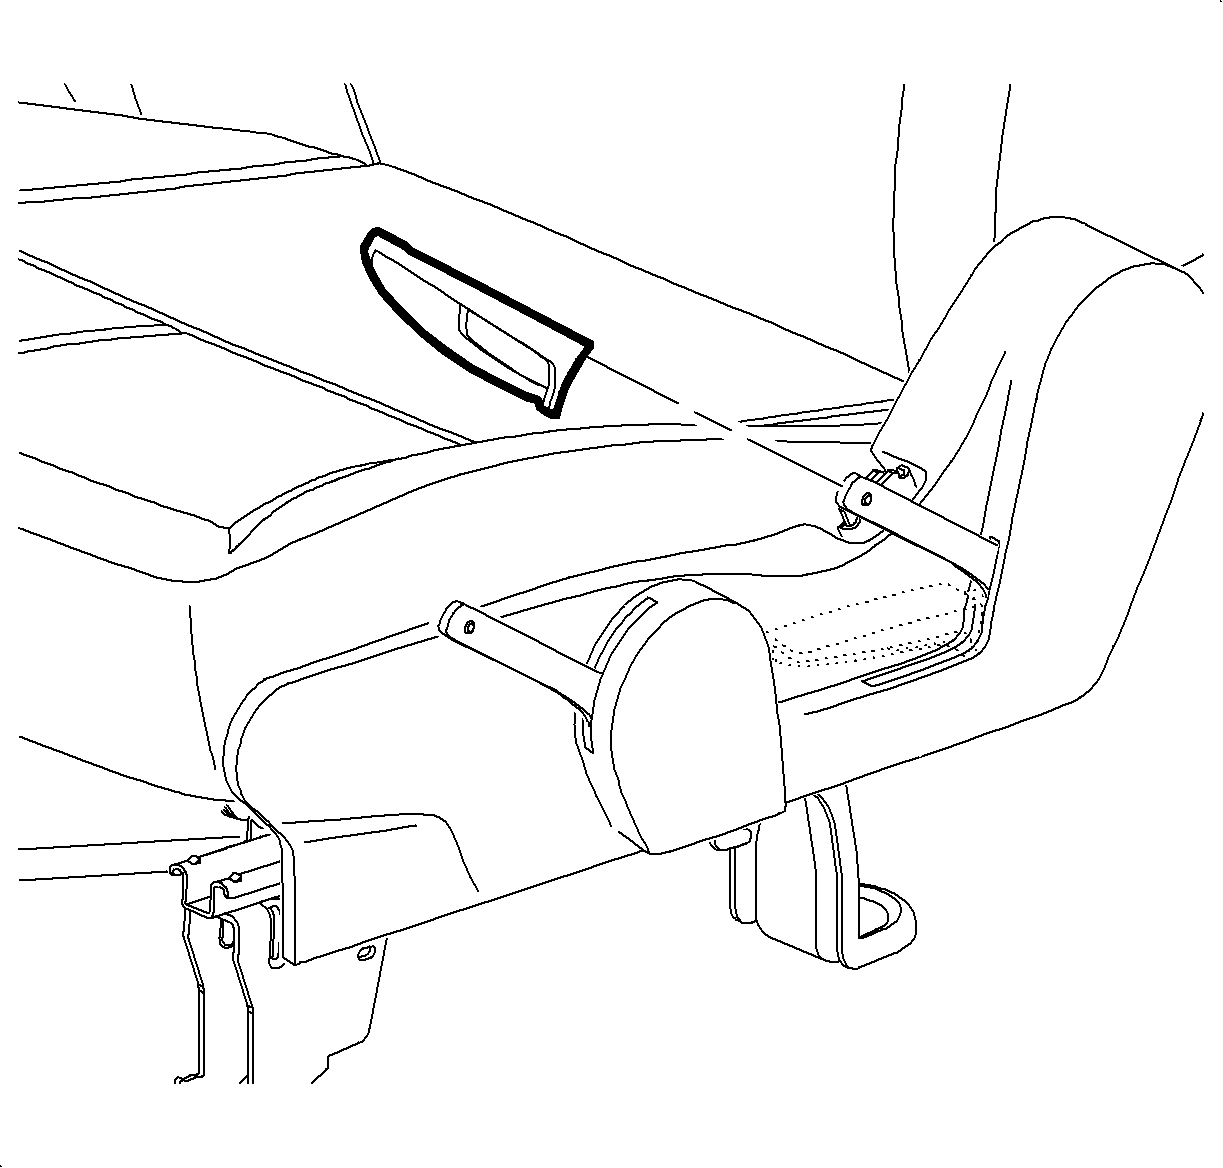
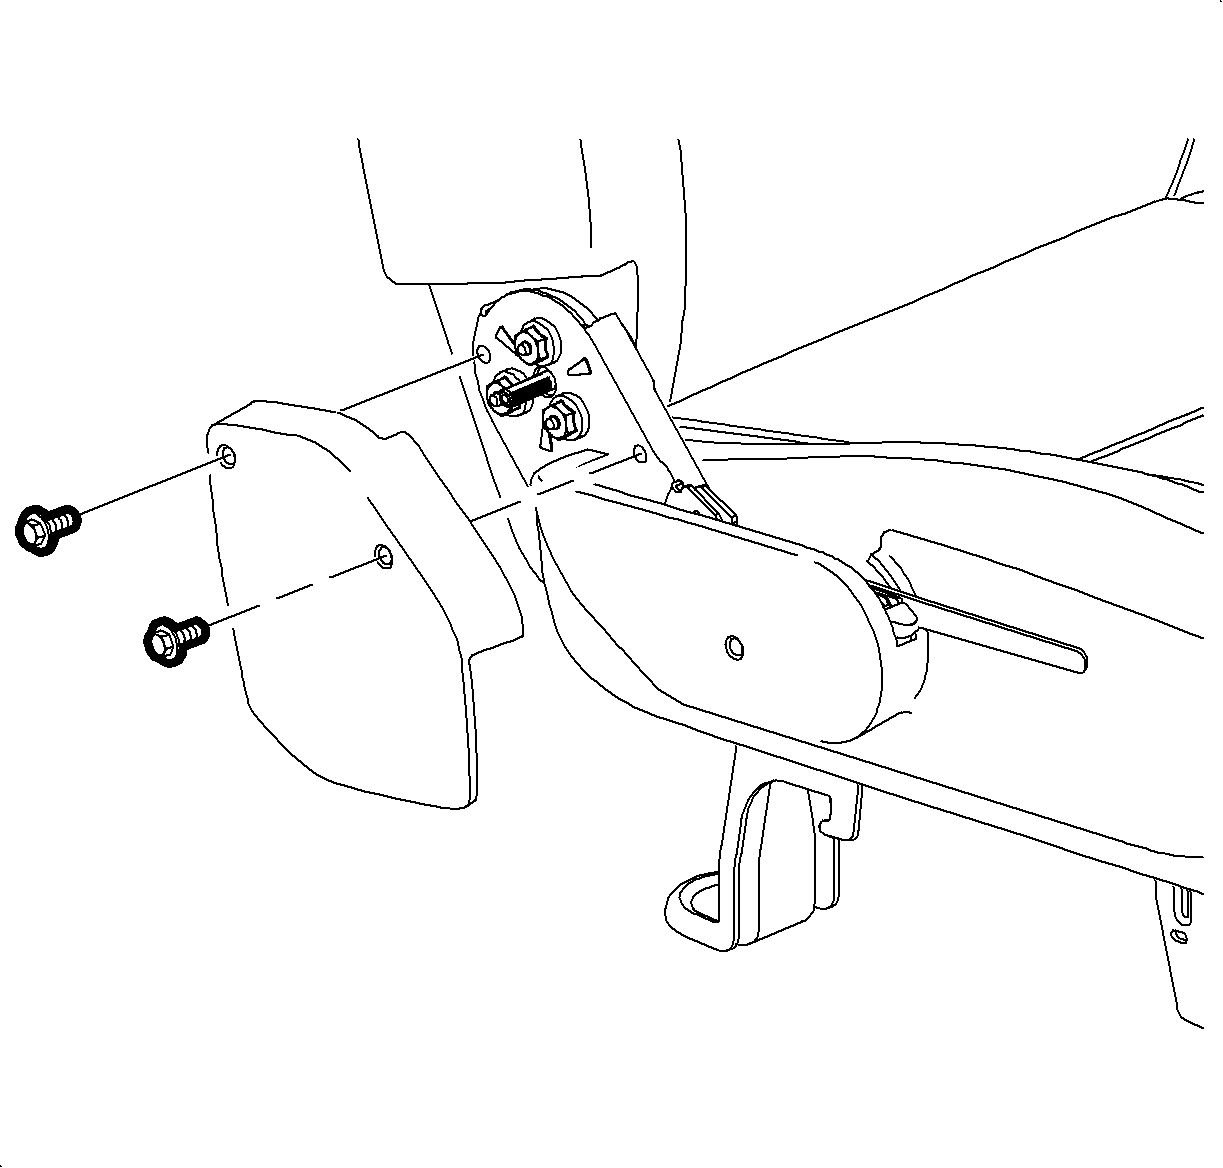
- Remove the trim cover screws from the outer cover of the seat back recliner.
- Remove the outer trim panel.
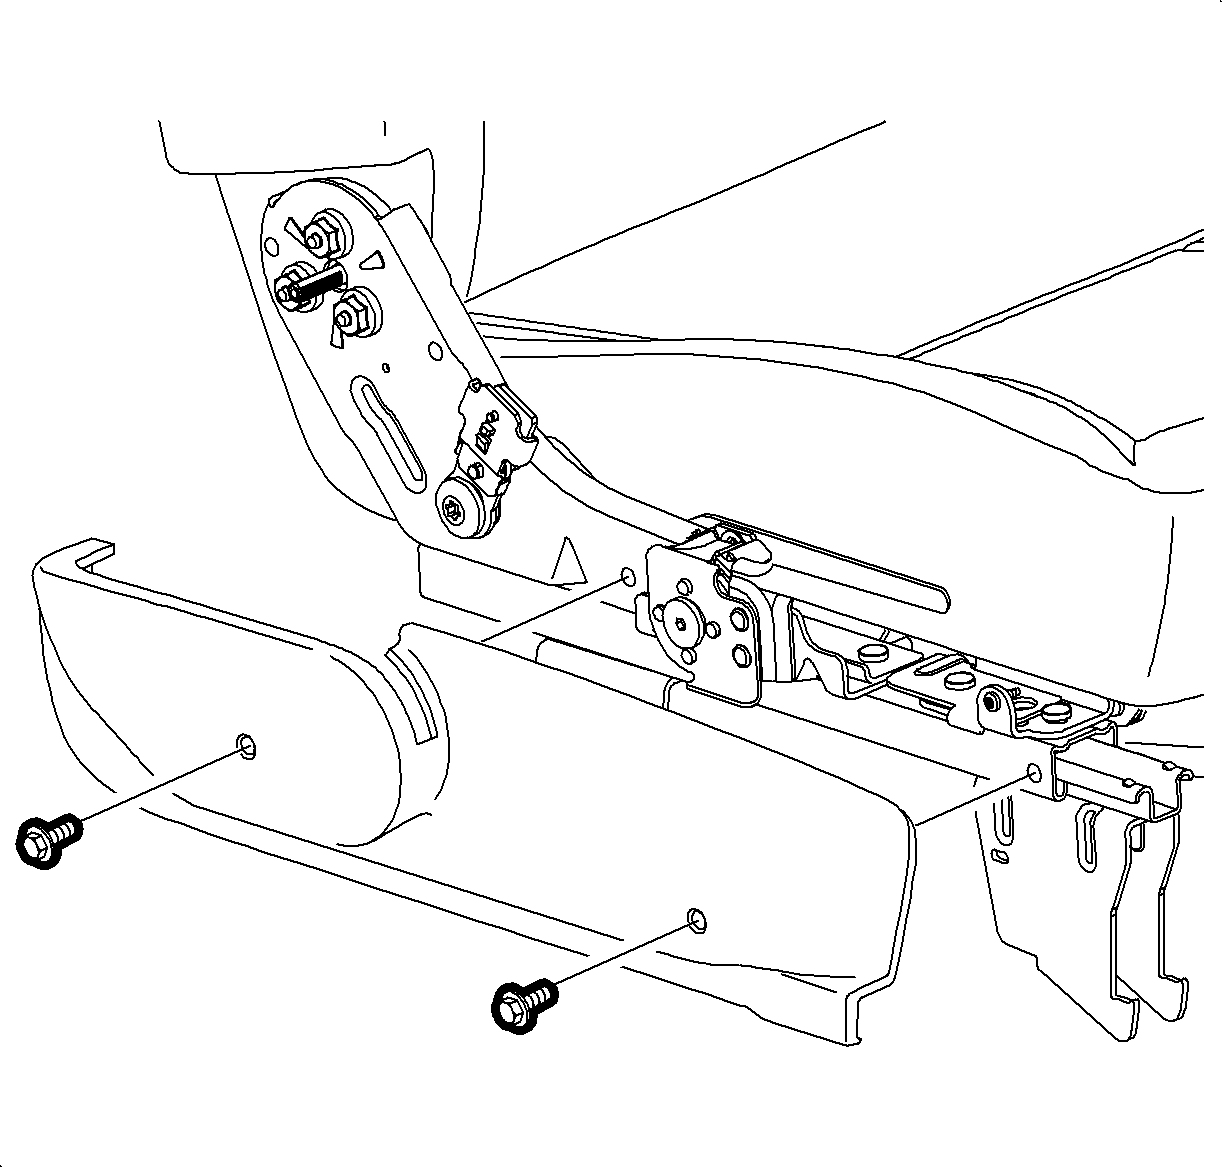
- Remove the outer trim panel screws from the seat cushion.
- Remove the trim panel.
Installation Procedure
- Install the trim panel and secure with the trim panel screws.
- Position the outboard recliner trim cover on the seat and secure with the trim cover screws.
- Install the front seat. Refer to Front Seat Replacement - Bucket .
Notice: Refer to Fastener Notice in the Preface section.

Tighten
Tighten the screws to 2.5 N·m (22 lb in).

Tighten
Tighten the screws to 2.5 N·m (22 lb in).
Front Seat Cushion Outer Trim Panel Replacement 6-Way
Removal Procedure
- Remove the front seat. Refer to Front Seat Replacement - Bucket .
- Remove the recliner handle trim by pulling firmly on the trim.
- Remove the trim panel screws.
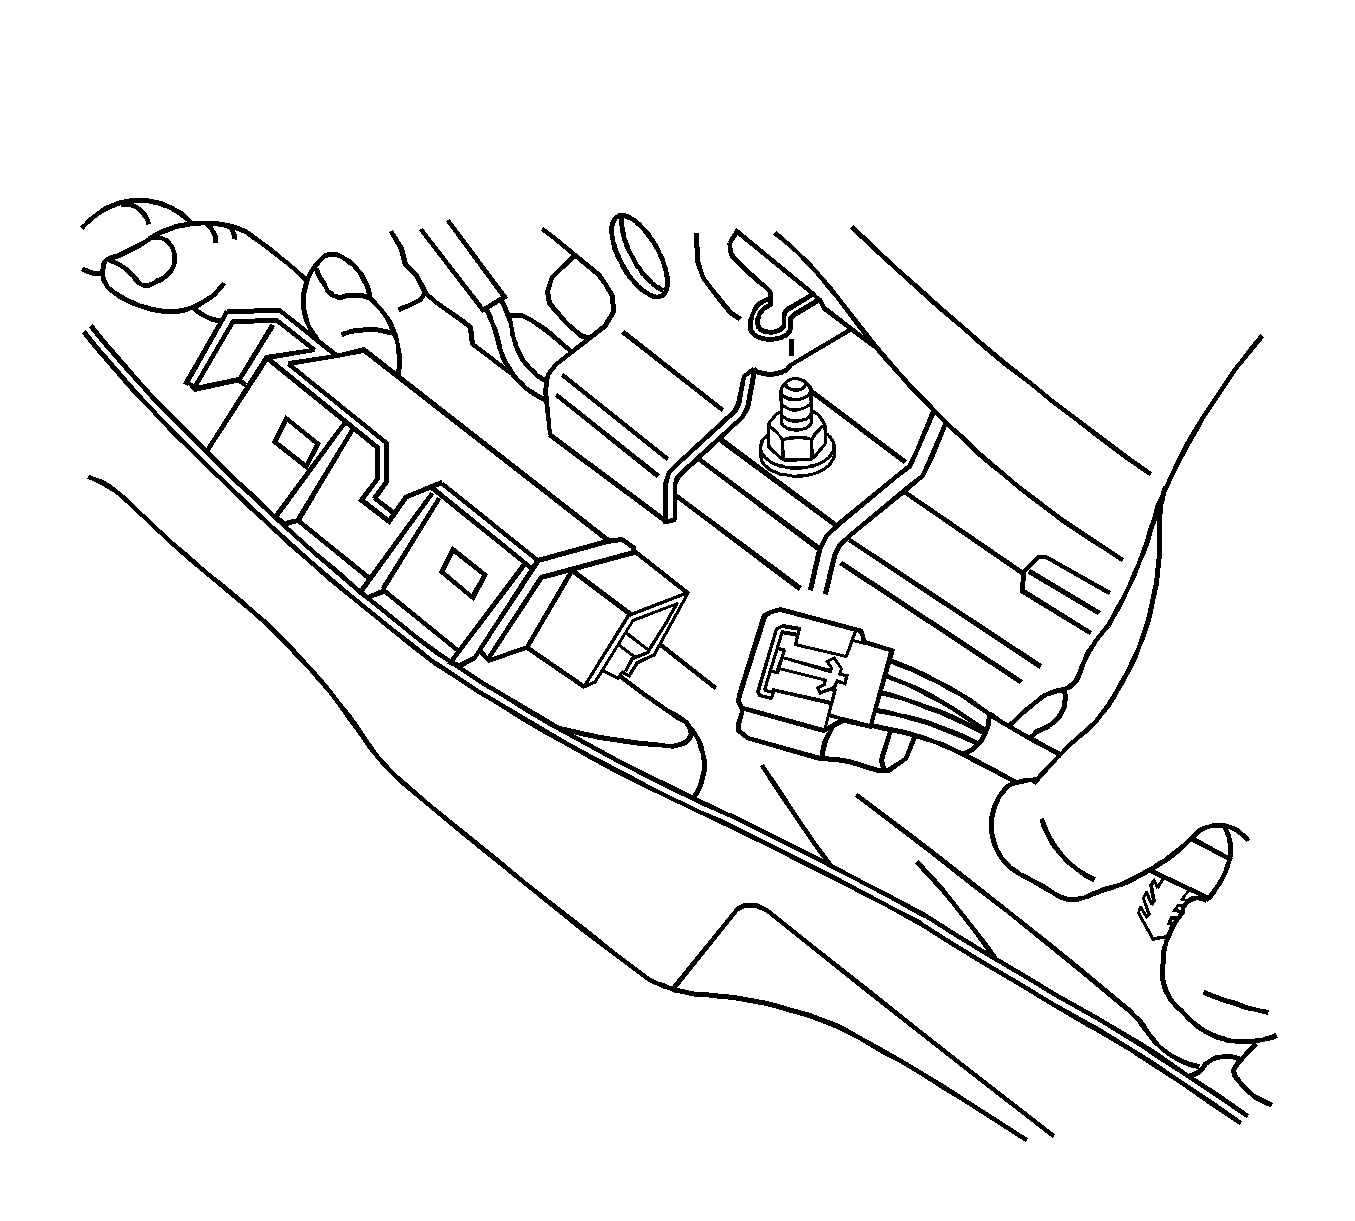
- Disconnect the electrical connector.
- Remove the trim panel from the seat.

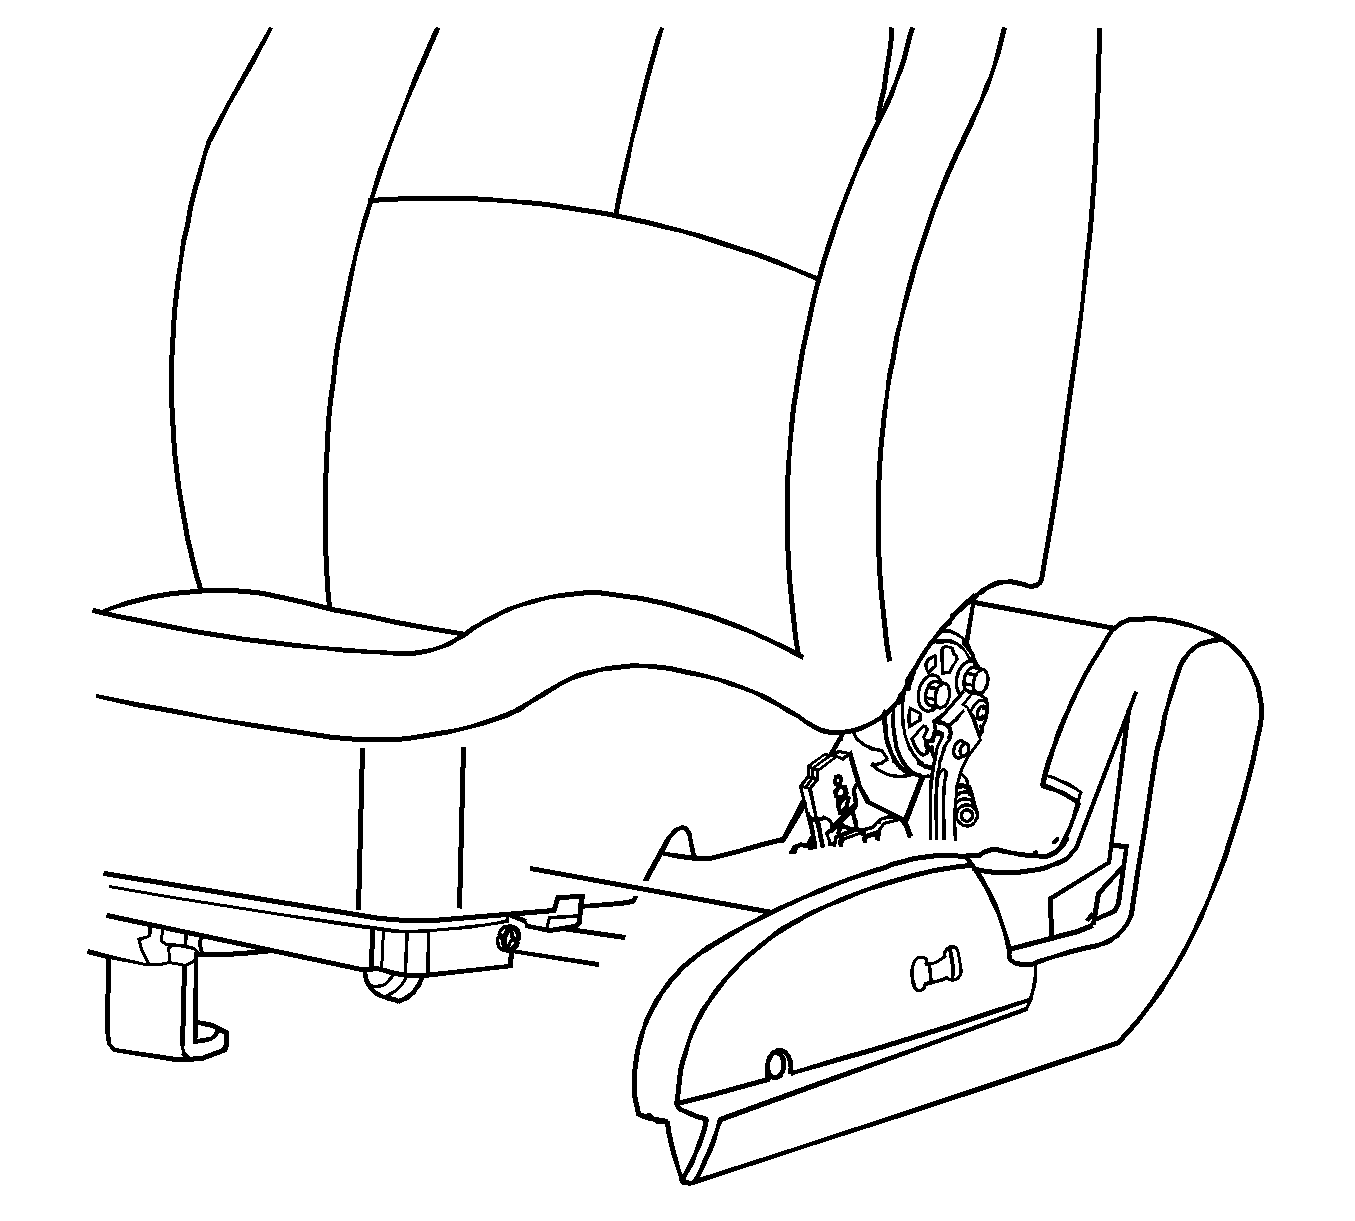
Installation Procedure
- Connect the electrical connector.
- Position the outer trim panel on the seat. Secure the panel with the panel screws.
- Position the cover over the recliner handle. Push firmly to lock the handle into place.
- Install the front seat. Refer to Front Seat Replacement - Bucket .

Notice: Refer to Fastener Notice in the Preface section.
Tighten
Tighten the screws to 2.5 N·m (22 lb in).

