For 1990-2009 cars only
Important: Follow the balance procedure in the order listed in the following steps. Powertrain mounts must be tightened in sequence.
- Raise and support the vehicle. Refer to Lifting and Jacking the Vehicle .
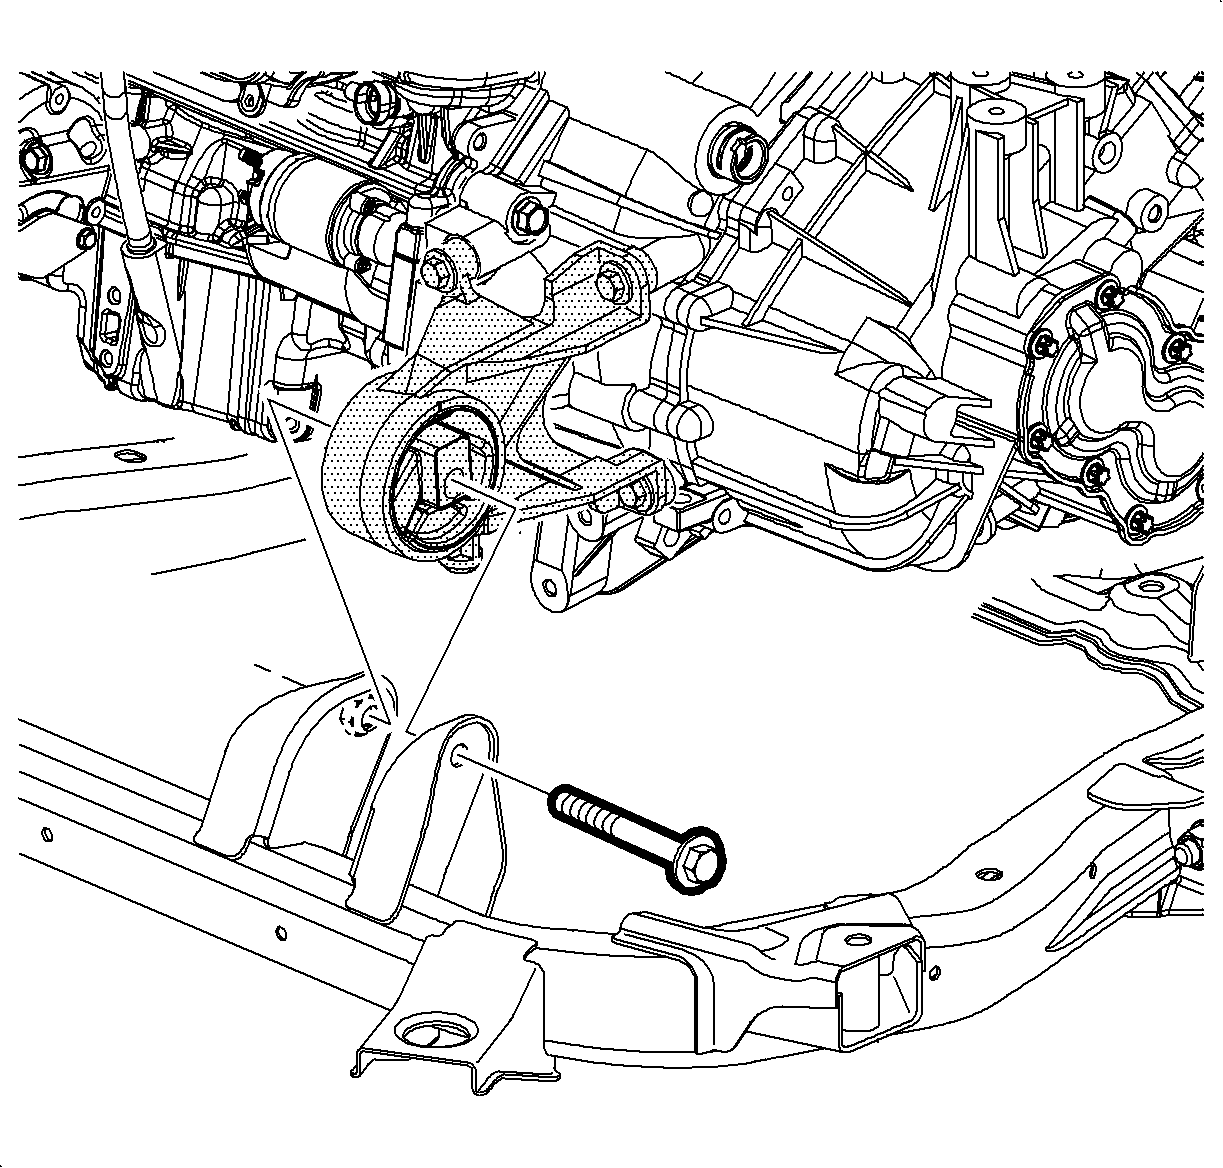
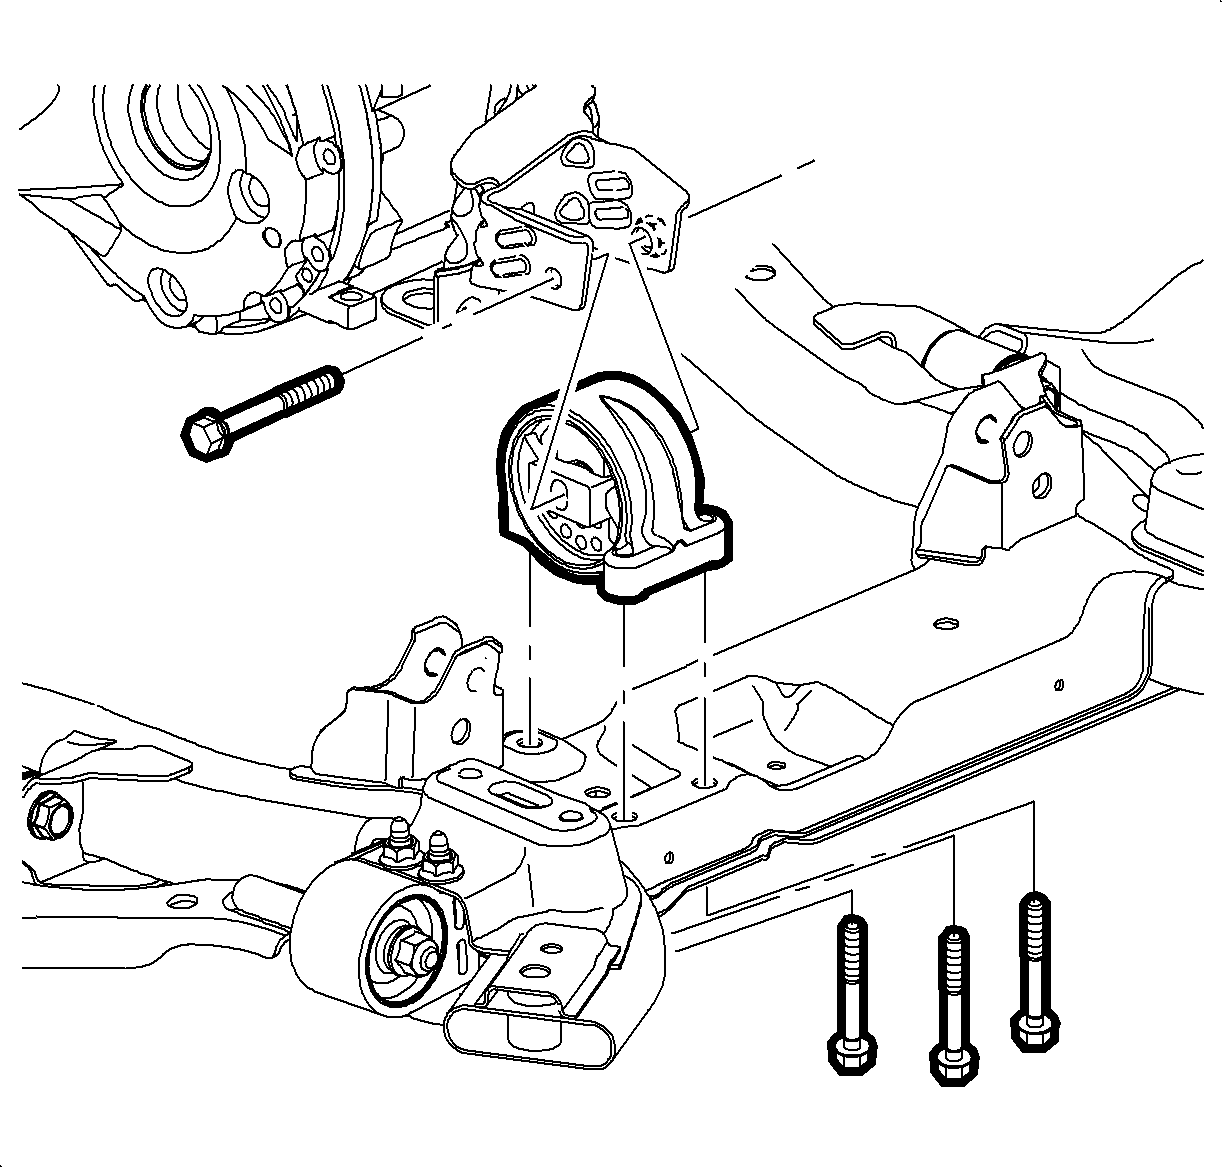
- Loosen the front mount through bolt. Do not remove.
- Loosen the rear mount through bolt. Do not remove.
- Position two floor jacks with wood blocks under the engine and transmission to support the powertrain assembly.
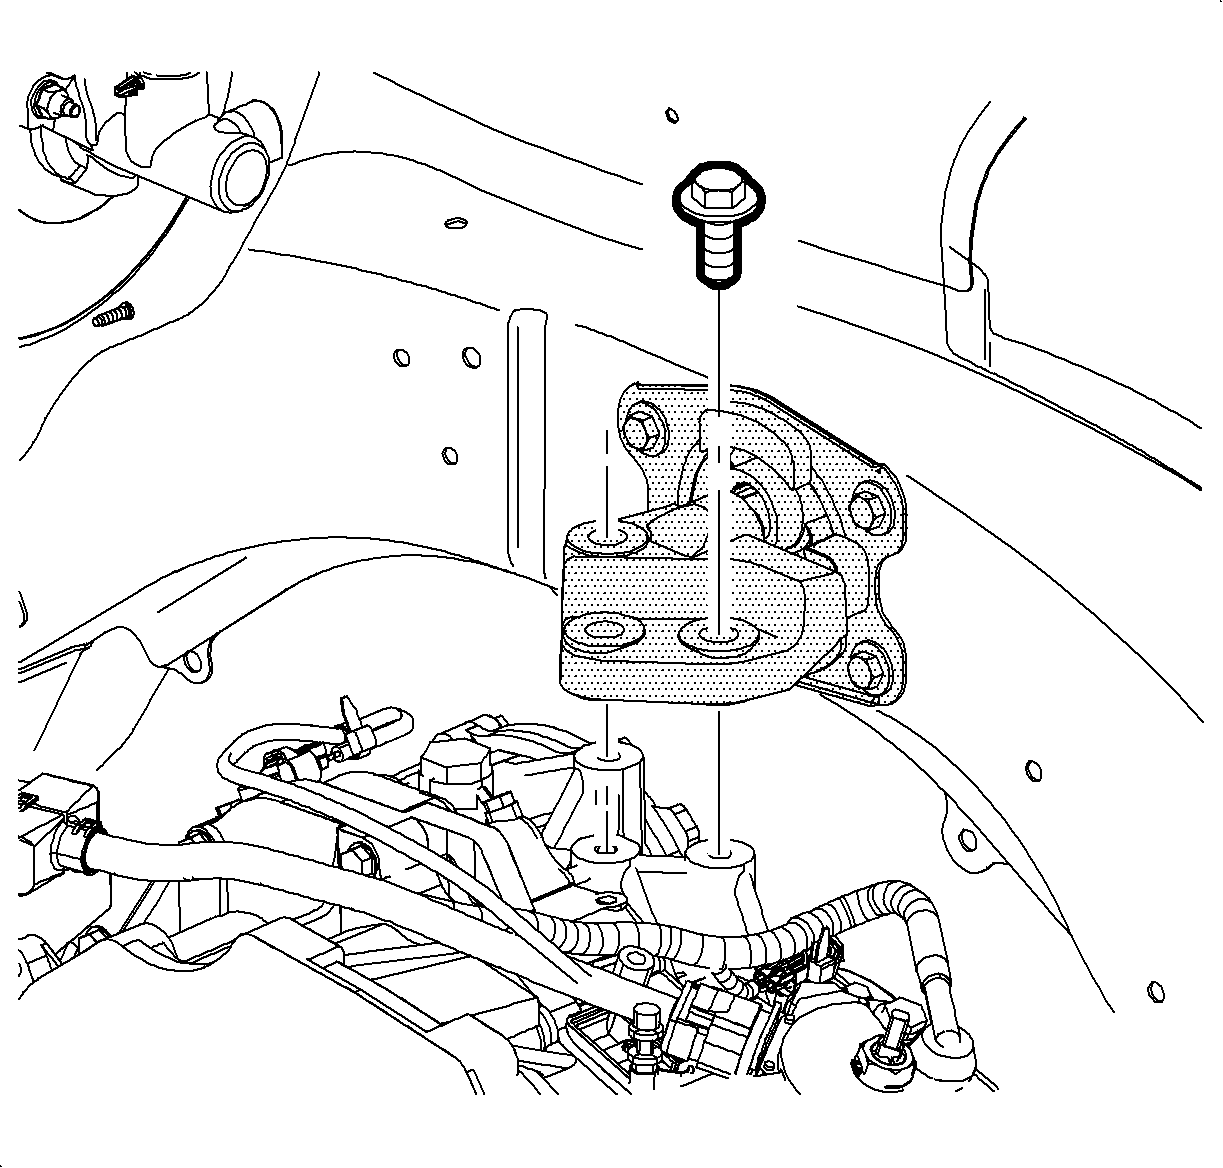
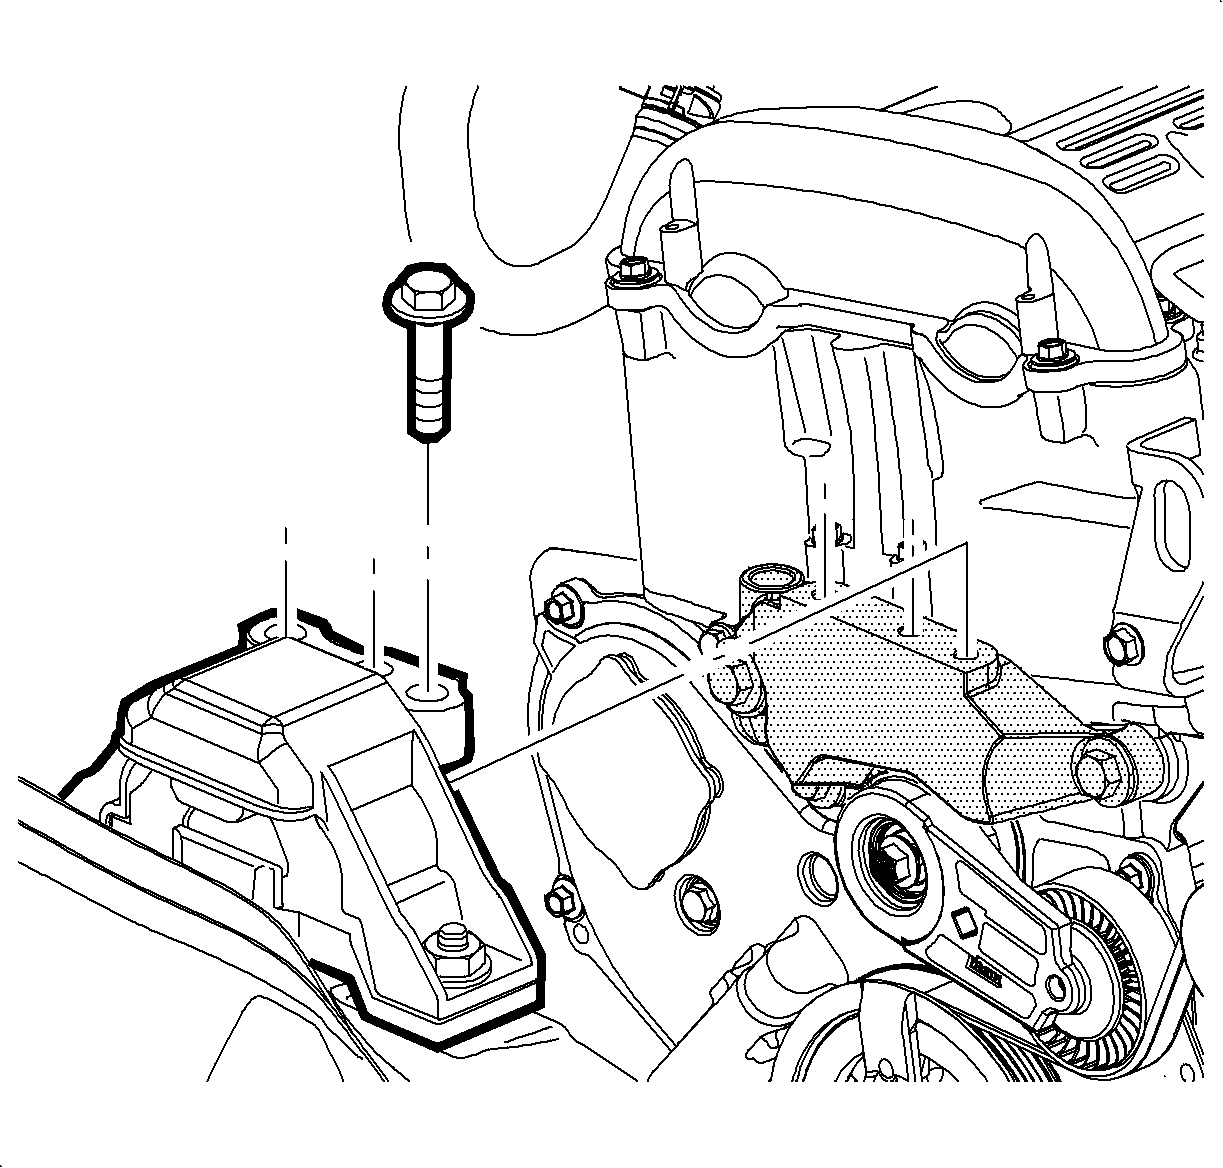
- From the engine compartment, loosen, do not remove the LH mount bolts.
- Loosen, do not remove the RH mount bolts.
- Reposition the floor jacks to allow a 1/8 inch gap between the mount and mount bracket
- Tighten the LH mount starting with the center bolt.
- Tighten the RH mount starting with the center bolt.
- Remove the floor jacks.
- Shake the powertrain vigorously from front to rear and allow the powertrain to settle.
- Tighten the rear mount through bolt.
- Tighten the front mount through bolt.
- Lower the vehicle.


Notice: Refer to Fastener Notice in the Preface section.

Tighten
Tighten the bolts to 50 N·m (37 lb ft).

Tighten
Tighten the bolts to 50 N·m (37 lb ft).

Tighten
Tighten the bolts to 110 N·m (81 lb ft).

Tighten
Tighten the bolts to 110 N·m (81 lb ft).
