Removal Procedure
Notice: This engine has aluminum cylinder heads. Do not remove the spark plugs from a hot engine, allow it to cool first. Removing the spark plugs from a hot engine may cause spark plug thread damage or cylinder head damage.
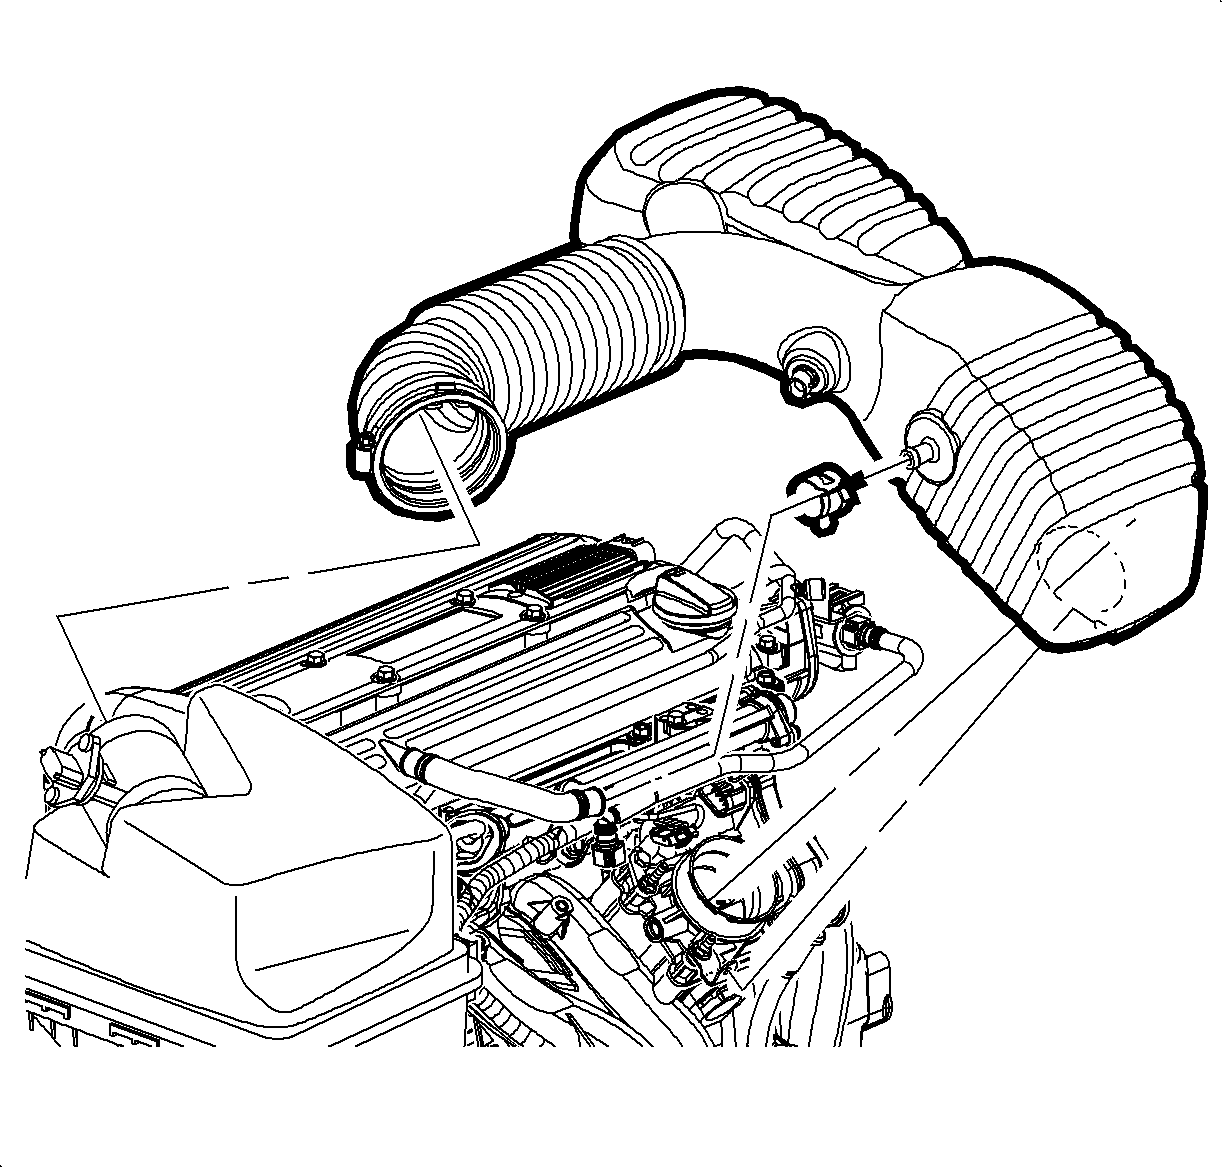
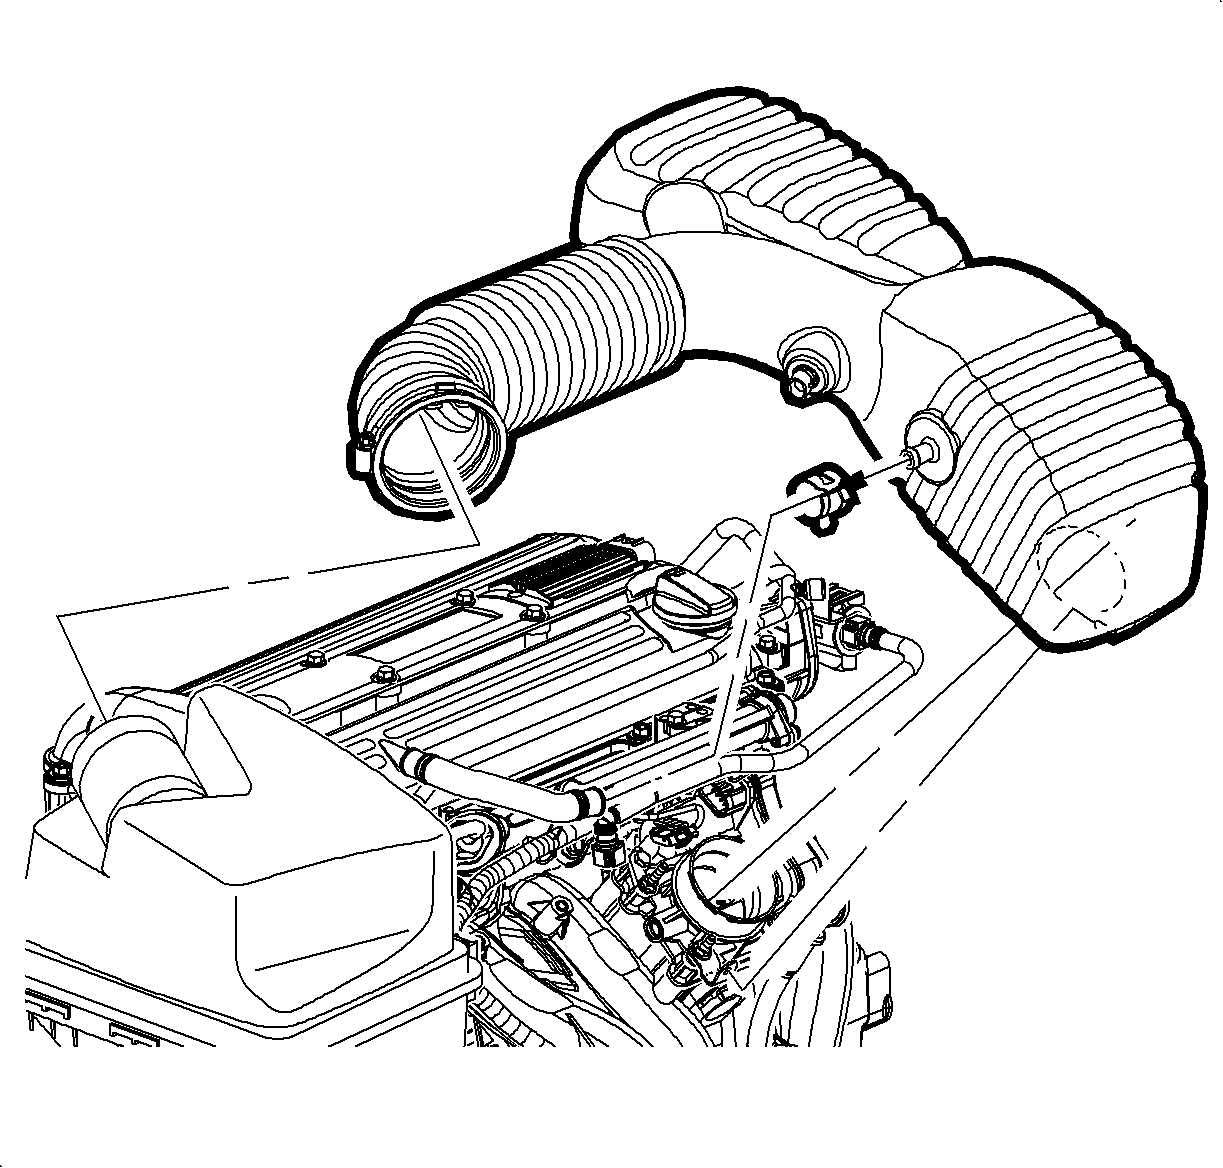
- Disconnect the intake air temperature (IAT) sensor connector.
- Loosen the clamp at the air cleaner assembly.
- Remove the push-pin attachment from the outlet resonator/duct assembly to support bracket.
- Loosen the clamp at the throttle body assembly.
- Disconnect the positive crankcase ventilation (PCV) fresh air bent hose at the cam cover.
- Remove the outlet resonator/duct assembly.
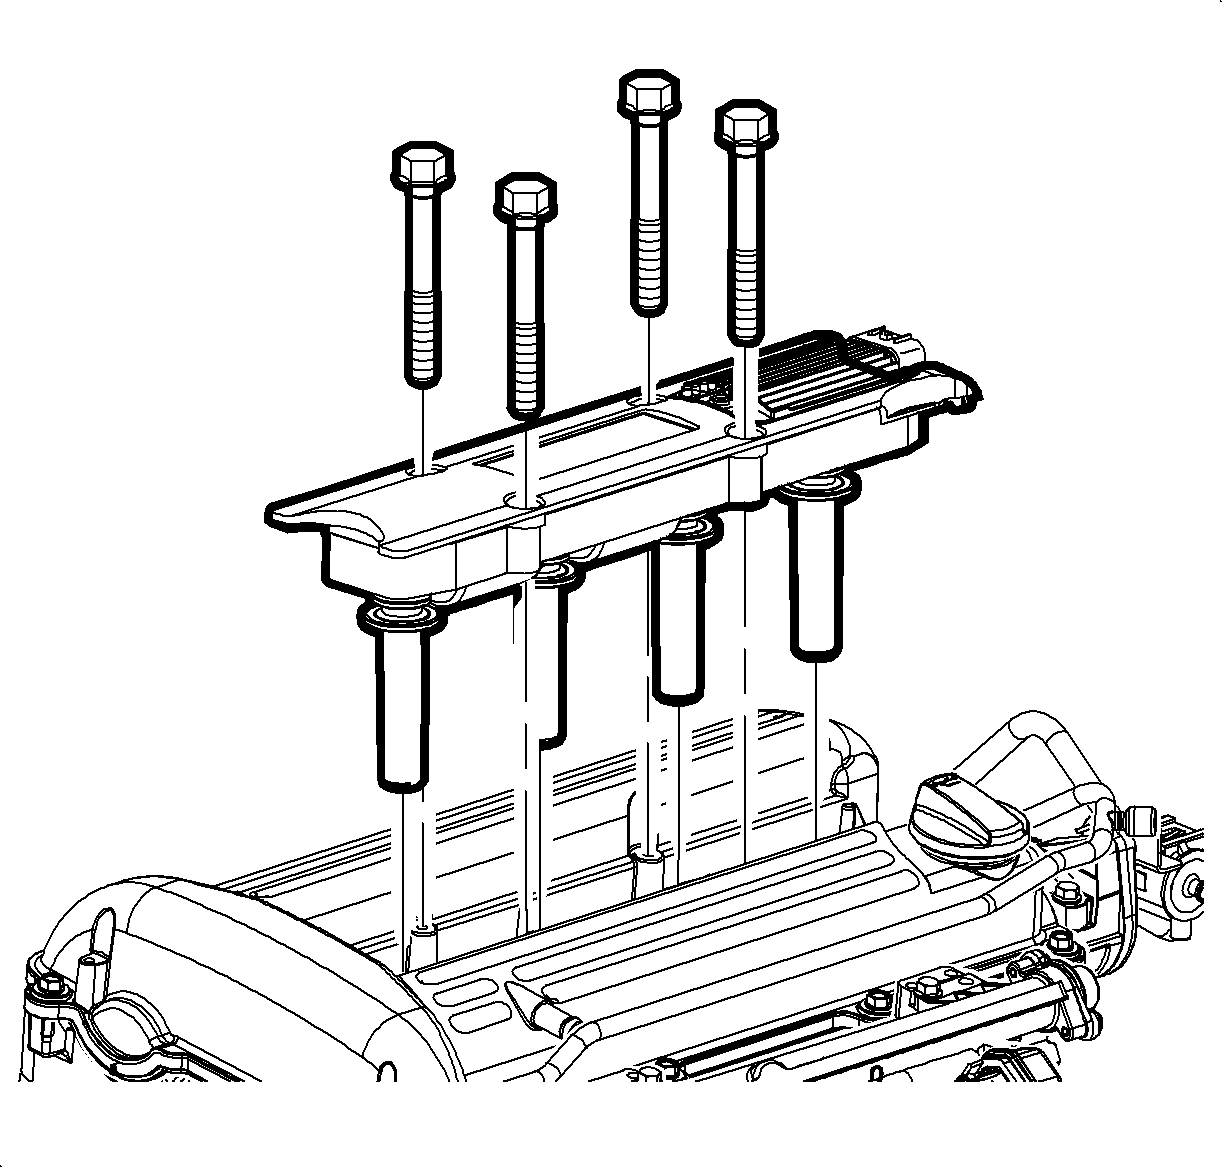
- Disconnect the electric ignition (EI) module electrical connector.
- Remove the ignition module attachment bolts.
- Remove the ignition module housing assembly with the spark plug boots from the spark plugs.
- Remove the spark plugs using a spark plug socket.
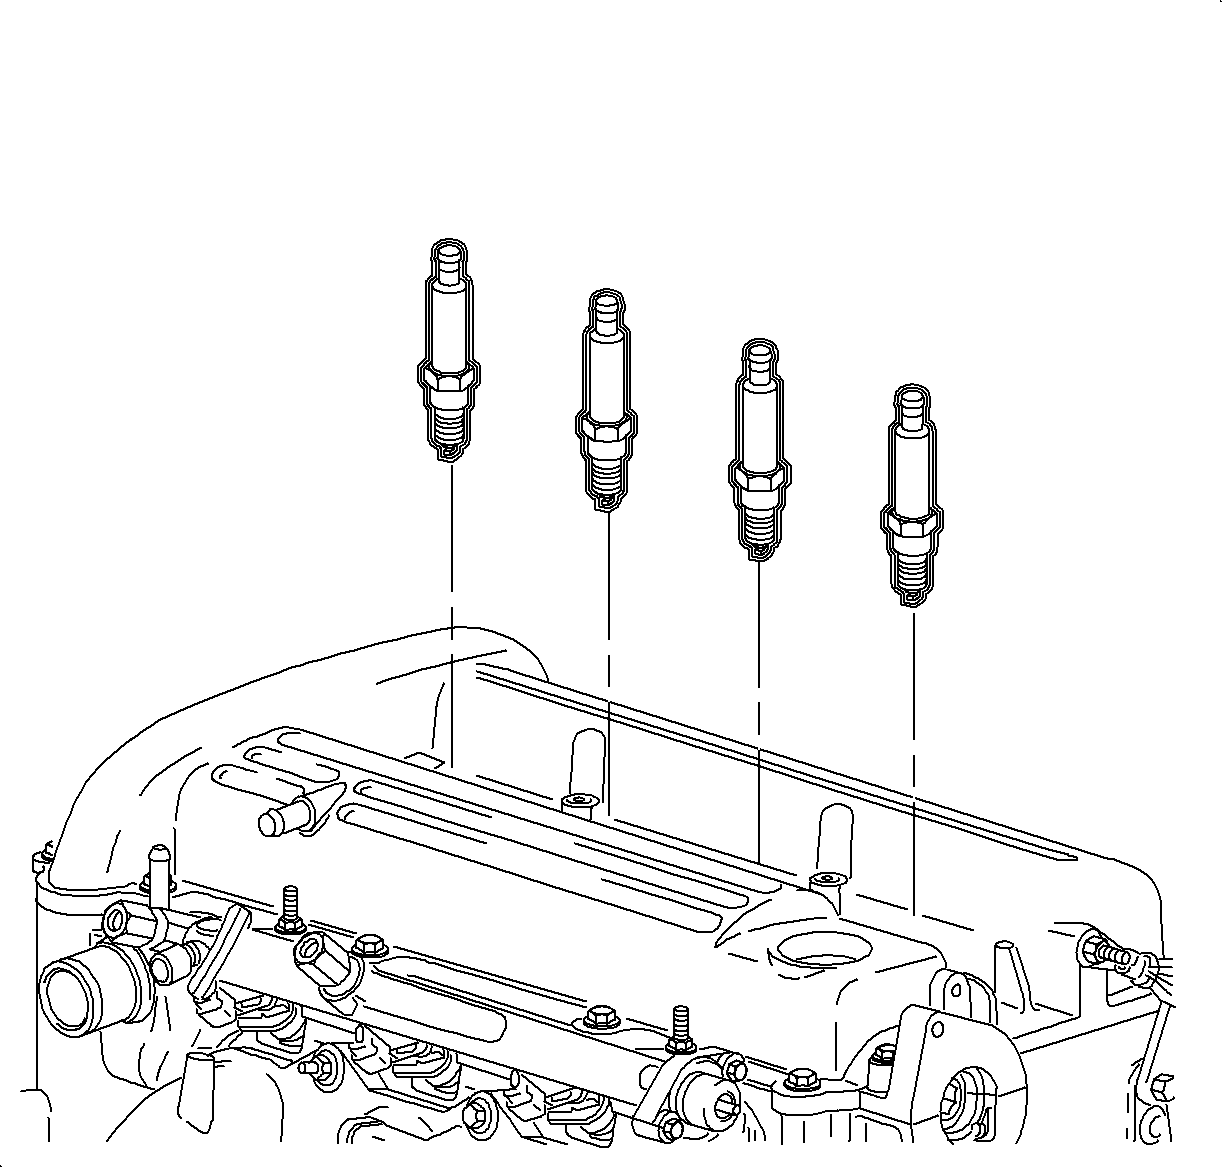
Important: To avoid getting water and debris into the spark plug holes, used compressed air and a shop rag to blow out each spark plug hole before plus are removed.
Installation Procedure
- Gap the spark plugs.
- Install the spark plugs.
- Apply dielectric compound to the spark plug boots and ensure no corrosion is present.
- Install the ignition module housing assembly with spark plug boots into position.
- Connect the EI module harness connector. Push in until a click is heard and pull back to confirm a positive engagement.
- Position the outlet resonator/duct assembly into position.
- Connect the PCV fresh air vent hose assembly.
- Tighten the clamp at the throttle body assembly.
- Position the outlet resonator/duct assembly up with support bracket and install the push-pin.
- Tighten the clamp at the air cleaner assembly.
- Connect the IAT sensor connector.

Notice: Do not coat spark plug threads with anti-seize compound. If anti-seize compound is used and spark plugs are over-torqued, damage to the cylinder head threads may result.
Specification
Spark Plug Gap: 1.0 mm (0.040 in)
Notice: Refer to Fastener Notice in the Preface section.
Tighten
Tighten the spark plugs to 20 N·m (15 lb ft).
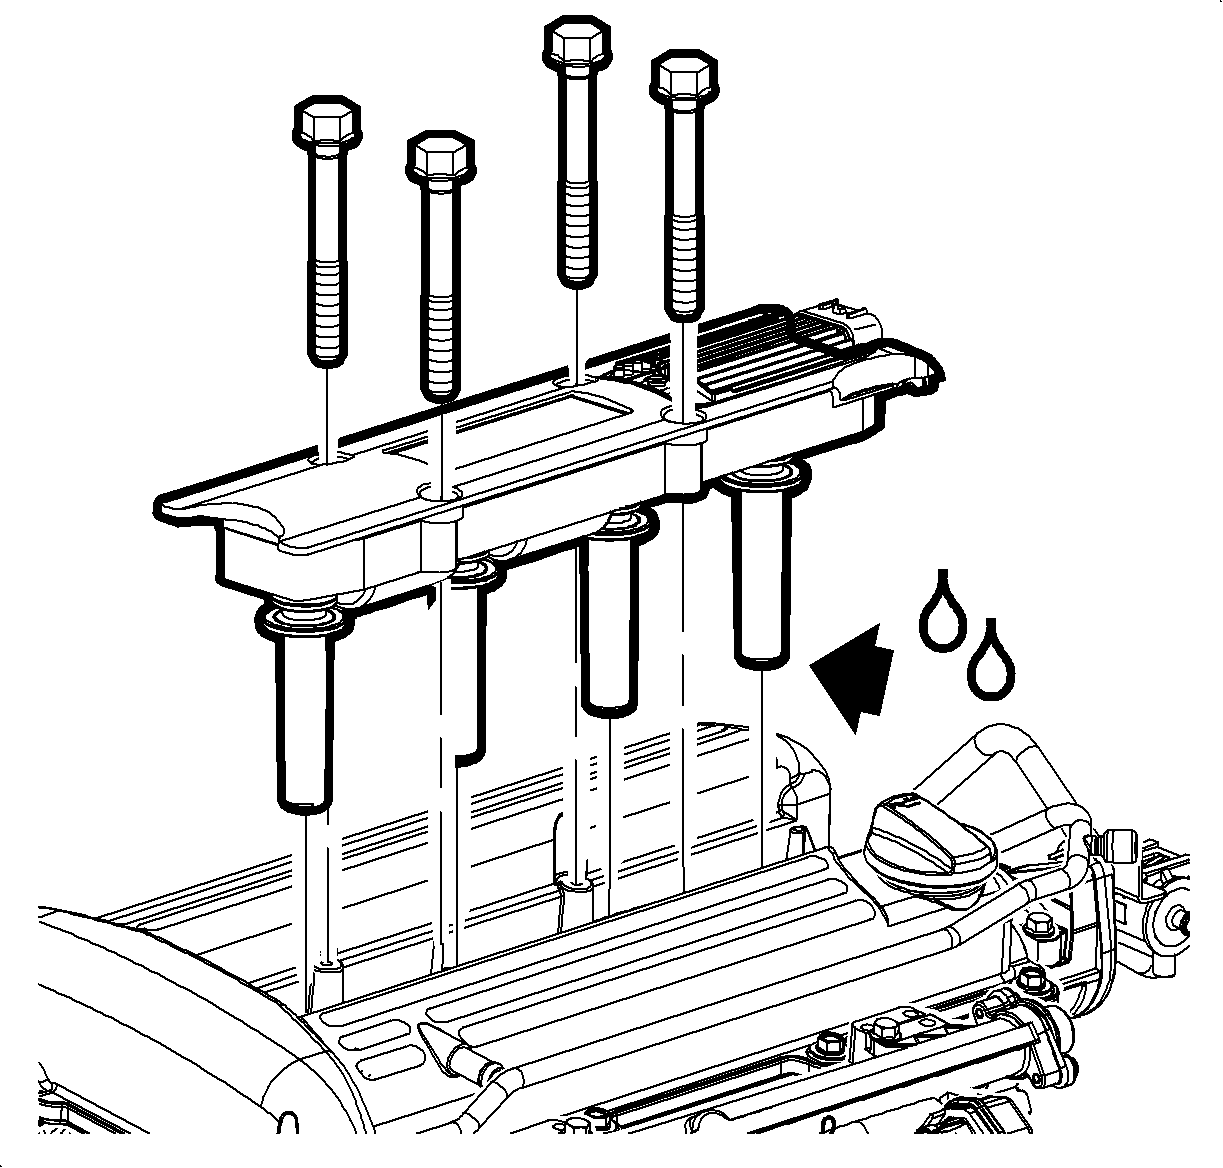

Tighten
Tighten the ignition module-to-camshaft cover bolts to 10 N·m (89 lb in).
