Removal Procedure
- Ensure that the fuel level in the tank is less than 1/4 full. If necessary, drain the fuel tank to at least this level. Refer to Fuel Tank Draining .
- Remove the fuel fill cap.
- Raise and support the vehicle. Refer to Lifting and Jacking the Vehicle .
- Remove the right rear wheel and tire. Refer to Tire and Wheel Removal and Installation .
- Remove the right rear wheelhouse inner liner. Refer to Rear Wheelhouse Panel Liner Replacement .
- Loosen the fuel fill tube hose clamp.
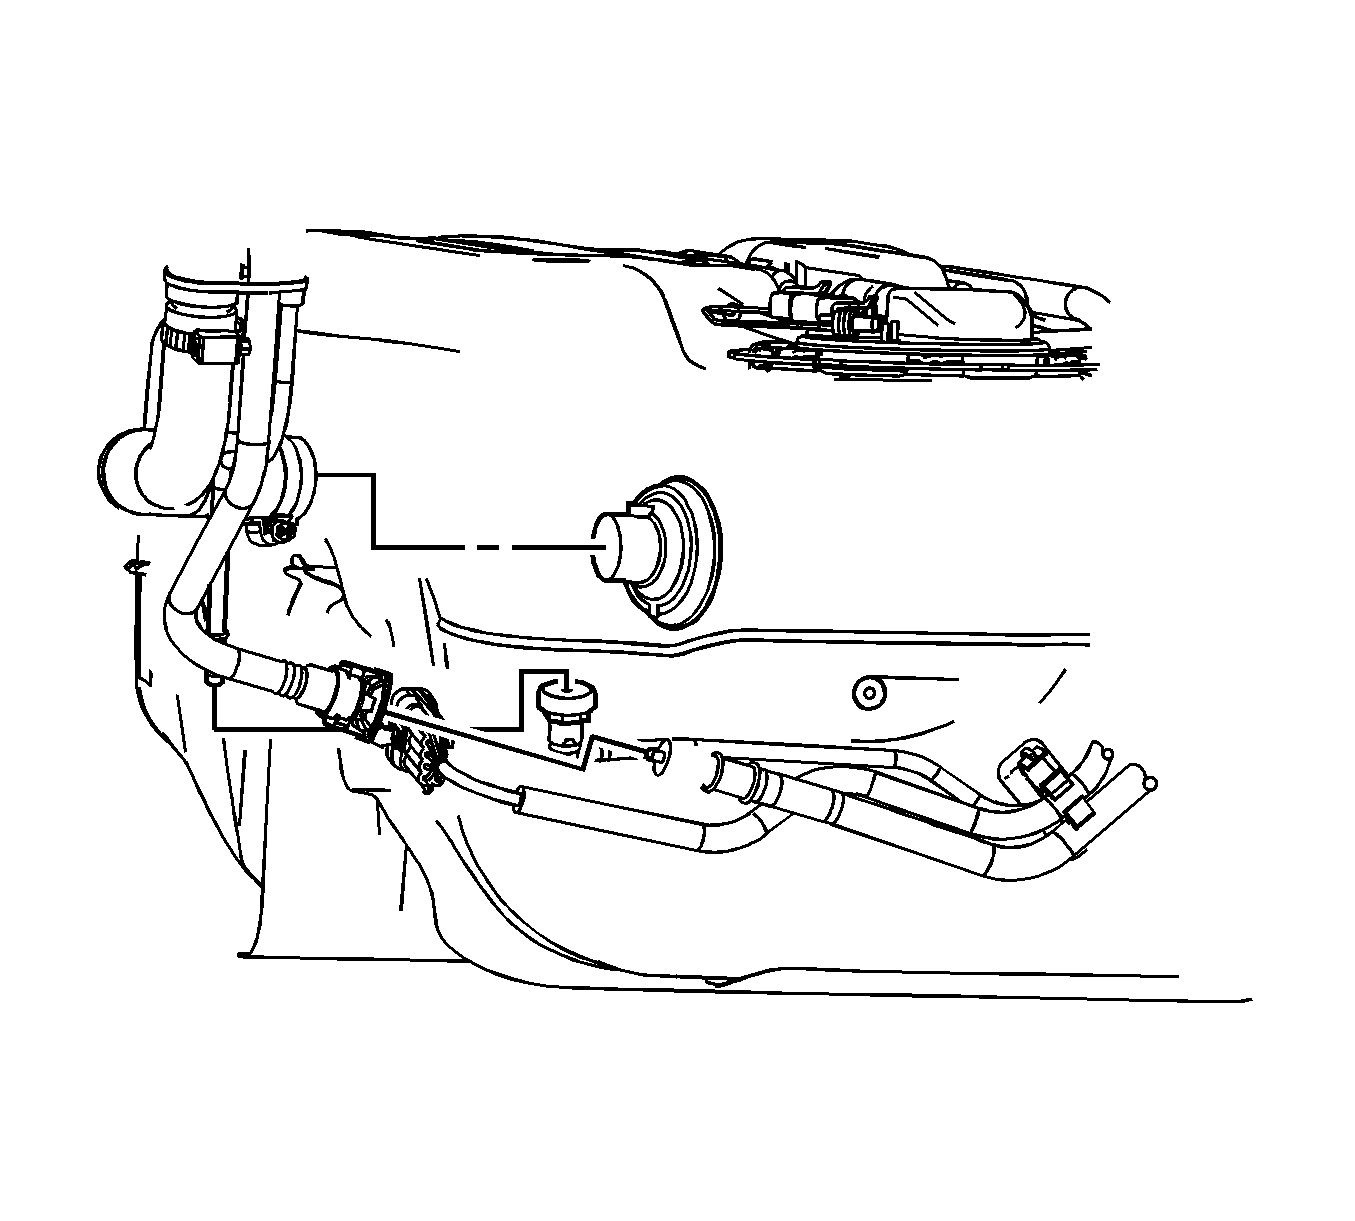
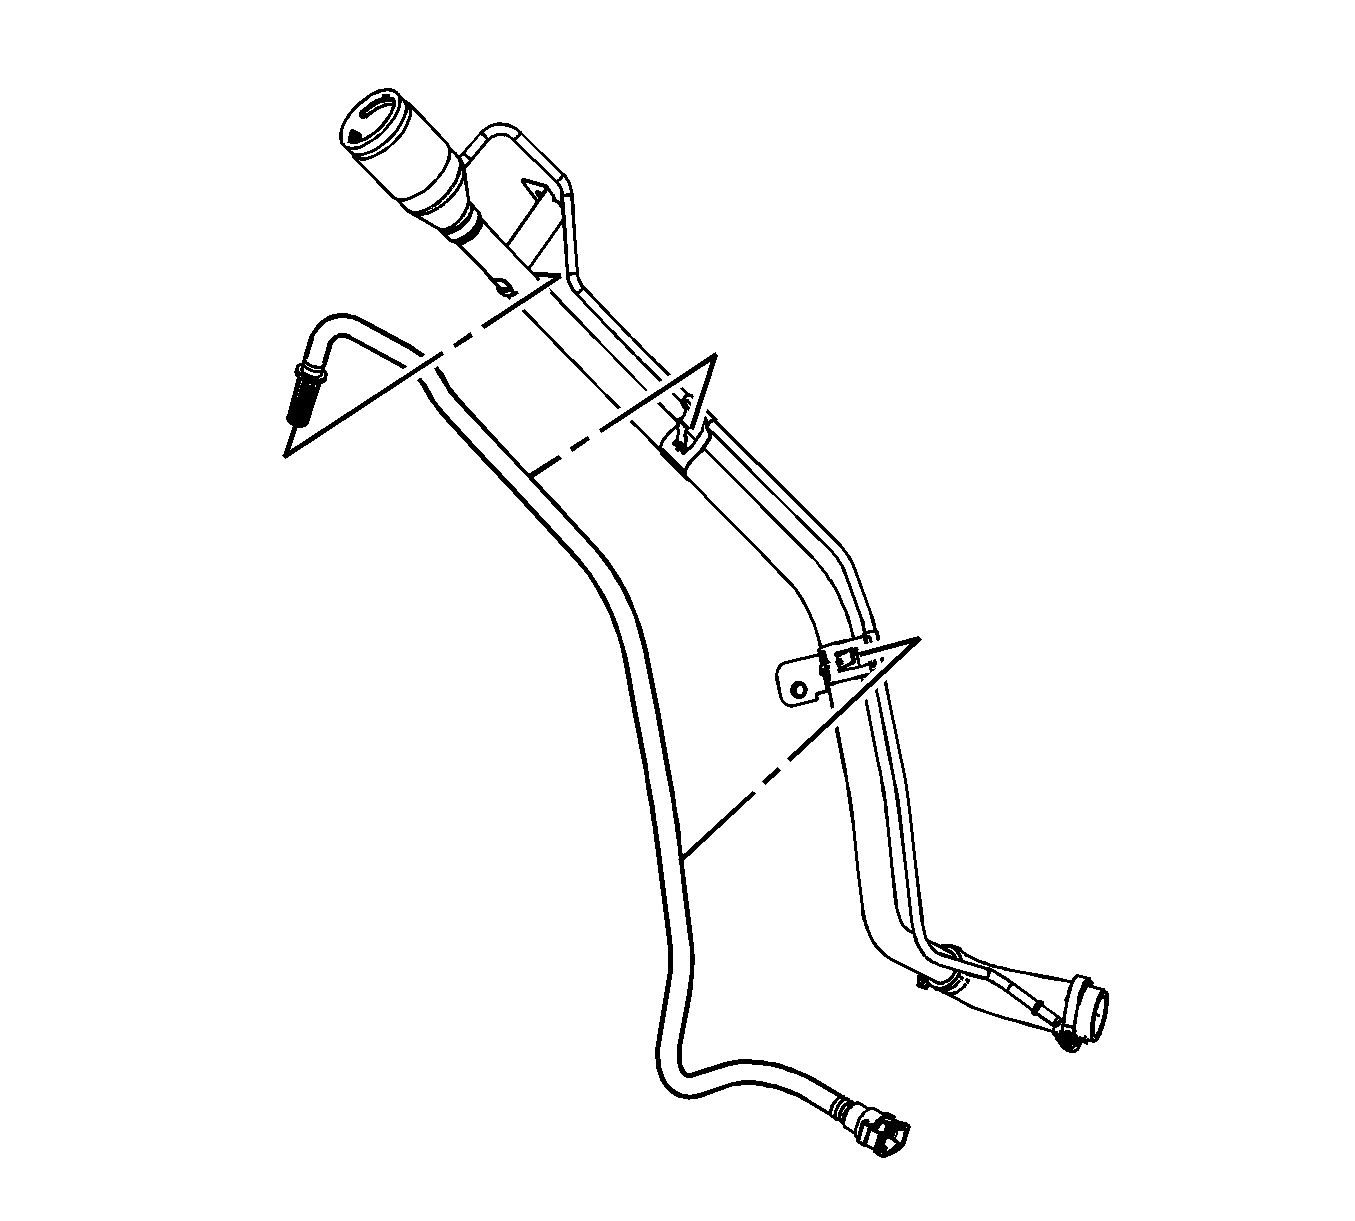
- Disconnect the fuel fill tube, the fuel fill vent tube, and the fresh air hose from the fuel tank.
- Remove the fuel fill tube bracket bolts (2).
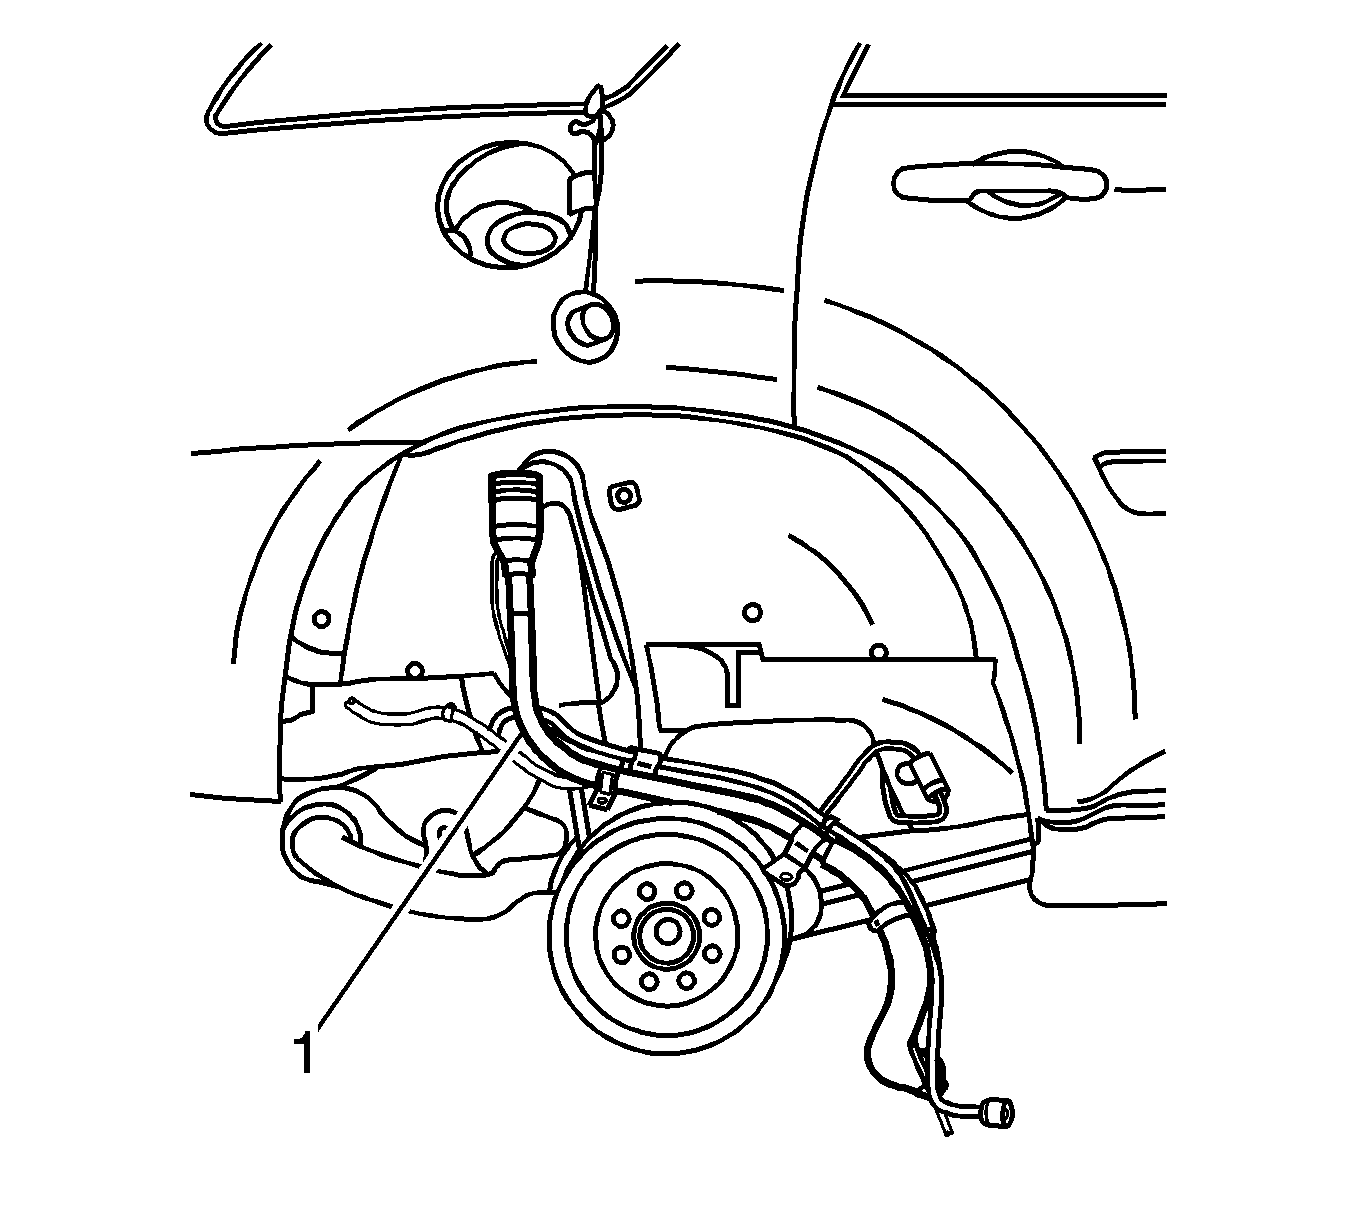
- Remove the fuel fill tube (1) from the vehicle.
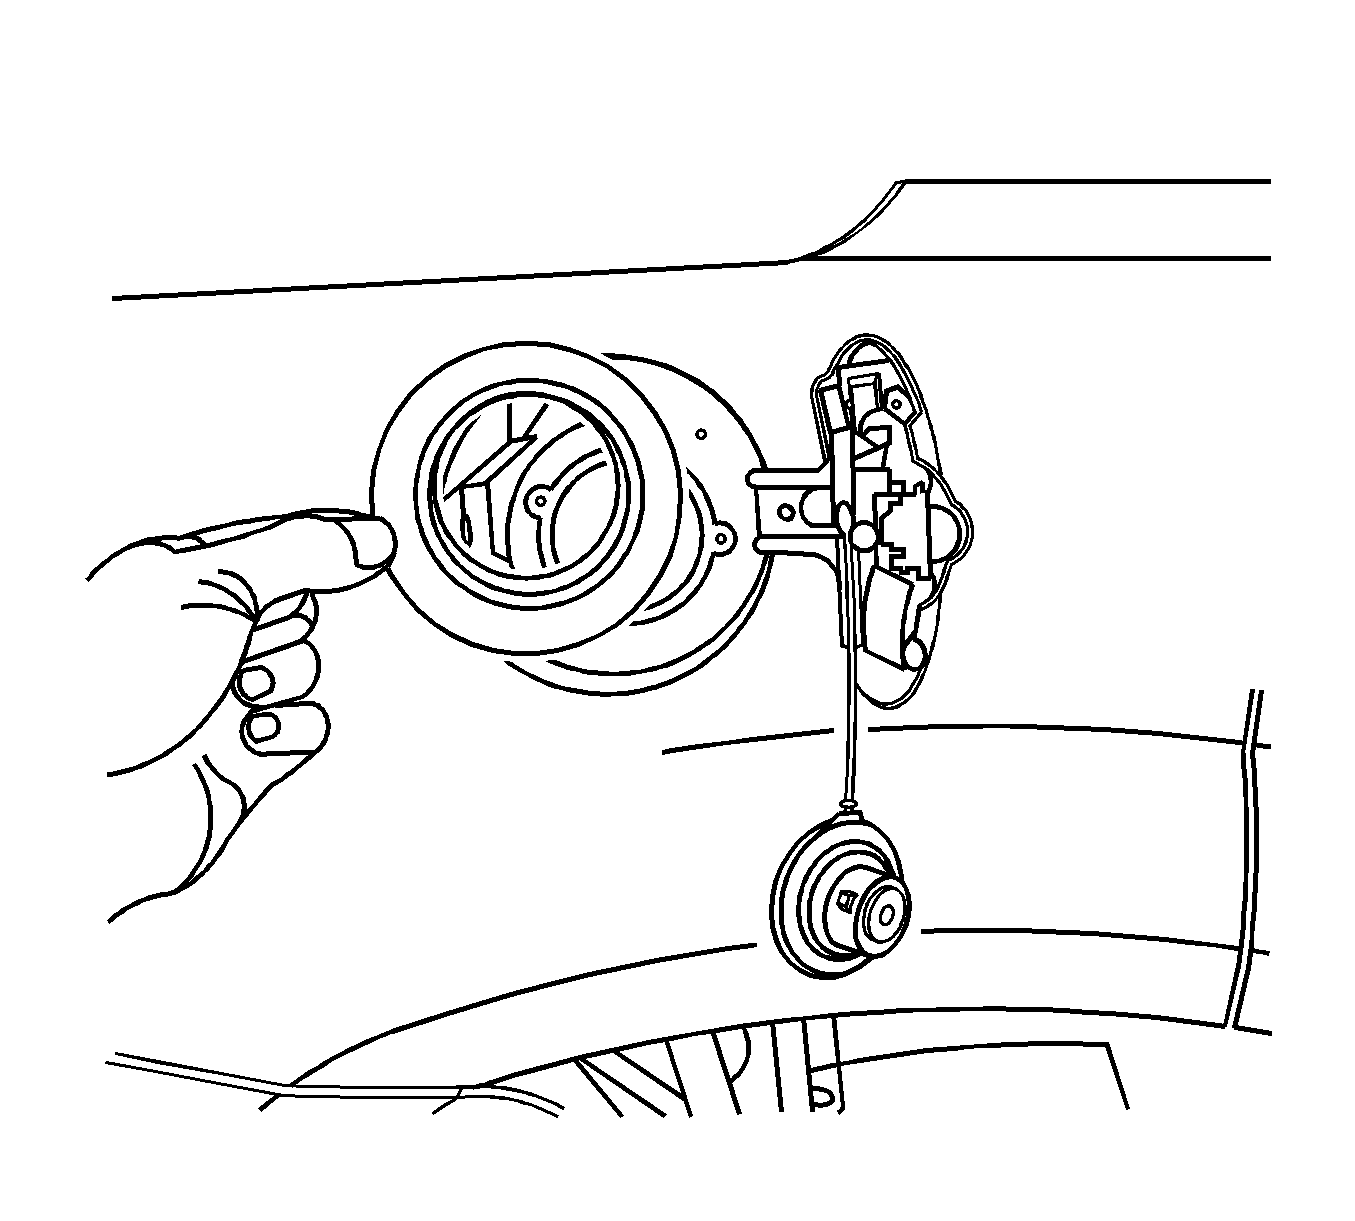
- Remove the closeout grommet.
- Separate the fuel tank fill vent hose from the fuel fill tube.
Caution: Do not allow smoking or the use of open flames in the area where work on the fuel or EVAP system is taking place. Anytime work is being done on the fuel system, disconnect the negative battery cable, except for those tests where battery voltage is required.
Important: Replacement fuel filler tube hoses do not come equipped with hose clamps. Obtain replacement hose clamps prior to beginning this service procedure.
Installation Procedure
- Attach the fuel tank fill vent hose to the fuel fill tube.
- Install the closeout grommet.
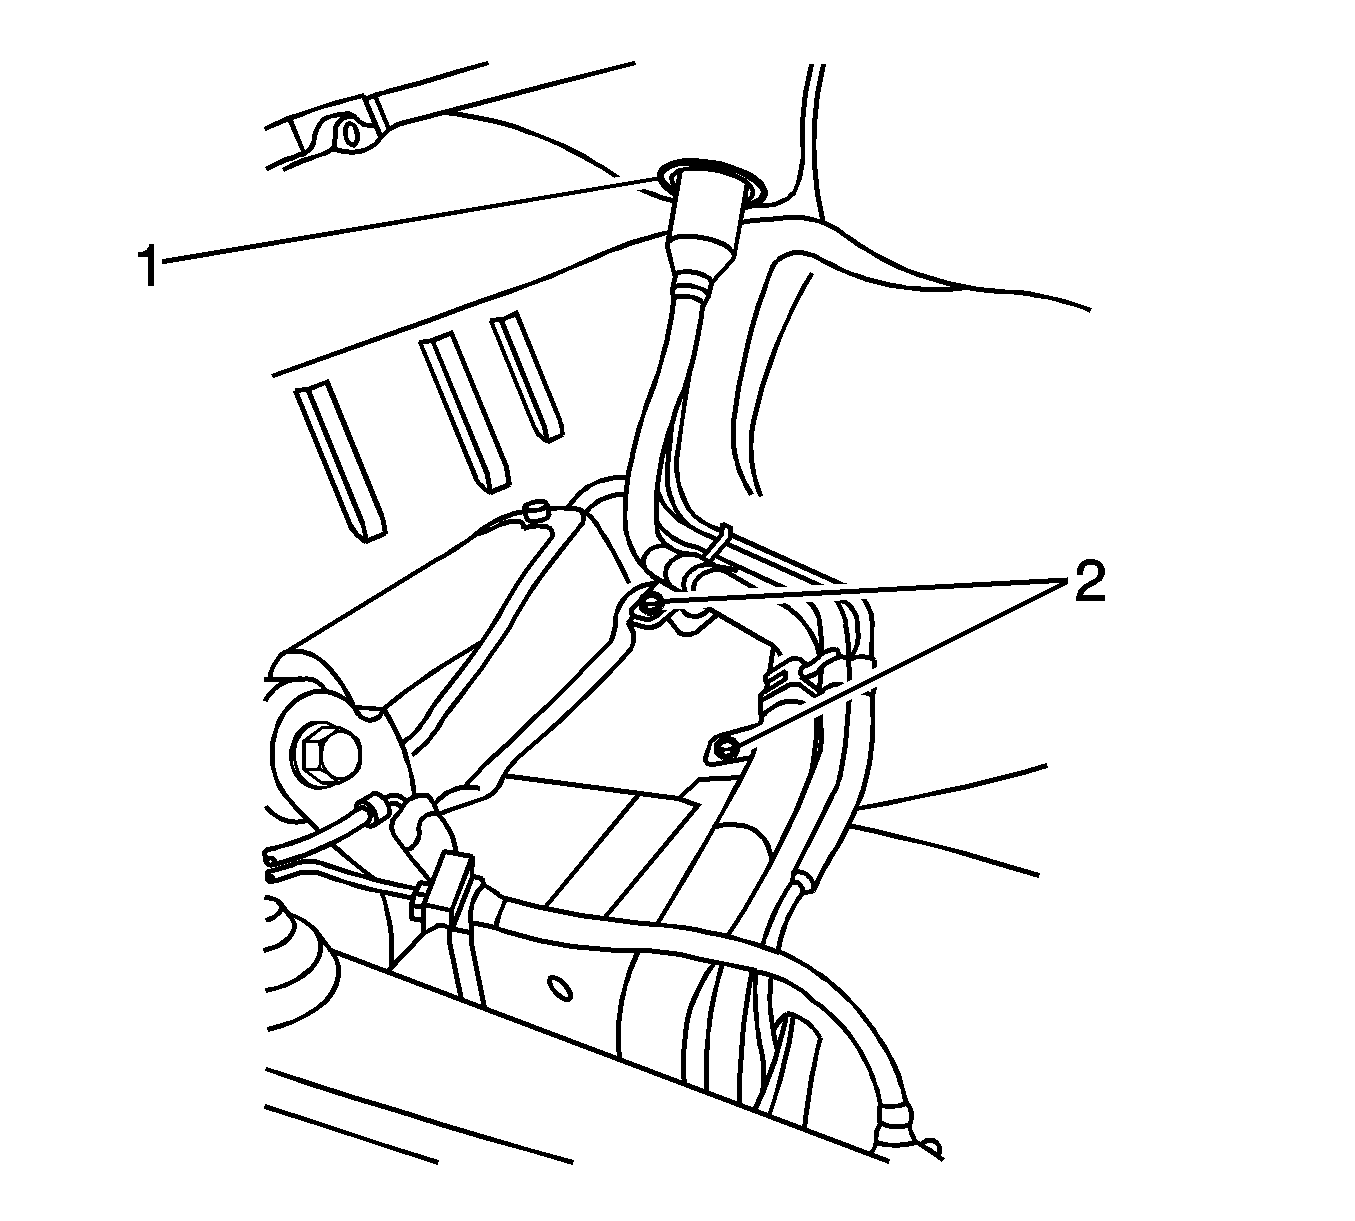
- Position the fuel fill tube (1) to the vehicle.
- Position the fuel fill tube to the closeout grommet (1).
- Install the fuel fill tube bracket bolts (2).
- Position the fill tube-to-fuel tank connecting hose and hose clamp.
- Connect the fuel fill vent tube and fresh air hose.
- Install the inner wheelhouse liner. Refer to Rear Wheelhouse Panel Liner Replacement .
- Install the wheel and tire. Refer to Tire and Wheel Removal and Installation .
- Lower the vehicle from the hoist.
- Install the fuel fill cap.
- Perform the Service Bay Diagnostic Test for the EVAP emission system using the scan tool. This test will verify the integrity of the vapor handling areas of the fuel system.
- Install the fuel injector sight shield. Refer to Fuel Injector Sight Shield Replacement .
Notice: Refer to Fastener Notice in the Preface section.
Tighten
Tighten the bolt to 9 N·m (80 lb in).
Important: Ensure that the fuel fill tube connecting hose is installed until it touches the fuel tank body. The hose clamp should be located within 13 mm (1/2 in) of the end of the connecting hose.
Tighten
Tighten the clamp to 5 N·m (44 lb in).
