For 1990-2009 cars only
Special Tools
J 39400-A Halogen Leak Detector
Removal Procedure
- Recover the refrigerant. Refer to Refrigerant Recovery and Recharging .
- Remove the surge tank. Refer to Radiator Surge Tank Replacement .
- Remove the washer container. Refer to Windshield Washer Solvent Container Replacement .
- Remove the battery. Refer to Battery Replacement .
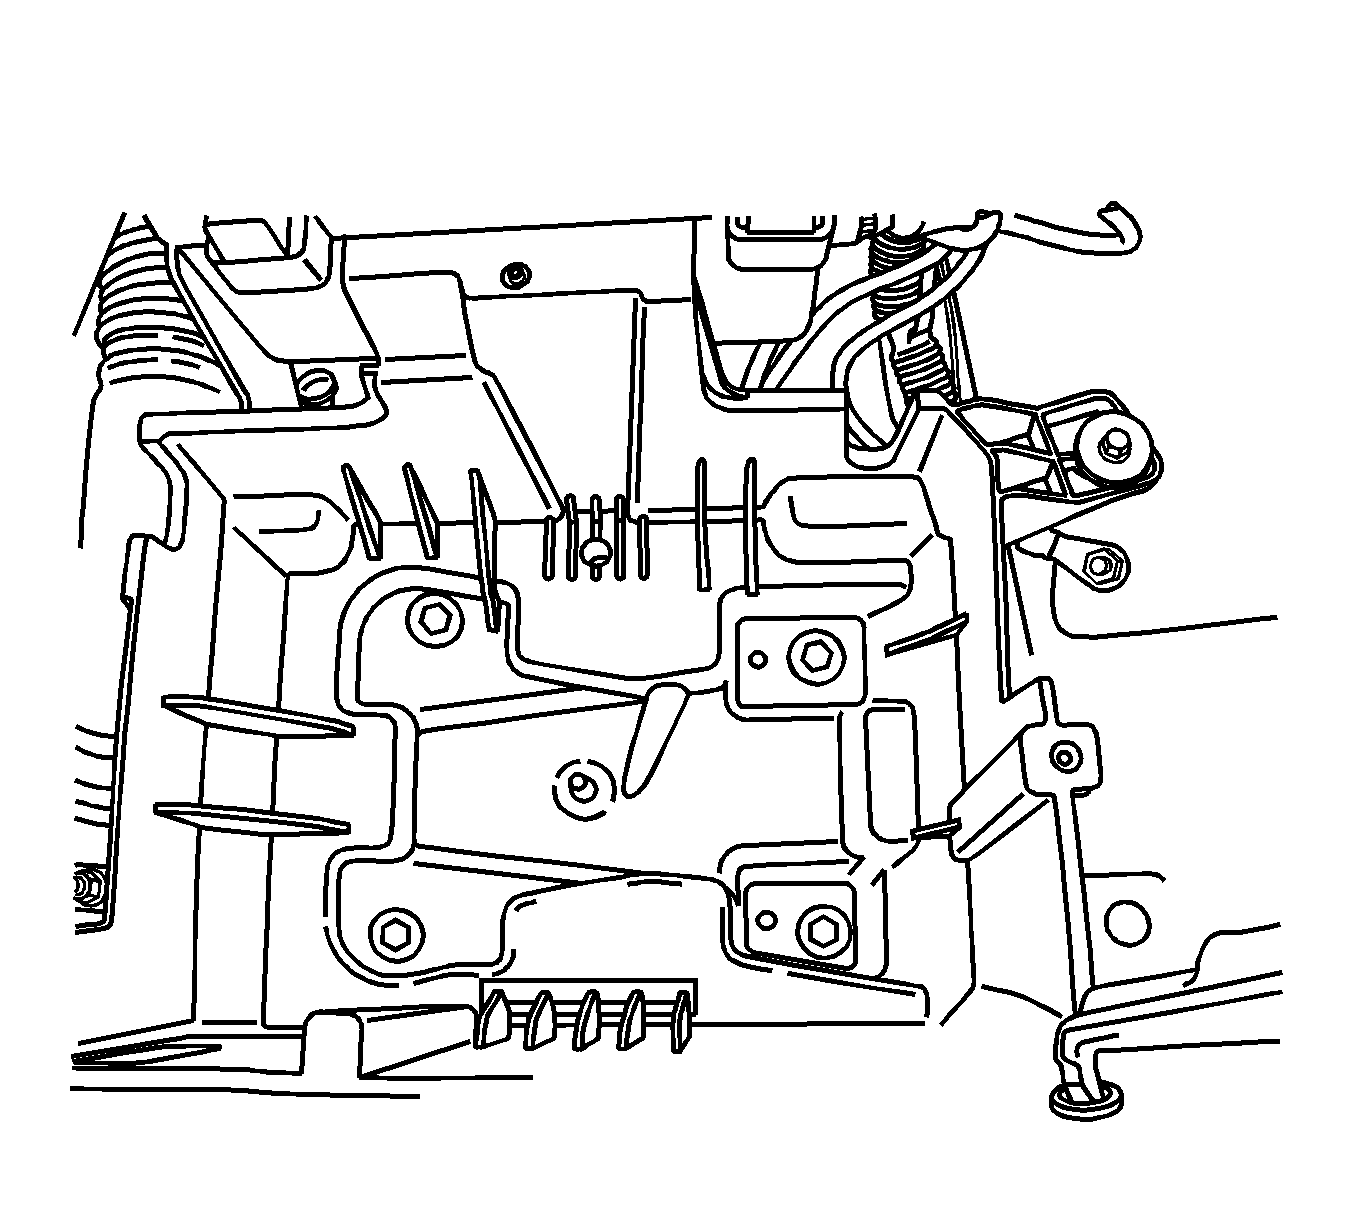
- Remove the battery box bolts from the battery box.
- Disconnect the negative battery cable nut from the wheelhouse.
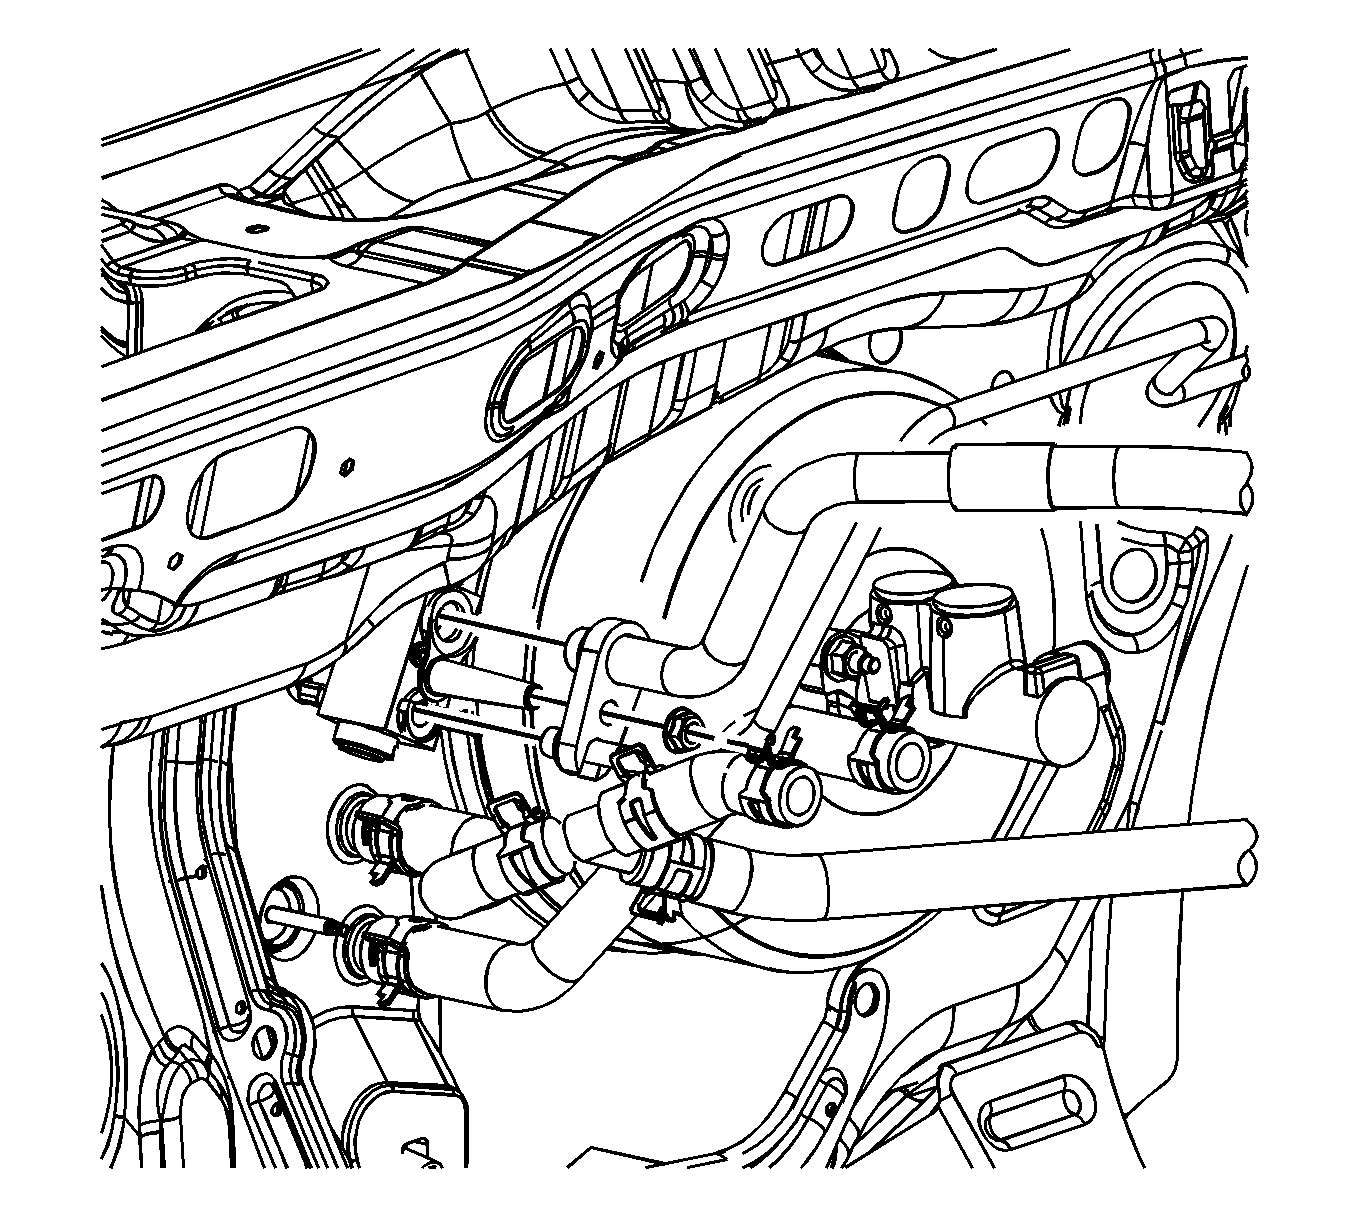
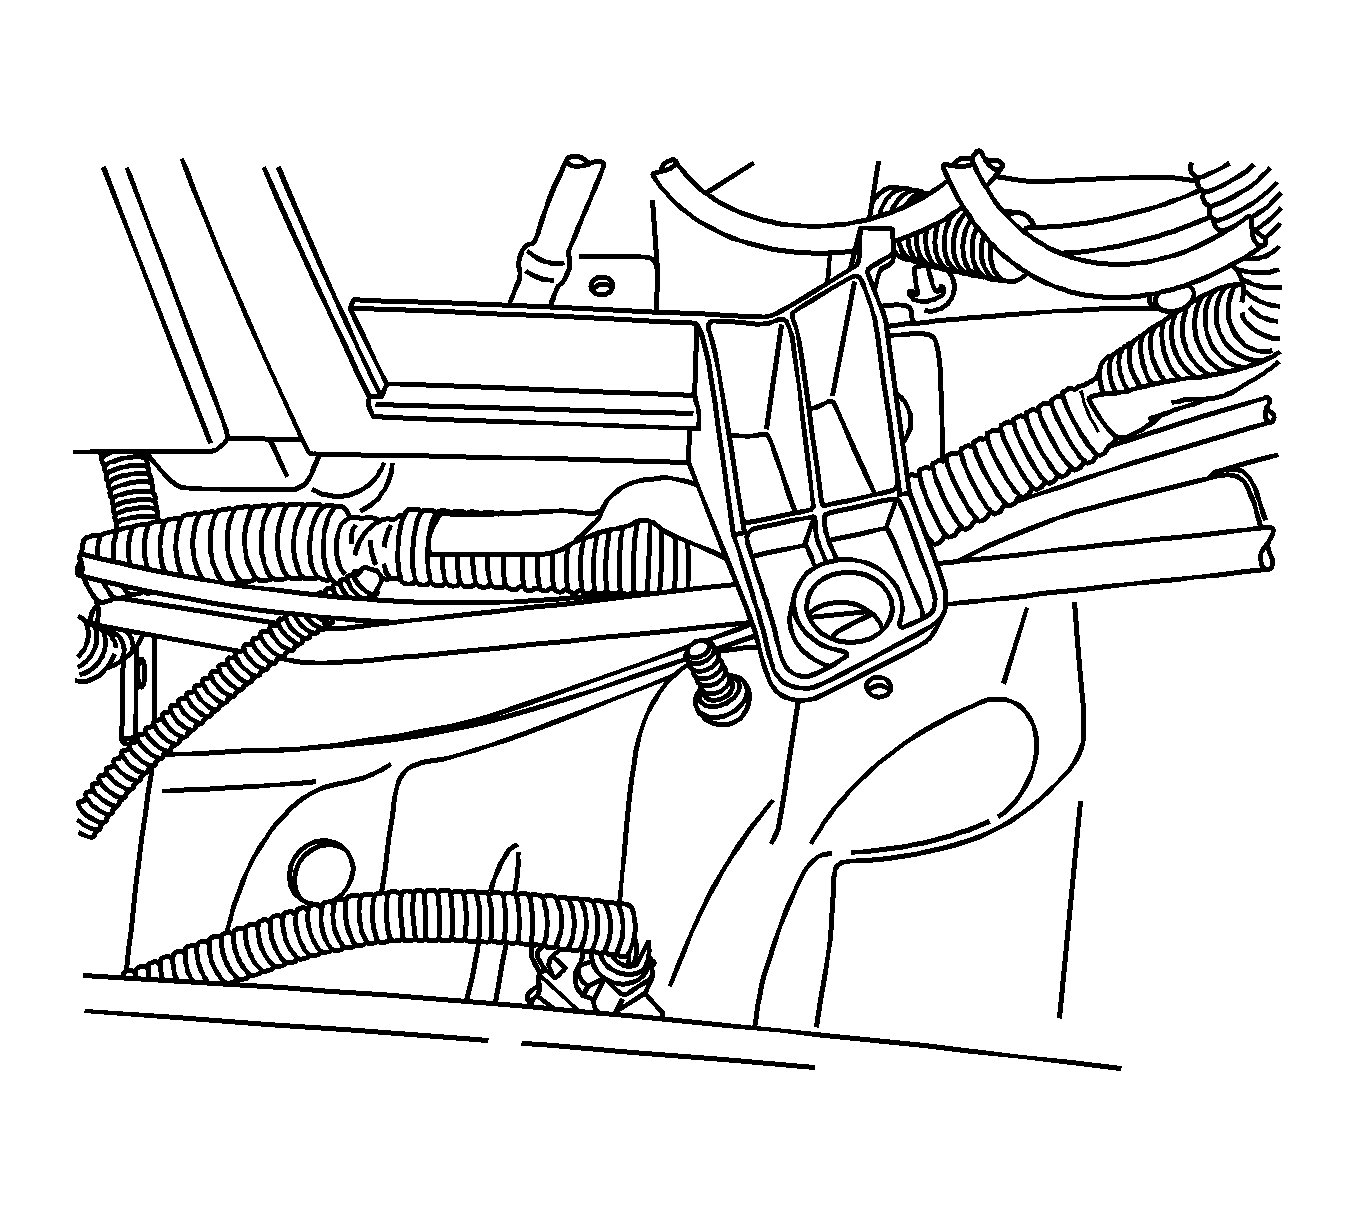
- Remove the nut retaining the liquid line to the strut tower.
- Disconnect the harness and vent hose retainers from the liquid line.
- Remove the evaporator outlet hose and liquid line retainer plate nut from the thermal expansion valve (TXV).
- Remove the evaporator outlet hose and liquid line from the TXV.
- Remove the liquid line nut from the condenser.
- Remove the liquid line from the condenser.
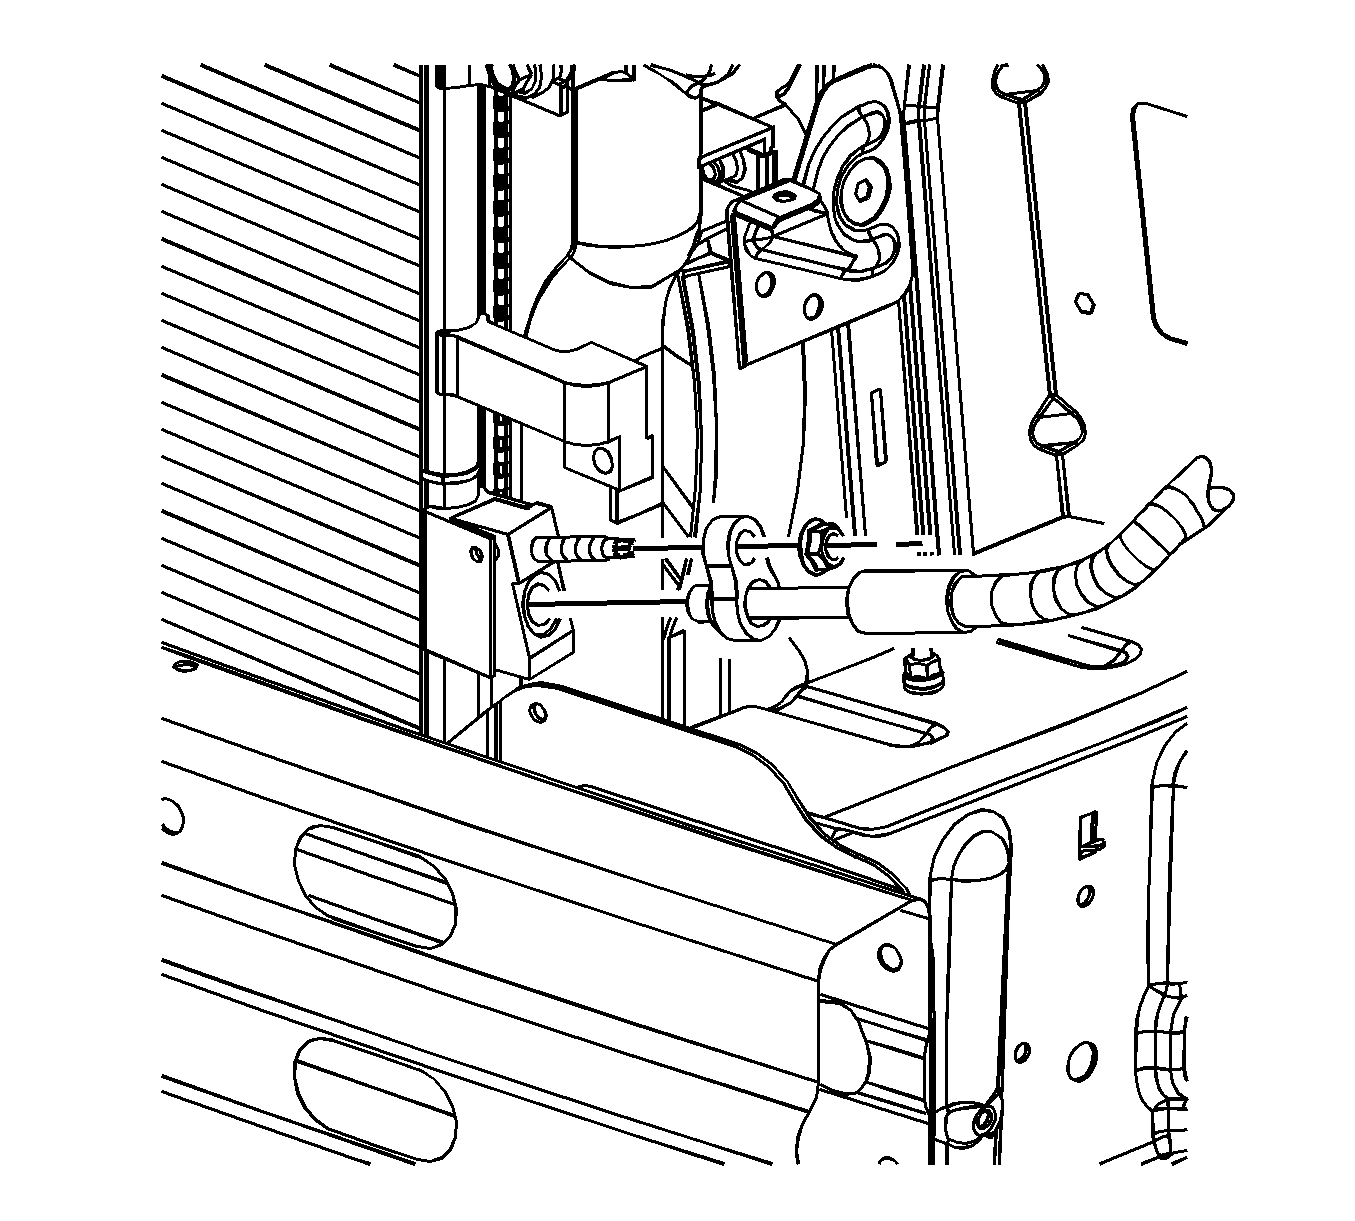
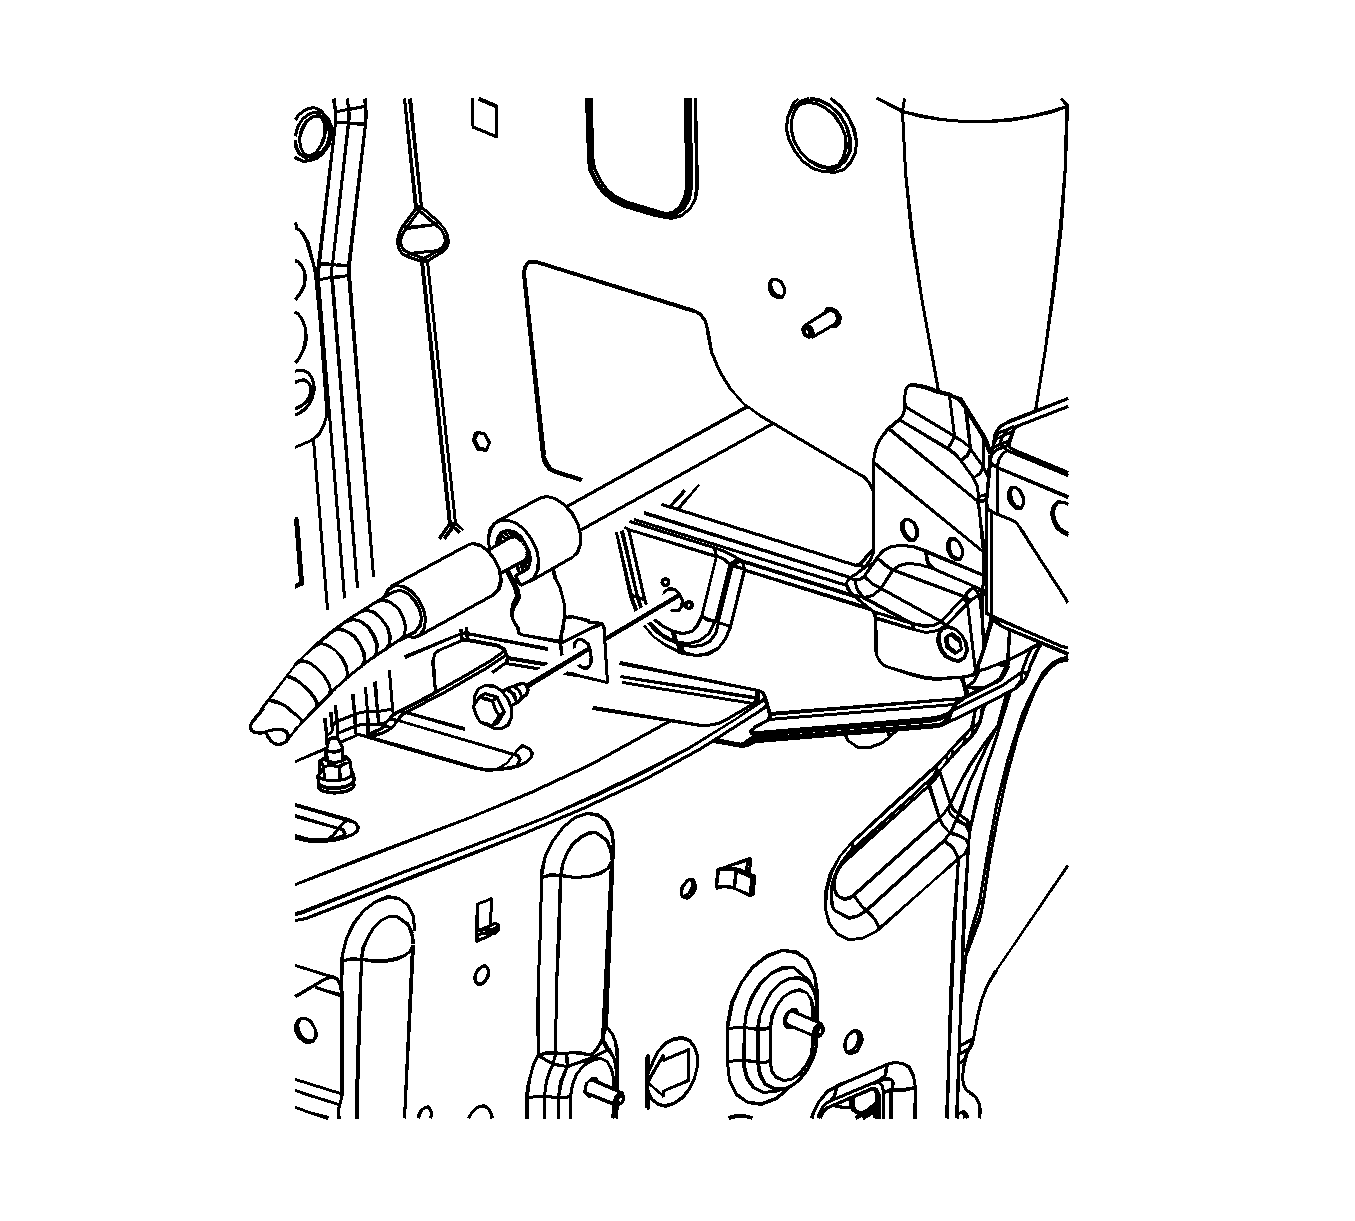
- Remove the bolt retaining the liquid line to the body.
- Position the battery box inboard to allow for routing of the liquid line.
- Route the liquid line above the battery box and the ground lug.
- Lift the rear portion of the liquid line upward and remove the liquid line from the vehicle.
- Remove and discard the sealing washer from the liquid line. Refer to Sealing Washer Replacement .
- Install protective caps to the condenser, the evaporator outlet hose, and the TXV to prevent contamination and desiccant saturation.

Installation Procedure
- Route the liquid line below the battery box and the ground lug.
- Connect the negative battery cable nut to the wheelhouse.
- Remove the protective caps from the condenser, the evaporator outlet hose, and the TXV.
- Install the new sealing washer to the liquid line. Refer to Sealing Washer Replacement .
- Route the condenser end of the liquid line into position.
- Install the liquid line to the condenser.
- Install the liquid line nut to the condenser.
- Install the bolt to retain the liquid line to the body.
- Remove the protective cap from the TXV, the liquid line, and the evaporator outlet hose.
- Install new seal washers to the liquid line and the evaporator outlet hose. Refer to Sealing Washer Replacement .
- Install the liquid line and the evaporator outlet hose to the TXV.
- Install the liquid line and evaporator outlet hose retainer plate nut to the TXV.
- Install the four battery box bolts to the inside of the battery box.
- Install the battery box bolt to the outside of the battery box.
- Install the battery. Refer to Battery Replacement .
- Install the liquid line to the strut tower.
- Install the liquid line nut to the strut tower.
- Connect the harness and vent hose retainers to the liquid line.
- Install the surge tank. Refer to Radiator Surge Tank Replacement .
- Install the washer container. Refer to Windshield Washer Solvent Container Replacement .
- Recharge the A/C system. Refer to Refrigerant Recovery and Recharging .
- Test the affected A/C joints for leaks using J 39400-A .
Notice: Refer to Fastener Notice in the Preface section.
Tighten
Tighten the nut to 12 N·m (106 lb in).
Important: Use a large pair of pliers to hold the fitting while tightening the nut. Be careful not to twist the line.
Tighten
Tighten the nut to 20 N·m (15 lb ft).
Tighten
Tighten the nut to 9 N·m (80 lb in).
Tighten
Tighten the nut to 20 N·m (15 lb ft).
Tighten
Tighten the nut to 15 N·m (11 lb ft).
Tighten
Tighten the nut to 10 N·m (89 lb in).
Tighten
Tighten the nut to 9 N·m (80 lb in).
