For 1990-2009 cars only
Removal Procedure
- Raise and support the vehicle. Refer to Lifting and Jacking the Vehicle .
- Remove the rear tire and wheel assembly. Refer to Tire and Wheel Removal and Installation .
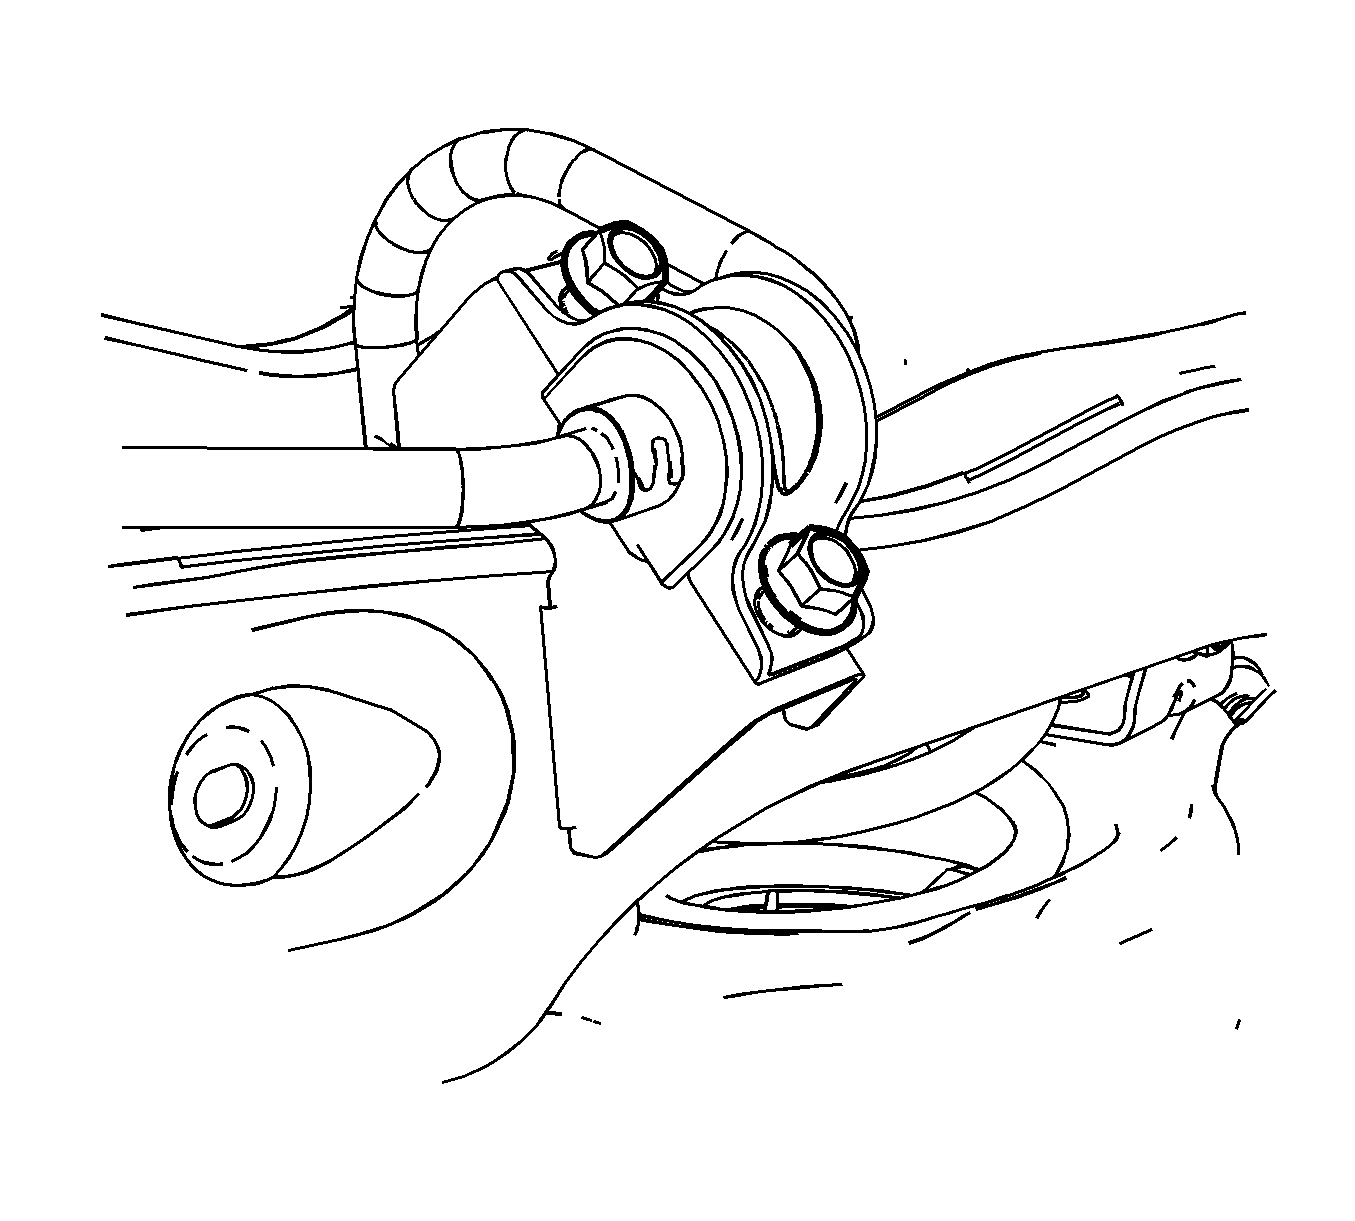
- Loosen the stabilizer shaft clamp bolts.
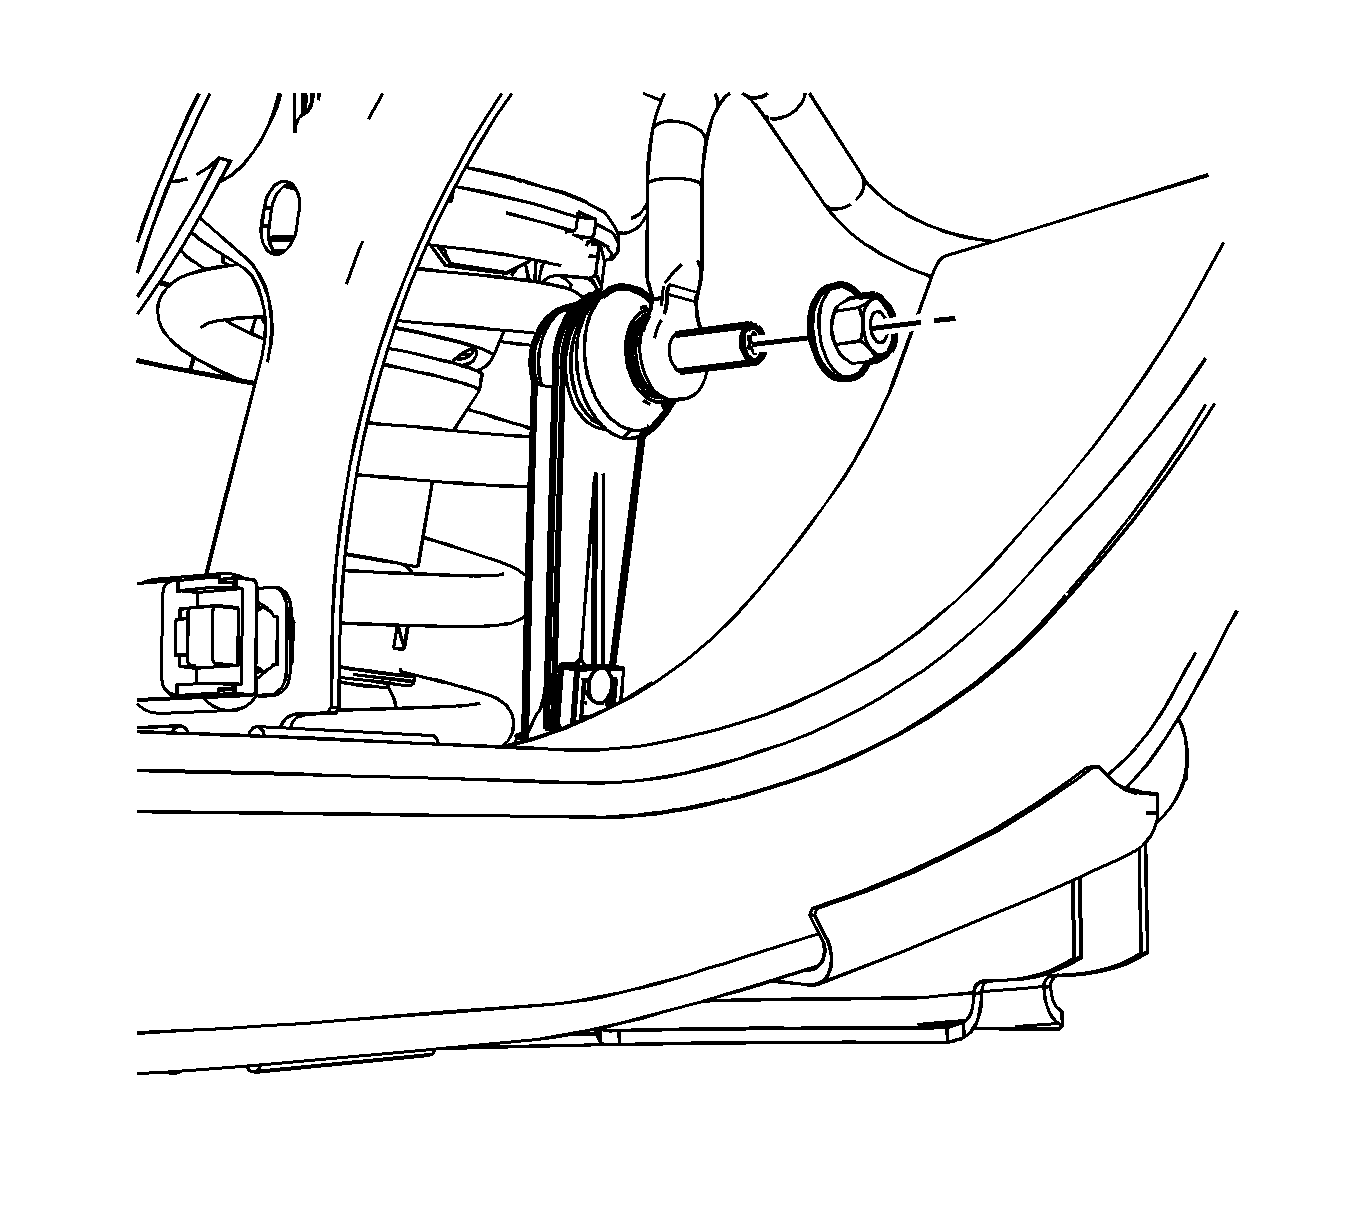
- Remove the stabilizer link to stabilizer shaft nut.
- Remove the stabilizer link to lower control arm nut.
- Remove the stabilizer link from the vehicle.
Important: Use a 90° bend TORX® bit to hold the ball stud when loosening or tightening the nut.
Important: When disconnecting the stabilizer link, hold the link with a wrench to prevent turning.
Installation Procedure
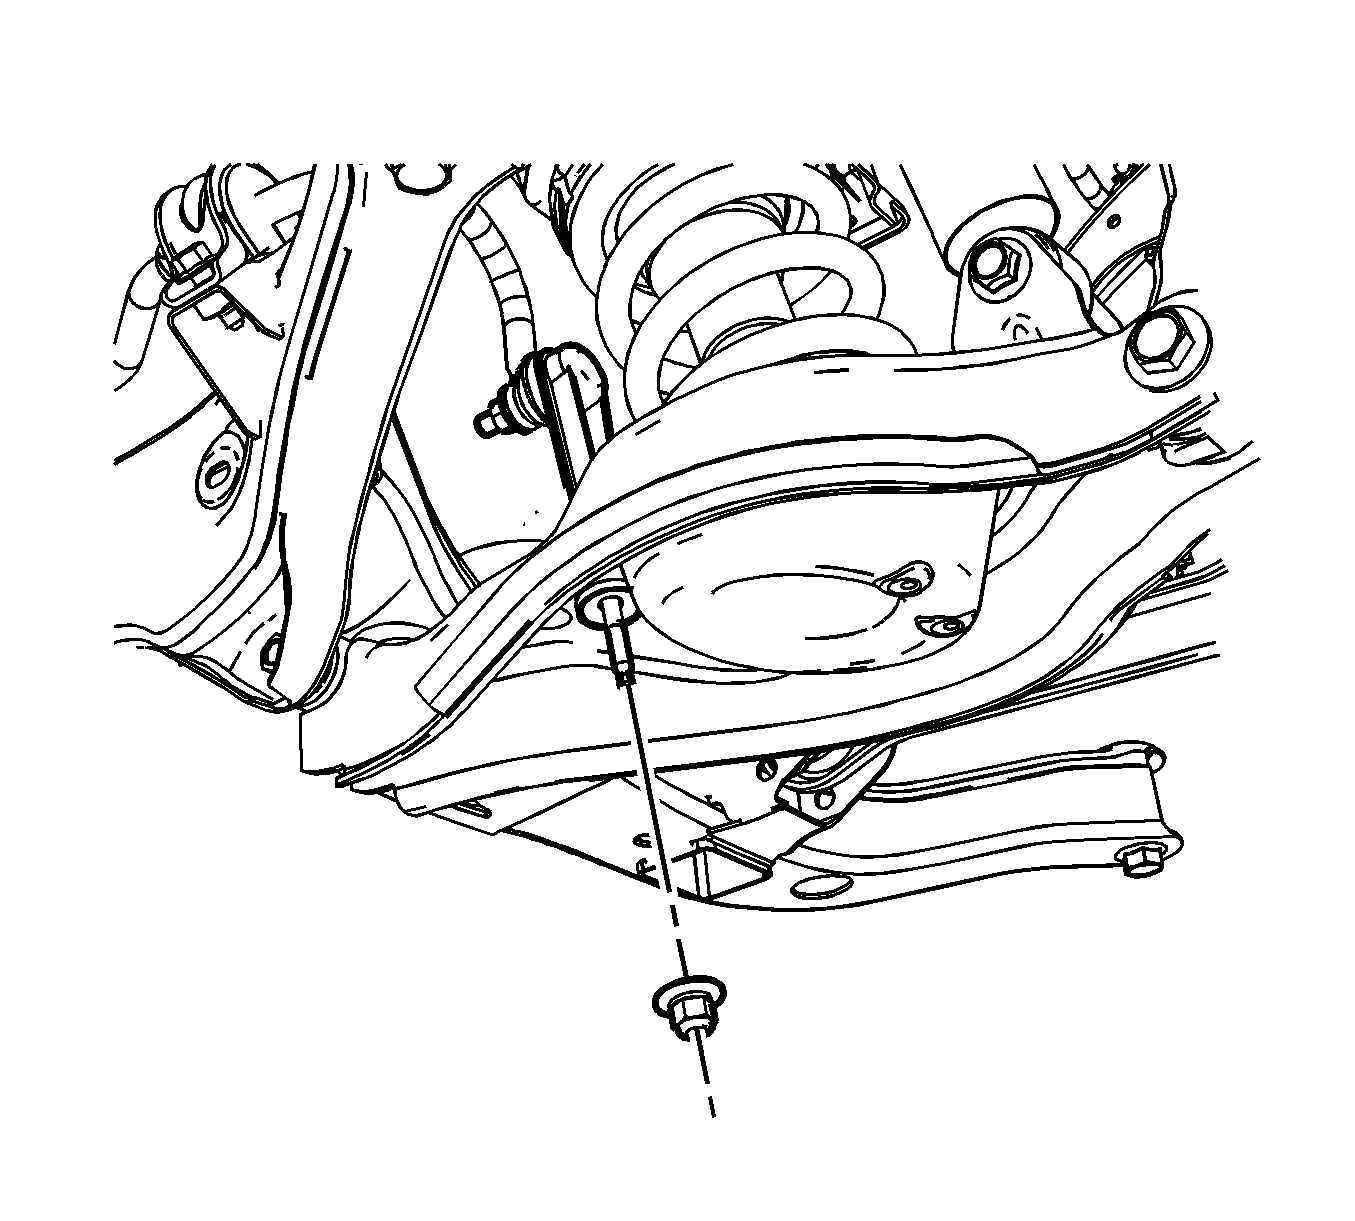
- Position the stabilizer link through the lower control arm.
- Install the stabilizer link to lower control arm nut.
- Install the stabilizer link to stabilizer shaft nut.
- Tighten the loose stabilizer shaft clamp bolts.
- Install the rear tire and wheel assembly. Refer to Tire and Wheel Removal and Installation .
- Lower the vehicle.
Notice: Refer to Fastener Notice in the Preface section.
Important: When connecting the stabilizer link, hold the link with a wrench to prevent turning.
Tighten
Tighten the nut to 15 N·m (11 lb ft).
Important: Use a 90° bend TORX® bit to hold the ball stud when tightening the nut.
Tighten
Tighten the nut to 50 N·m (37 lb ft).
Tighten
Tighten the bolts to 70 N·m (52 lb ft).
