Callout | Component Name |
|---|---|
|
Caution: Do not attempt to repair or alter the head impact energy-absorbing material glued to the headliner or to the garnish trims. If the material is damaged, replace the headliner and/or the garnish trim. Failure to do so could result in personal injury. Notice: Use care when working around the head curtain inflator module. Sharp tools may puncture the curtain airbag. If the head curtain inflator module is damaged in any way, it must be replaced. Notice: If a vehicle is equipped with a head curtain inflator module ensure that the inflator module and tether are undamaged. If tether or curtain airbag are damaged in any way, they must be replaced. Notice: Use care when removing and installing the headliner. If reusing the headliner lay the headliner down flat on a clean surface. Excessive bending will damage the headliner. Preliminary Procedures
| |
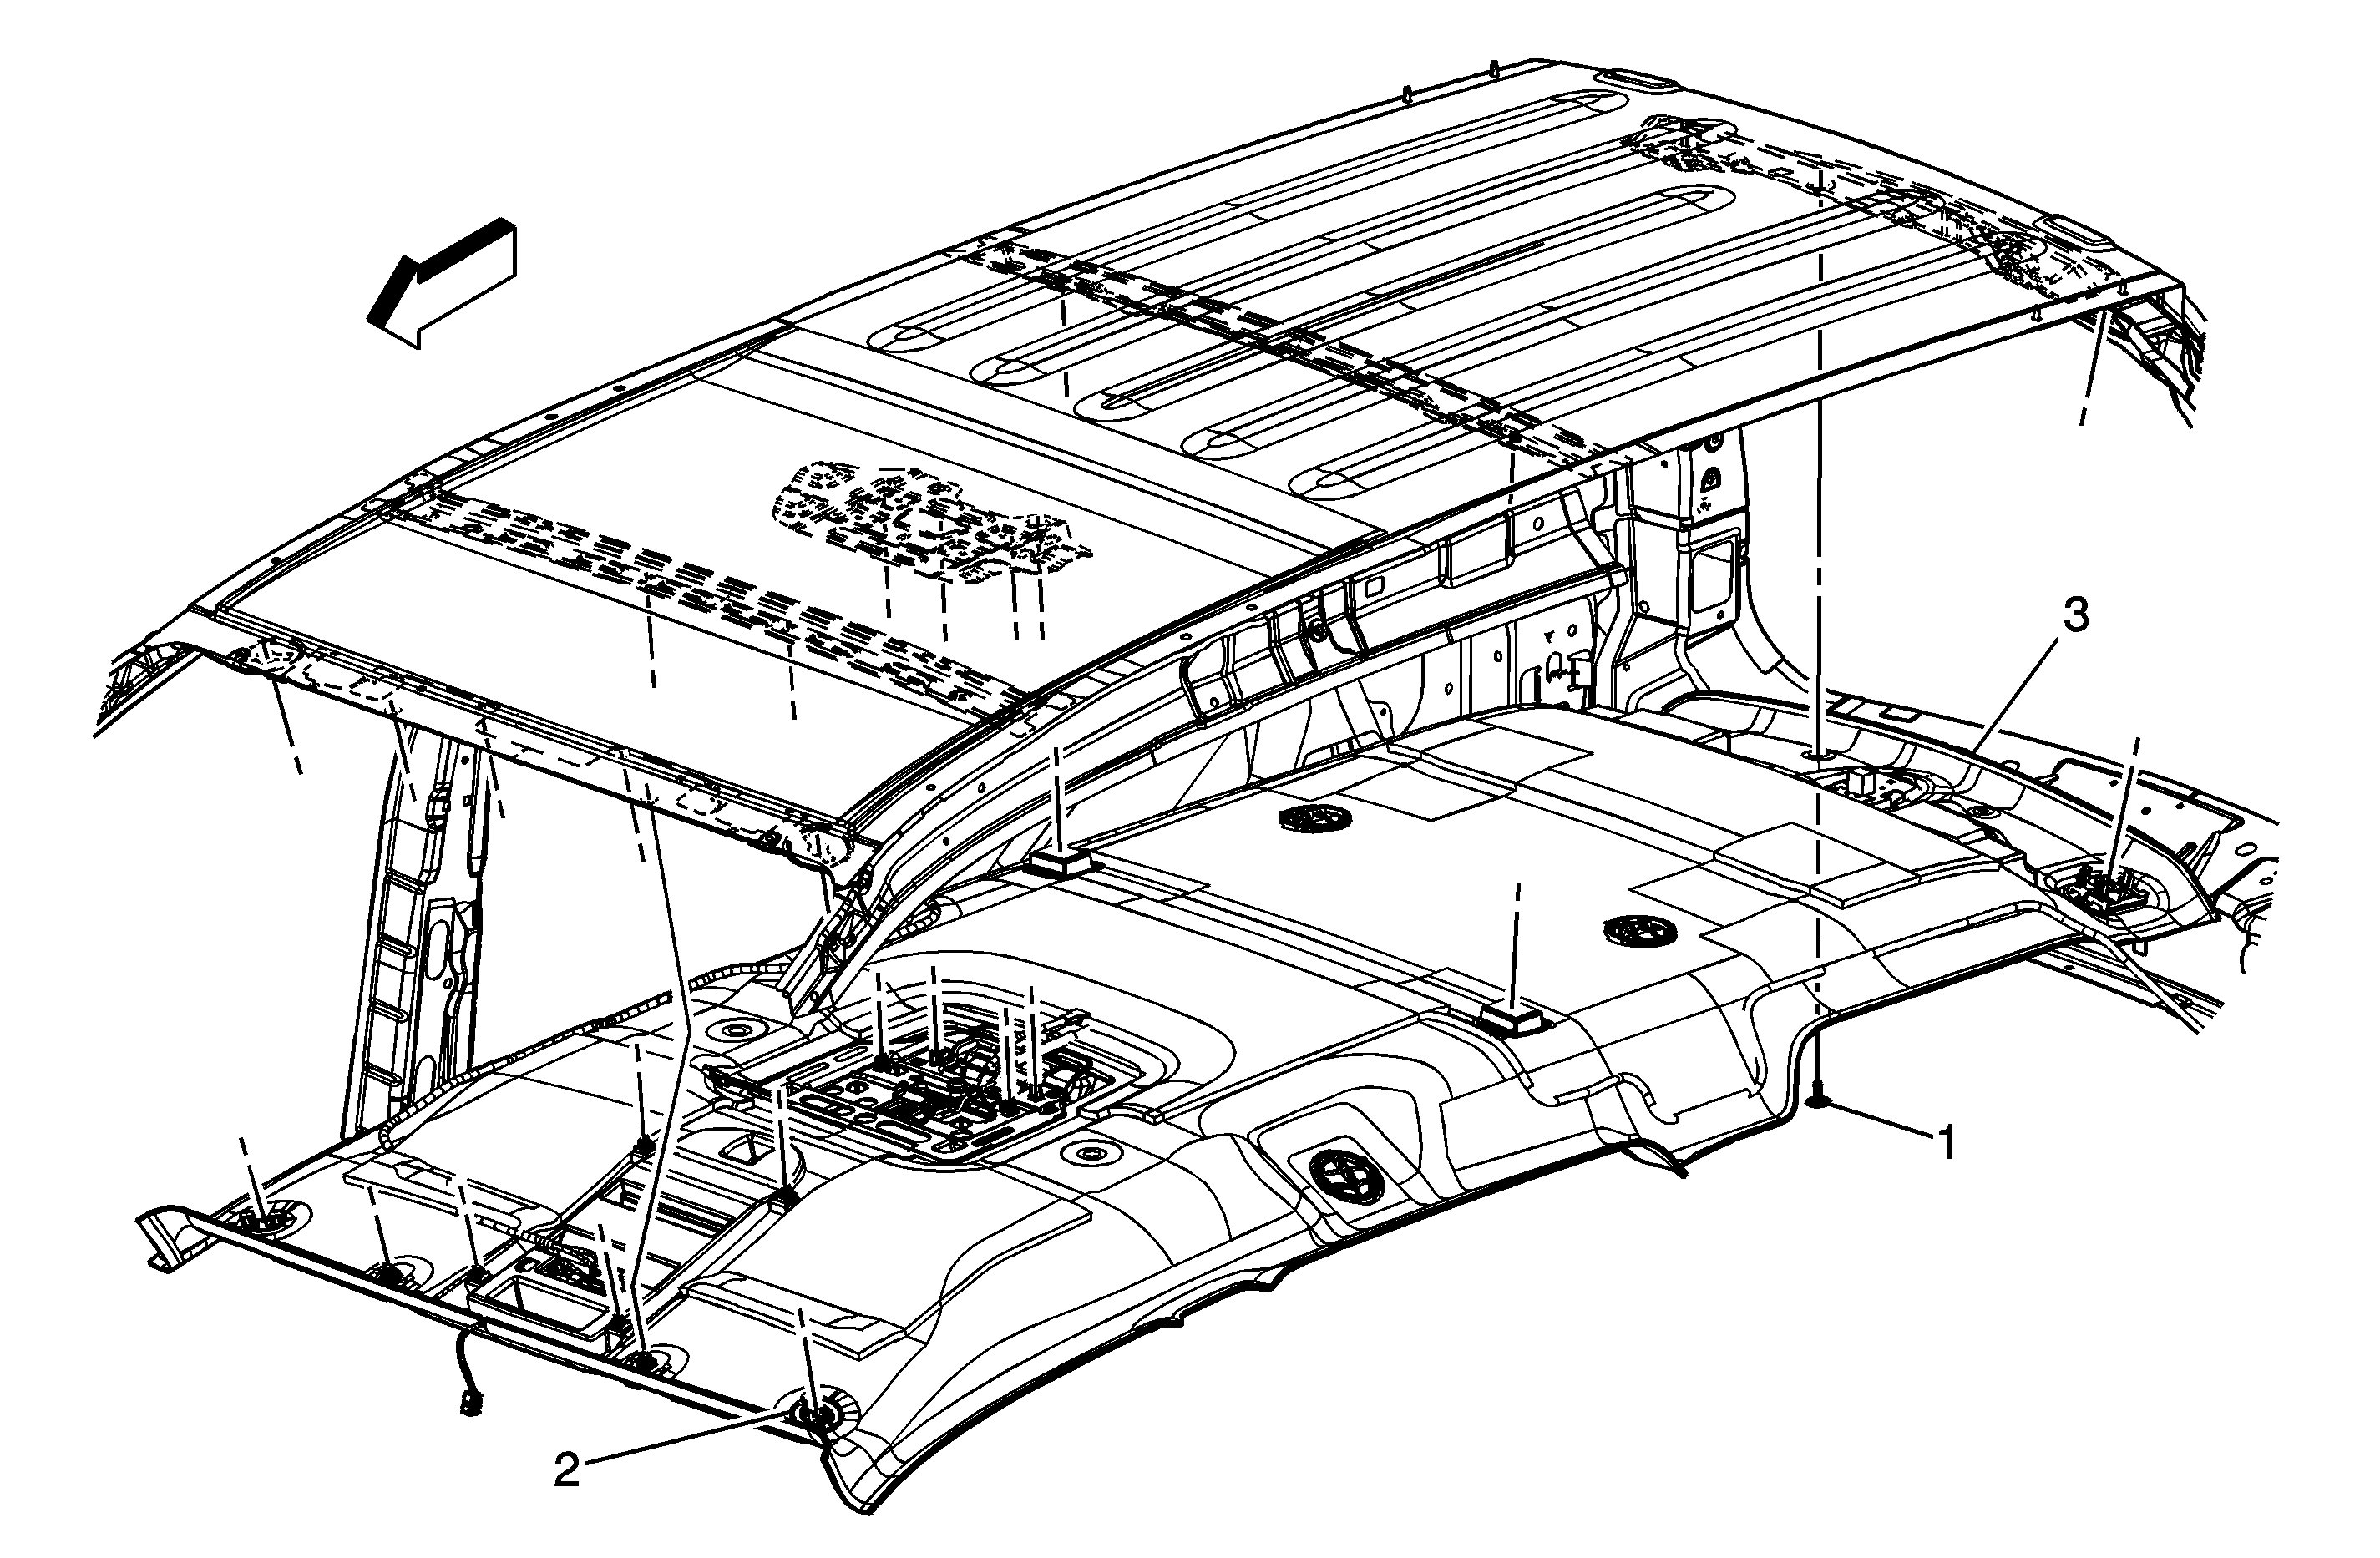
1 | Headliner Trim Panel Push Pin |
2 | Headliner Trim Panel Retainer (Qty: 13) |
3 | Headliner Trim Panel Assembly Procedure
|
