Intake Manifold Removal L98, LS2
- Remove the intake manifold to cylinder head retaining bolts (2).
- Remove the intake manifold (1) from the engine (2).
- Plug the engine (2) with a clean lint free cloth.
- Remove the intake manifold to cylinder head gaskets (1).
- Clean and inspect the intake manifold. Refer to Intake Manifold Cleaning and Inspection.
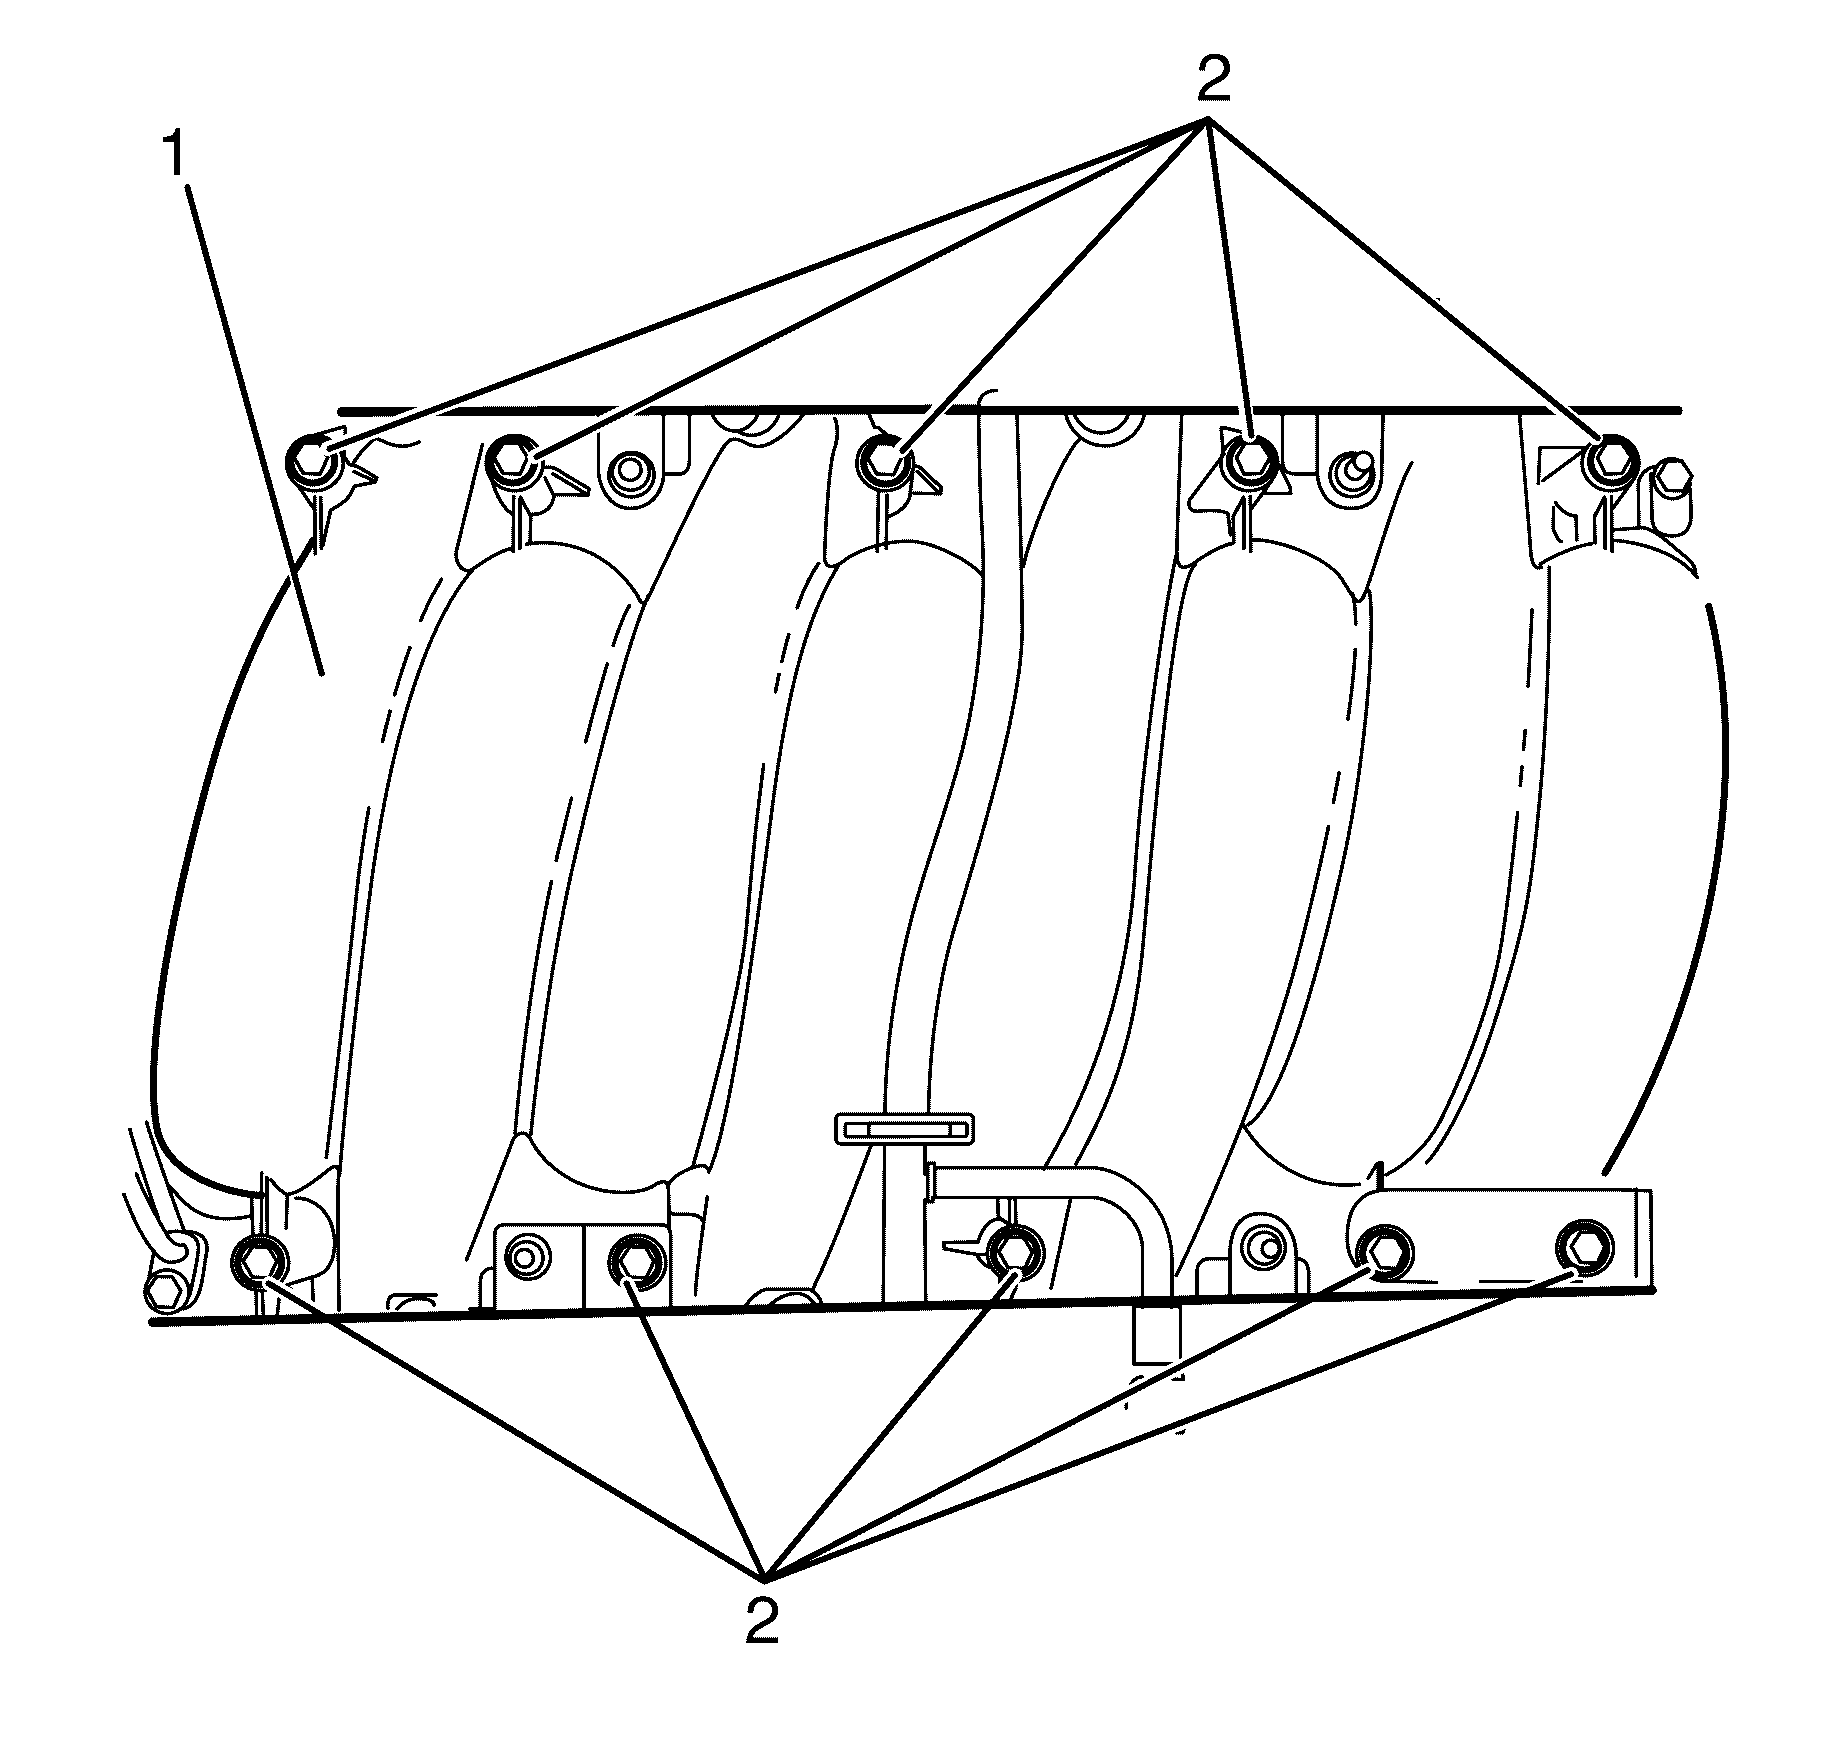
Important: Progressively remove the intake manifold to cylinder head retaining bolts (1) while working diagonally from the outside to inside.
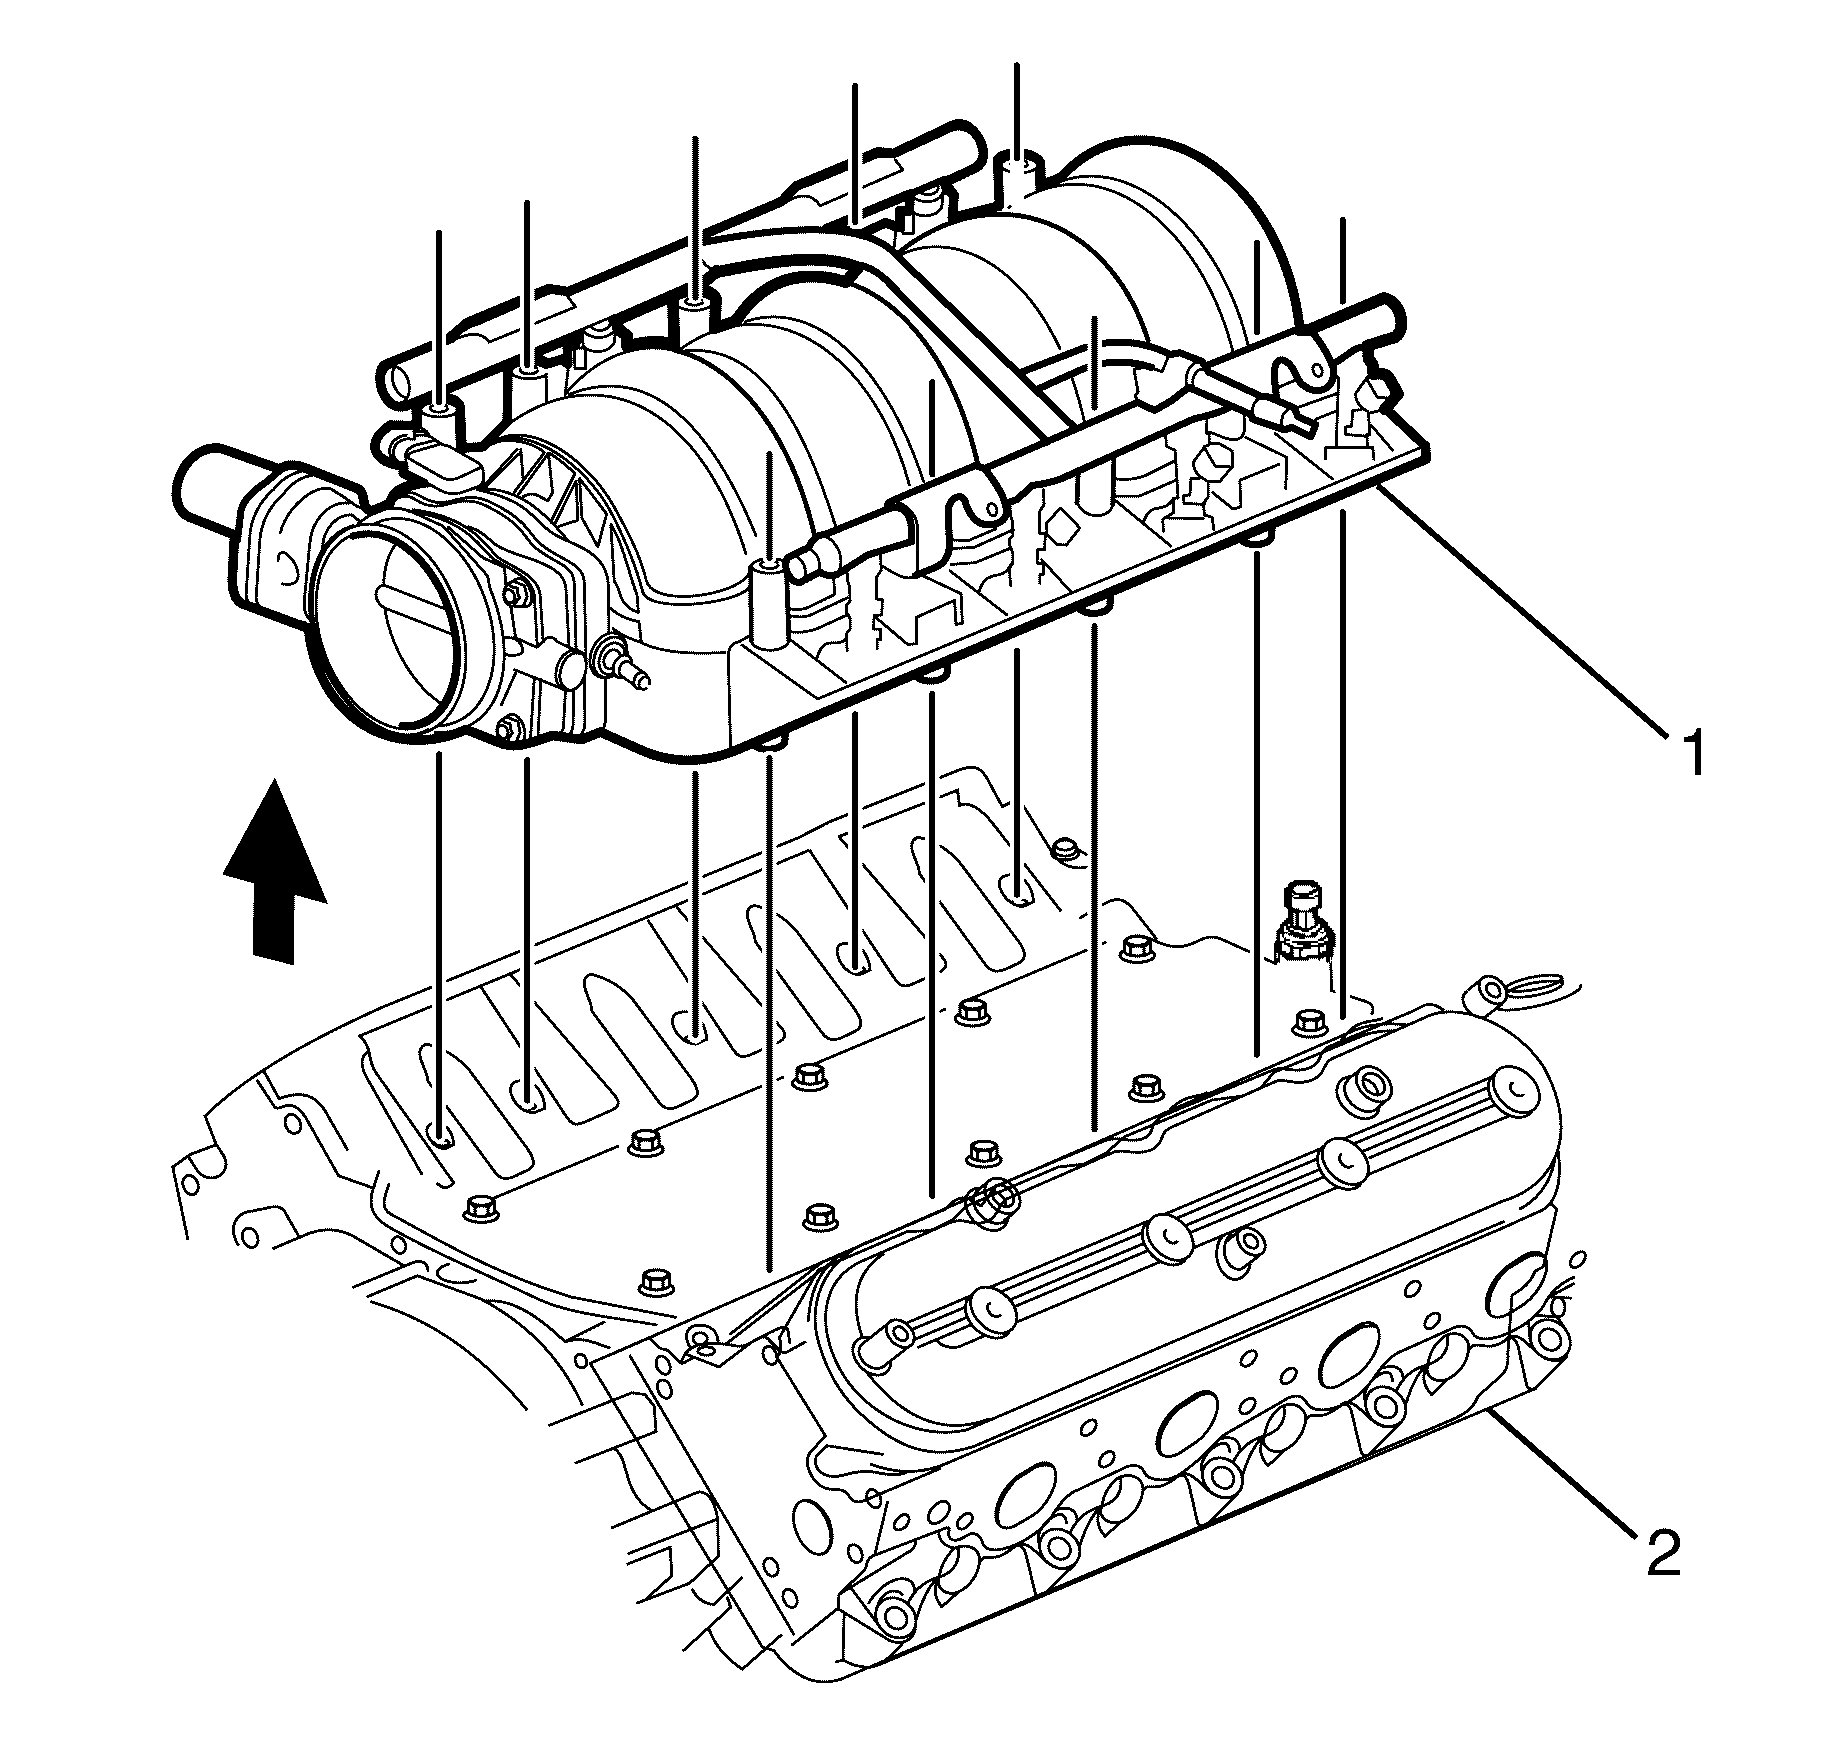
Important: Carefully, tap the intake manifold (1) with a rubber mallet to break the gasket seal and lift the intake manifold from the engine (2).
Important: The engine (2) must be plugged with a clean lint free cloth to prevent foreign matter entry into the engine.
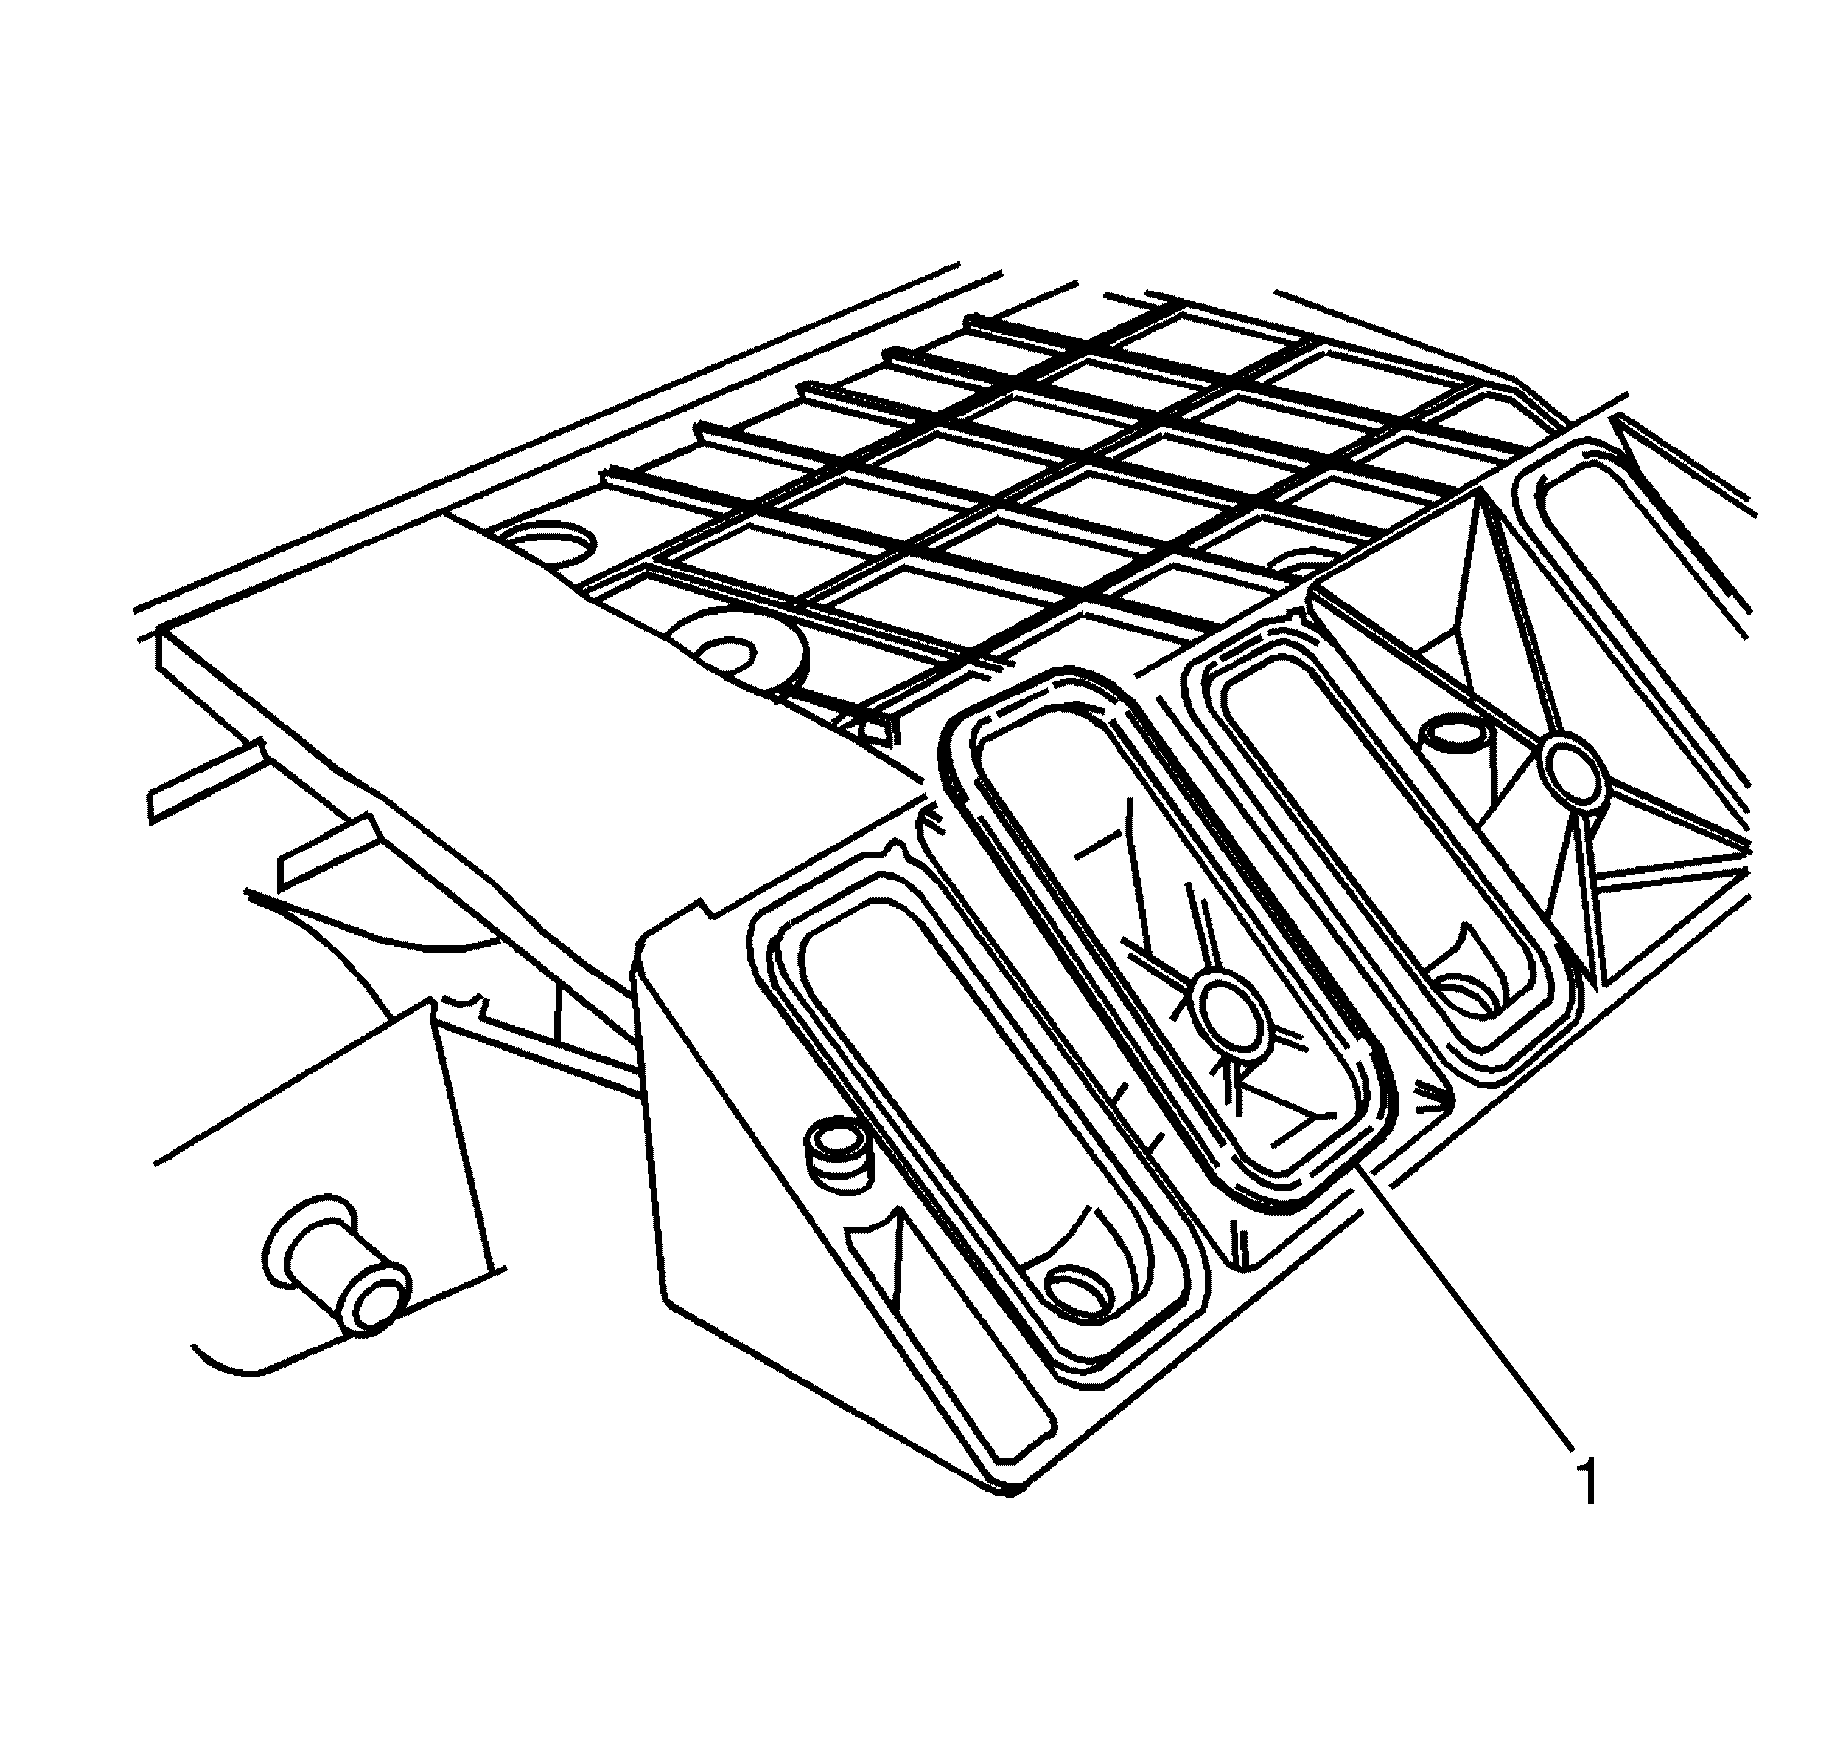
Important: The intake manifold to cylinder head gaskets are single use only components and must be replaced whenever the intake manifold is removed from the engine.
Discard the intake manifold to cylinder head gaskets (1).
Intake Manifold Removal LS3
- Remove the manifold absolute pressure (MAP) sensor bolt (713).
- Remove the MAP sensor (714).
- Remove the seal (715) from the sensor, as required.
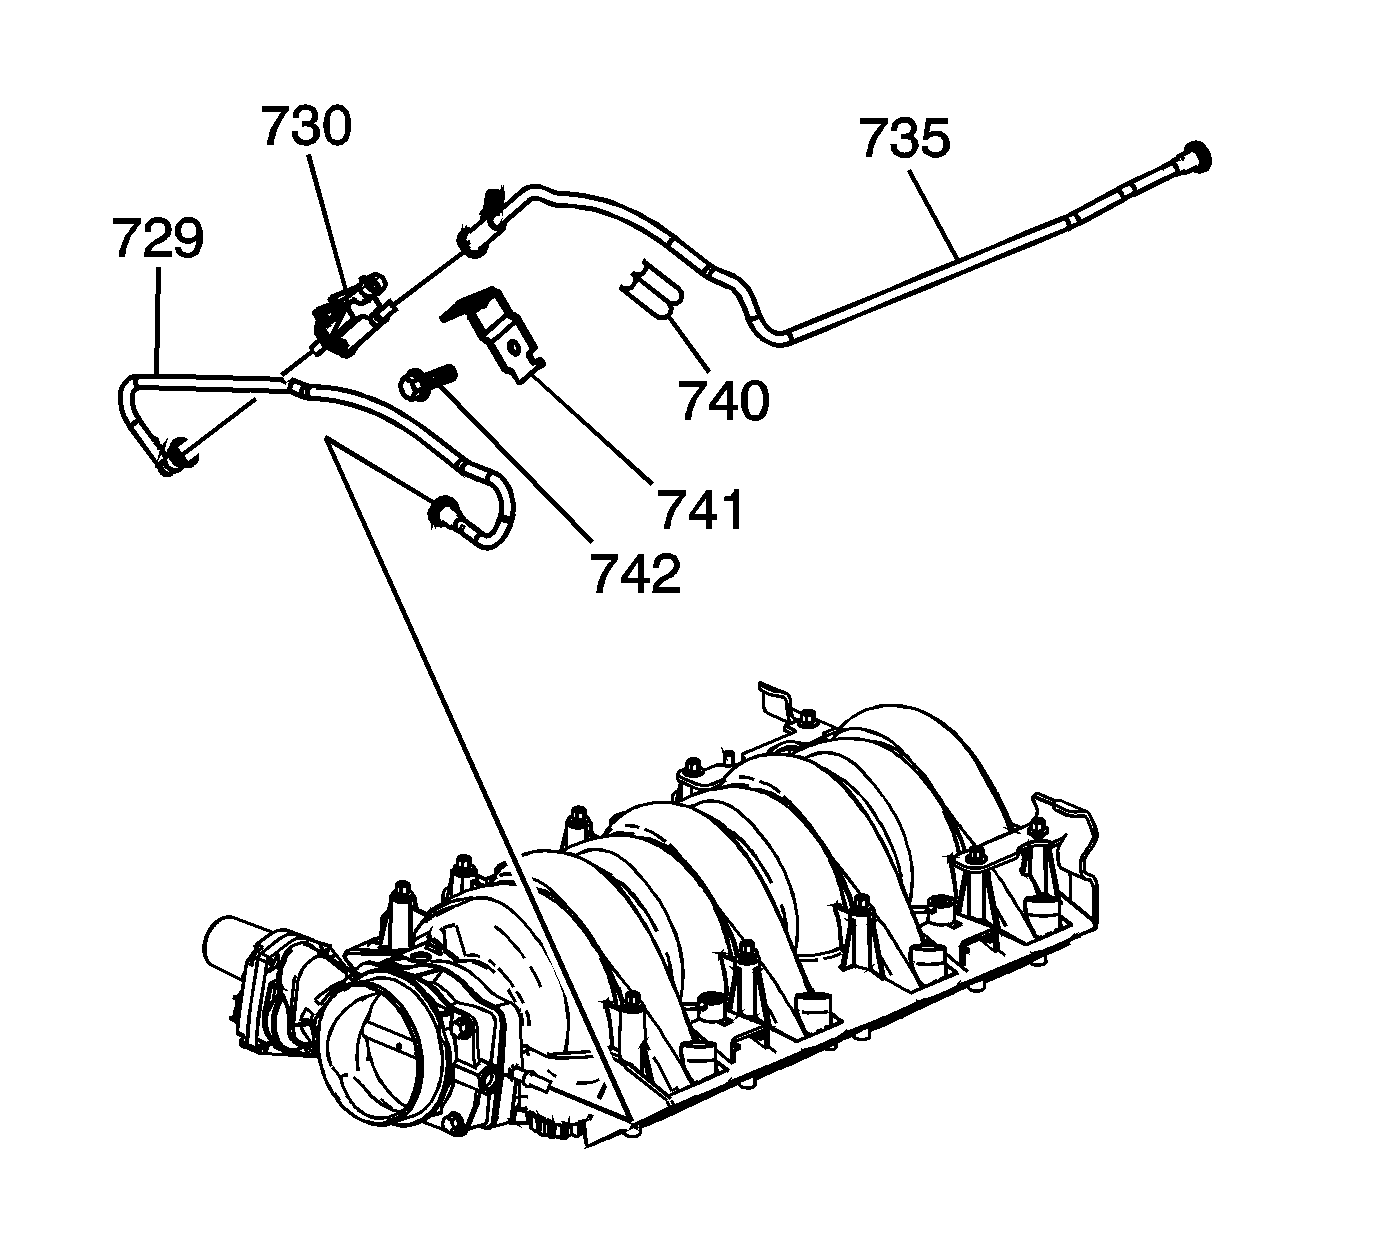
- Remove the evaporative emission (EVAP) clip (740), bolt (742), bracket (741), canister purge solenoid valve (730), and tubes (729 and 735).
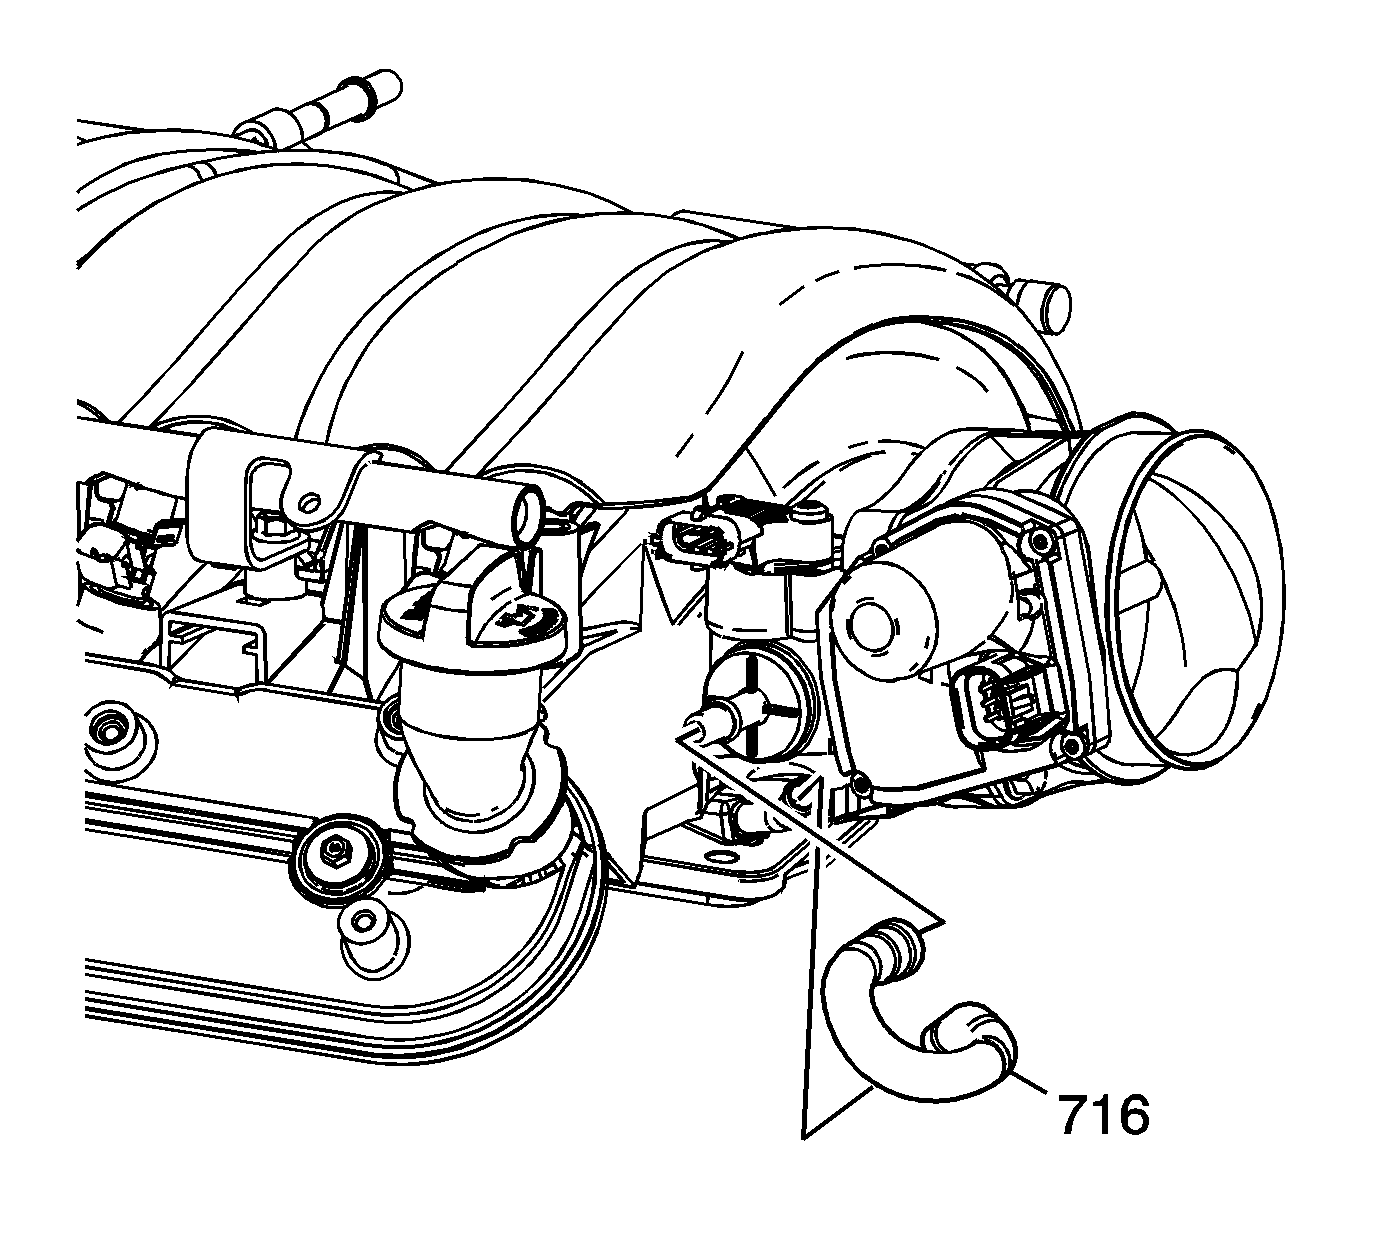
- Remove the positive crankcase ventilation (PCV) hose - dirty air (716).
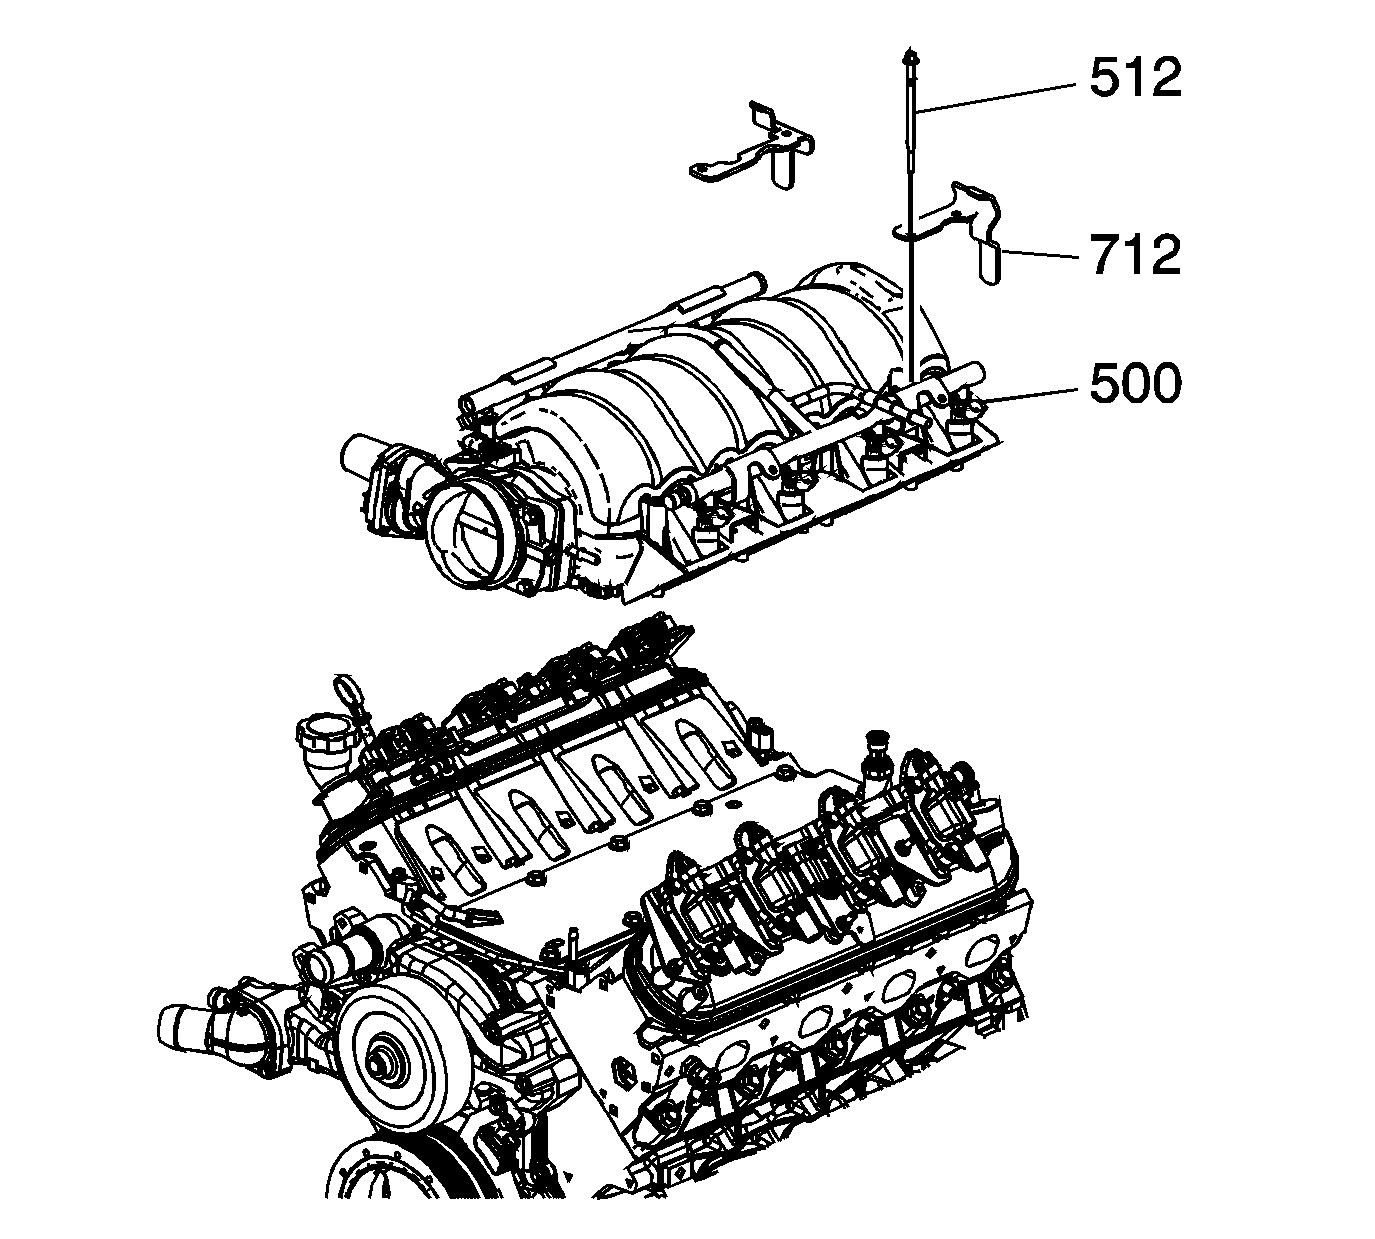
- Remove the intake manifold bolts (512) and fuel rail stop brackets (712).
- Remove the intake manifold (500).
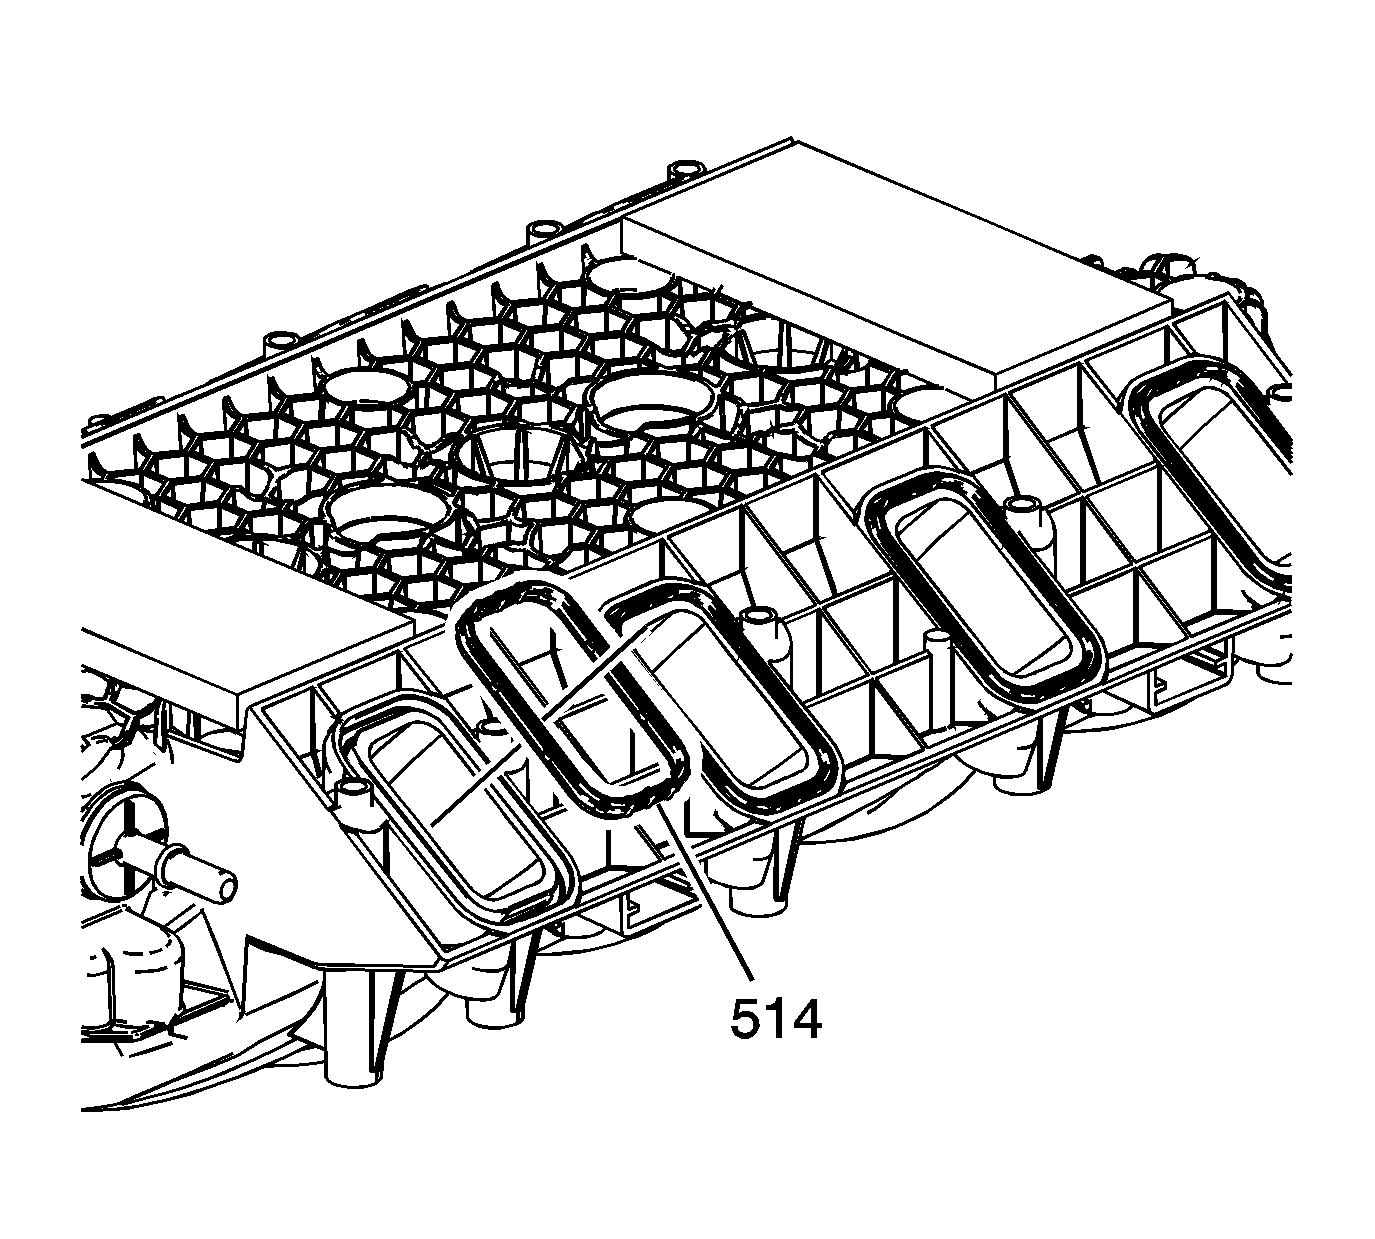
- Remove the intake manifold gaskets (514).
- Discard the intake manifold gaskets.
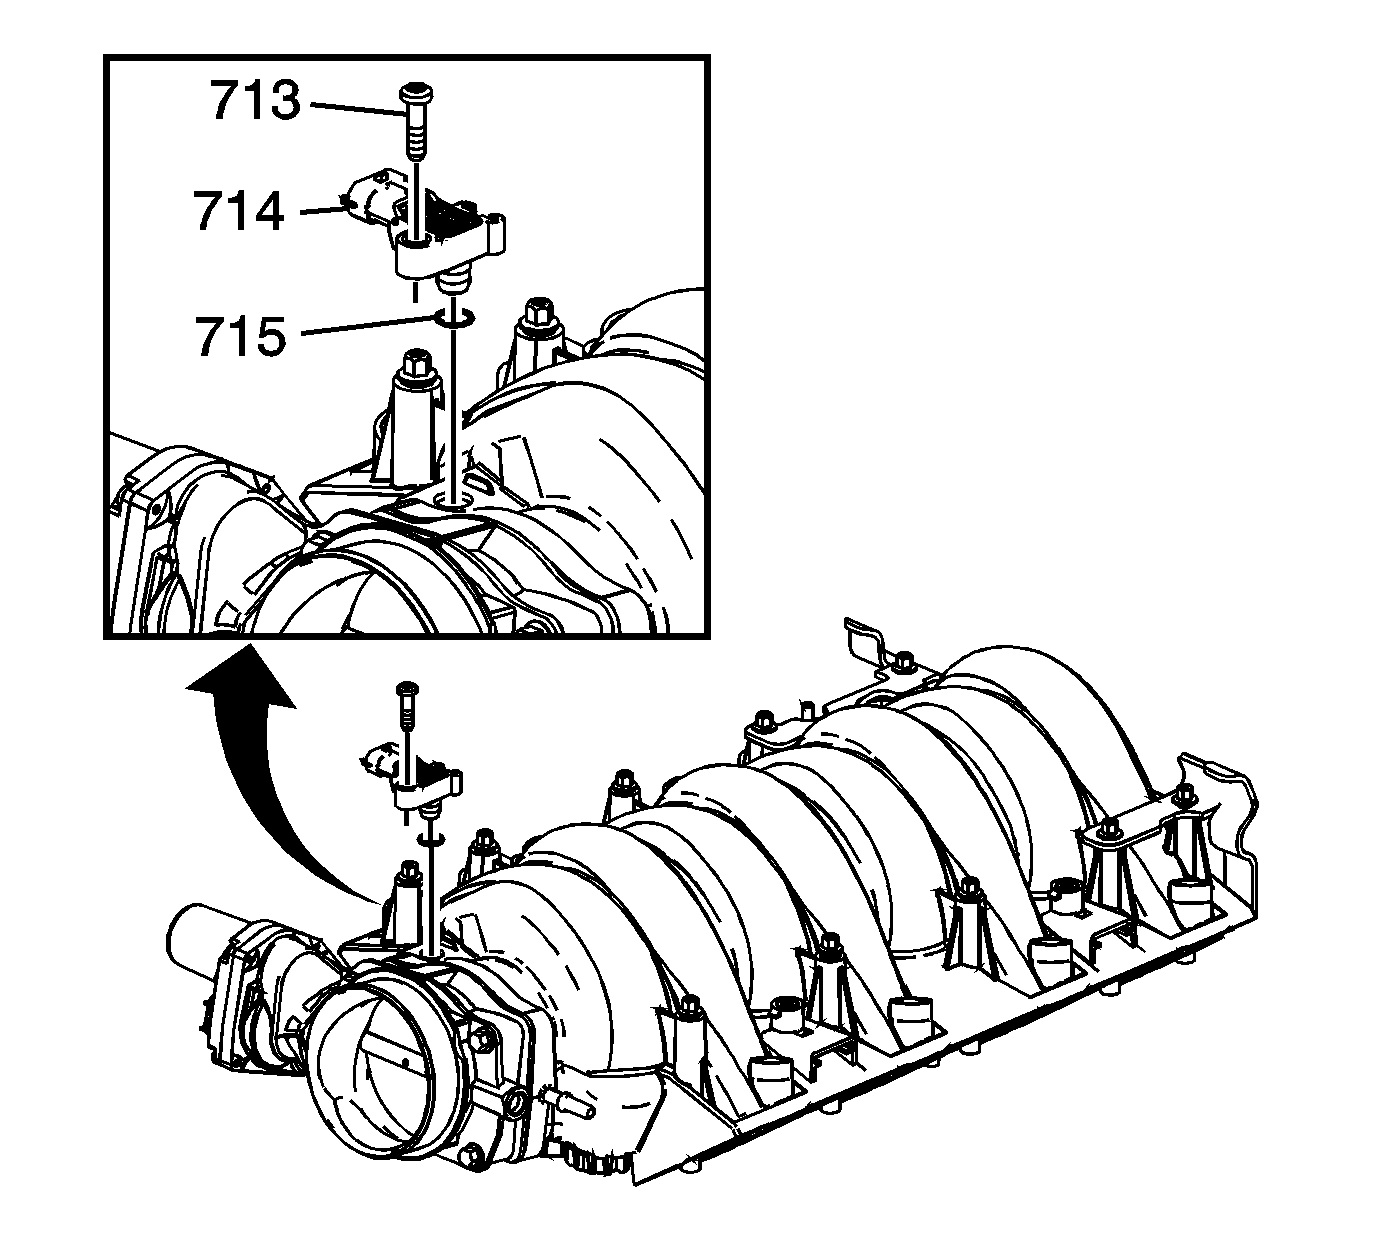
Important: The intake manifold, throttle body, fuel injection rail, and fuel injectors may be removed as an assembly. If not servicing the individual components, remove the manifold as a complete assembly.
