For 1990-2009 cars only
Special Tools
For equivalent regional tools, refer to Special Tools.
Removal Procedure
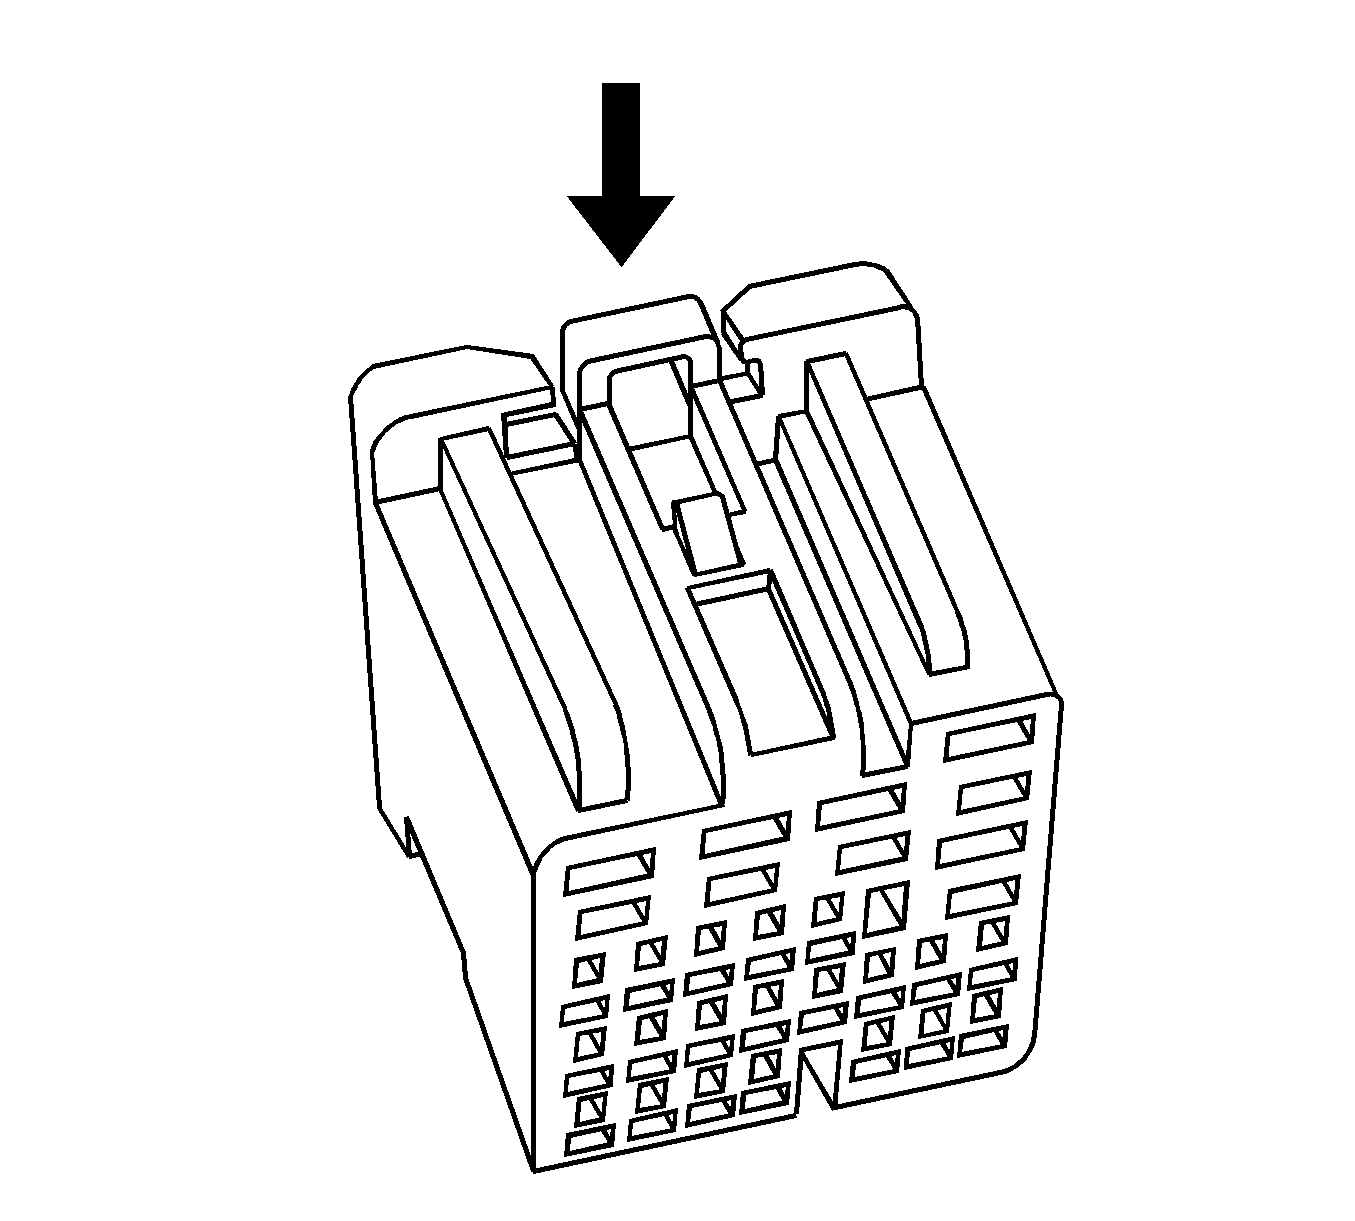
- While depressing the lock, remove the connector from the component.
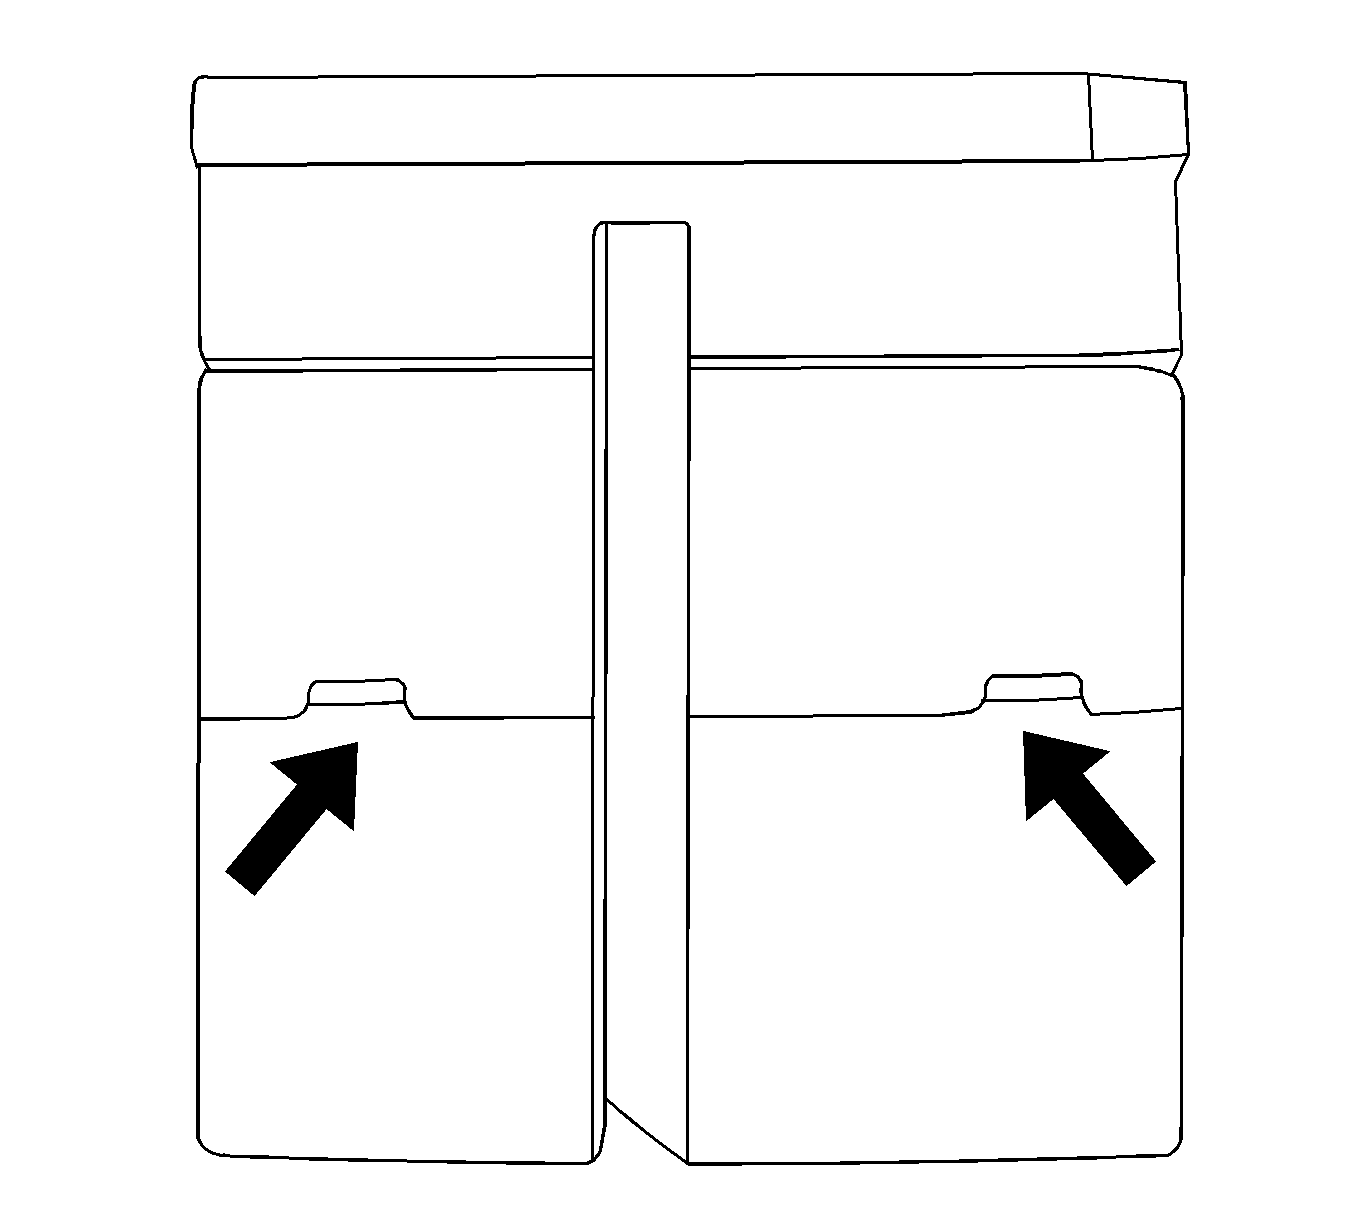
- Locate the two indents of the terminal position assurance (TPA) located on the bottom of the connector body.
- Use a small flat-blade tool to very carefully raise the TPA on both sides of the connector.
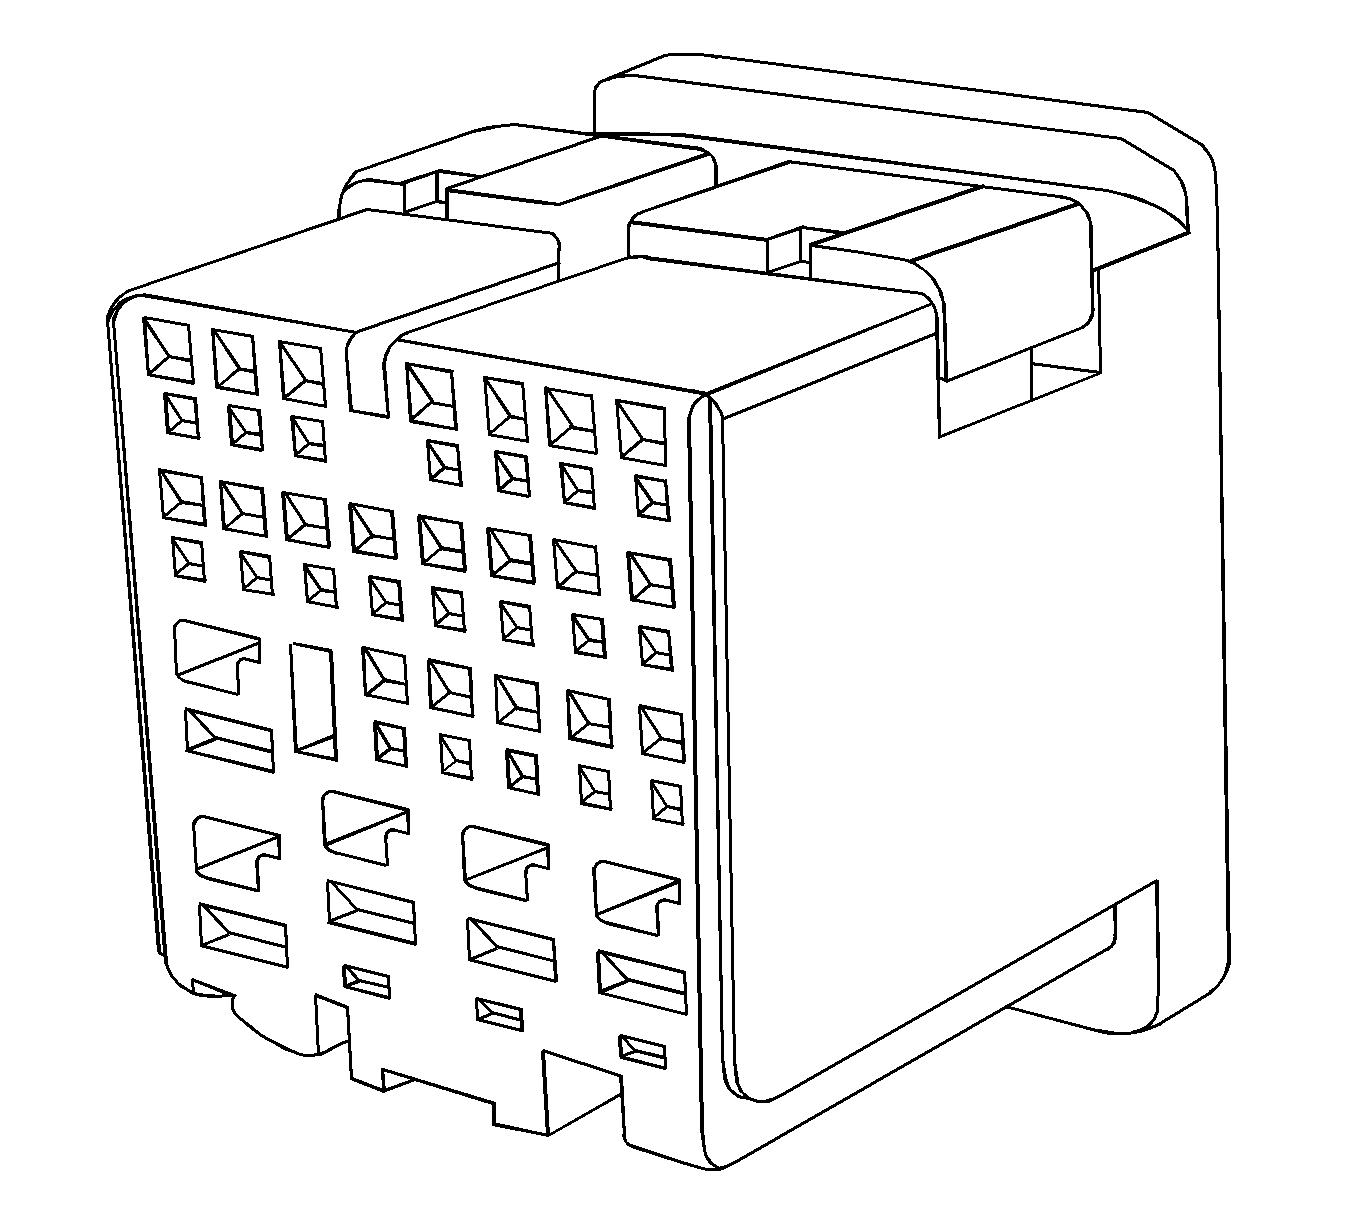
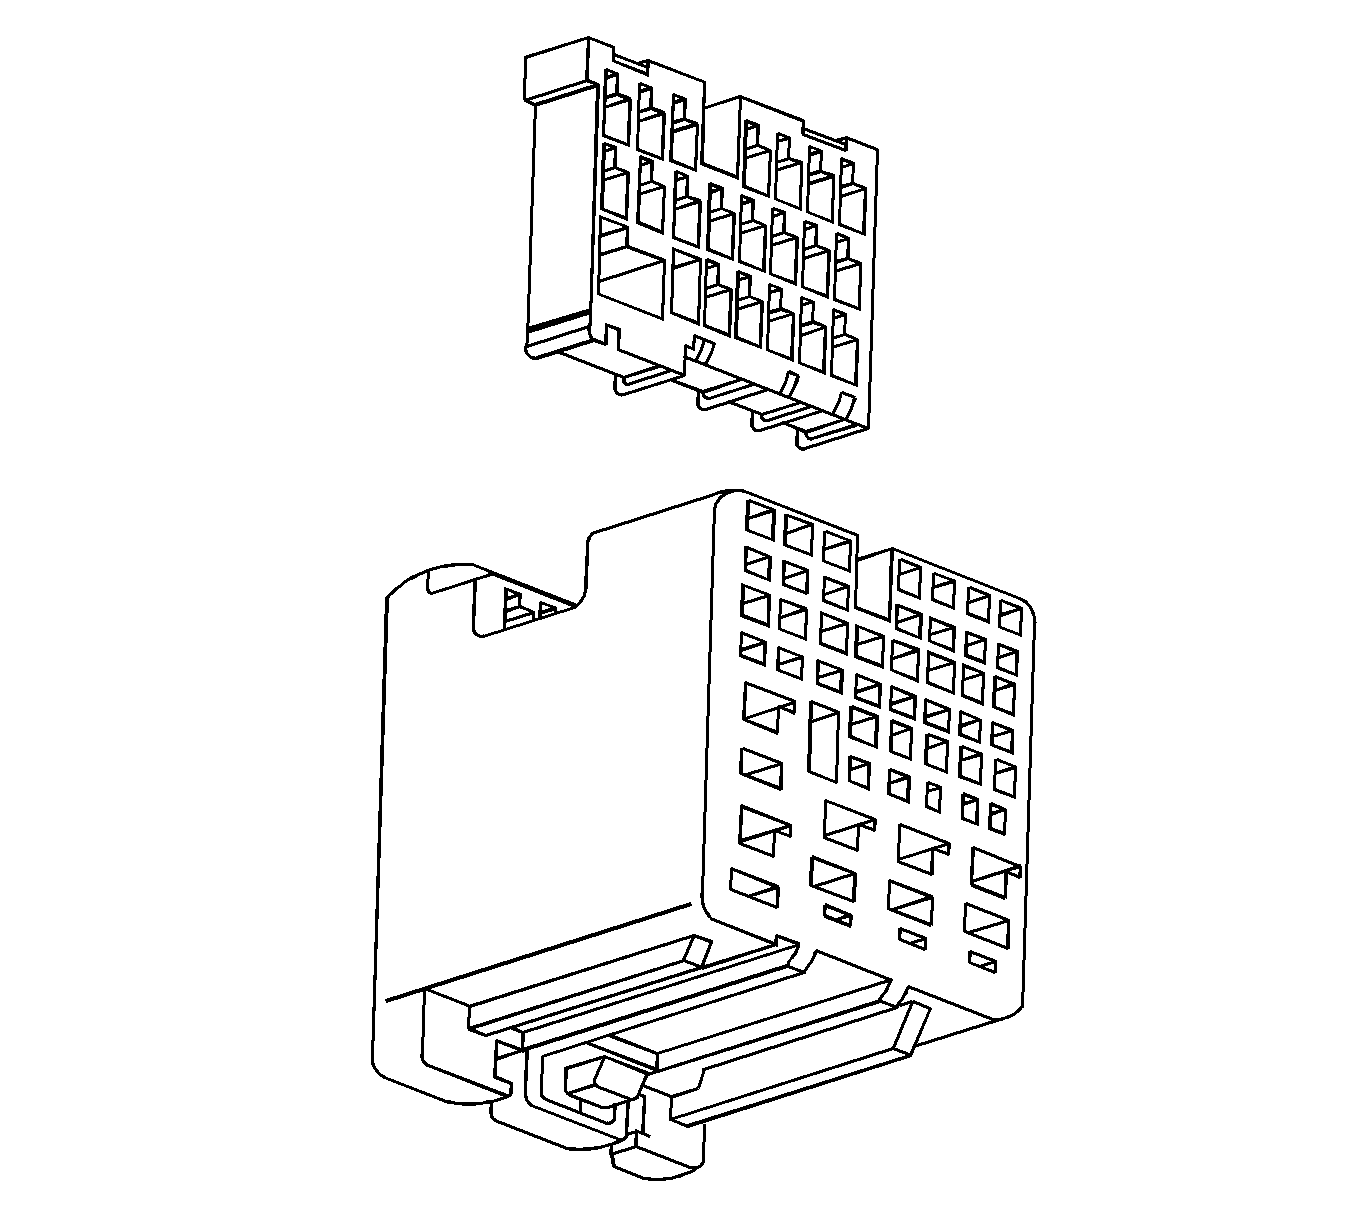
- View of the TPA when removed from the connector body.
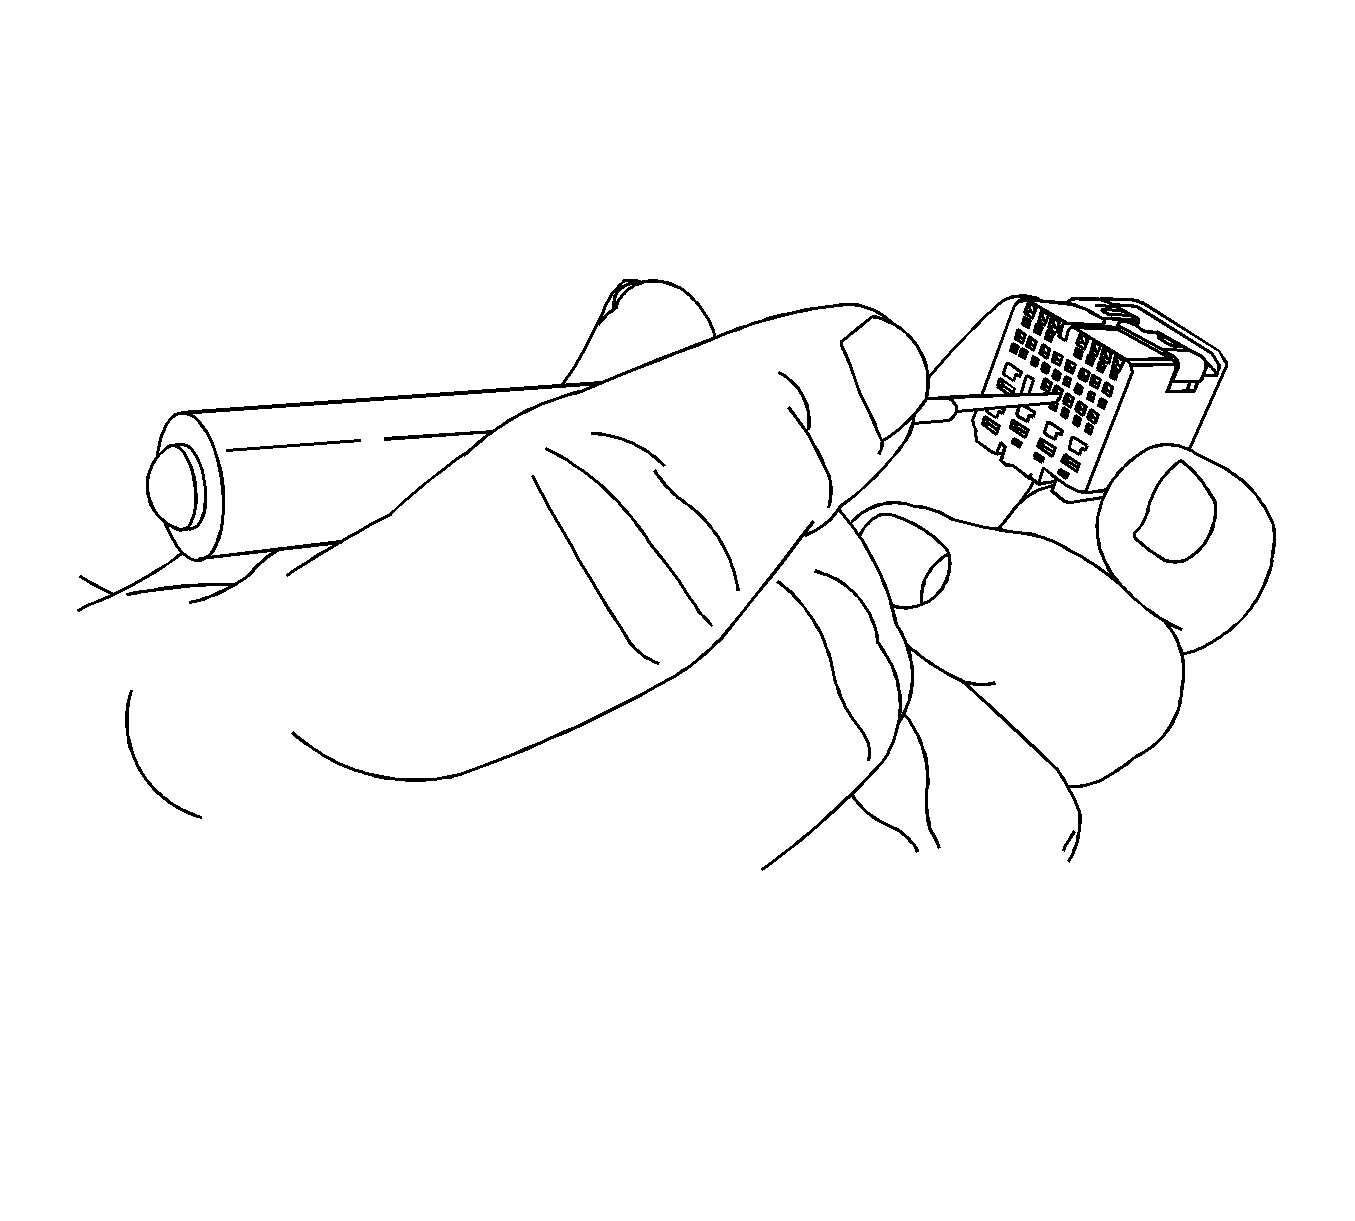
- Use the EL-38125-12A tool to release the terminals by inserting the tool into the left side of the terminal release cavity as shown in the graphic. Use the tool to move the terminal release to the right with a gentle prying motion.
- While holding the removal tool in place, gently pull the wire out of the back of the connector. Always remember never use force when pulling a terminal out of a connector.
Note: The TPA cannot be removed from the connector while there are terminals present in the connector body.
Terminated Lead Repair
- Remove the terminal.
- Find the appropriate terminated lead.
- Use the appropriate splice sleeves depending on the gage size.
- Refer to Splicing Copper Wire Using Splice Sleeves.
