Removal Procedure
- Disassemble the appropriate A/C refrigerant components. Refer to the appropriate repair procedure.
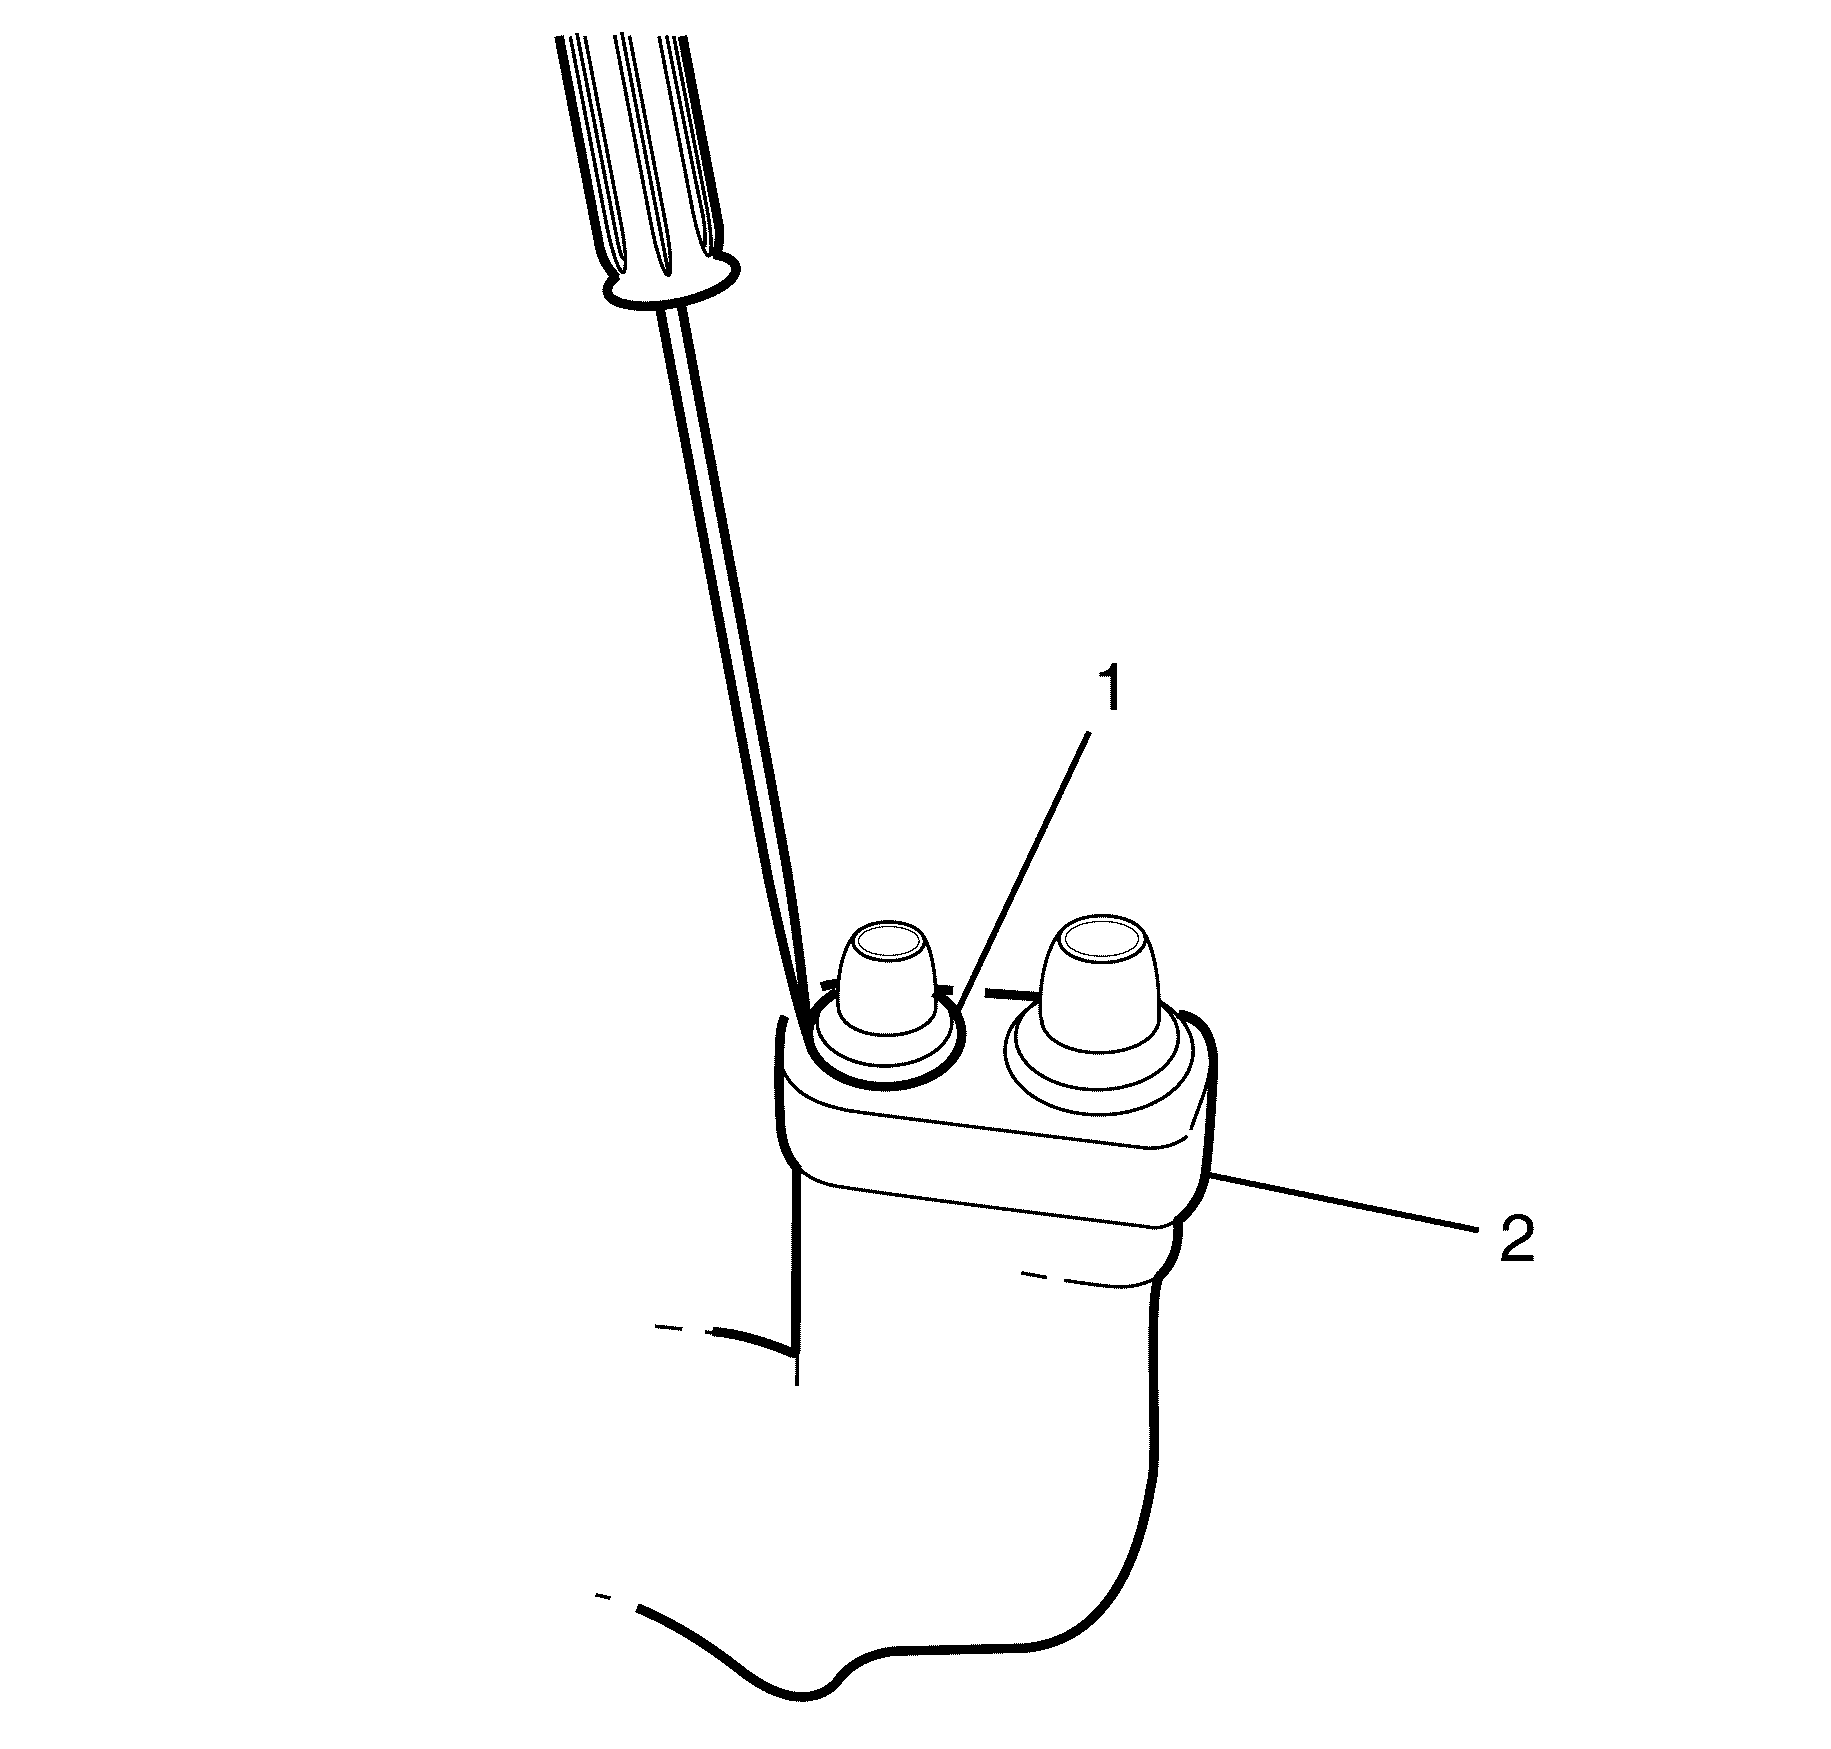
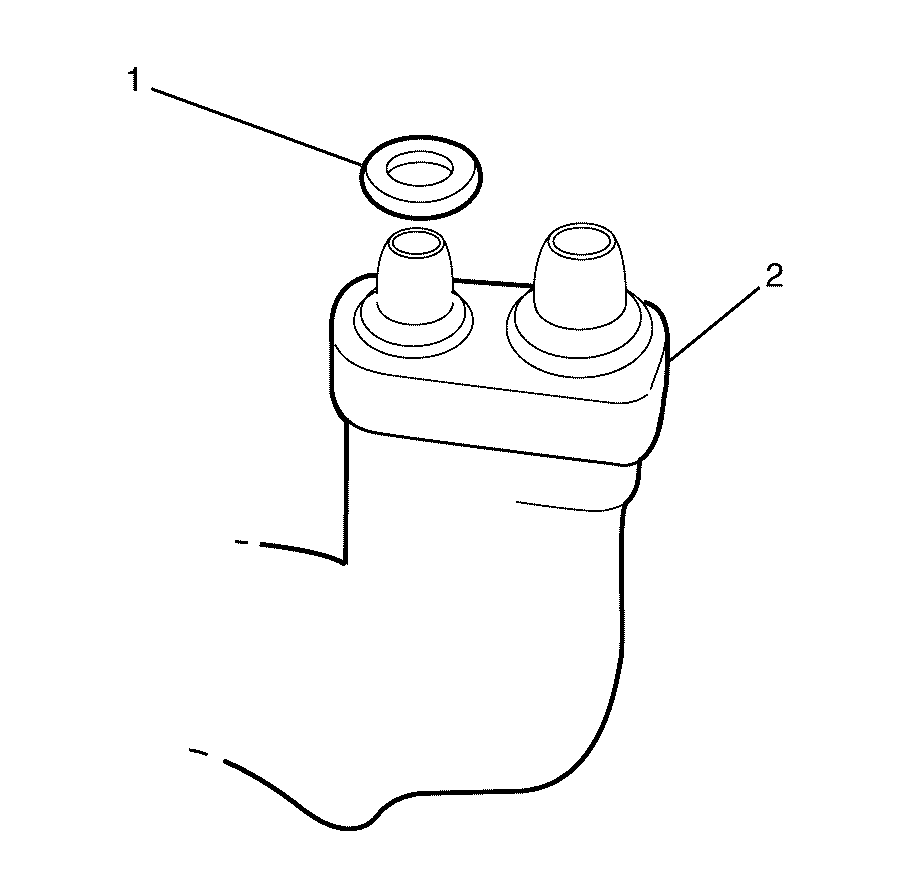
- Remove the sealing washer (1) from the A/C refrigerant component (2).
- Inspect the sealing washer (1) for signs of damage.
- Inspect the A/C refrigerant component (2) for damage or burrs. Repair if necessary.
- Cap or tape the A/C refrigerant component (2).
- Discard the sealing washer (1).
Caution: Refer to Safety Glasses Caution in the Preface section.
Important: This procedure applies to all sealing washers throughout the A/C system

Important: The sealing washers (1) are a single use item and must be discarded after use.
Important: Using a suitable tool, gently insert the end of the tool under the sealing washer (1) and lift sealing washer (1), evenly all the way around, off the A/C refrigerant component (2).

Important: Cover any opening of the A/C system with a suitable cap or tape immediately, to prevent absorption of moisture from the atmosphere.
Installation Procedure
- Inspect the NEW sealing washer (1) for any sign or cracks, cuts, or damage. Replace if necessary.
- Remove the cap or tape from the A/C refrigerant component (2).
- Using a lint-free clean, dry cloth, carefully clean the sealing surfaces of the A/C refrigerant component (2).
- Carefully slide the NEW sealing washer (1) onto the A/C refrigerant component (2).
- The sealing washer (1) must be fully seated.
- Assemble the A/C components. Refer to the appropriate repair procedure.

Important: DO NOT coat the NEW sealing washer (1) with oil, they must be fitted dry. The use of mineral oil will render the washer useless, as the sealing washer (1) will swell causing refrigerant to leak out.
