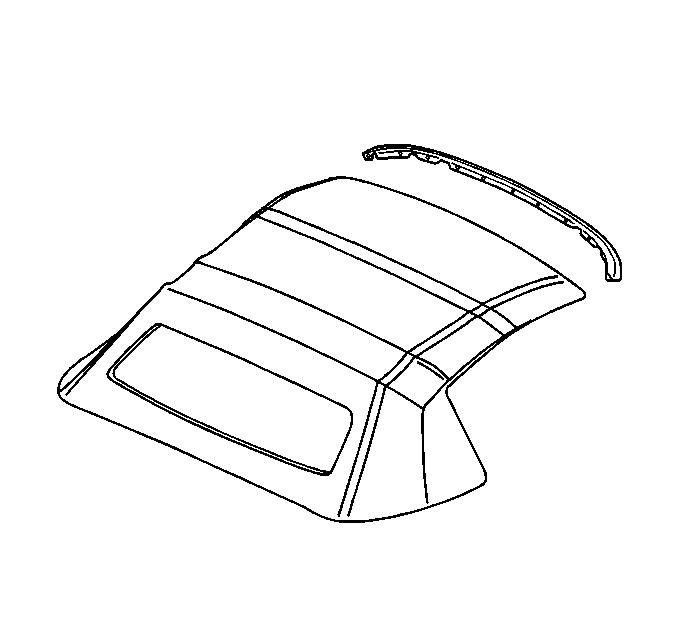
Removal Procedure
- Remove the convertible top and place it upside down on a clean flat surface. Refer to Folding Top Replacement .
- Remove the screws attaching the headliner to the rear side rail.
- Remove the fastener attaching the front side rail weatherstrip to the number one bow.
- Remove the seal compression panel from the number one bow.
- Remove the staples attaching the corner of the top material to the number 1 bow (1) and peel back the cover to expose the tension cable bracket fabric flap.
- Remove the staples attaching the tension cable guide flap to the number 1 bow.
- Remove the screw attaching the headlining to the number 1 bow.
- Remove the speed nut attaching the headlining to the number one bow.
- Remove the nuts attaching the number one bow to the front side rail.
- Remove the screw attaching the main control link to the front side rail.
- Remove the screw attaching the main control link to the center side rail.
- Remove the screw attaching the center rail to the rear side rail.
- Remove the screw attaching the center rail to the balance link.
- Remove the front and center rail assembly.
- Transfer the side rail weatherstrips and retainers if necessary.


Installation Procedure
- Install the spacers and screw attaching the center rail (9) to the rear side rail (8).
- Install the spacers and the screw attaching the center rail (9) to the balance link.
- Install the spacers and the screw attaching the main control link to the front side rail.
- Install the spacers and the screw attaching the main control link to the center side rail.
- Install the nuts attaching the number 1 bow (1) to the front side rail.
- Install the speed nuts attaching the headlining to the number one bow.
- Staple the tension cable guide flap to the number one bow.
- Stable the top material to the number one bow.
- Install the headlining attaching screw to the number one bow.
- Install the seal compression panel to the number one bow.
- Install the fastener attaching the front side rail seal to the number one bow.
- Install the folding top. Refer to Folding Top Replacement .

Notice: Use the correct fastener in the correct location. Replacement fasteners must be the correct part number for that application. Fasteners requiring replacement or fasteners requiring the use of thread locking compound or sealant are identified in the service procedure. Do not use paints, lubricants, or corrosion inhibitors on fasteners or fastener joint surfaces unless specified. These coatings affect fastener torque and joint clamping force and may damage the fastener. Use the correct tightening sequence and specifications when installing fasteners in order to avoid damage to parts and systems.
Tighten
Tighten the center rail to rear side rail screw
to 19 N·m (14 lb ft).
Tighten
Tighten the center rail to balance link bolt to
23 N·m (17 lb ft).

Tighten
Tighten the main control link to side rail bolt
to 20 N·m (15 lb ft).
Tighten
Tighten the main control link to center side rail
to 20 N·m (15 lb ft).

Tighten
Tighten the number 1 bow to side rail nuts to 14 N·m
(10 lb ft).

Tighten
Tighten the seal compression panel screws to 2 N·m
(17 lb in).

Tighten
Tighten the folding top mounting bolt to 25 N·m
(18 lb ft).
