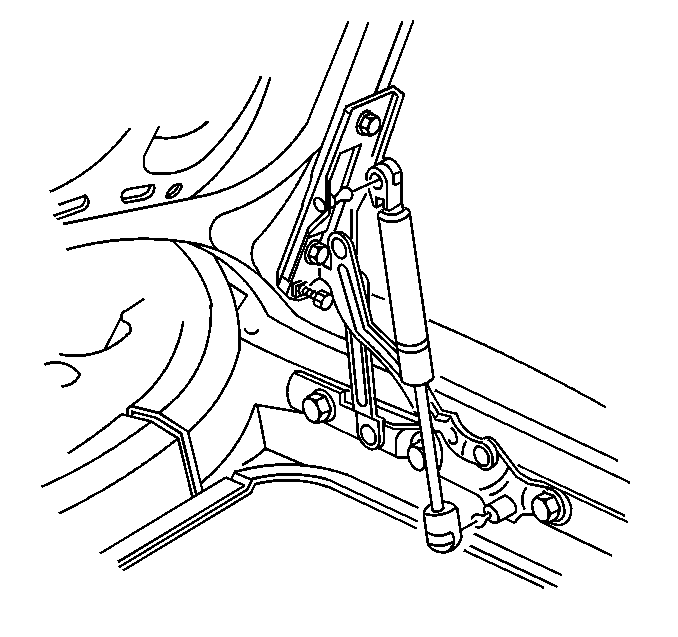
Removal Procedure
- Open the rear compartment.
- Place protective coverings over the adjacent body panels.
- Use a grease pencil in order to mark the hinge to the rear compartment lid for the location at installation.
- Disconnect all the electrical connectors on the rear compartment lid from the harness.
- Remove the black rubber bumpers.
- Remove the lid latch. Refer to Rear Compartment Lid Latch Replacement .
- Remove the compartment lid trim. Refer to Rear Compartment Lid Inner Panel Trim Replacement .
- Remove the nuts with an assistant, from rear the compartment hinges.
- Remove the rear compartment lid, with an assistant.

Installation Procedure
- Install the black rubber bumpers.
- With an assistant, position the rear compartment lid to the hinges.
- Position the hinge to the alignment marks on the rear compartment lid.
- Install the nuts to the rear compartment hinges.
- Pull the harness through the rear compartment lid.
- Attach the harness connectors to the electrical components.
- Install the lid latch. Refer to Rear Compartment Lid Latch Replacement .
- Install the compartment lid trim. Refer to Rear Compartment Lid Inner Panel Trim Replacement .
- Remove the protective coverings from the adjacent body panels.
- Adjust the rear compartment lid if required. Using an Allen wrench, adjust the height adjustment bumper at front of the hinge.
- Adjust the rear compartment lid if required, for uniform fit.
- Adjust the rear compartment height by turning the black rubber overslam bumpers by hand.
- Tighten the nuts to the rear compartment hinges.
- Close the rear compartment.

Do not torque the nuts until after the lid has been aligned.
Important: When installing new a compartment lid, use mechanics wire to pull the wire harness into position.
Notice: Use the correct fastener in the correct location. Replacement fasteners must be the correct part number for that application. Fasteners requiring replacement or fasteners requiring the use of thread locking compound or sealant are identified in the service procedure. Do not use paints, lubricants, or corrosion inhibitors on fasteners or fastener joint surfaces unless specified. These coatings affect fastener torque and joint clamping force and may damage the fastener. Use the correct tightening sequence and specifications when installing fasteners in order to avoid damage to parts and systems.
Tighten
Tighten the real compartment lid hinge nuts to 25 N·m (18 lb ft).
