For 1990-2009 cars only
Tools Required
J 45059 Torque Angle Meter
Removal Procedure
- Remove the engine front cover. Refer to Engine Front Cover Replacement .
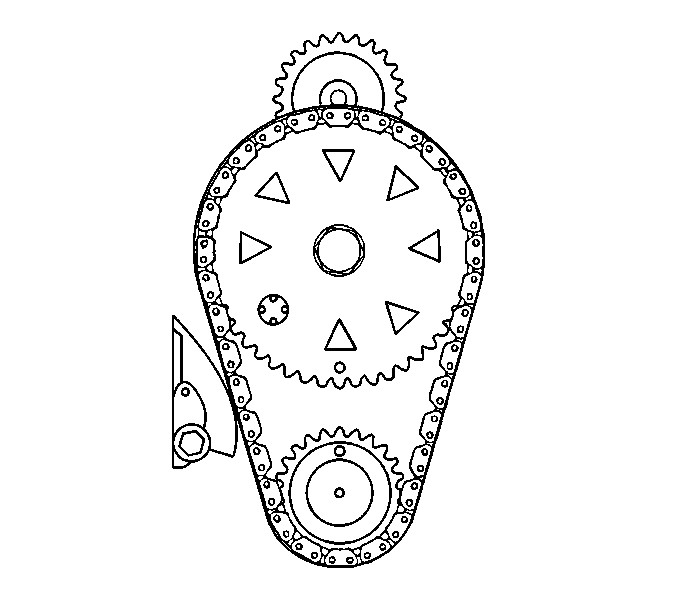
- Align the timing marks on the timing sprockets. Position the timing marks as close together as possible.
- Remove the timing chain dampener.
- Remove the camshaft sprocket bolt.
- Remove the camshaft sprocket.
- Remove the timing chain.
- Clean and inspect the timing chain and sprockets. Refer to Camshaft Timing Chain and Sprocket Cleaning and Inspection .


Installation Procedure
- Turn the crankshaft so that the number one piston is at top dead center.
- Turn the camshaft so that the timing mark is straight down with the sprocket temporarily installed.
- Assemble the timing chain on the sprockets. Ensure that the timing marks are in the closest together position.
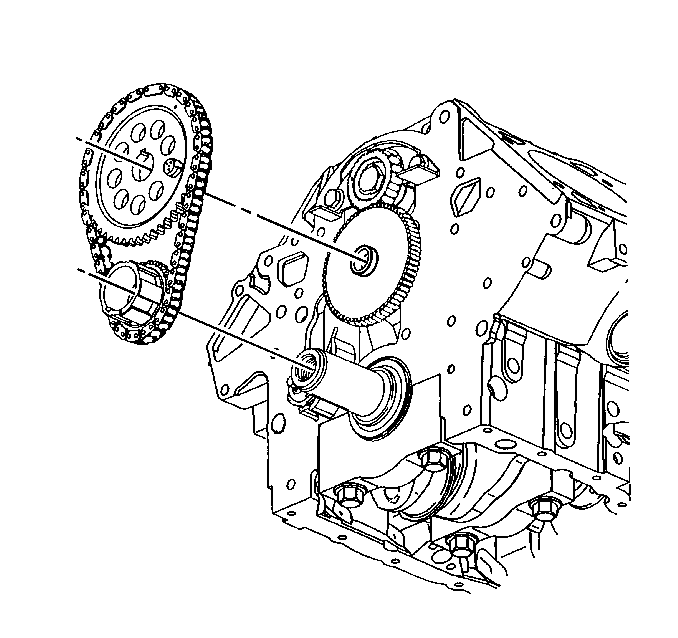
- Install the timing chain and the crankshaft sprocket.
- Install the camshaft sprocket.
- Install the camshaft sprocket bolt.
- Install the timing chain dampener.
- Install the timing chain dampener bolt.
- Install the engine front cover. Refer to Engine Front Cover Replacement .


Notice: Refer to Special Fastener Notice in the Preface section.
Notice: Refer to Fastener Notice in the Preface section.
Tighten
Tighten the camshaft sprocket bolt to 100 N·m (74 lb ft).
Use the J 45059
in order
to tighten the bolt an additional 90 degrees.
Tighten
Tighten the timing chain dampener bolt to 22 N·m (16 lb ft).
