Removal Procedure
Tools Required
J 38778 Door Trim Pad and Garnish Clip Remover.
- Remove the door trim panel. Refer to Front Side Door Trim Panel Replacement .
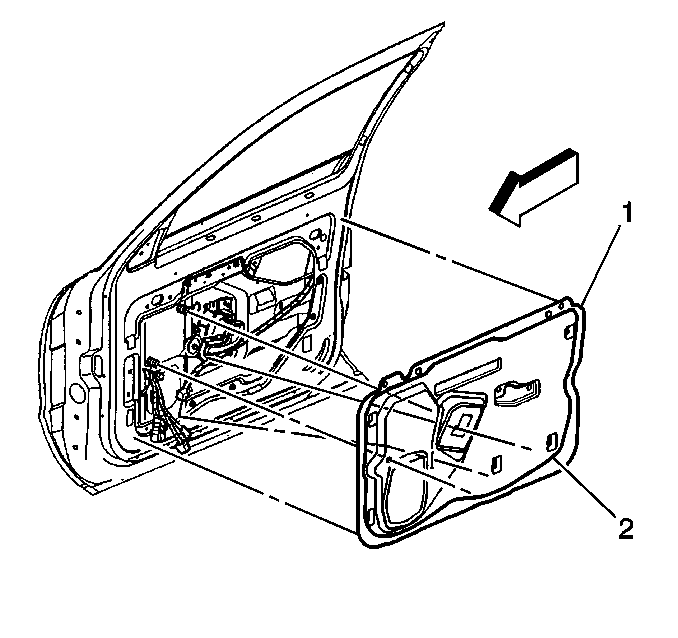
- Remove the trim panel bracket fasteners (2).
- Remove the trim panel bracket (1).
- Remove the door module. Refer to Front Door Module Replacement .
- Use the J 38778 in order to remove the two push in retainers at the outer top edges of the water deflector.
- Remove the water deflector (1) by peeling the deflector off the door inner panel.
Caution: Disconnect the power window switch when working inside the driver door. When operated, the Express Up/Down Feature allows the door window to move very quickly, without stopping, which could cause personal injury.

Installation Procedure
- Install the water deflector (1) over the inside handle.
- Align the water deflector with the top of the inner door panel. Apply pressure to hold the deflector in position.
- Carefully guide the wire harness through the slits in the water deflector.
- Insert the extruded pockets as needed. Remove any wrinkles.
- Secure the bottom center.
- Work forward and up in order to secure the sides.
- Return to the bottom center. Work the seal rearward and up.
- Install the two retaining fasteners at the outer top edge of the inner door in order to secure the top edge of the water deflector to the door.
- Install the door module. Refer to Front Door Module Replacement .
- Install the trim panel bracket (1).
- Install the three fasteners (2).
- Install the door trim panel. Refer to Front Side Door Trim Panel Replacement .
Notice: Proper sealing is necessary in order to prevent water entry into the door and possible damage to inner door components.
Notice: Use the correct fastener in the correct location. Replacement fasteners must be the correct part number for that application. Fasteners requiring replacement or fasteners requiring the use of thread locking compound or sealant are identified in the service procedure. Do not use paints, lubricants, or corrosion inhibitors on fasteners or fastener joint surfaces unless specified. These coatings affect fastener torque and joint clamping force and may damage the fastener. Use the correct tightening sequence and specifications when installing fasteners in order to avoid damage to parts and systems.
Tighten
Tighten the three fasteners to 9 N·m (80 lb in).
