It is very important to know how much weight your vehicle can carry. This weight is called the vehicle capacity weight and includes the weight of all occupants, cargo and all nonfactory-installed options. Two labels on your vehicle show how much weight it may properly carry, the Tire and Loading Information label and the Certification/Tire label.
Caution: Do not load the vehicle any heavier than the Gross Vehicle Weight Rating (GVWR), or either the maximum front or rear Gross Axle Weight Rating (GAWR). If you do, parts on the vehicle can break, and it can change the way your vehicle handles. These could cause you to lose control and crash. Also, overloading can shorten the life of the vehicle.
Tire and Loading Information Label
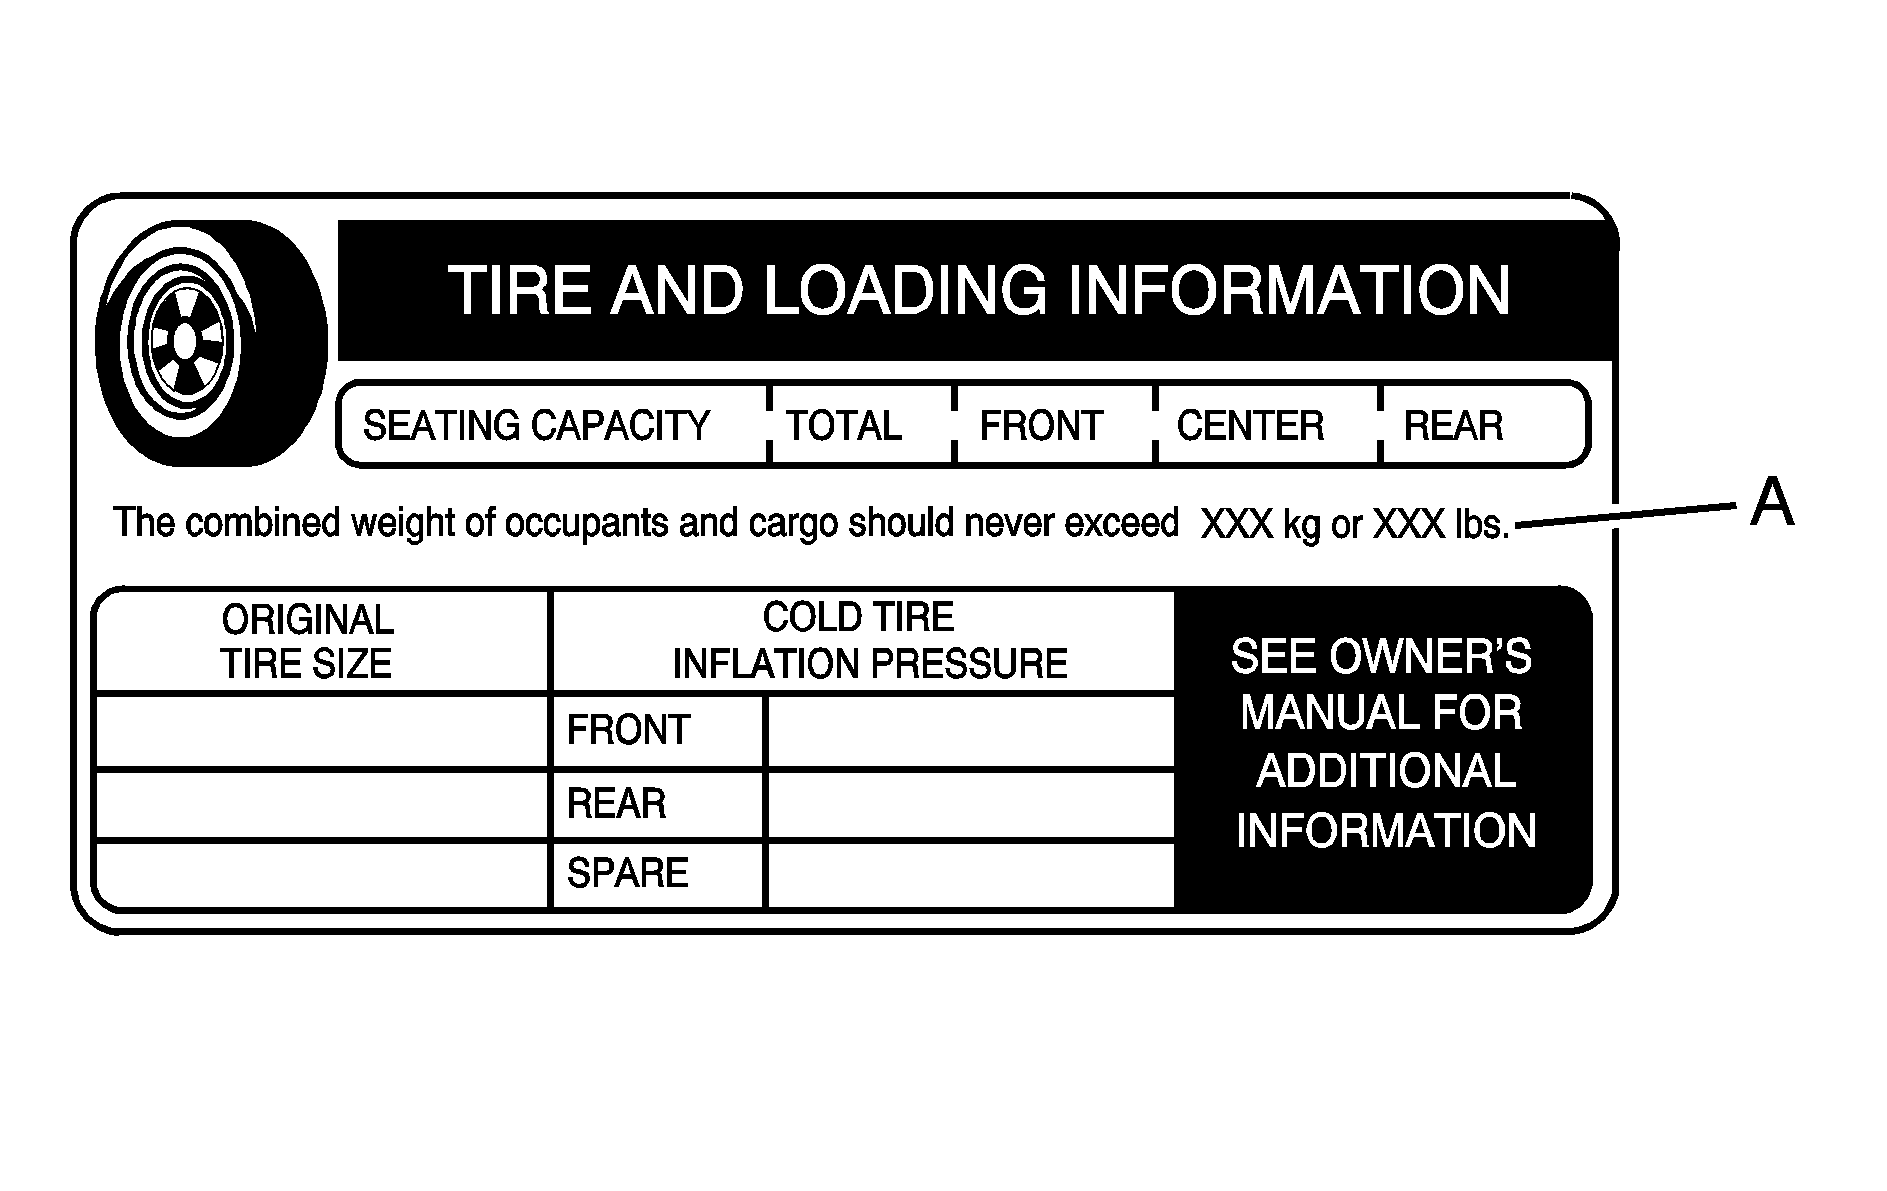
Vehicle Capacity Weight
The Tire and Loading Information label is attached to the center pillar, near the driver's door latch. Vehicles without a center pillar will have the Tire and Loading Information label attached to the driver's door edge. This label lists the number of people that can be in your vehicle and the total weight it can carry. This weight is called the vehicle capacity weight.
The Tire and Loading Information label also tells you the size and recommended inflation pressure for the original equipment tires on your vehicle. For more information on tires and inflation see Tires and Inflation - Tire Pressure .
If your vehicle does not have the Tire and Loading Information label, the Certification/Tire label shows the tire size and recommended inflation pressures needed to obtain the Gross Vehicle Weight Rating (GVWR) and the Gross Axle Weight Rating (GAWR) for the front and rear axles. See "Certification/Tire Label" later in this section.
Steps for Determining Correct Load Limit
- Locate the statement "The combined weight of occupants and cargo should never exceed XXX pounds" on your vehicle placard.
- Determine the combined weight of the driver and passengers that will be riding in your vehicle.
- Subtract the combined weight of the driver and passengers from XXX kilograms or XXX pounds.
- The resulting figure equals the available amount of cargo and luggage load capacity. For example, if the "XXX" amount equals 1400 lbs. and there will be five 150 lb. passengers in your vehicle, the amount of available cargo and luggage load capacity is 650 lbs. (1400 - 750 (5 x 150) = 650 lbs.).
- Determine the combined weight of luggage and cargo being loaded on the vehicle. That weight may not safely exceed the available cargo and luggage load capacity calculated in Step 4.
- If your vehicle will be towing a trailer, the load from your trailer will be transferred to your vehicle. Consult this manual to determine how this reduces the available cargo and luggage load capacity of your vehicle.
See Towing a Trailer for important information on towing a trailer, towing safety rules and trailering tips.
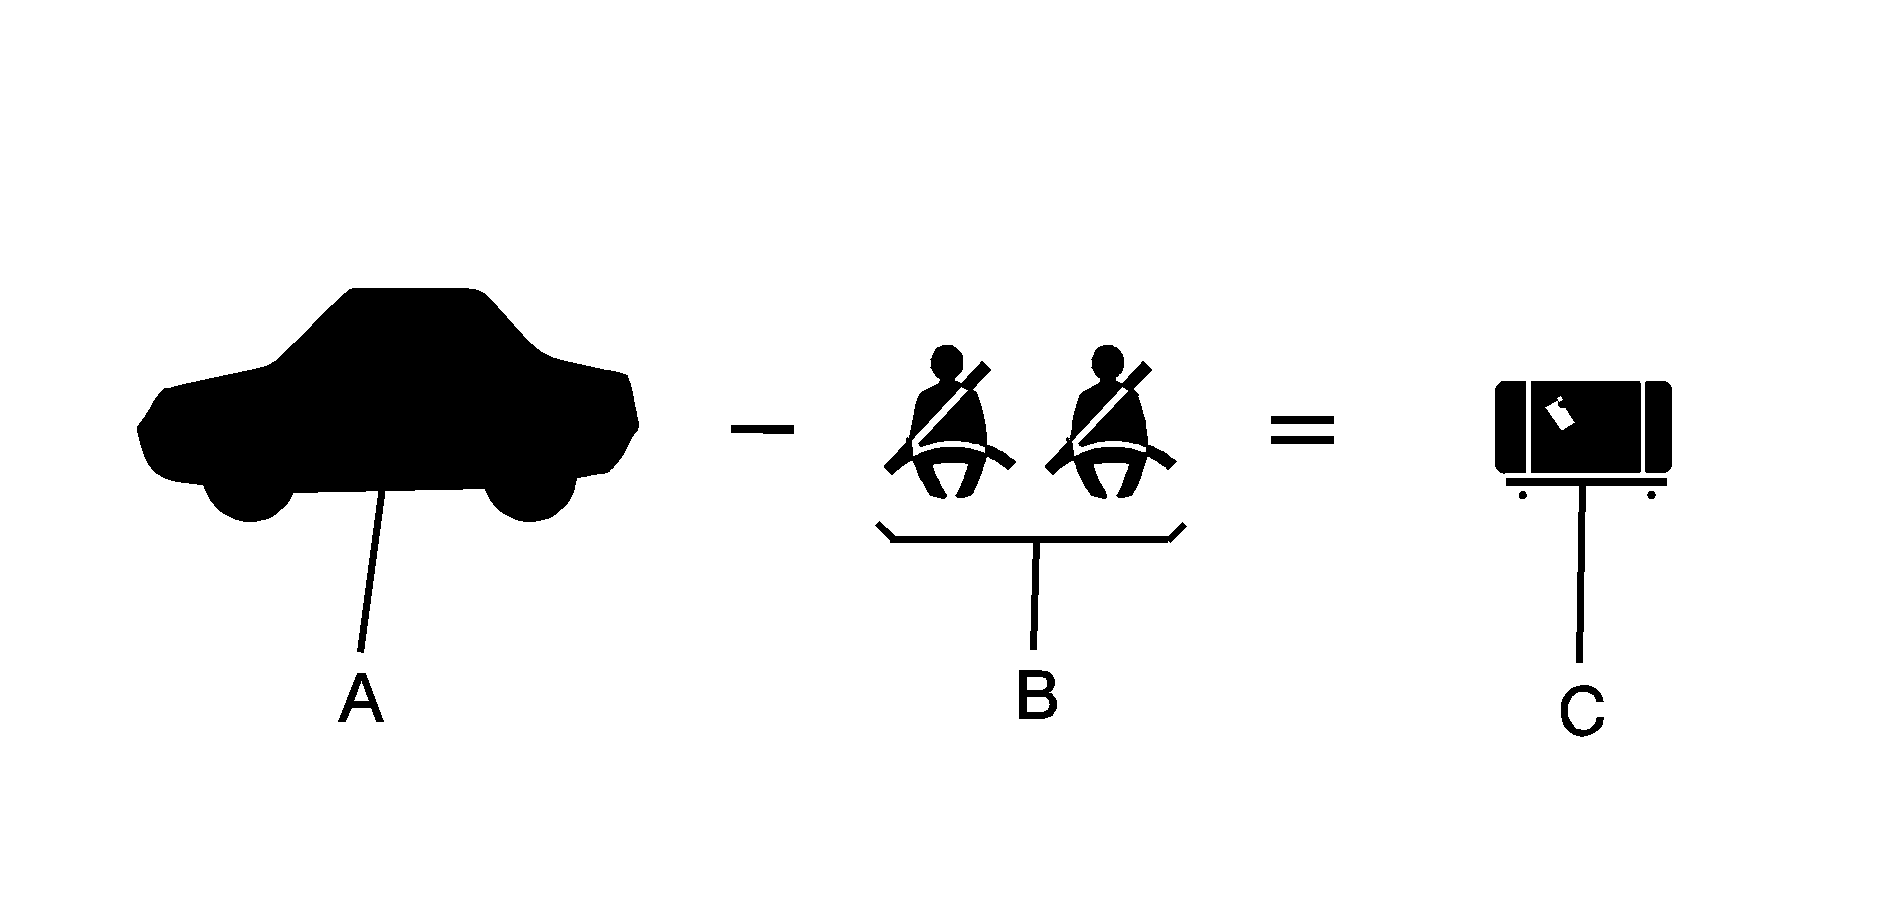
Example 1
Item | Description | Total |
|---|---|---|
A | Vehicle Capacity Weight for Example 1= | 1,000 lbs (453 kg) |
B | Subtract Occupant Weight @ 150 lbs (68 kg) × 2 = | 300 lbs (136 kg) |
C | Available Occupant and Cargo Weight= | 700 lbs. (317 kg) |
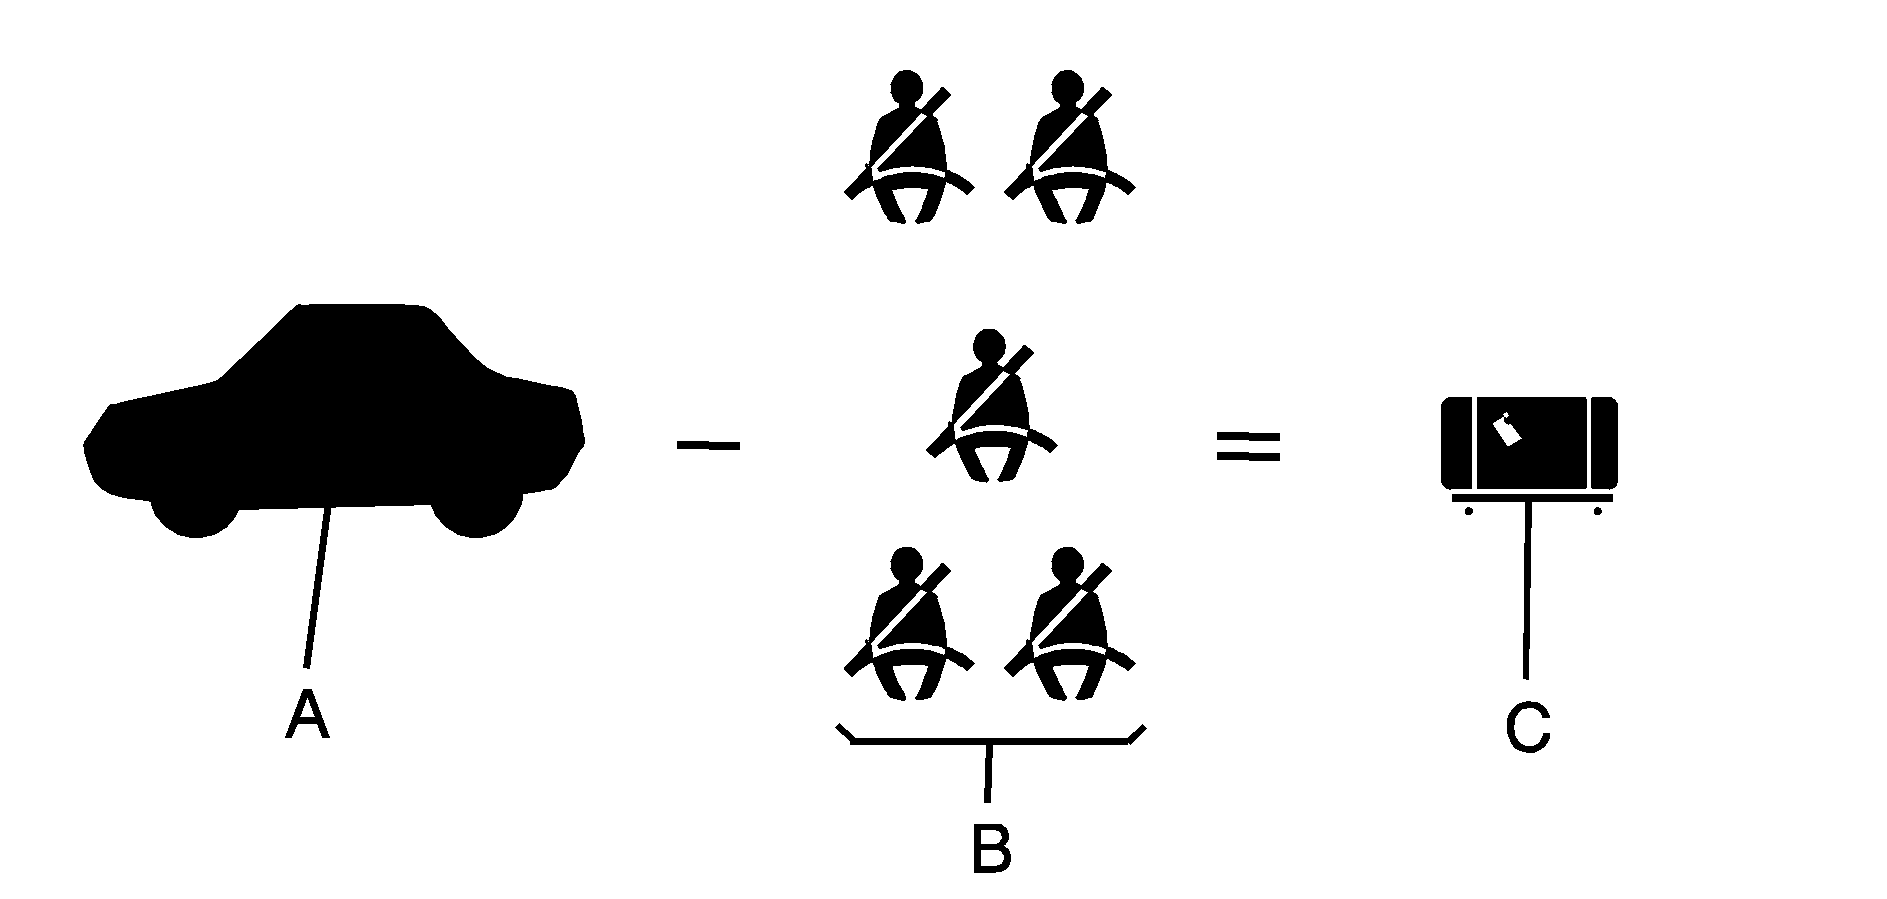
Example 2
Item | Description | Total |
|---|---|---|
A | Vehicle Capacity Weight for Example 2 = | 1,000 lbs (453 kg) |
B | Subtract Occupant Weight @ 150 lbs (68 kg) × 5 = | 750 lbs (340 kg) |
C | Available Cargo Weight = | 250 lbs. (113 kg) |
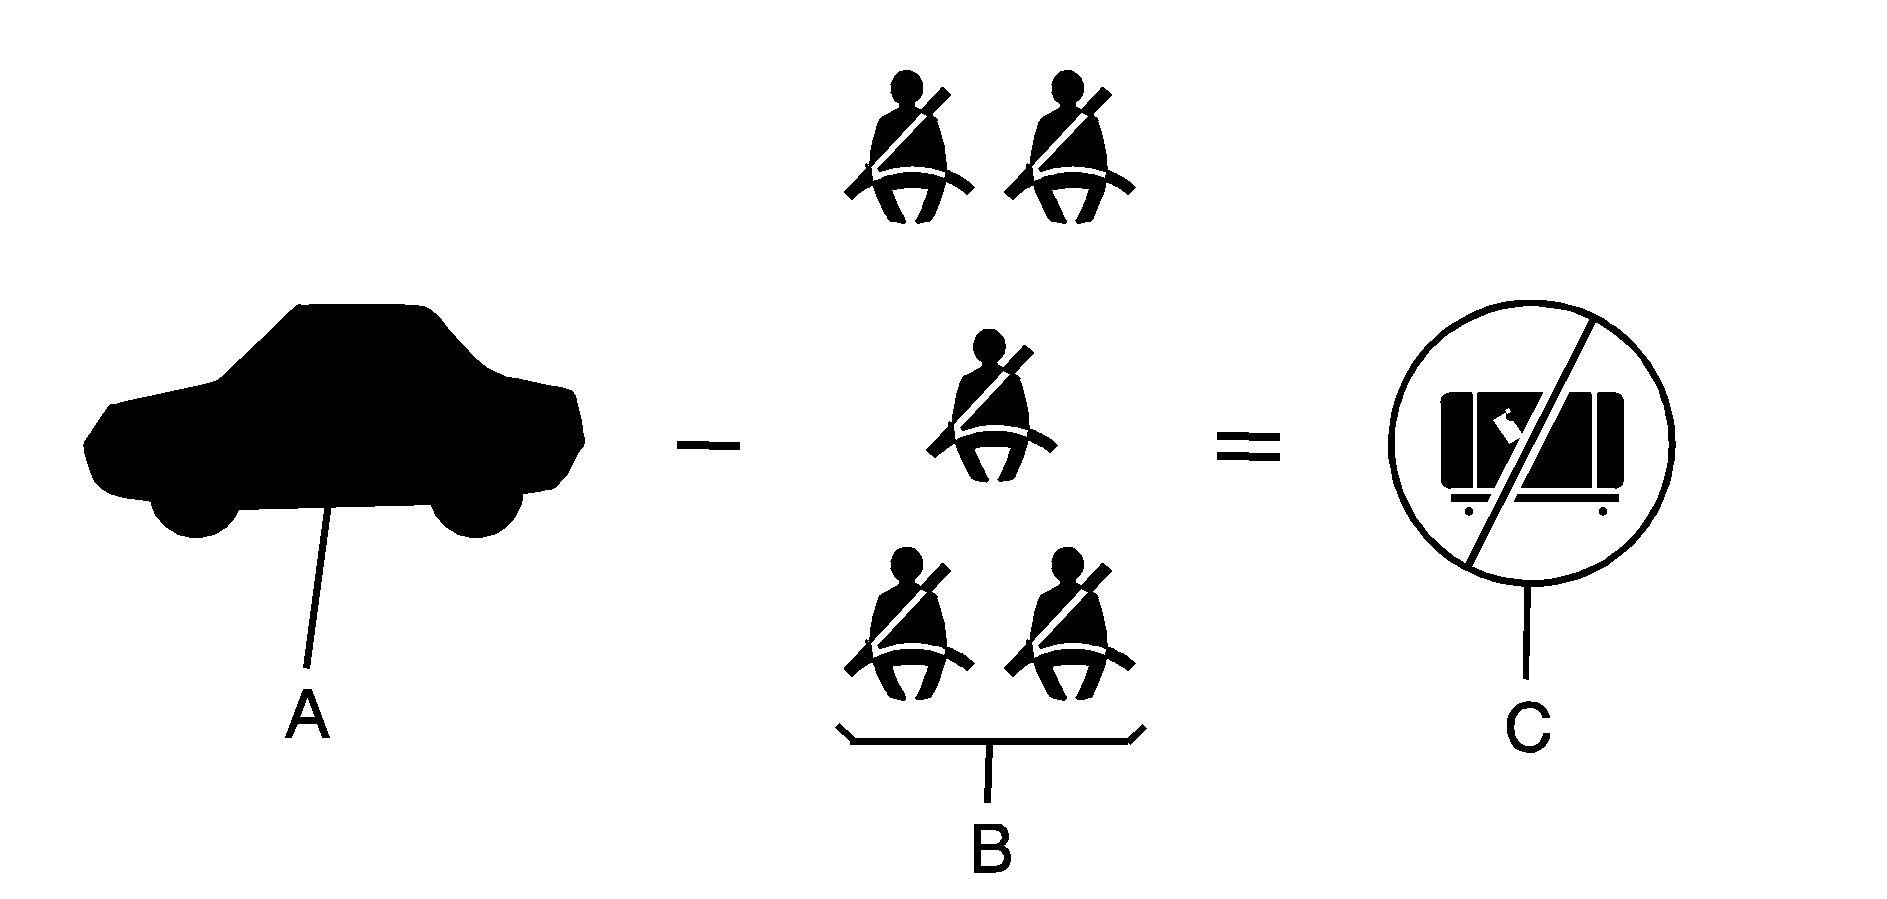
Example 3
Item | Description | Total |
|---|---|---|
A | Vehicle Capacity Weight for Example 3 = | 1,000 lbs (453 kg) |
B | Subtract Occupant Weight @ 200 lbs (91 kg) × 5 = | 1,000 lbs (453 kg) |
C | Available Cargo Weight = | 0 lbs. (0 kg) |
Refer to your vehicle's tire and loading information label for specific information about your vehicle's capacity weight and seating positions. The combined weight of the driver, passengers and cargo should never exceed your vehicle's capacity weight.
Certification/Tire Label
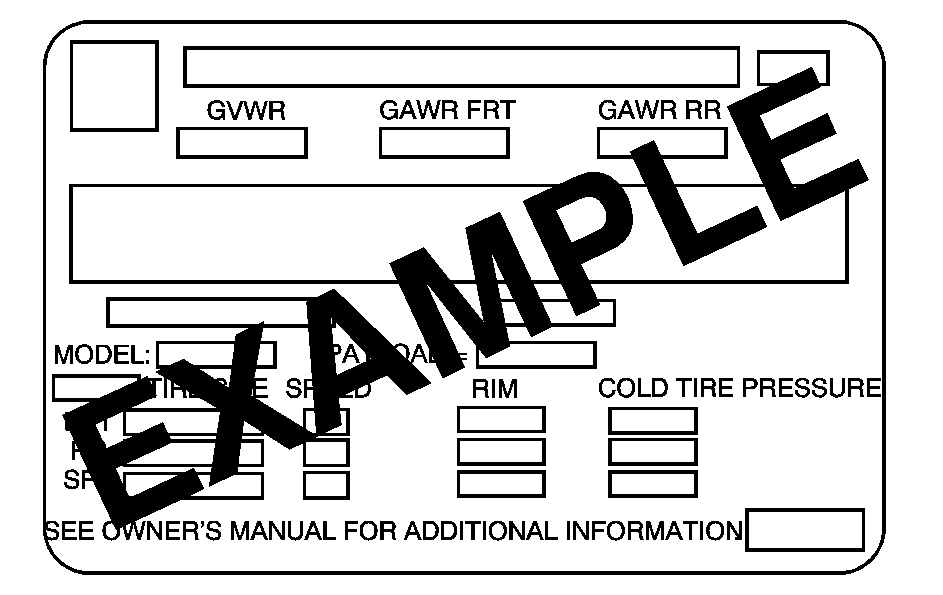
The Certification/Tire label is found on the driver's door edge, above the door latch. The label shows the size of your original tires and the inflation pressures needed to obtain the gross weight capacity of your vehicle. This is called the Gross Vehicle Weight Rating (GVWR). The GVWR includes the weight of the vehicle, all occupants, fuel, cargo and trailer tongue weight, if pulling a trailer.
The Certification/Tire label also tells you the maximum weights for the front and rear axles, called Gross Axle Weight Rating (GAWR). To find out the actual loads on your front and rear axles, you need to go to a weigh station and weigh your vehicle. Your dealer can help you with this. Be sure to spread out your load equally on both sides of the centerline.
Never exceed the GVWR for your vehicle, or the GAWR for either the front or rear axle.
If you do have a heavy load, you should spread it out.
Similar appearing vehicles may have different GVWRs and payloads. Please note your vehicle's Certification/Tire label or consult your dealer for additional details.
Caution: Do not load the vehicle any heavier than the Gross Vehicle Weight Rating (GVWR), or either the maximum front or rear Gross Axle Weight Rating (GAWR). If you do, parts on the vehicle can break, and it can change the way your vehicle handles. These could cause you to lose control and crash. Also, overloading can shorten the life of the vehicle.
Using heavier suspension components to get added durability might not change your vehicle's weight ratings. Ask your dealer to help you load your vehicle the right way.
Notice: Overloading your vehicle may cause damage. Repairs would not be covered by your warranty. Do not overload your vehicle.
If you put things inside your vehicle-like suitcases, tools, packages, or anything else-they will go as fast as the vehicle goes. If you have to stop or turn quickly, or if there's a crash, they'll keep going.
Caution: Things you put inside your
vehicle can strike and injure people in a sudden stop or turn, or in a crash.
• Put things in the cargo area of your vehicle. Try
to spread the weight evenly. • Never stack heavier things, like suitcases, inside
the vehicle so that some of them are above the tops of the seats. • Do not leave an unsecured child restraint in your
vehicle. • When you carry something inside the vehicle, secure
it whenever you can. • Do not leave a seat folded down unless
you need to.
There's also important loading information for off-road driving in this manual.
Electronically Controlled Air Suspension System
This system automatically keeps your vehicle level as you load and unload. The system includes a compressor, two height sensors and two air springs supporting the rear axle.
The system also has an internal clock to prevent overheating. If the system overheats, all leveling function stops until the system cools down. During this time, the indicator light on the air inflator system will be flashing.
The ignition has to be on for the system to inflate, in order to raise the vehicle to the standard ride height after loading. The system can lower the vehicle to the standard ride height after unloading with the ignition on and also for up to 30 minutes after the ignition has been turned off.
You may hear the compressor operating when you load your vehicle, and periodically as the system adjusts the vehicle to the standard ride height.
Load leveling will not function normally with the inflator hose attached to the inflator outlet. Remove the inflator hose from the outlet during loading and unloading.
If the vehicle is parked for an extended period of time, some bleed down of the suspension is normal. Upon starting the vehicle, proper height will be achieved.
Overload Protection
The air suspension system is equipped with overload protection. Overload protection is designed to protect the air suspension system, and it is an indicator to the driver that the vehicle is overloaded. When the overload protection mode is on, it will not allow damage to the air compressor. However, do not overload the vehicle. See Loading the Vehicle .
If the suspension remains at a low height, the rear axle load has exceeded GAWR (Gross Axle Weight Rating). When the overload protection mode is activated, the compressor operates for about 30 seconds to one minute without raising the vehicle depending on the amount of overload. This will continue each time the ignition is turned on until the rear axle load is reduced below GAWR.
Indicator Light
The indicator light on the inflator switch in the rear passenger compartment also serves as an indicator for internal system error. If the indicator light is flashing without the load leveling function or the inflator being active, turn off the ignition. The next day turn on the ignition and check the indicator light. The vehicle can be driven with the light flashing, but if it is you should have the vehicle serviced as soon as possible.
