For 1990-2009 cars only
Removal Procedure
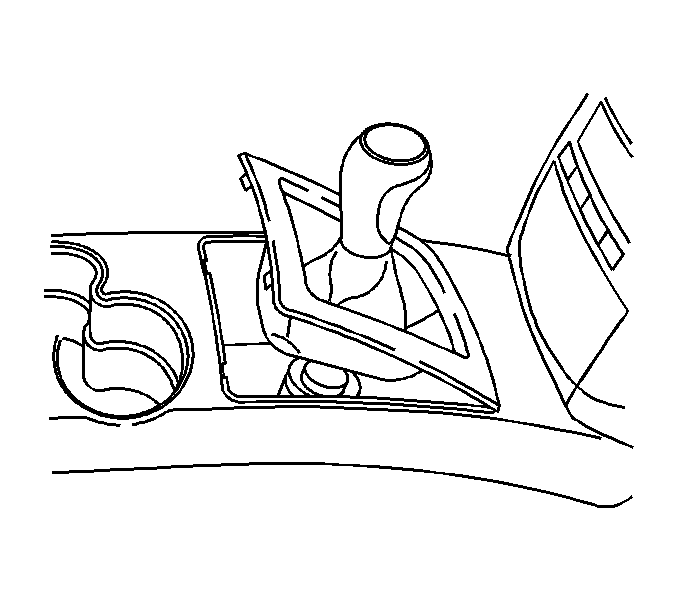
- Remove the shift control knob. Refer to Transmission Control Lever Knob Replacement.
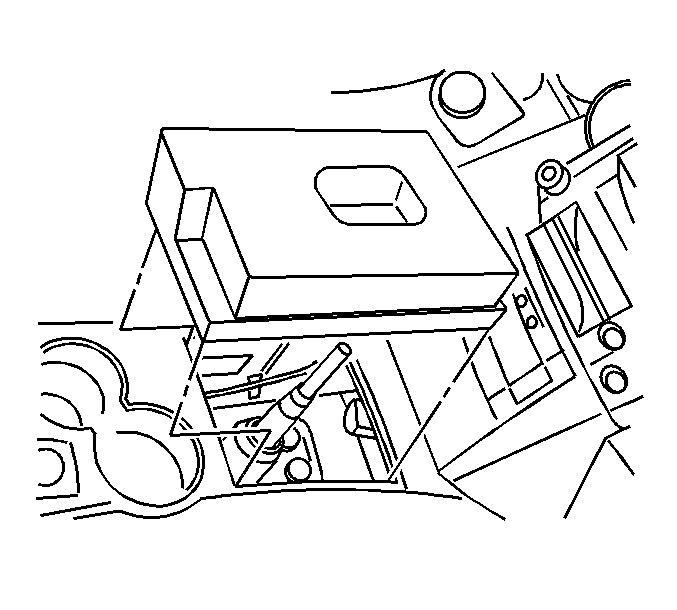
- Remove the sound insulator foam block from the console.
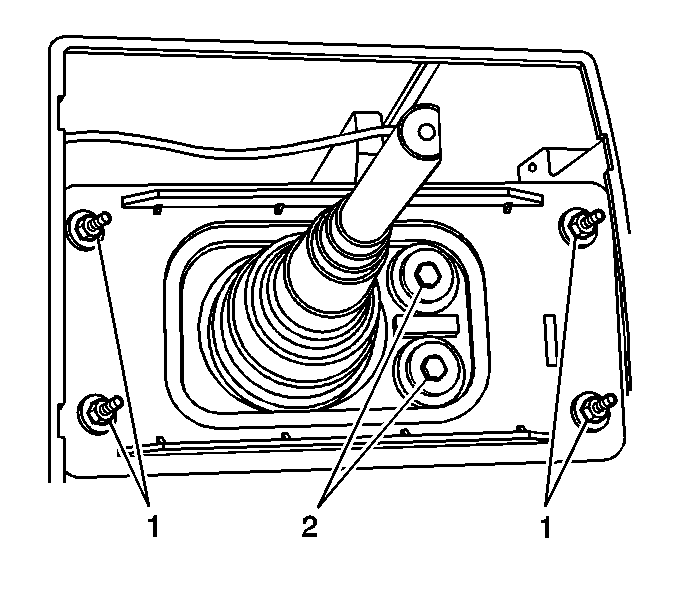
- Remove the bolts (2) securing the shift control assembly to the shift control adapter plate.
- Raise the vehicle. Refer to Lifting and Jacking the Vehicle.
- Remove both front oxygen sensor. Refer to Heated Oxygen Sensor Replacement - Bank 1 Sensor 1 and Heated Oxygen Sensor Replacement - Bank 2 Sensor 1.
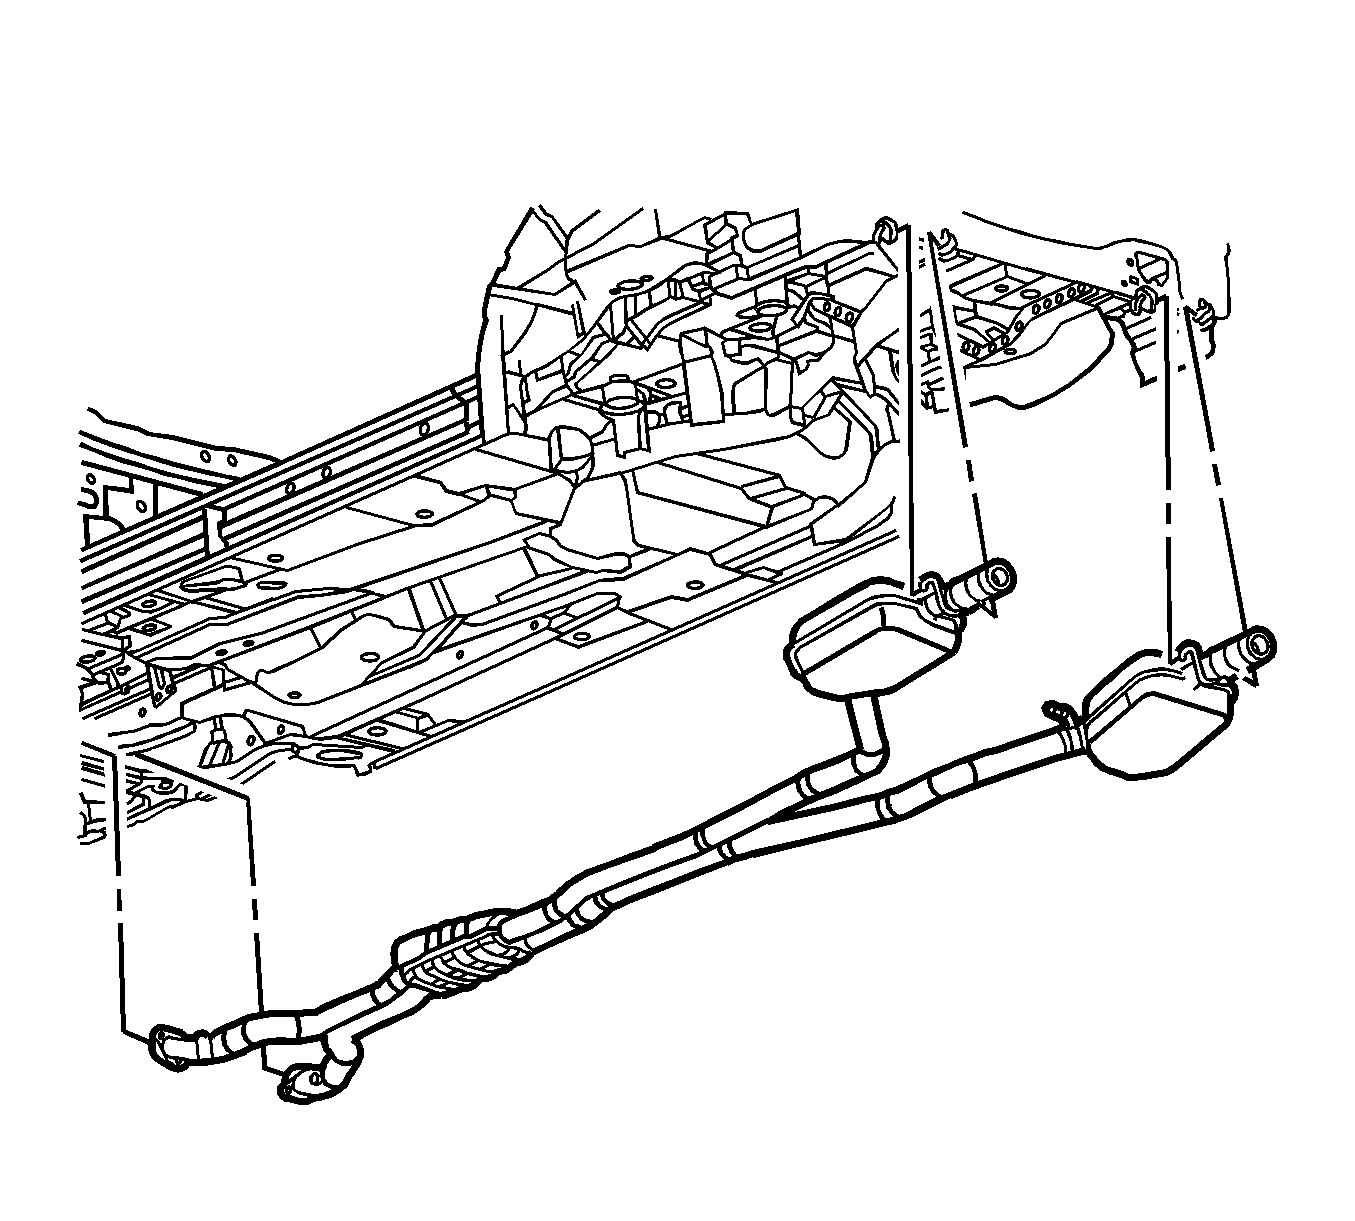
- Remove the exhaust system. Refer to Exhaust System Replacement.
- Remove the propeller shaft (6). Refer to Rear Propeller Shaft Replacement.
- Support the transmission with a suitable jack.
- Remove the transmission support. Refer to Transmission Support Replacement.
- Lower the transmission assembly to gain access to the top of the transmission.
- Remove the shift control assembly from the transmission. Remove the shift control assembly from the vehicle. Refer to Shift Control Assembly Replacement.
- Disconnect the following electrical connectors:
- Disconnect the clutch hydraulic hose at the actuator cylinder. Refer to Clutch Concentric Actuator Cylinder Replacement.
- Disconnect the intermediate steering shaft. Refer to Lower Intermediate Steering Shaft Replacement.
- Support the frame with a suitable support. Lower the frame approximately 25 mm (1 inch) by loosing the frame bolts then lowering the jack.
- Remove the transmission clutch housing to engine bolts and studs (1, 4).
- Remove the transmission from the vehicle by rotating the transmission to the right while sliding the transmission rearward.
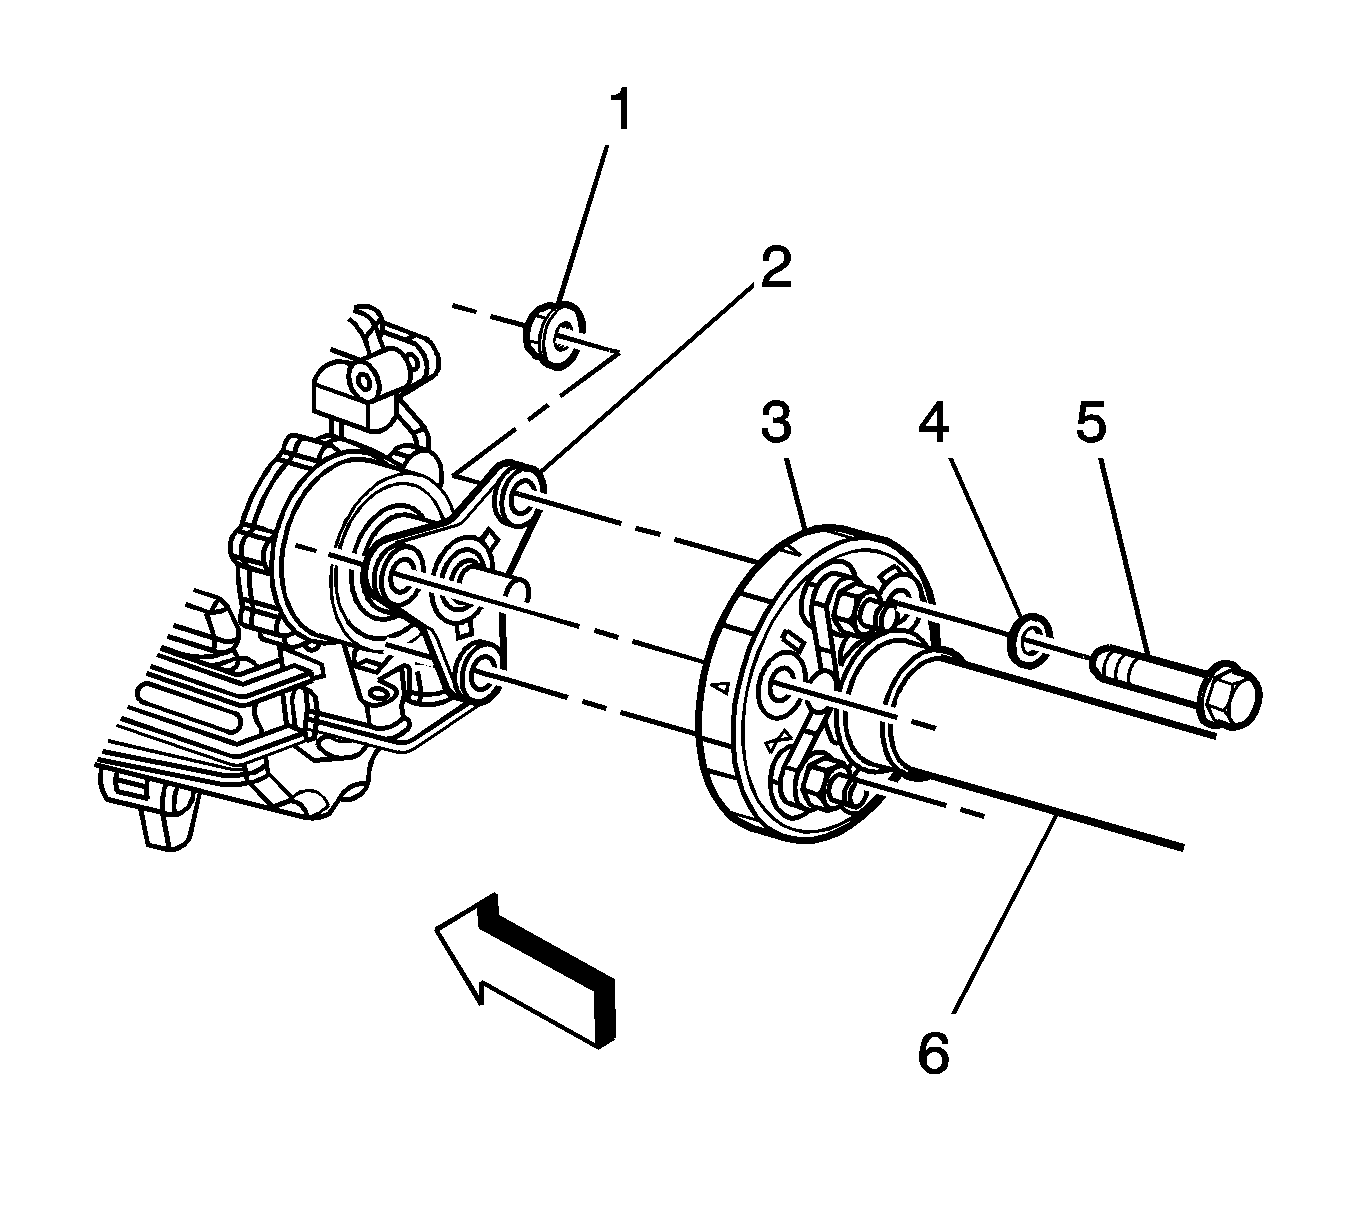
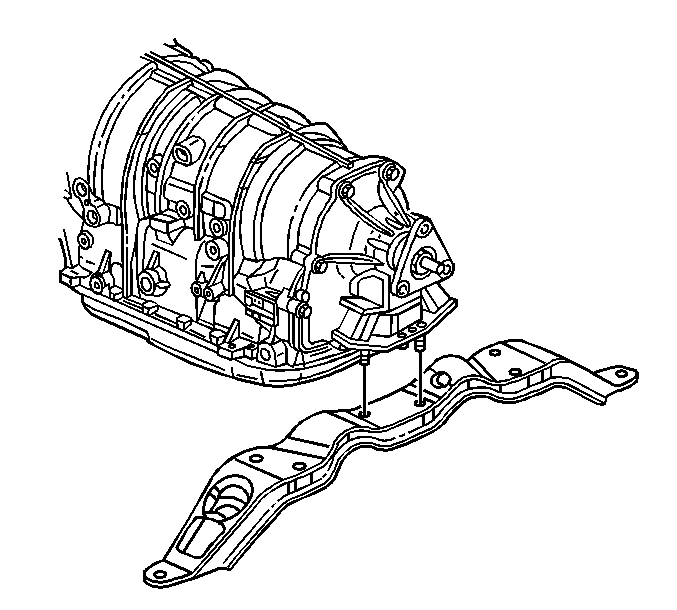
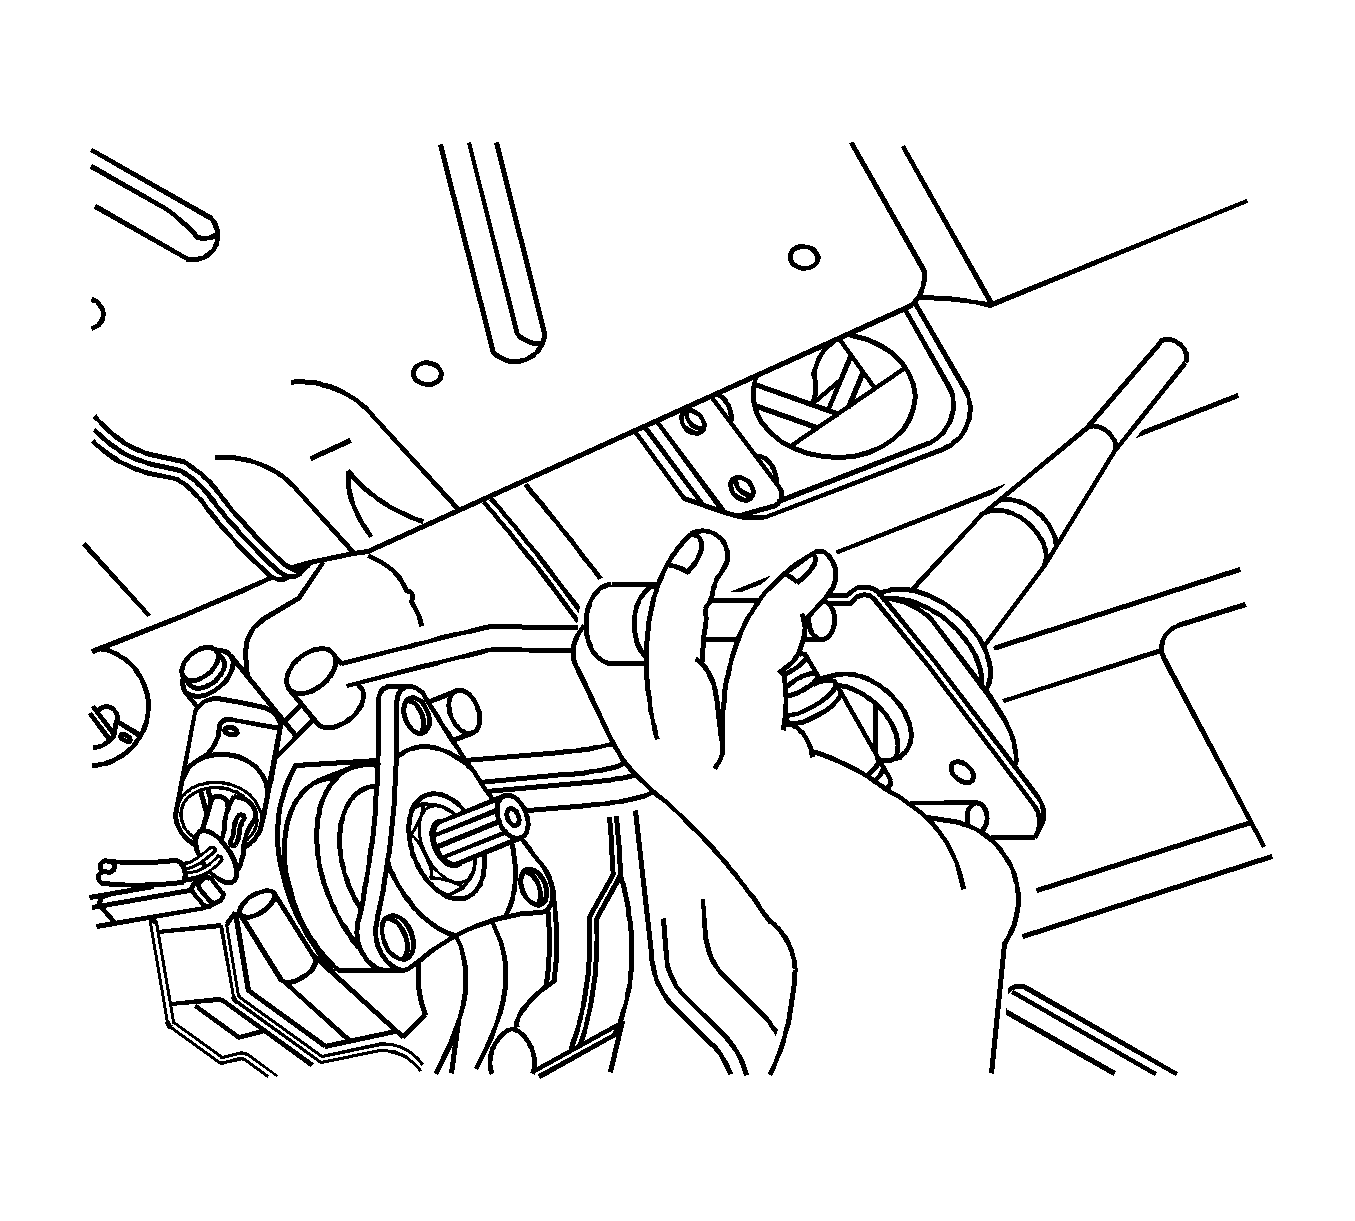
| • | Transmission fluid temperature (TFT) sensor |
| • | Backup lamp switch |
| • | Vehicle speed sensor (VSS) |
| • | Reverse lockout solenoid |
| • | Gear select/skip shift solenoid |
| • | Oxygen sensor wiring harness |
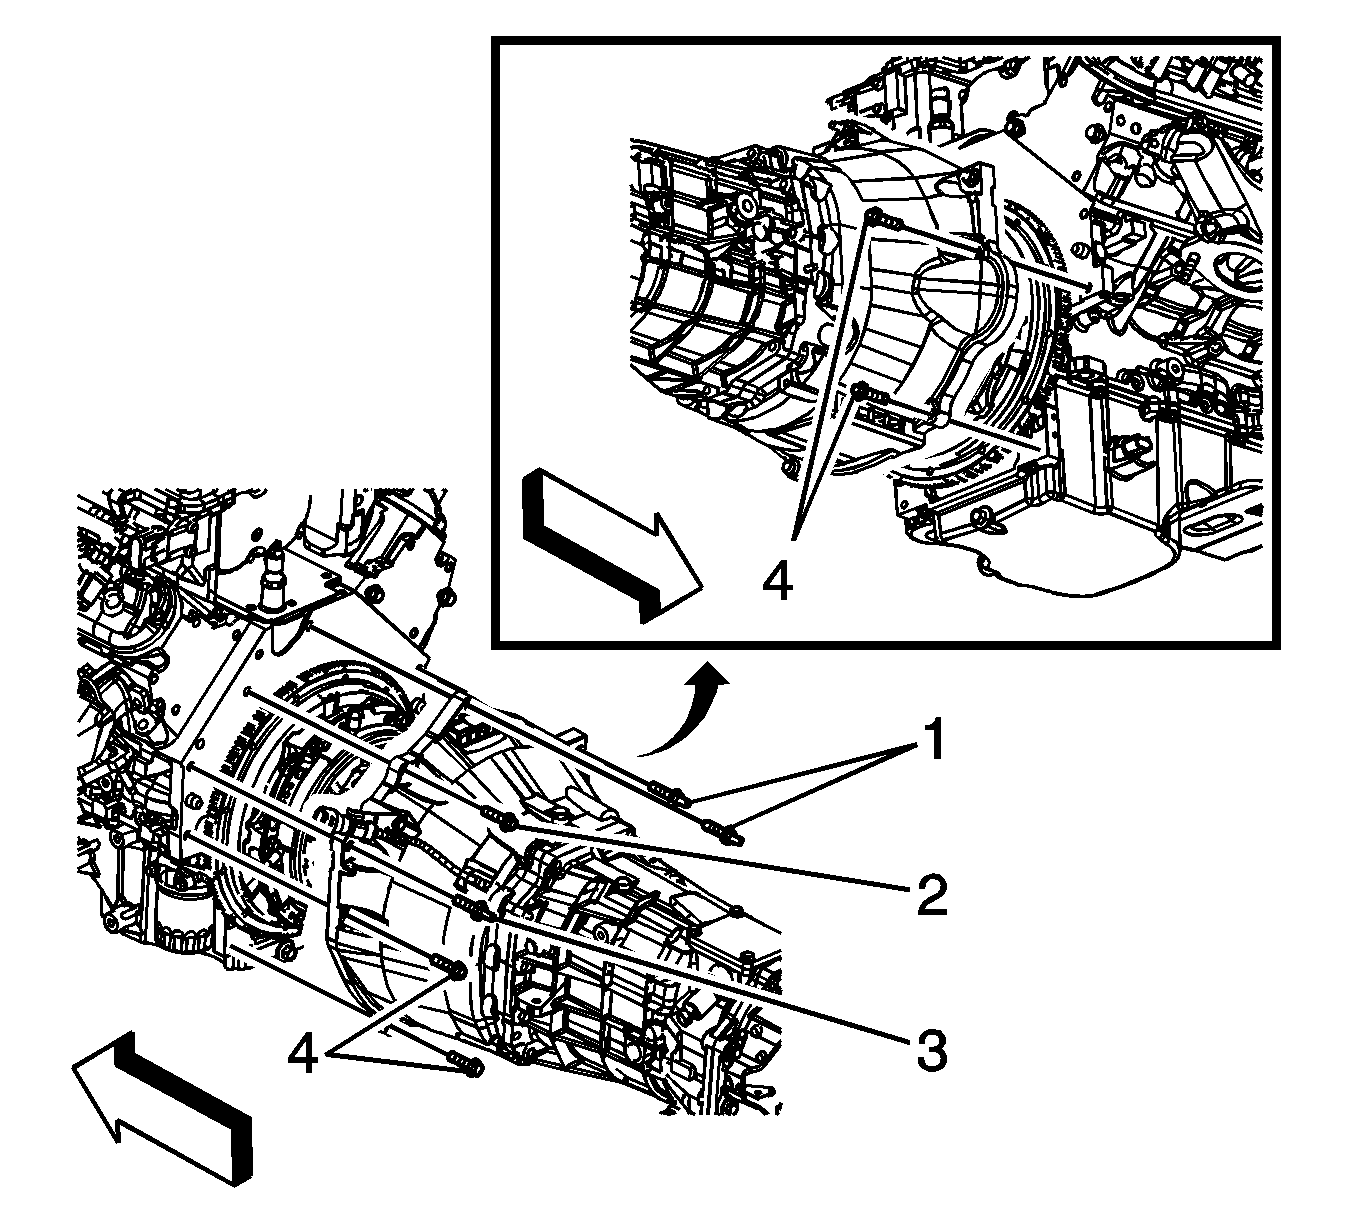
Installation Procedure
- Install the transmission to the vehicle. Tilt the transmission to the right and slide forward.
- Install the transmission clutch housing to engine bolts and studs (1, 4) and tighten to 50 N·m (37 lb ft).
- Raise the transmission back into place.
- Connect the intermediate steering shaft. Refer to Lower Intermediate Steering Shaft Replacement.
- Connect the clutch hydraulic hose at the actuator cylinder. Refer to Clutch Concentric Actuator Cylinder Replacement.
- Connect the following electrical connectors:
- Install the shift control assembly to the transmission. Refer to Shift Control Assembly Replacement.
- Raise the transmission assembly.
- Install the transmission support. Refer to Transmission Support Replacement.
- Remove the transmission jack.
- Install the propeller shaft (6). Refer to Rear Propeller Shaft Replacement.
- Check the transmission fluid and fill as necessary. Refer to Transmission Fluid Level Inspection and Transmission Fluid Replacement.
- Install the exhaust system. Refer to Exhaust System Replacement.
- Install the front oxygen sensors. Refer to Heated Oxygen Sensor Replacement - Bank 1 Sensor 1 and Heated Oxygen Sensor Replacement - Bank 2 Sensor 1.
- Lower the vehicle.
- Install the bolts (2) securing the shift control assembly to the adapter plate and tighten the bolts to 18 N·m (13 lb ft).
- Install the sound insulator foam block into the console.
- Install the shift control knob. Refer to Transmission Control Lever Knob Replacement.
Caution: Refer to Fastener Caution in the Preface section.

| • | TFT sensor |
| • | Backup lamp switch |
| • | VSS |
| • | Reverse lockout solenoid |
| • | Gear select/skip shift solenoid |
| • | Oxygen sensor wiring harness |


