Important: Before cutting out a stationary window, apply a double layer of masking tape around the perimeter of the painted surfaces and the interior trim.
- Open the hood.
- Remove the windshield wiper arms. Refer to
Windshield Wiper Arm Replacement
- Remove the air inlet grille. Refer to
Air Inlet Grille Panel Replacement
- Remove the door sealing weatherstrip from the upper pinchweld flange.
- Remove the windshield side reveal moldings. Refer to
Windshield Side Reveal Molding Replacement
.
- Remove the rain sensor. Refer to
Windshield Outside Moisture Sensor Replacement
- Remove the rearview mirror. Refer to
Inside Rearview Mirror Replacement
Caution: If broken glass falls into the defroster outlets, it can be blown into
the passenger compartment and cause personal injury.
- Remove the instrument panel upper trim pad. Refer to
Instrument Panel Upper Trim Pad Replacement
| 8.2. | Defroster outlets and A/C outlets. |
| 8.3. | Seats and carpeting. |
Caution: When working with any type of glass or sheet metal with exposed or rough
edges, wear approved safety glasses and gloves in order to reduce
the chance of personal injury.
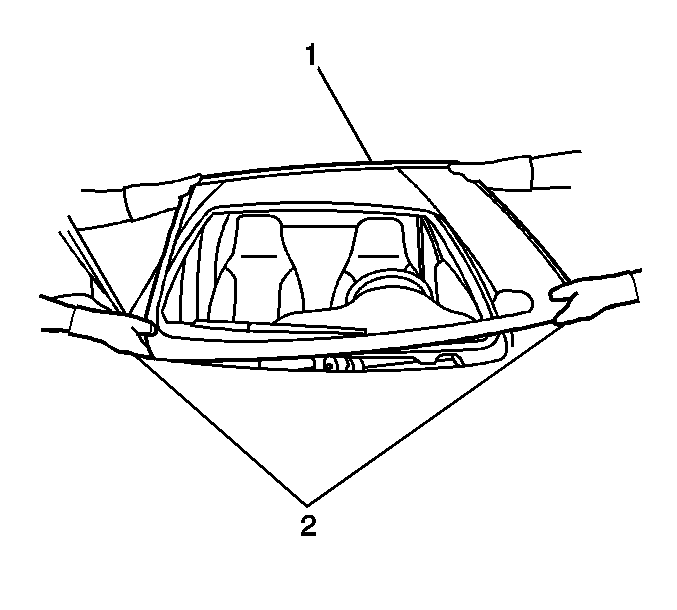
Important: The windshield reveal molding is a one piece molding and fills the cavities between the body and windshield.
If the reveal molding is stretched or damaged it can not be reused.
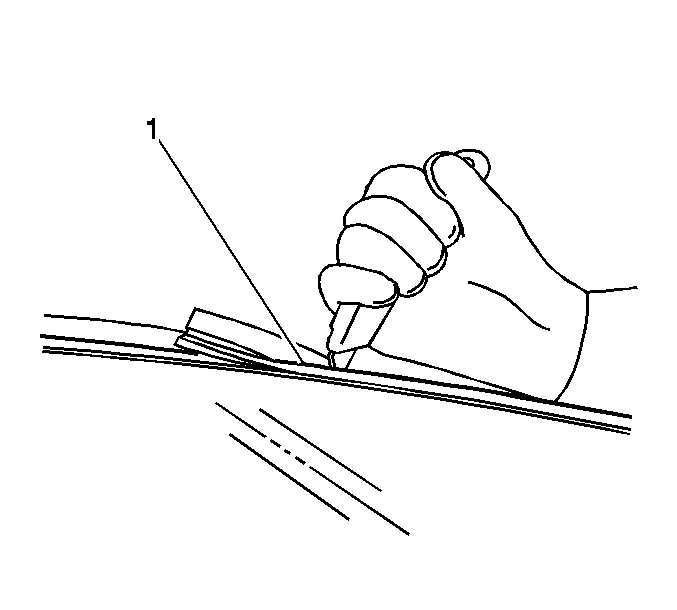
- Use a utility knife in order to cut around the windshield reveal molding/lace (1).
Important: Keep the cutting edge of the tool against the window.
- This will allow the urethane adhesive to be separated from the window.
| • | Leave a base of urethane on the pinchweld flange. |
| • | The only suitable lubrication is clear water. |
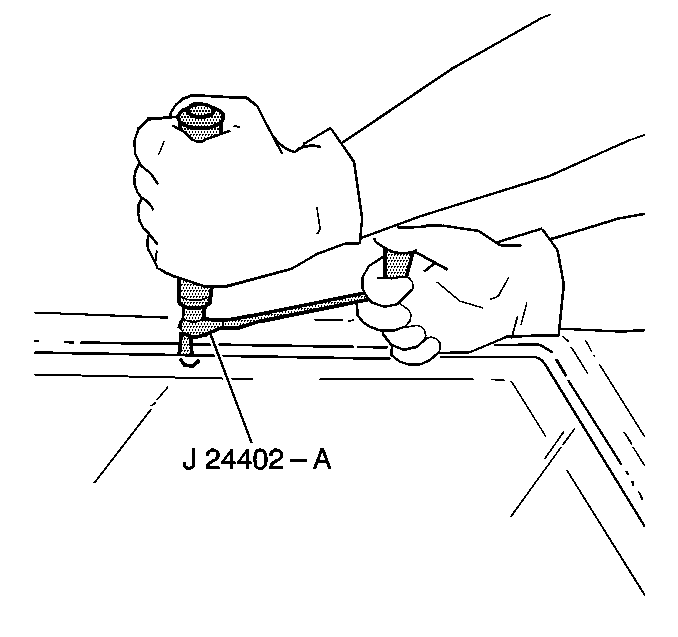
- Remove the bottom of the window from the urethane adhesive using a long utility knife or similar tool. Keep the cutting edge of the utility knife against
the window. Do this from inside the vehicle.
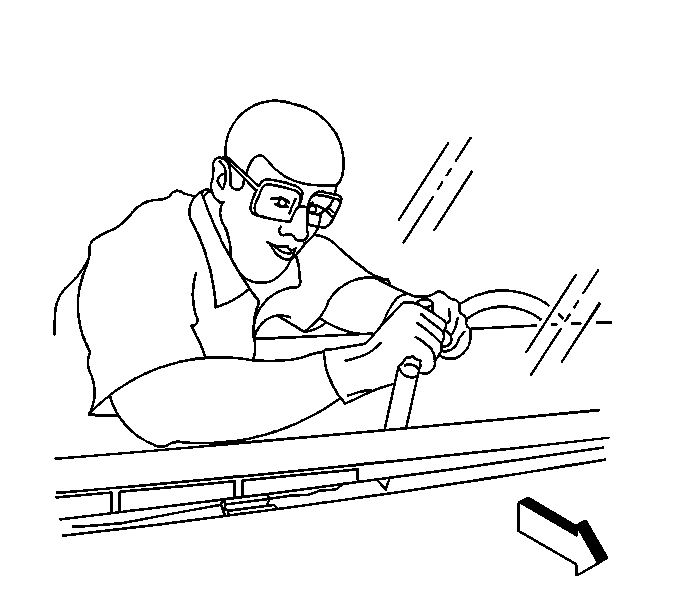
- Remove the windshield (1) from the vehicle with the aid of an assistant.
