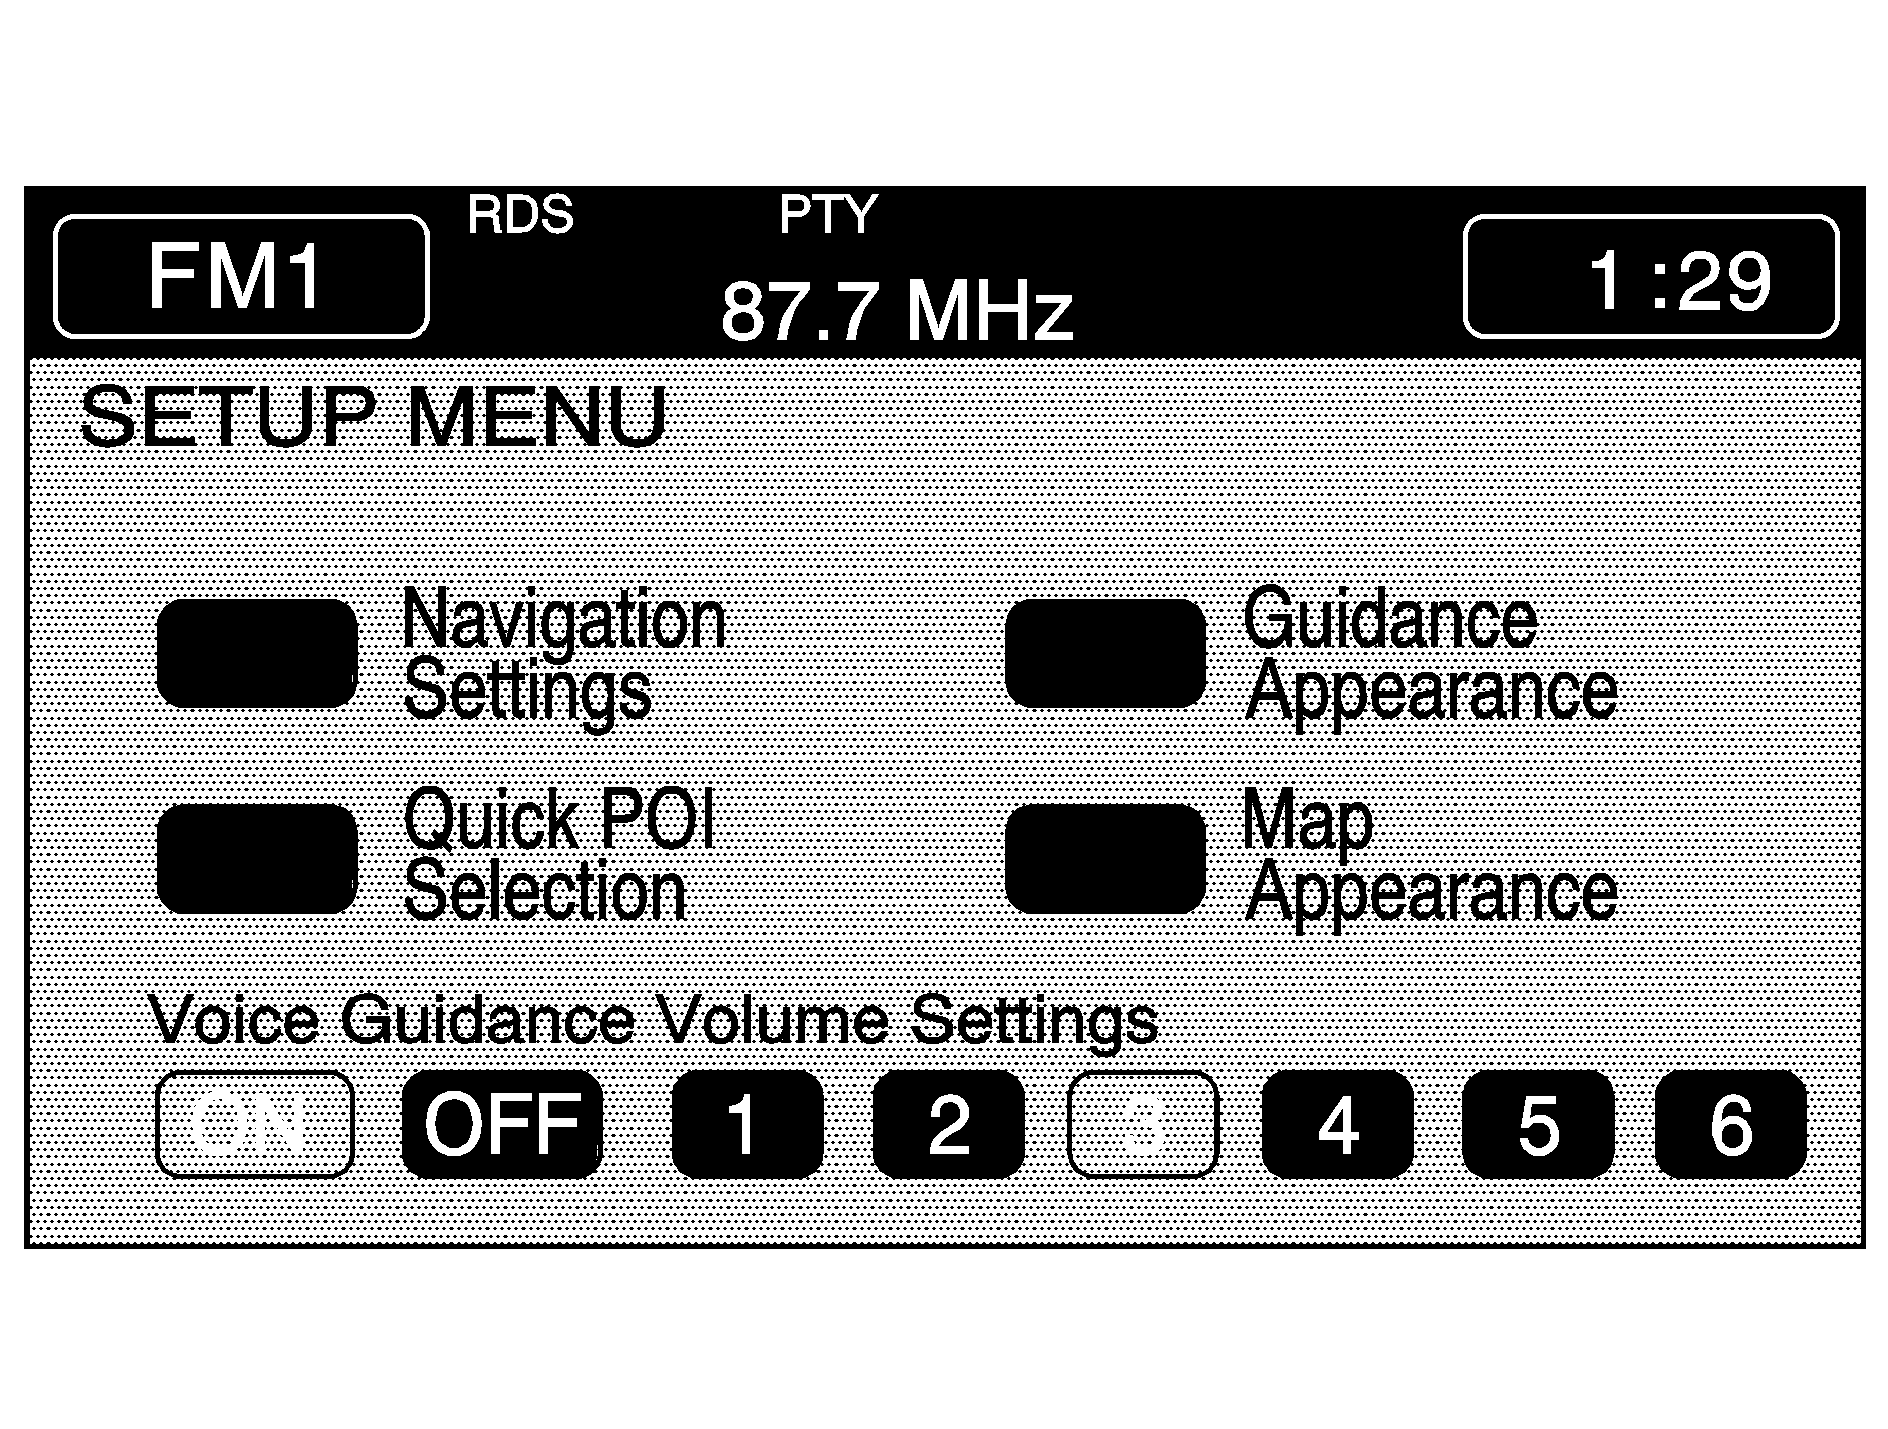
SETUP: Press the SETUP key located to the right of the navigation screen to access the SETUP MENU.
The SETUP MENU allows you to adjust such things as map appearance, navigation settings, and voice guidance volume.
Navigation Settings
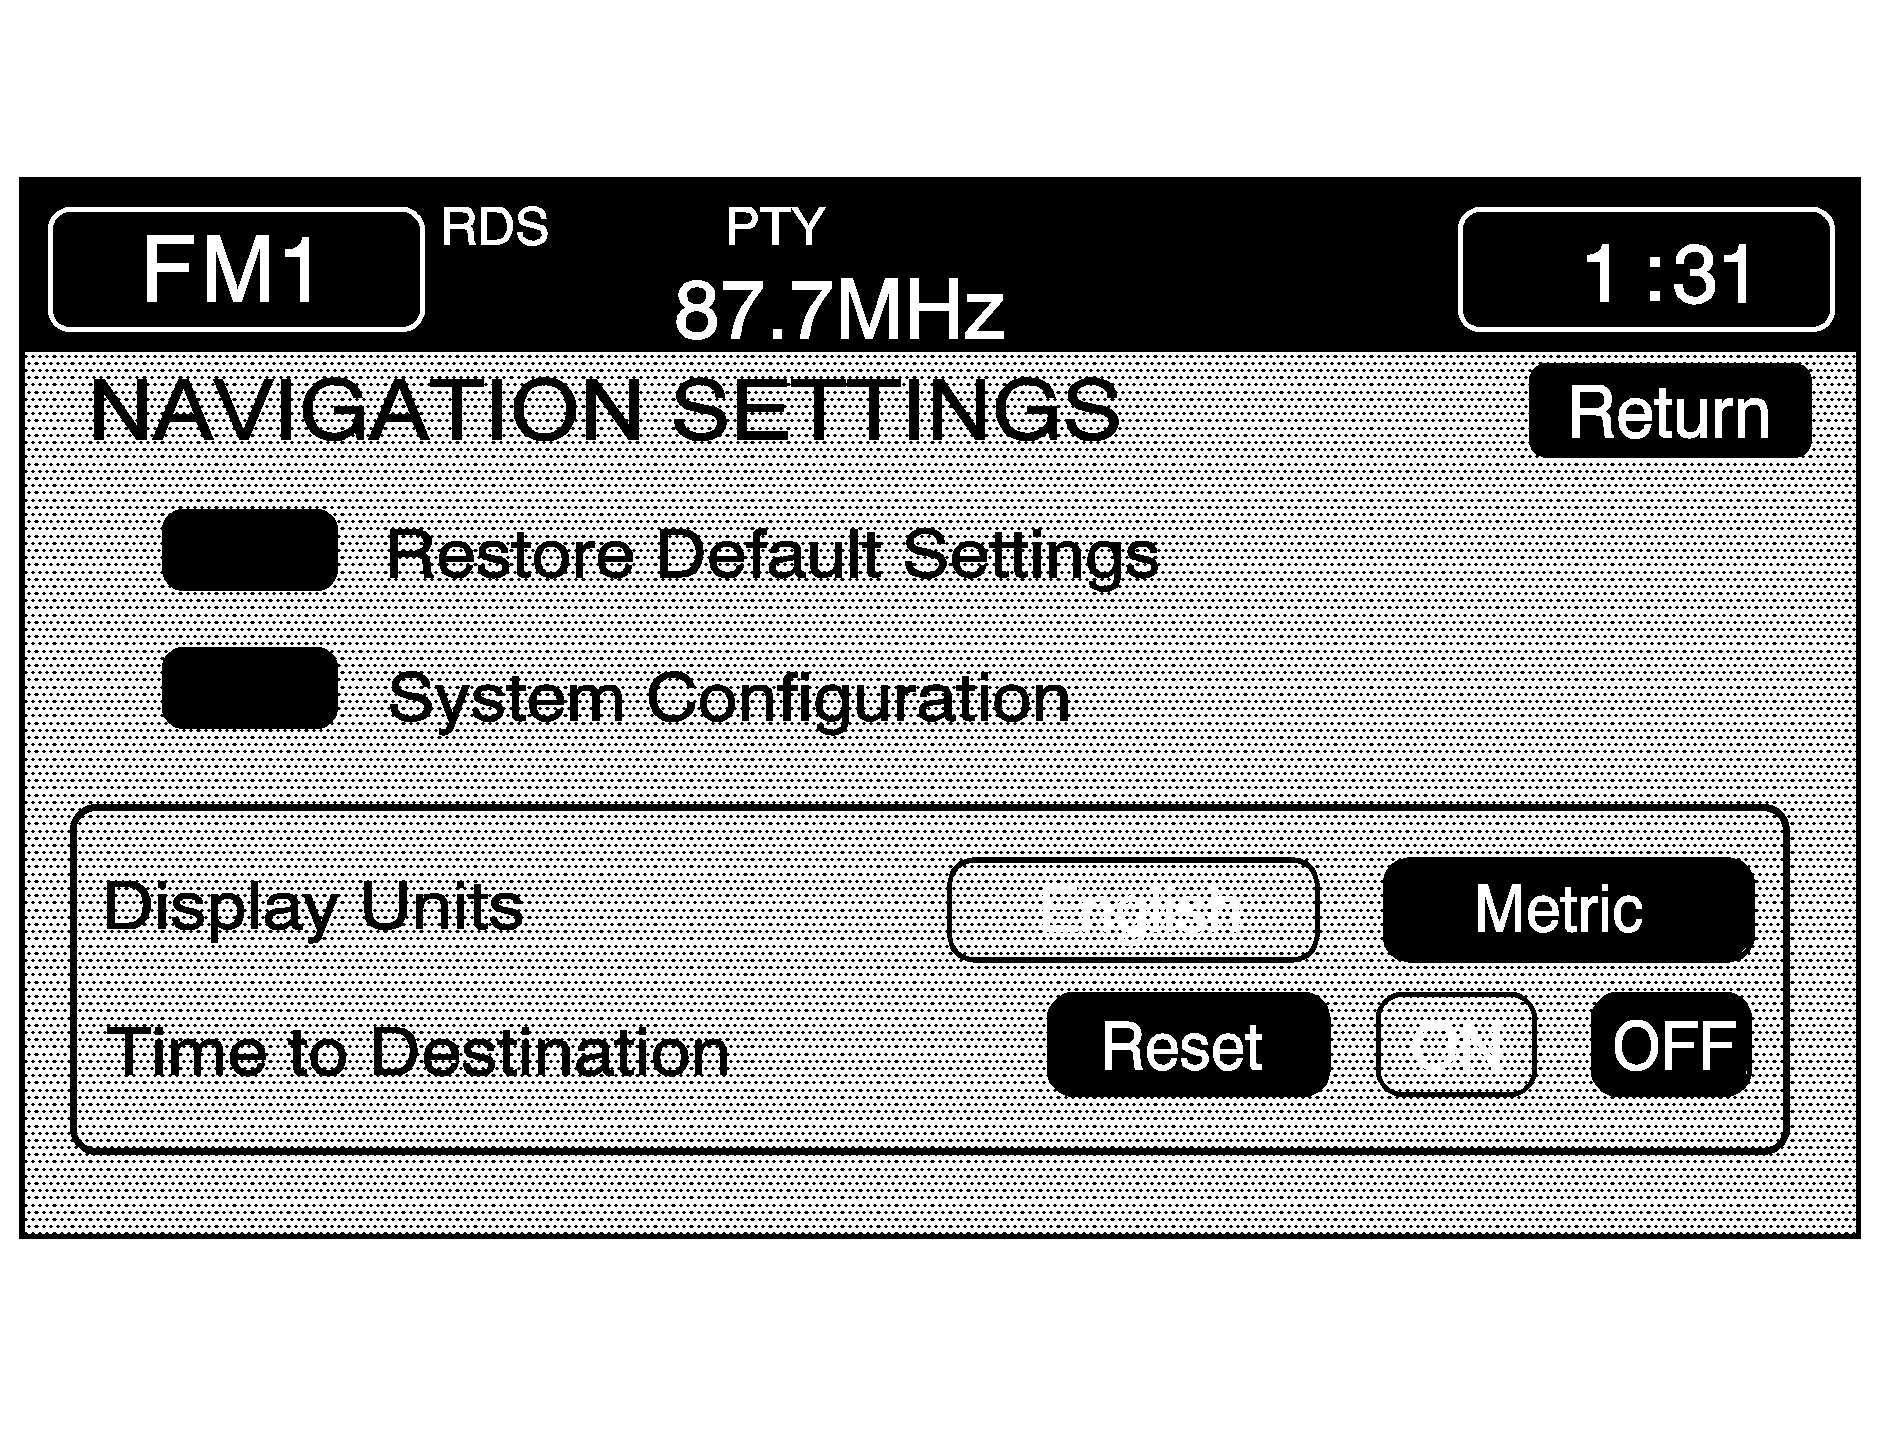
This menu allows you to change the following options for the navigation system:
Restore Default Settings
This feature will automatically reset the system to the default values.
To restore the default settings, do the following:
- Touch the Restore Default Settings screen button.
- Touch Enter.
- Touch Return to exit this menu.
System Configuration
This feature allows you to reconfigure the navigation system. If you begin to drive your vehicle during this procedure, the system will not be able to adjust the position or direction of your vehicle.
Touch the System Configuration screen button to view the following choices:
Adjust Vehicle Position: To correct the position of your vehicle on the map or to change vehicle position, do the following:- Touch the Adjust Veh Position screen button. The system will display Position Adjustment. The vehicle location symbol and the scroll symbol will appear on the map.
- Use the scroll symbol and the zoom in/zoom out feature to locate the vehicle position on the map.
- Touch Enter to set the vehicle position. The system will display Position Adjustment and two arrows will appear on the map screen.
- Touch the arrows to adjust the direction of the vehicle. As you touch the arrows, you will see the vehicle symbol direction changing.
- When you have set the vehicle to the correct direction, touch Enter. Relocation Complete will be displayed.
- Touch Return to exit this menu.
- Touch Start to begin calibration.
- Touch Return to exit this menu.
Display Units
This feature allows you to select either English or metric measurements to appear for distances on the map. Touch English or Metric to set the desired measurement.
Time to Destination
This feature allows you to view the estimated time to travel from your current position to the destination, and to reset the average speed to factory default settings. Estimated travel time is based on calculated route information and the vehicle's average speed. Touch ON to turn this feature on, OFF to turn this feature off, or Reset to restore vehicle speed default settings. With this feature on, the estimated travel time to destination will display along with the distance to destination.
Quick POI (Point of Interest) Selection
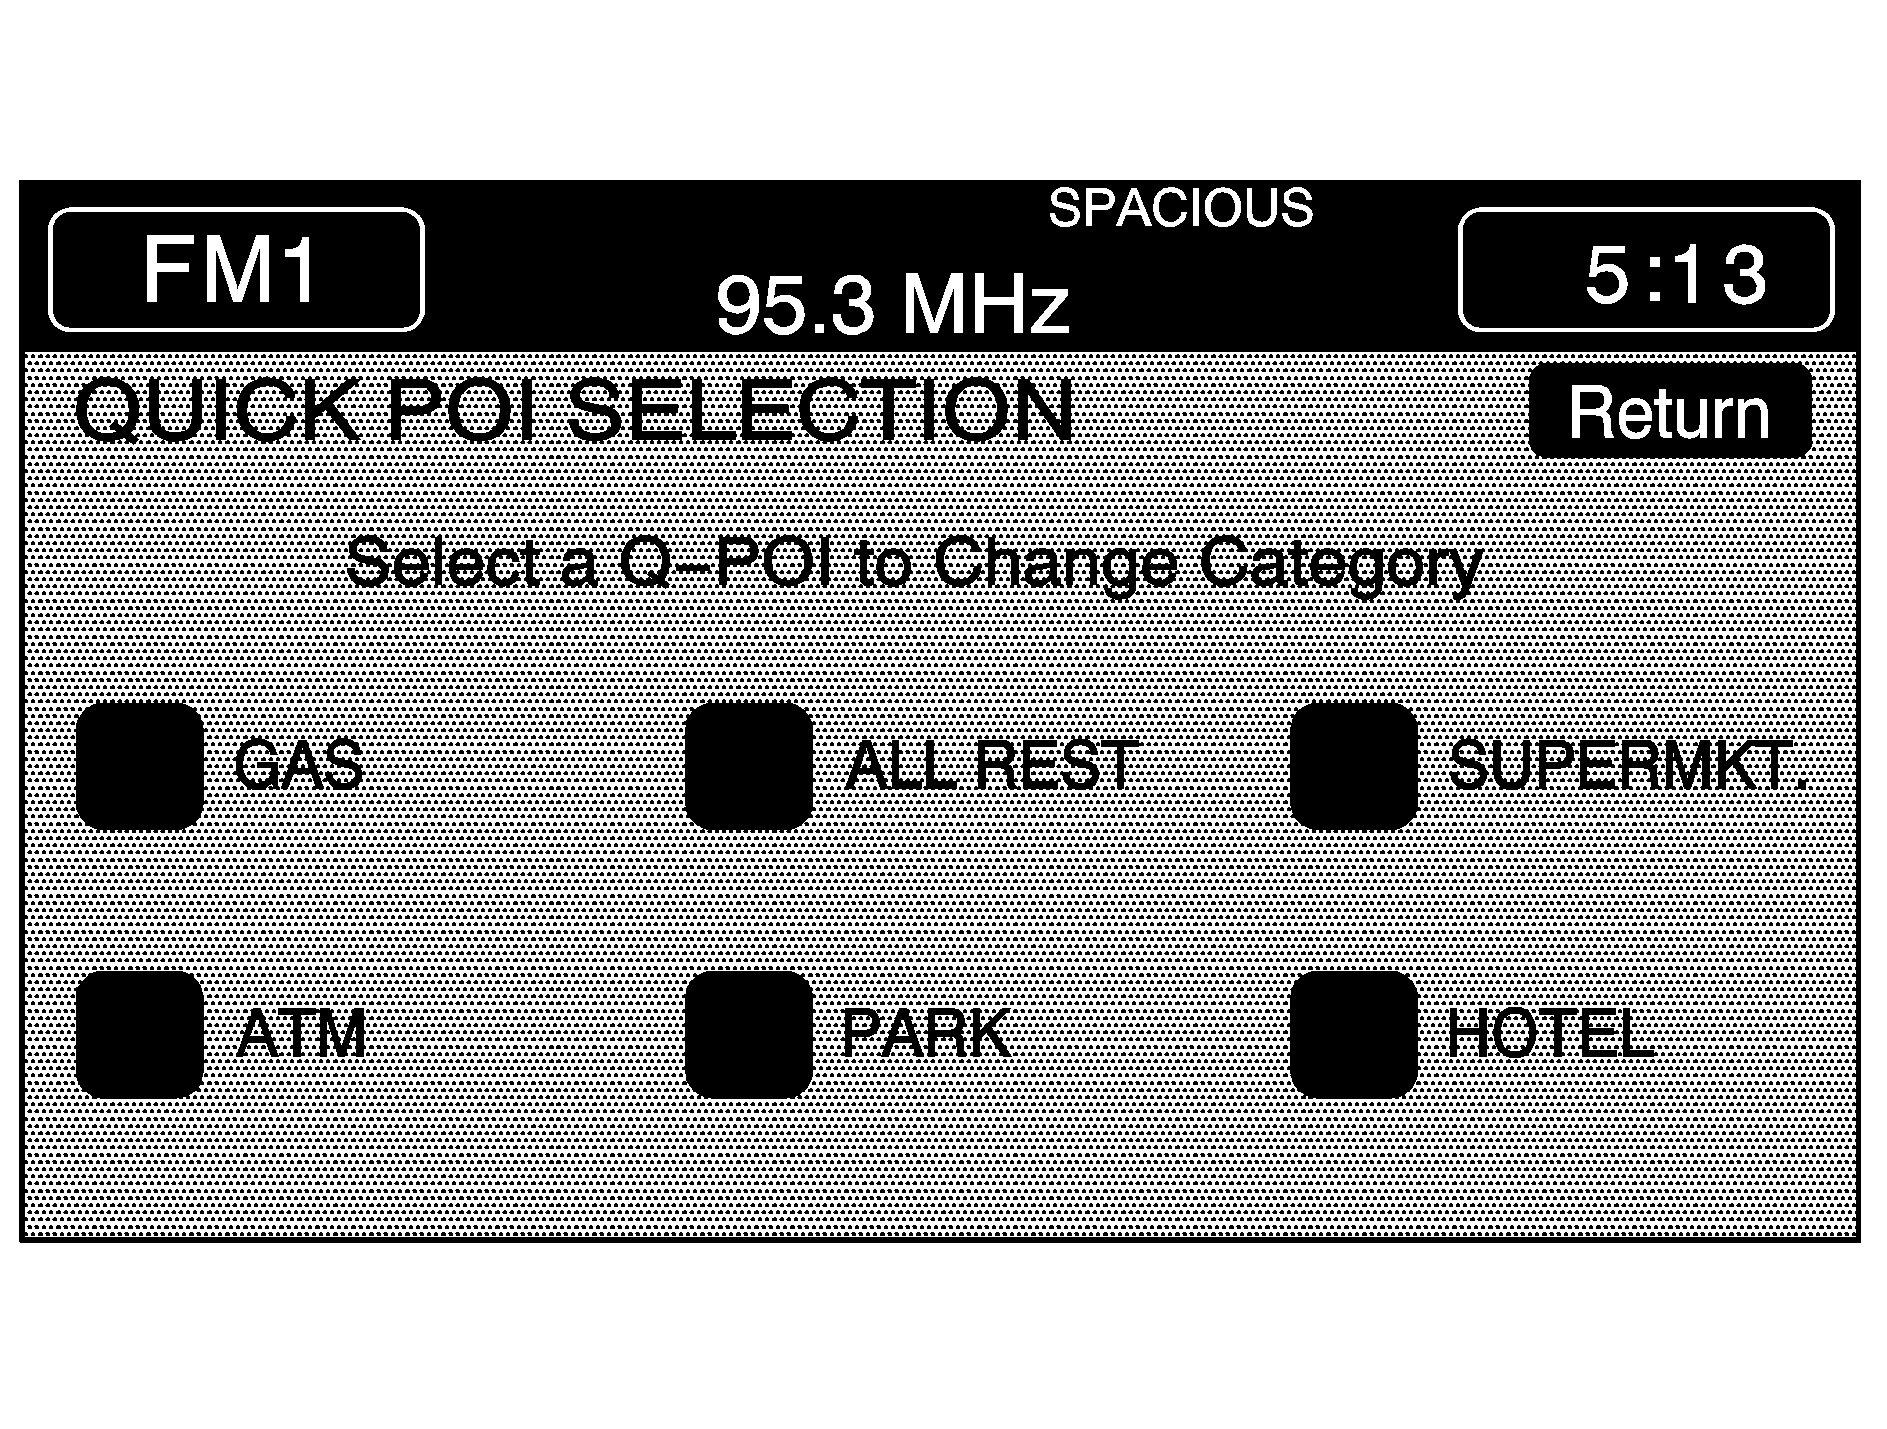
This menu allows you to choose a point of interest (POI), such as gas stations, restaurants, hotels, etc. to be displayed on the map screen. You can also set a destination to a specific POI.
Setting the Quick POI menu
To set the Quick POI list displayed on the map screen, do the following:
- Select the category you would like to replace.
- Select a Quick POI category from the Quick POI selection menu list. The system will return to the Quick POI selection screen when a POI is selected.
- Touch Return to save the setting and return to previous menu.
Displaying Quick POI Icons
To display POI icons of a category on the map screen, do the following:
- Touch the map screen once.
- Touch the POI button. The Quick POI Selection list will be displayed.
- Select a category type or touch List Categories Or All Local POIs to display the icons of the selected category on the map screen.
Removing Quick POI Icons
To remove POI icons from the map screen, do the following:
- Touch the map screen once.
- Touch the POI OFF screen button. The current POI icons will be removed from the map screen.
Setting a Destination Using Quick POI
This feature will allow you to choose a POI as your destination. To set a destination using a POI, do the following:
- Touch the POI icon on the map screen that you wish to set as a destination.
- Touch the ENT DEST screen button.
- Touch Enter to start planning your route.
- To start route guidance, touch Start or begin driving the vehicle. Route guidance will automatically begin after a short distance.
The selected icon will be surrounded by a blinking box, and the name of the icon will be displayed. You may also touch INFO to view the POI name, address, city, and phone number, if available.
If a final destination has already been entered, you can add the POI as a waypoint. See Edit Waypoint for more information.
If you wish to cancel the route you have just set, do the following:
- Press the ROUTE hard key.
- Touch the Route Preference screen button.
- Touch the Cancel Route screen button.
- Select YES to cancel or NO to continue.
Guidance Appearance
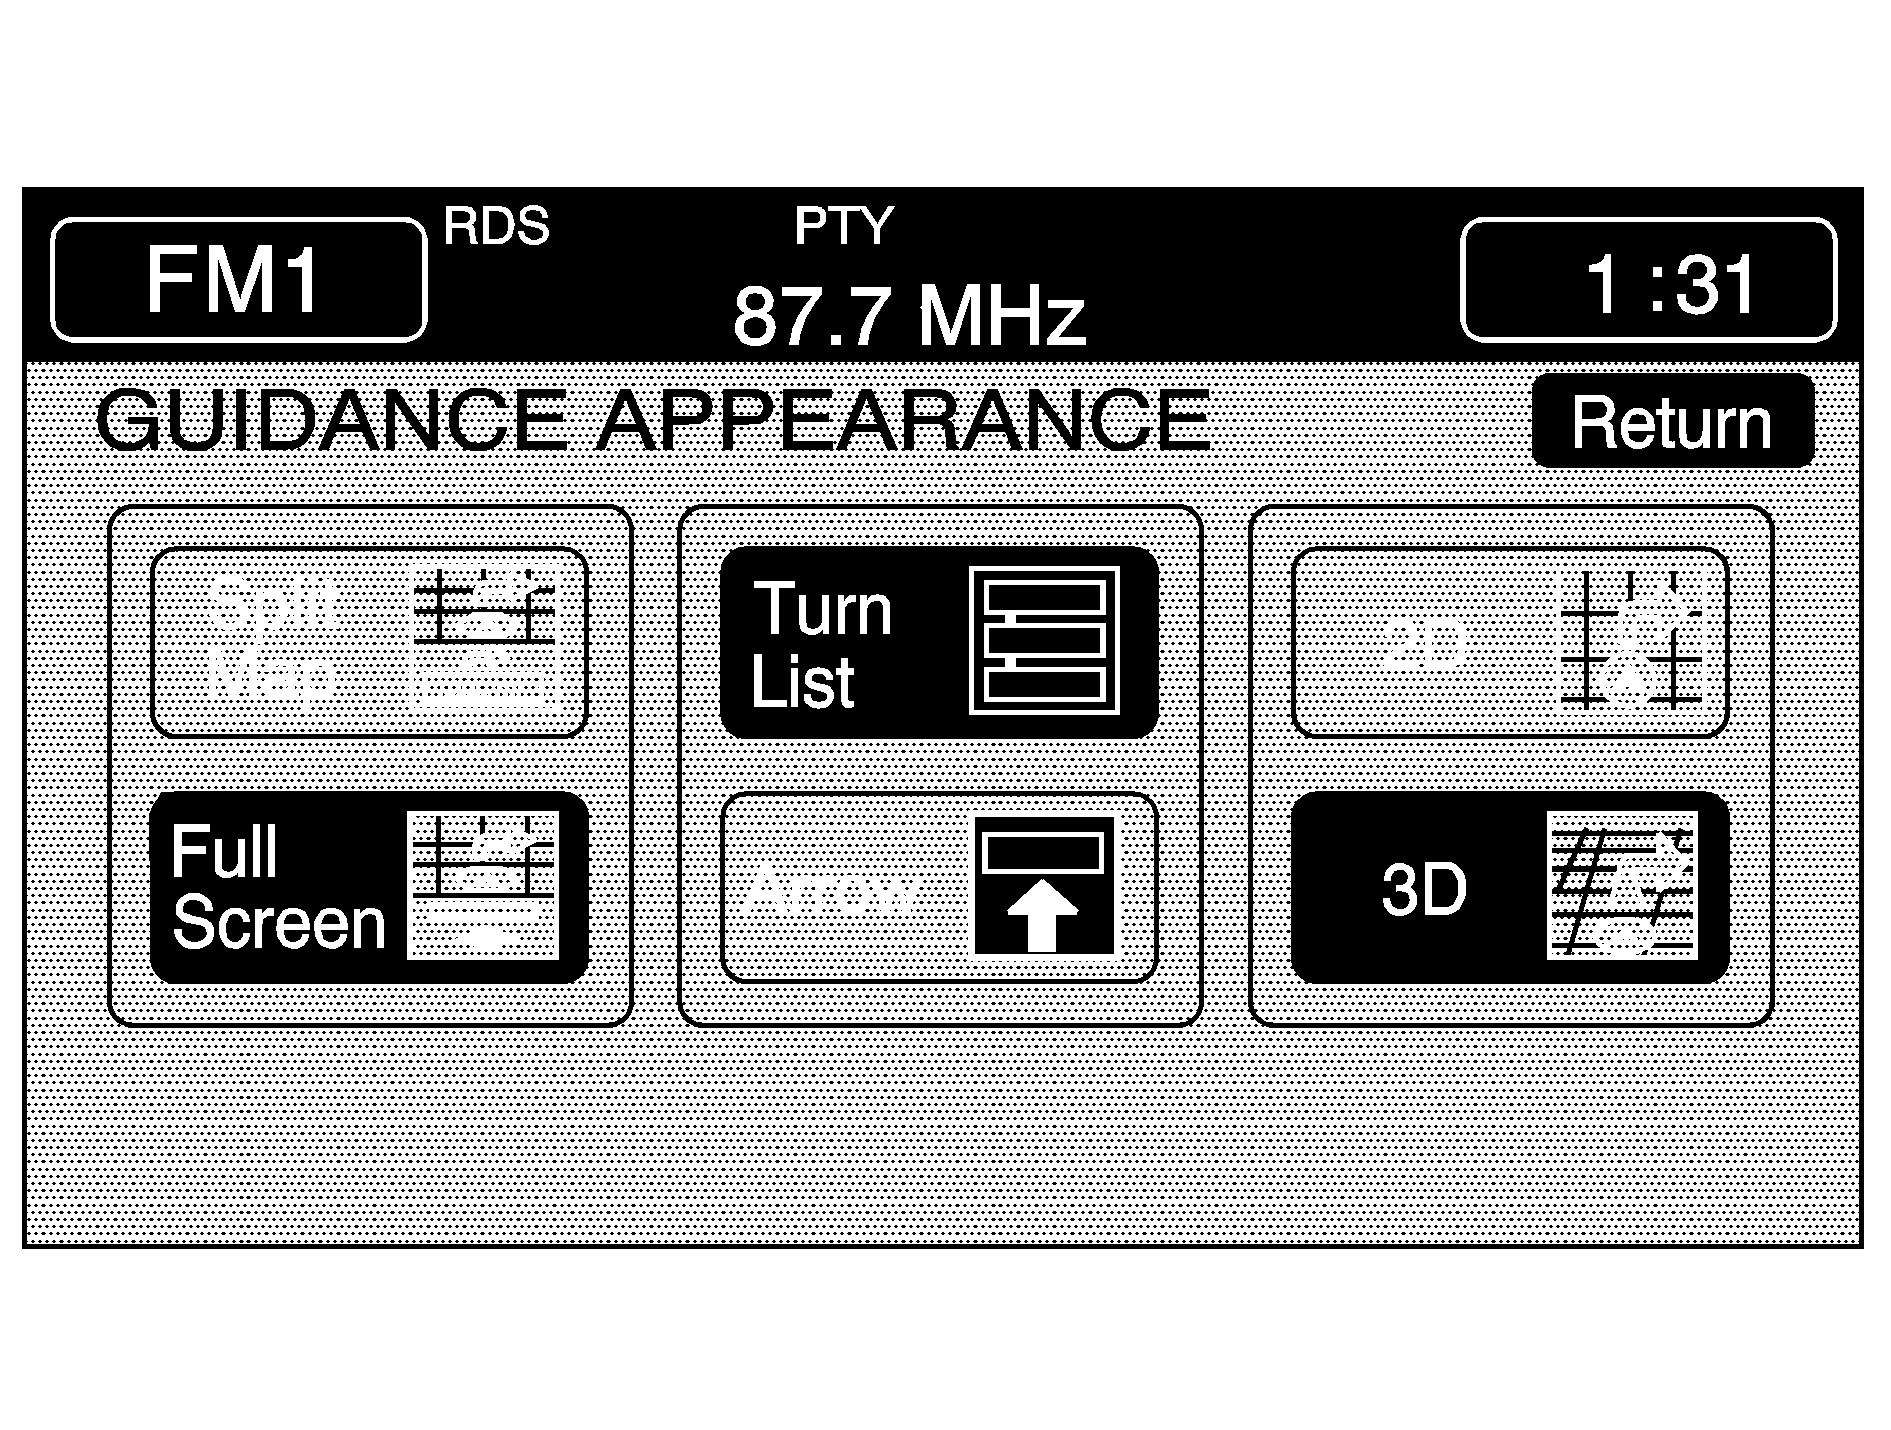
This menu allows you to set the guidance appearance screen options. This screen is displayed on the map while on a planned route. The current settings will appear as light blue.
Split Map: Select this feature to display the guidance screen on the map at all times.Full Screen: Select this feature to display the guidance screen on the map when approaching a maneuver.
Turn List: Select this feature to have the guidance screen display several upcoming turns. Directional arrows, street name, and distance to the next turn will be displayed. As you approach the next turn, the system will display a closer view of the upcoming maneuver.
Arrow: Select this feature to have the guidance screen display the next turn. A directional arrow, street name, and distance to the turn will be displayed. As you approach the turn, the system will display a closer view of the upcoming maneuver.
2D: Select this feature to display the guidance screen as a two-dimensional view.
3D: Select this feature to display the guidance screen as a three-dimensional view.
Map Appearance
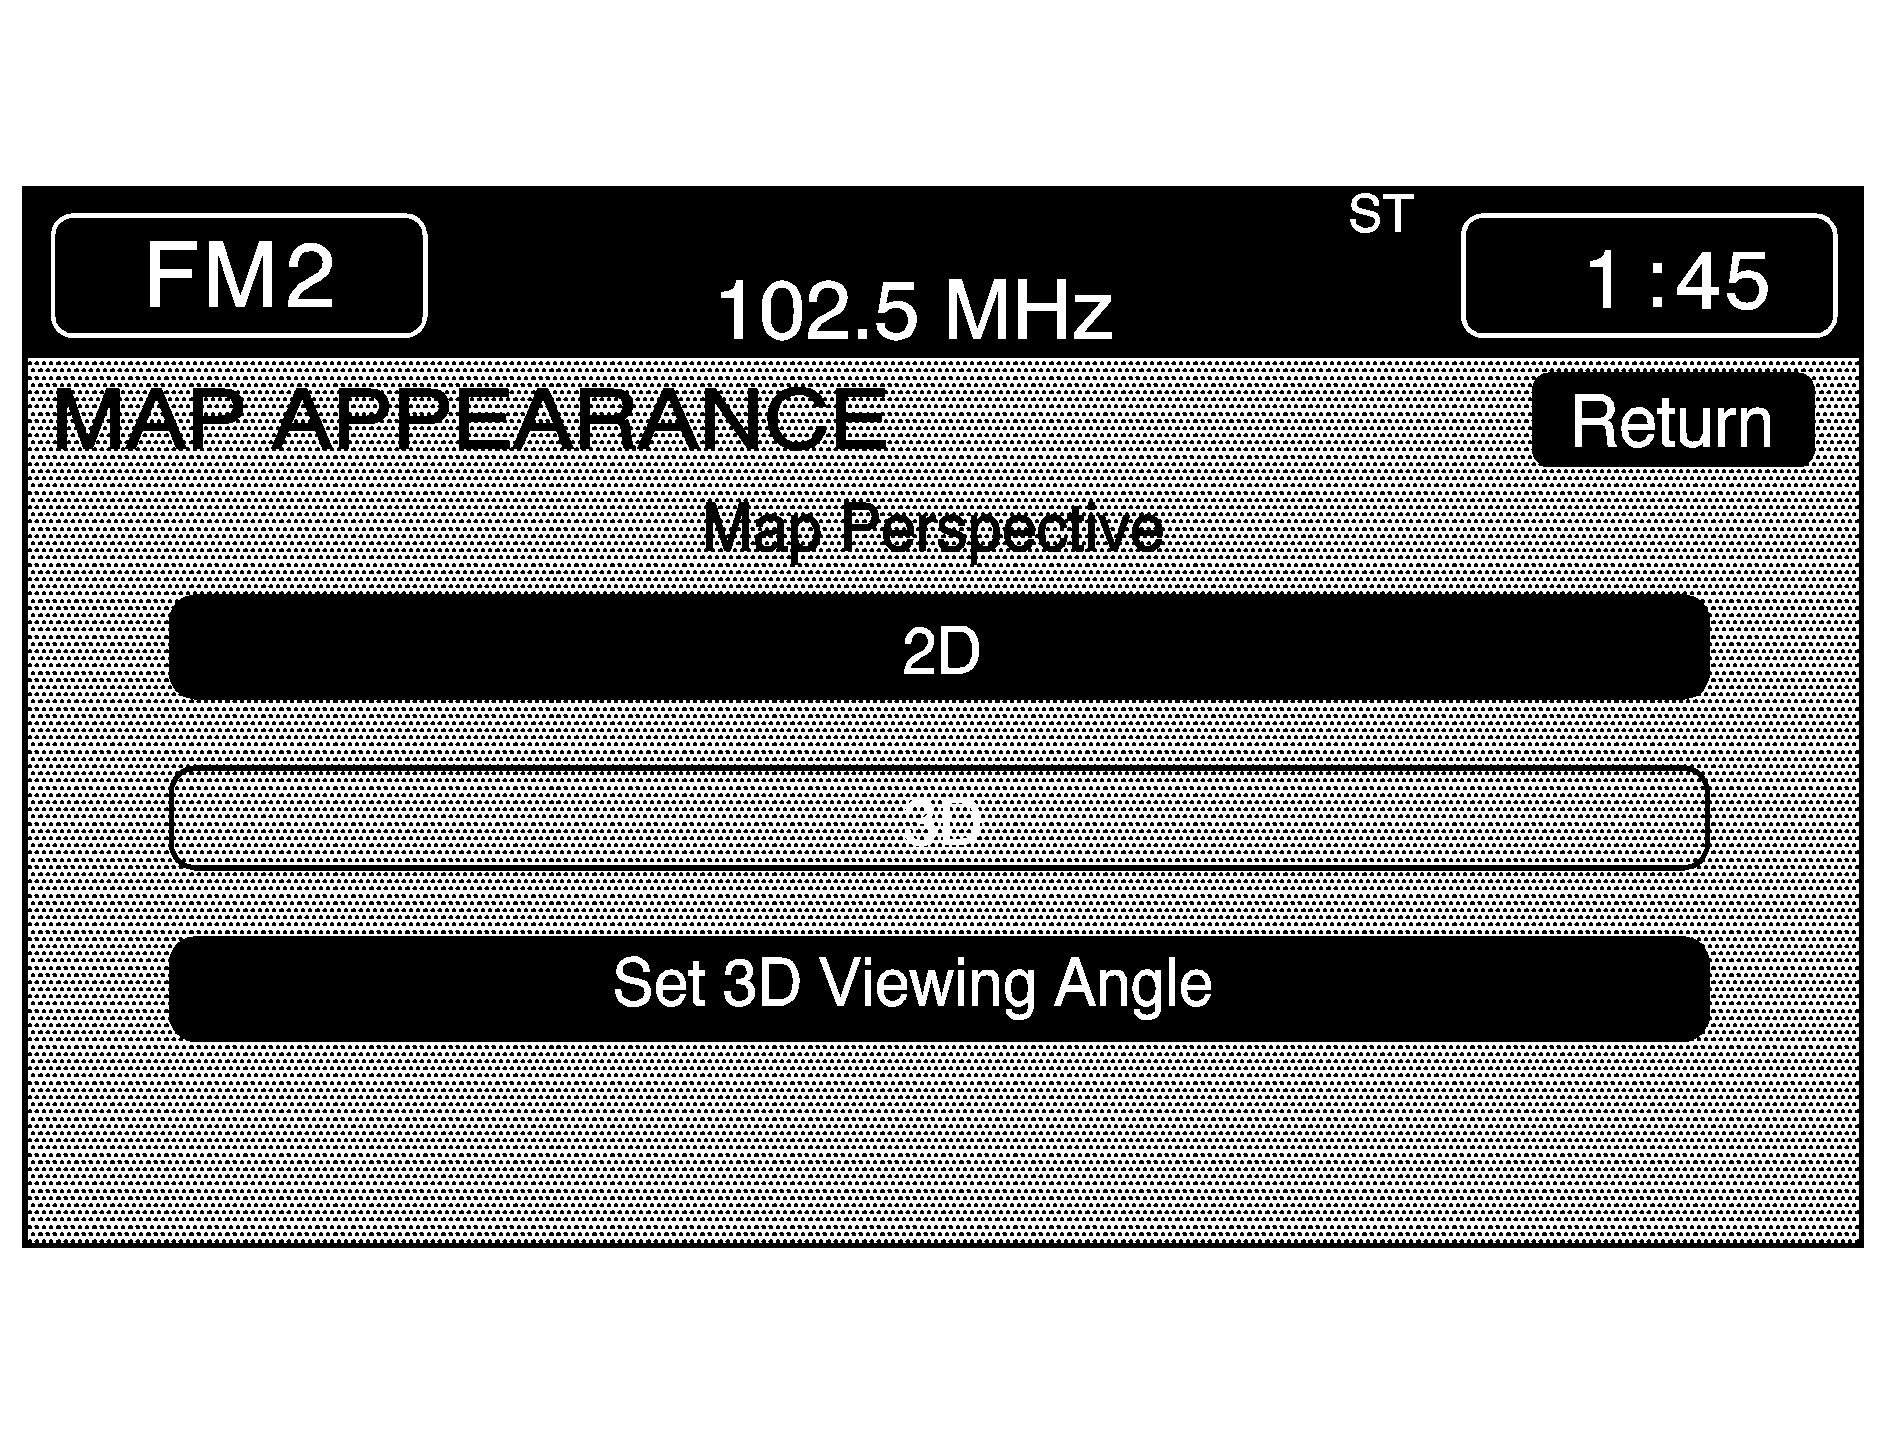
This menu allows you to set the map appearance screen options. The current setting will appear as light blue.
2D: Select this feature to display the map as a two-dimensional view.3D: Select this feature to display the map as a three-dimensional view.
Set 3D Viewing Angle: This feature allows you to adjust the 3D viewing angle. To do so, do the following:
- Touch 3D on the MAP APPEARANCE menu.
- Touch Set 3D Viewing Angle.
- Touch the up or down arrows to set the viewing angle.
- Touch Return to save your settings and to exit this menu or touch Reset to restore the viewing angle to the default setting.
The map screen with the 3D viewing angle bar will be displayed.
Voice Guidance Volume Settings
This feature allows you to set the voice prompt volume level or to turn voice prompts on or off.
Set the voice prompt volume level by touching the numbered buttons to increase or decrease the volume level. You may also choose to turn the voice prompts off. Then touch Return to save your setting and to return to the SETUP MENU.
If a voice prompt is active while the audio system is on, the audio system volume will decrease and the voice prompt will be heard through the driver's side front speaker.
Voice prompts will not be heard while using voice recognition or while using the factory-installed phone system.
