The following symbols are the most common that appear on a map screen.
Your vehicle is shown as this symbol. It indicates the current position and heading direction of your vehicle on the map.
This symbol will appear on the map to show your destination after a route has been planned.
See Enter Destination for more information on planning a route.
You will see this type of symbol on the map when a waypoint has been planned.
The waypoint symbol will be numbered from 1 through 5 depending on how many waypoints have been set. See Edit Waypoint for more information on adding waypoints.
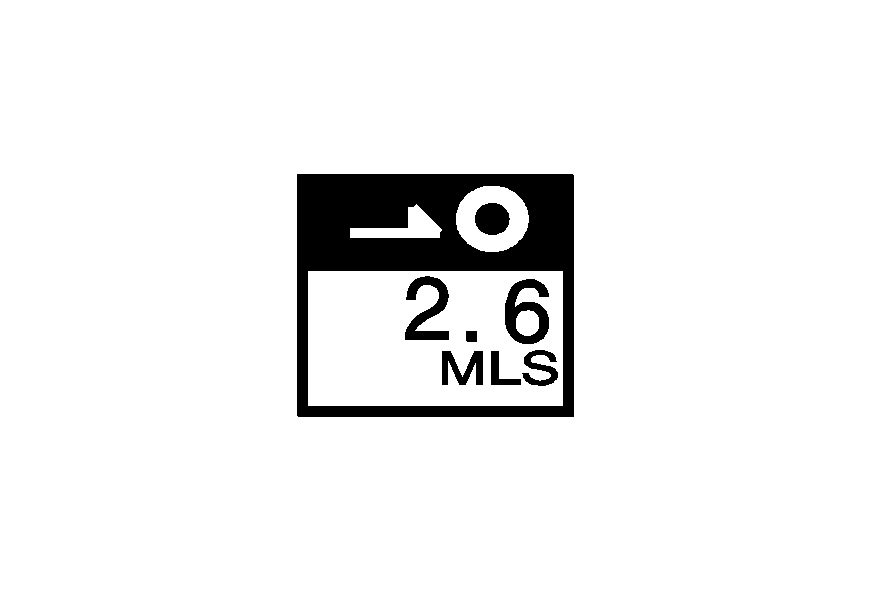
This symbol indicates the distance to your final destination.
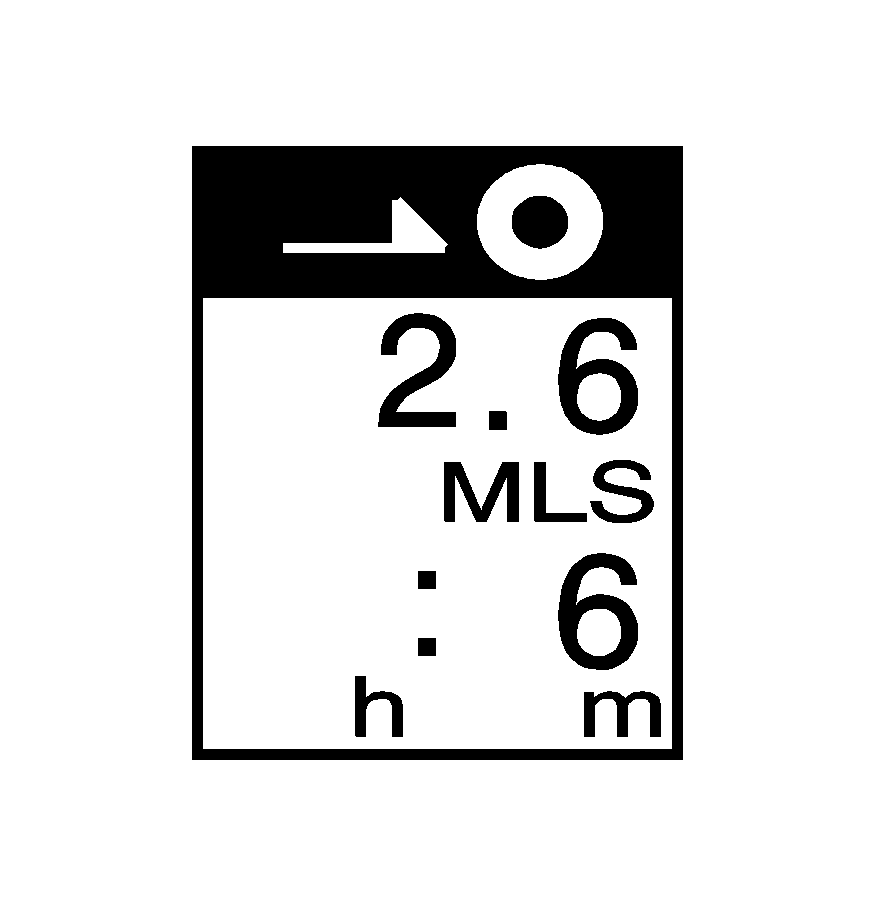
This symbol indicates the distance and estimated travel time to your final destination. The Estimated Travel Time feature must be on for estimated travel time to be displayed.
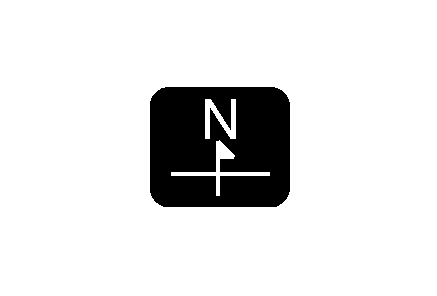
This symbol indicates the map with North up.
While in North up mode, North will always be at the top of the map screen regardless of which direction the vehicle is traveling.
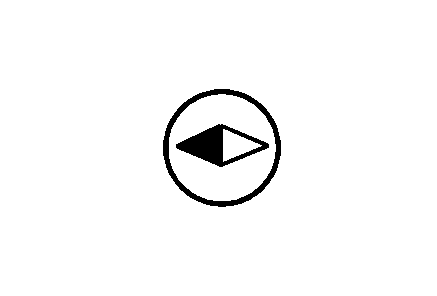
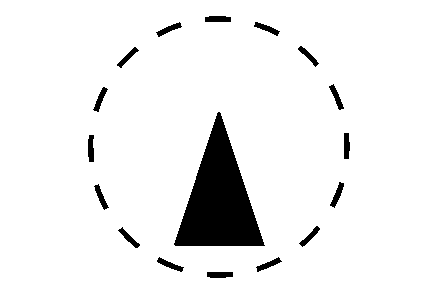
This symbol indicates the map with the vehicle travel direction up, or Heading up.
The shaded triangle indicates North. While in Heading up mode, the direction your vehicle is traveling will always be at the top of the map screen.
Touch either the North Up heading symbol or the vehicle Heading Up symbol to alternate between settings.
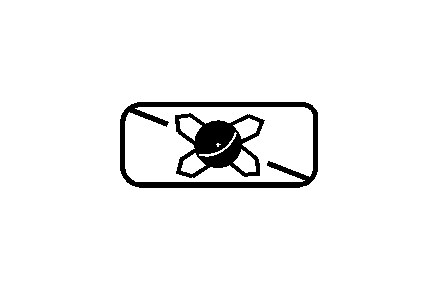
This symbol will appear when the navigation system is unable to receive the GPS signal.
See Global Positioning System (GPS) for more information.
When a point of interest (POI) or street address name is too long to be displayed, an arrow will appear.
Touch the right or left arrow to scroll through the entire name.

This symbol indicates the position of the next turn instruction.

While on a planned route, touch this symbol to display the DEST MAP, WHOLE, and TURN LIST options.
With these options, you can do the following:
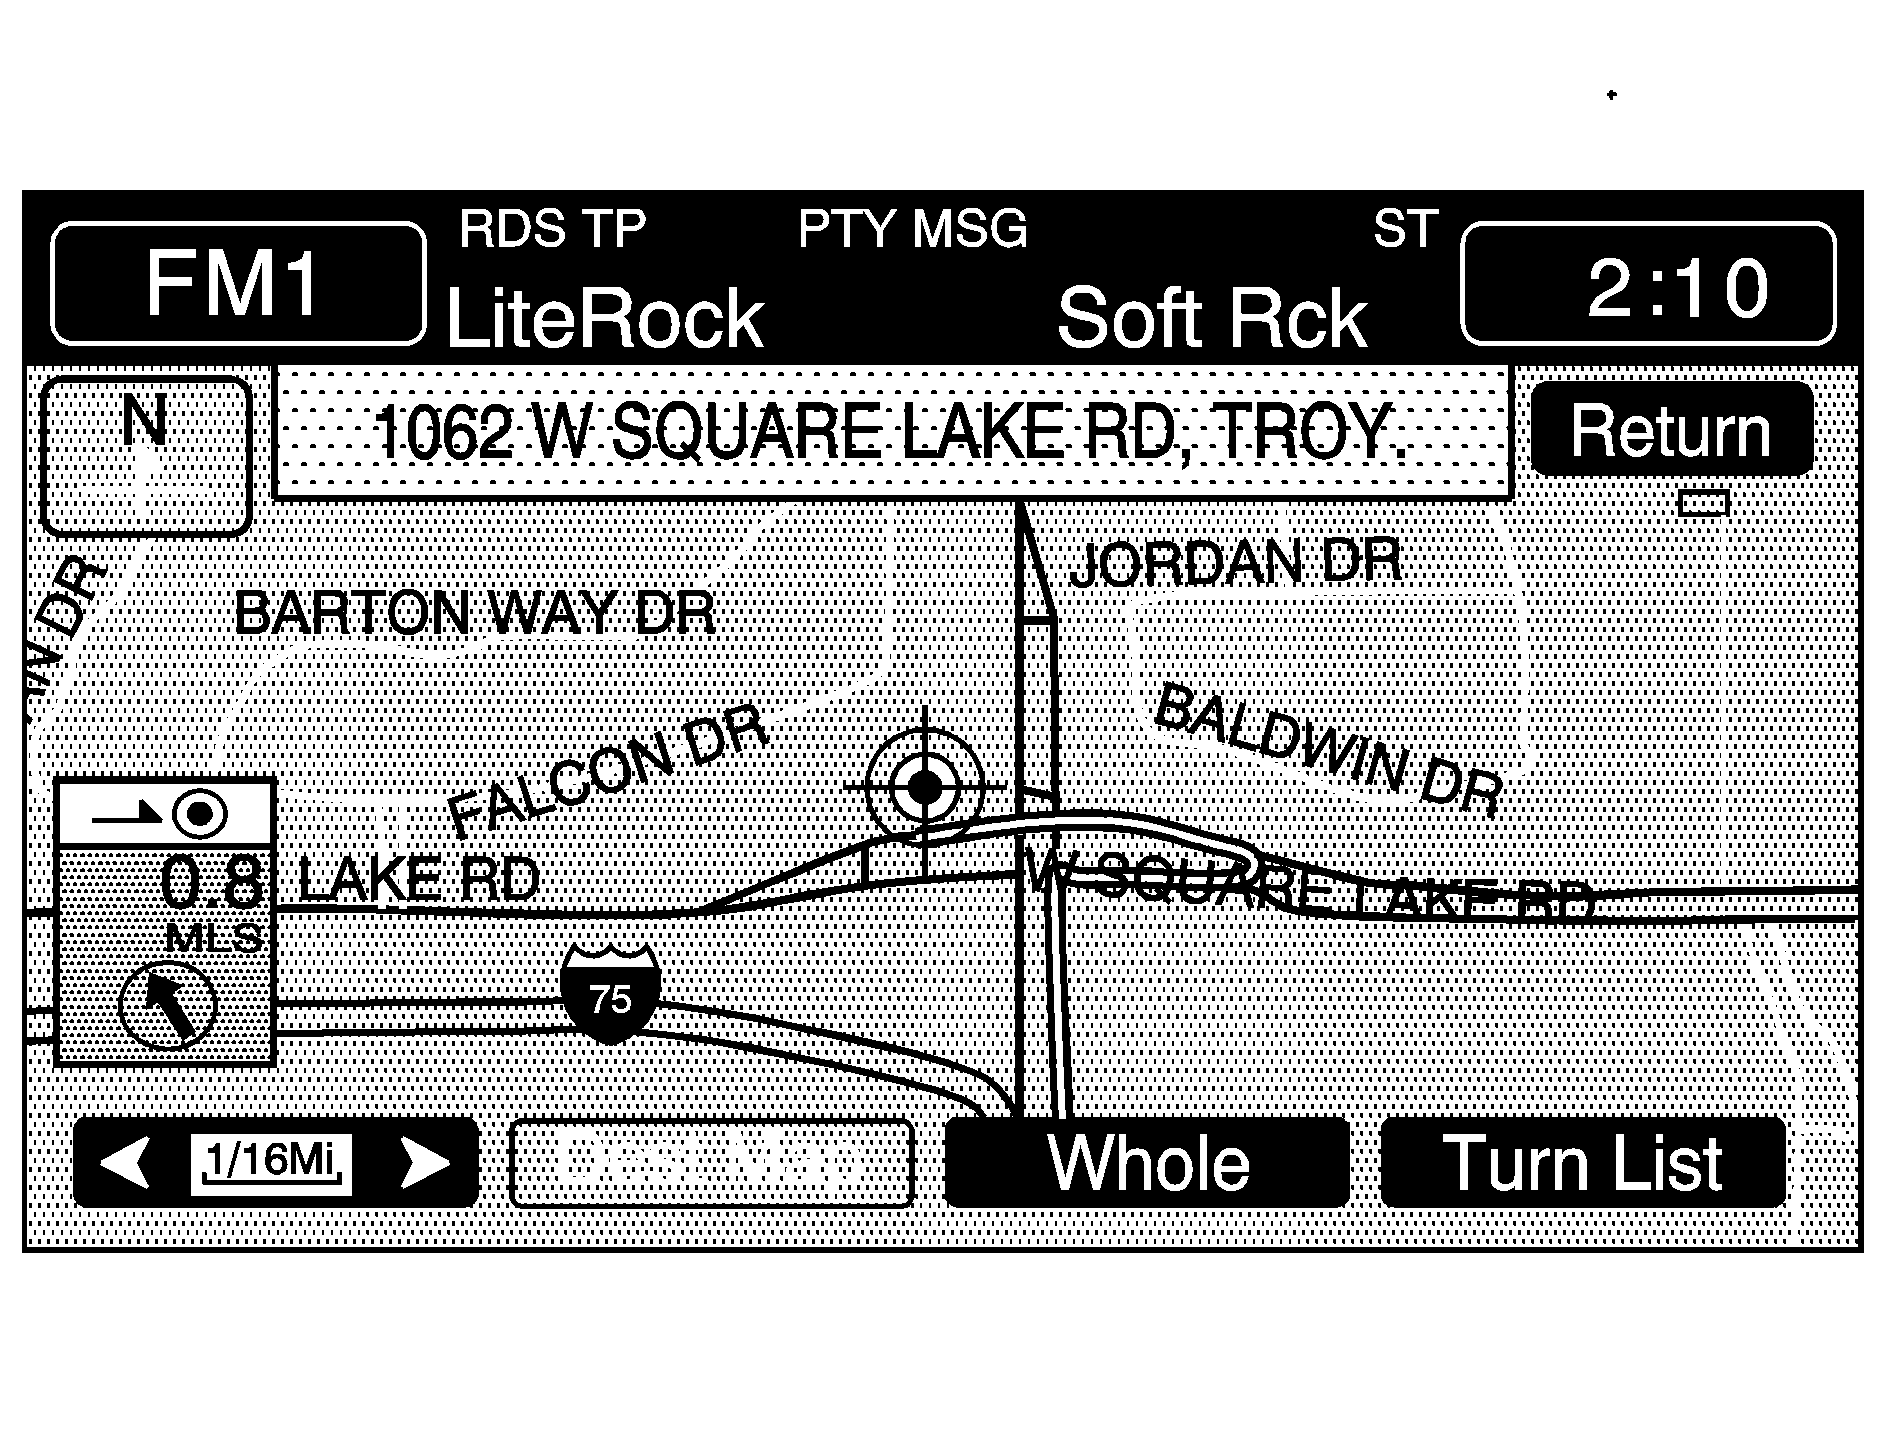
Dest (Destination) Map: This option allows you to view the final destination location. The destination's name or address will be displayed on the map screen. Touch Return when finished.
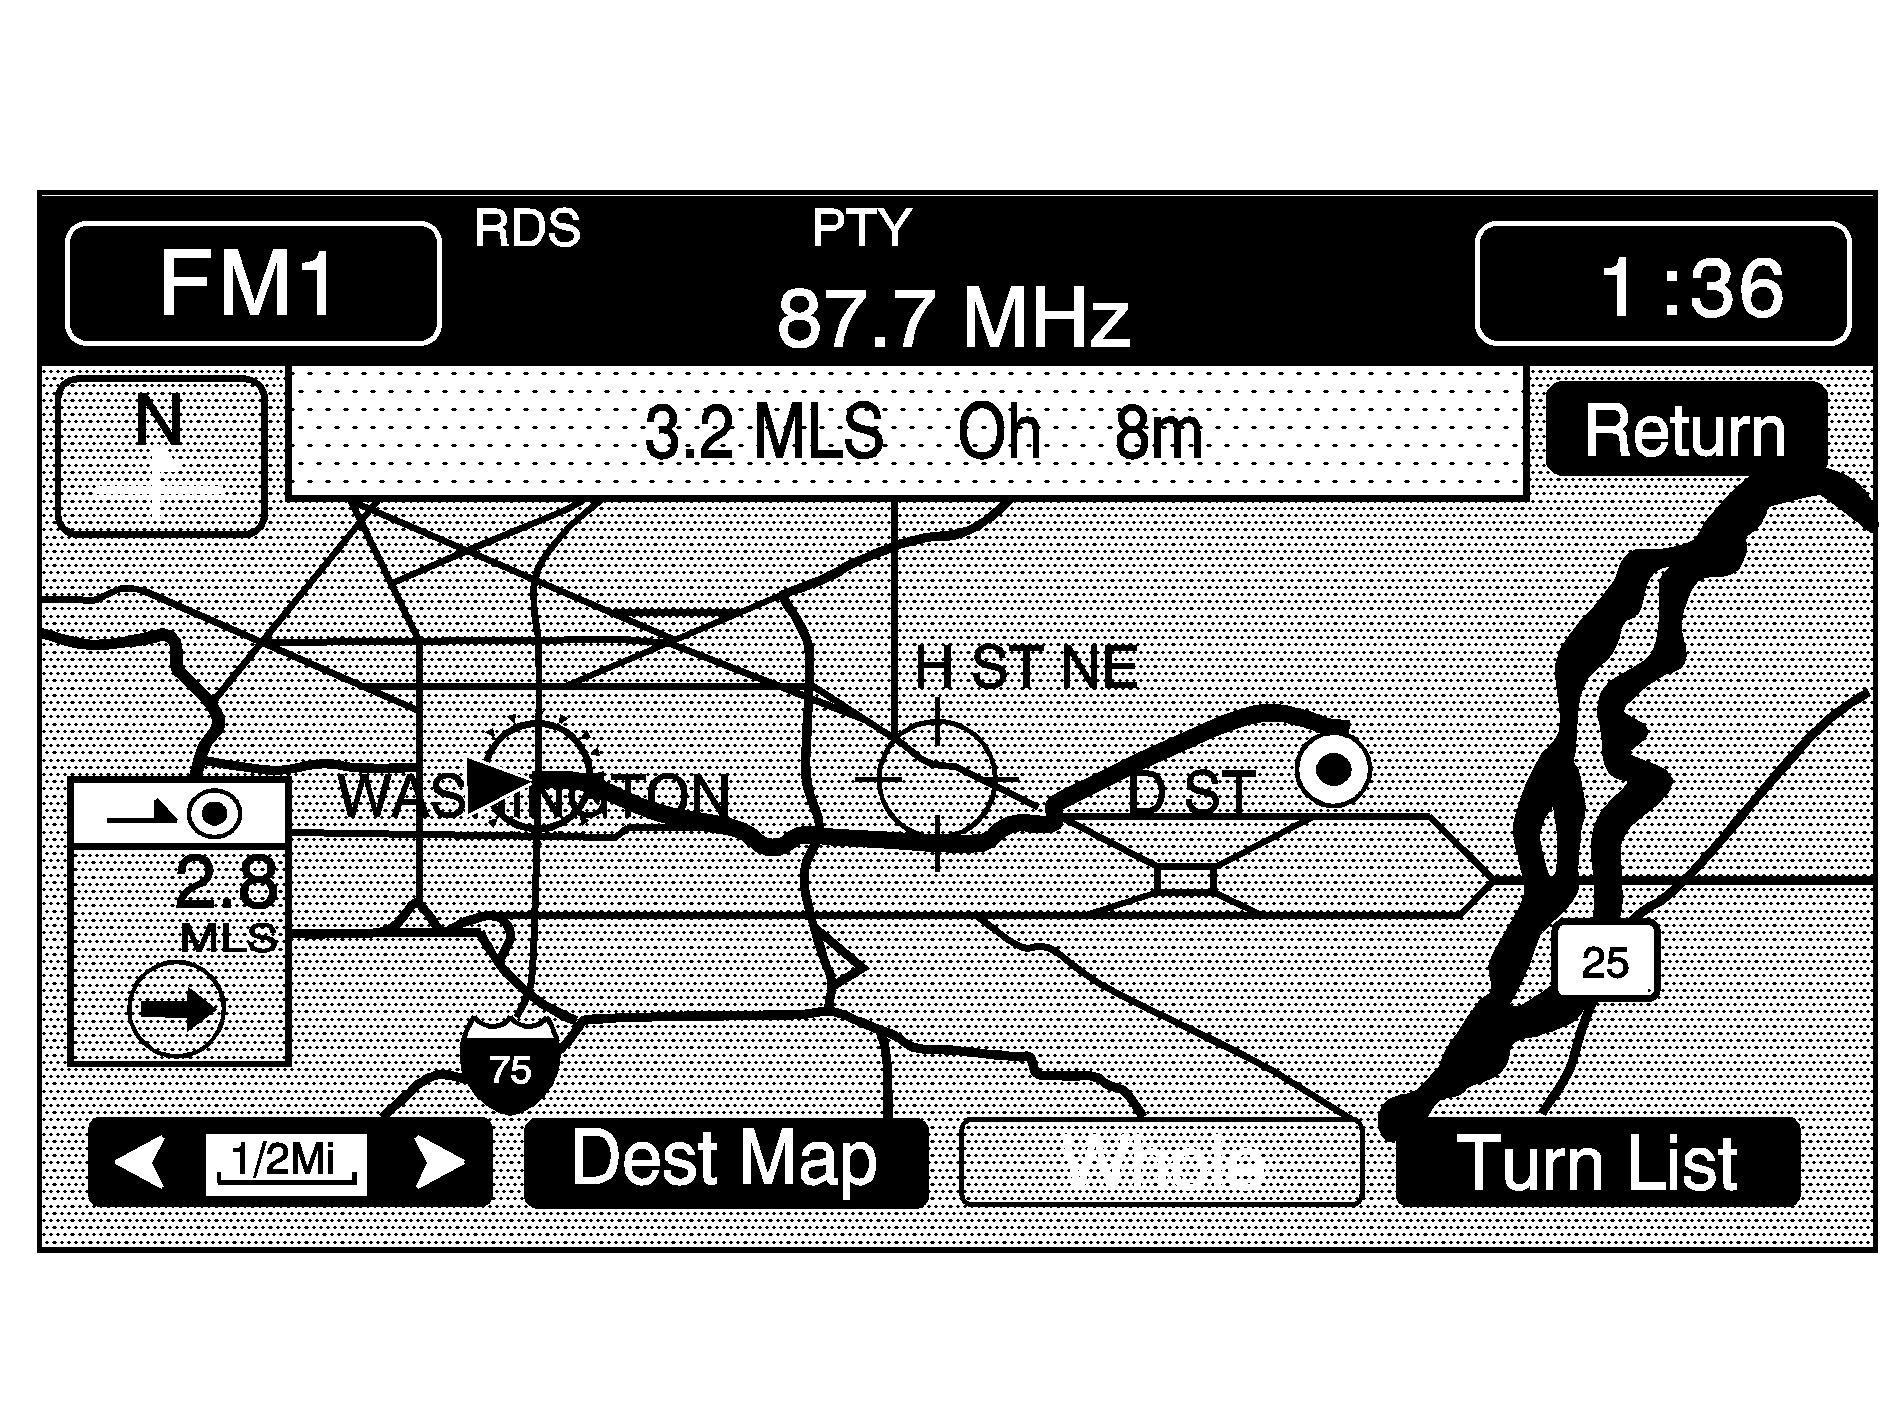
Whole: This option allows you to view the entire planned route. The distance to destination will be displayed on the map screen. Touch Return when finished.
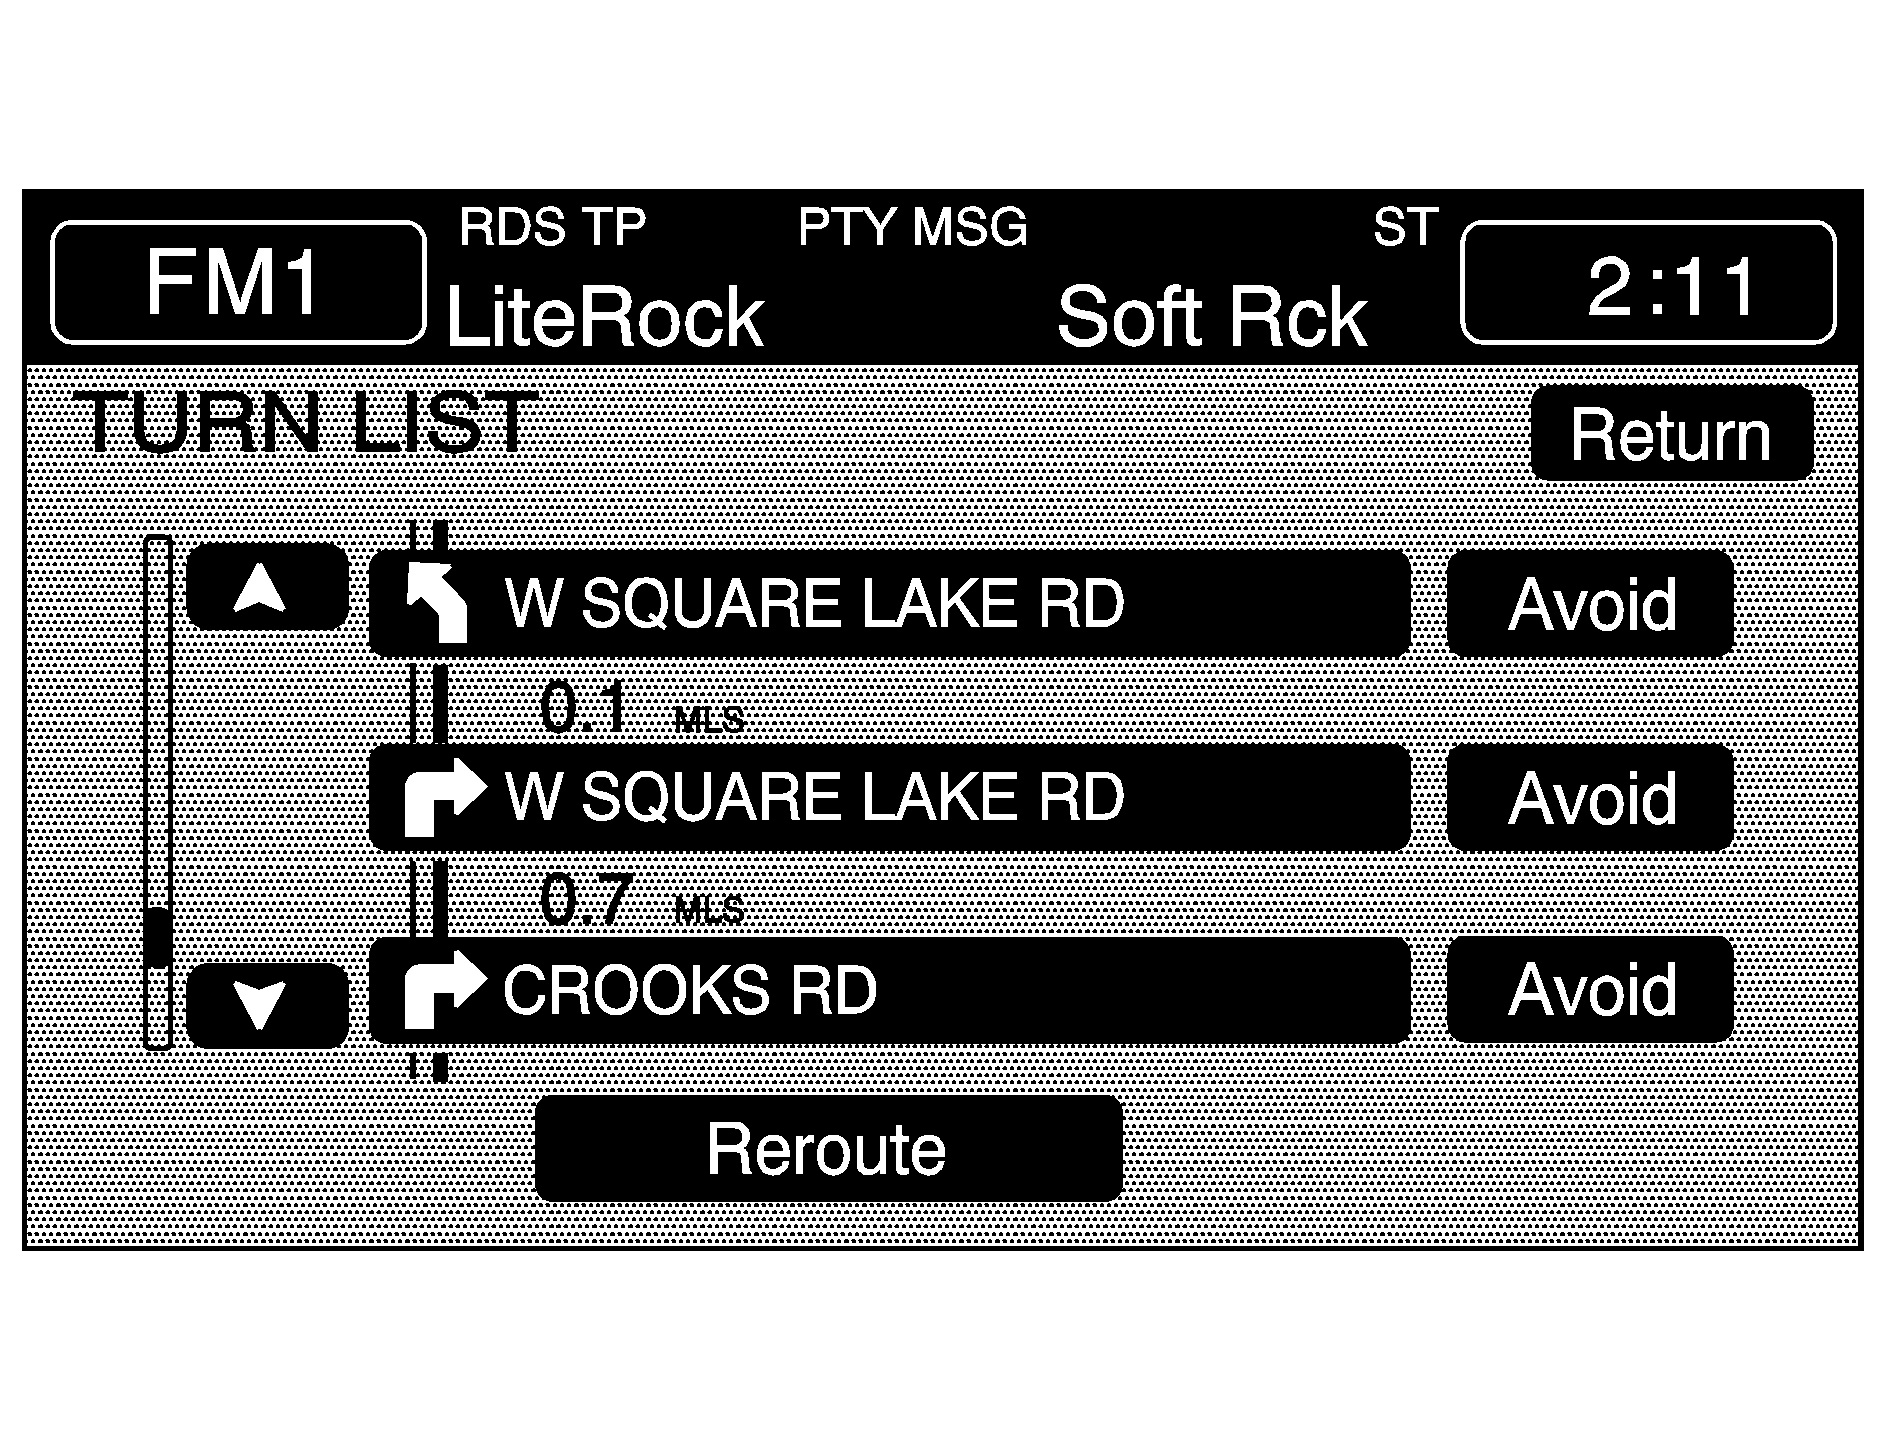
Turn List: This option allows you to view a step-by-step listing of upcoming street names, the distance that you will travel on the road, and turns you will need to make during your planned route.
After touching Turn List, the system may take some time to create the list. The length of time will vary depending on the length of your route and the planning methods you have selected.
The turn list will read from bottom to top. The bottom street name is the street you are currently on. The system automatically updates this screen as you make each turn. You may also touch the scroll up and down arrows providing scroll is available. Touching the down arrow will bring you to your current location. Touching the up arrow will give you upcoming streets. At times, there may not be names available for entrance or exit ramps.
To avoid a turn, touch AVOID next to the turn you want to avoid. You can use REDUCE or ENLARGE to edit the avoided point. Touch Reroute or press the MAP key to calculate your new route.
Touch Return to view your current position and to turn the turn list screen off.
Touch REROUTE or press the MAP key to calculate a new route.
Auto Reroute
When your destination is set and you travel off of the planned route, the system will automatically begin to reroute you. You will see the new route highlighted on the screen.
Traveling Across Regions
If you plan to drive across several states, you may have to change the selected region to represent the area you are traveling to.
There are two ways you can plan a destination when traveling across regions.
The following method is suggested and provides the most route guidance and map display functions:
- Change the selected search area region when you get closer to the area you are traveling to. See "Setting the Search Area" under Maps .
- Enter your destination and route settings. See Enter Destination for more information.
If you do not want to use the first method, keep your currently selected search area region and enter your destination. This method allows you only to select a destination from the easy planning route method or from the All Points of Interest (POI) categories with the "All Search Areas" comment for US Only. For example, Tourist is a category that features this comment. See Enter Destination for more information.
If you are traveling in or to Canada and you cross the regional border, the only map scale views available are 4 mi, 8 mi, 31 mi, and 128 mi (8 km, 16 km, 64 km and 256 km). Change the selected search area region when you get closer to the area you are traveling to. See "Setting the Search Area" under Maps for more information.
