Removal Procedure
- With the aid from an assistant, remove the seat assembly. Refer to Bucket Seat Replacement .
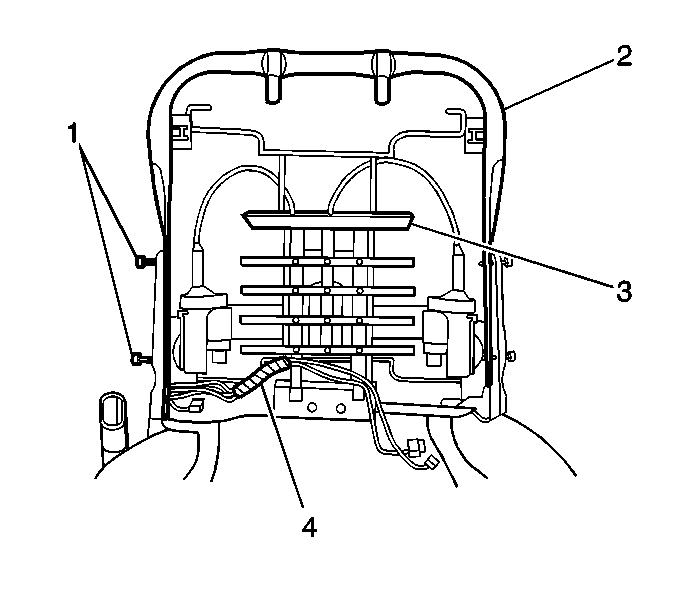
- Remove the seat back frame. Refer to Front Seat Back Frame Replacement .
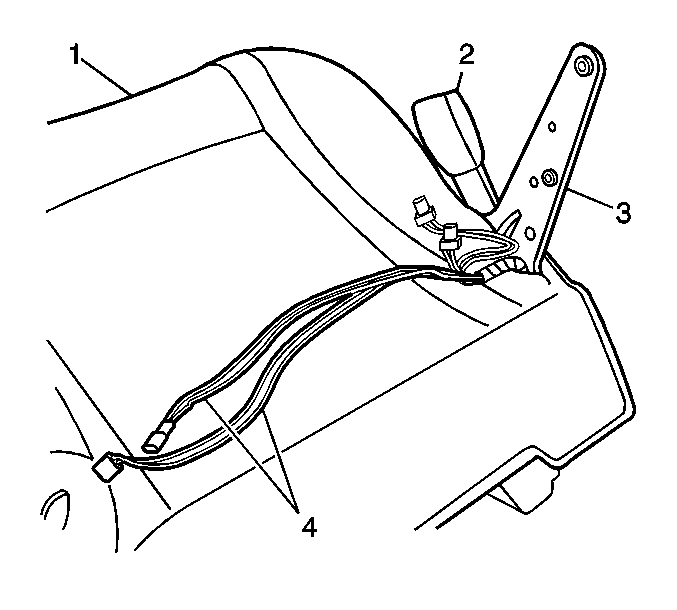
- Disconnect the electrical connectors (4) if equipped with the heated seats (KA1) or lumbar seats (AL2).
- Disconnect the three hog rings at the rear edge of the seat cushion.
- Remove the front and rear outer finish panel fasteners (1).
- Partially remove the outer finish panel.
- Disconnect the electrical connectors.
- Remove the outer finish panel.
- Disengage the J-channel at the bottom of the seat cushion perimeter.
- Remove the seat cushion cover (2) and pad (3) from the seat cushion frame.
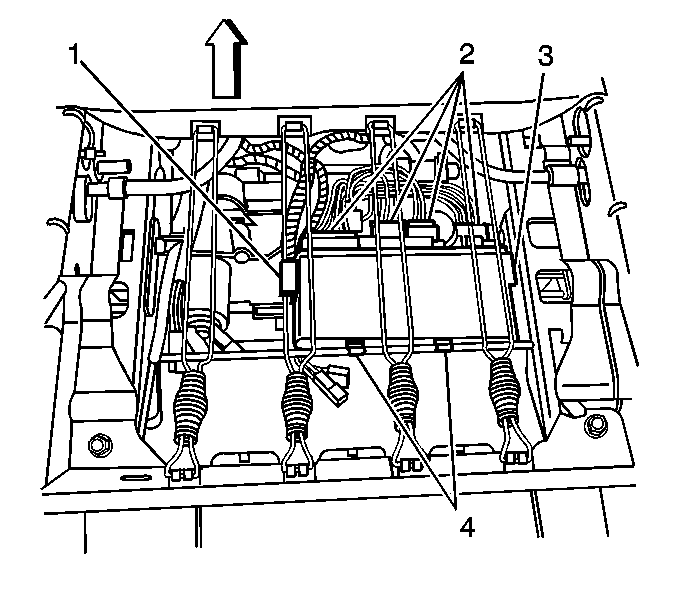
- Disengage the memory seat module (3) from the seat cushion pad support wires.
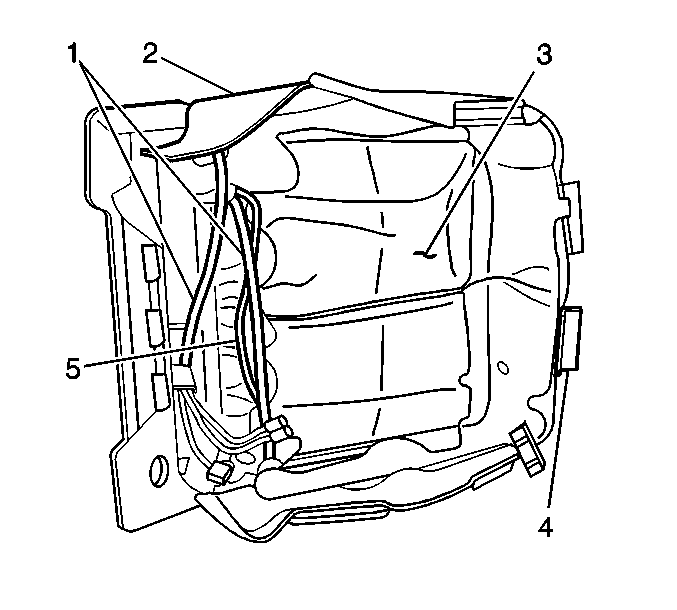
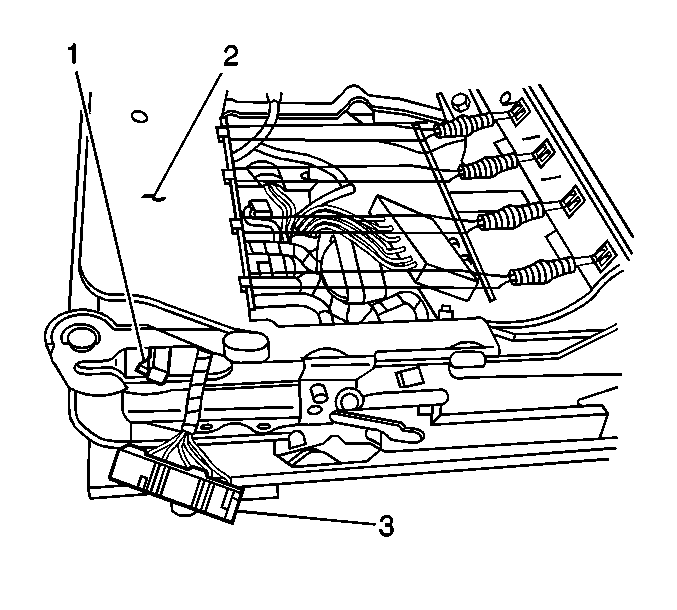
- Push the seat switch electrical connectors (1,3) through the seat cushion frame (2).
- Disengage the heated seat relay connector from the seat cushion frame.
- Remove the four fasteners securing the seat cushion frame to the adjuster assembly.
- Remove the seat cushion frame from the adjuster assembly.
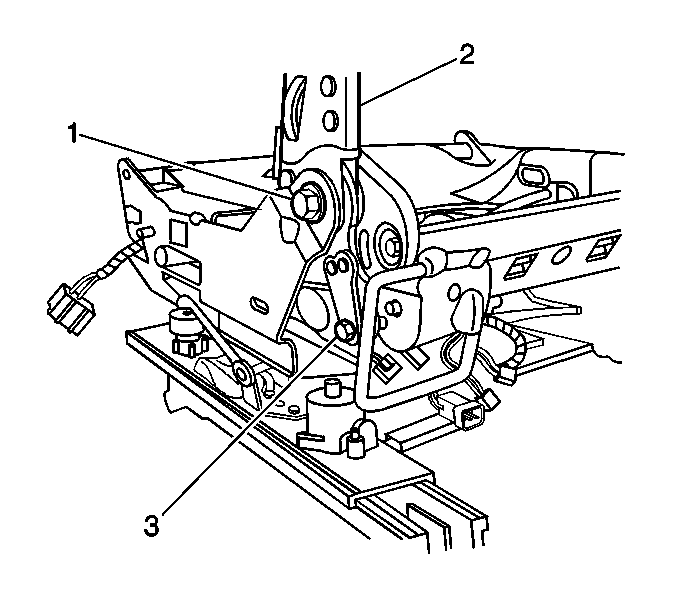
- Remove the seat back cushion outer recliner latch assembly fasteners (1).
- Disengage the two vertical drive cables from the recliner assembly.
- Remove the forward front seat frame link rivet in order to remove the seat back recliner adjuster assembly.
- Remove the seat back recliner adjuster assembly (2) from the seat cushion frame and transfer to the new seat frame.
- Disengage the seat cushion pad support wires from the seat cushion frame.
- Remove the support wires and transfer to the new seat frame.
- Remove the seat adjuster motor bracket rivets.
- Remove the seat vertical adjuster motor assembly and transfer to the new seat cushion frame.
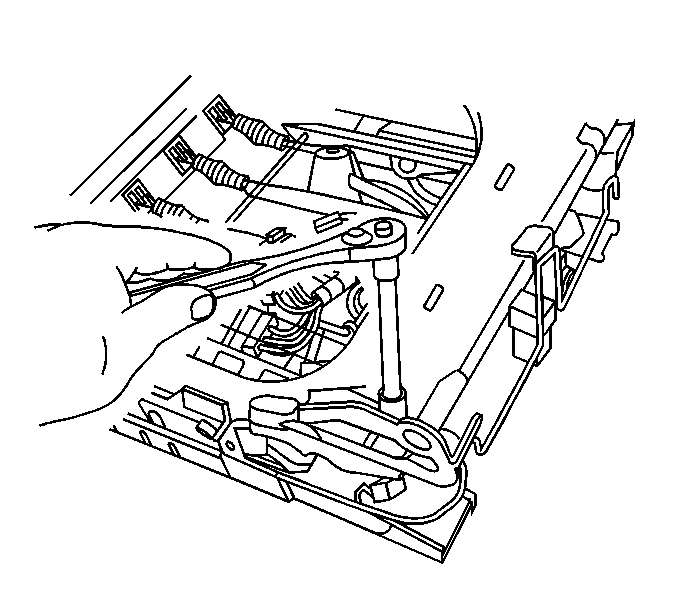
Caution: Eye protection must be worn when drilling rivets to reduce the chance of personal injury.
Installation Procedure
- Install the seat adjuster vertical motor assembly to the new seat cushion frame.
- Install new rivets (3) in order to secure the motor assembly to the new seat cushion frame.
- Install the seat cushion pad support wires to the new seat cushion frame.
- Position the seat back recliner adjuster assembly to the new seat frame.
- Secure the forward rivets for the adjuster assembly through the seat frame.
- Install the two bolts (1) in order to secure the recliner hinge (2) to the seat cushion frame.
- Using a suitable pair of pliers, squeeze the oblong connector and secure the vertical cables to the adjuster assembly.
- Ensure the connectors are secure.
- Position the seat cushion frame to the adjuster assembly.
- Install all four seat frame to adjuster assembly bolts.
- Position the seat switch electrical connectors (1,3) through the seat cushion frame (2).
- Using the seat cushion frame support wires, attach the memory seat module (3) at locations (1,4).
- Place the cover and pad over the seat back frame recliner hinges.
- Position the cover and pad to the seat cushion frame.
- Ensure the seat belt buckle (2) is positioned through the guide loop on the cover.
- Guide the electrical connectors (4) through the seat cushion cover (1), if equipped with heated or lumbar seats.
- Connect the three hog rings at the rear of the seat cushion in order to secure the bottom of the cover.
- Connect the J-channel around the perimeter of the seat cushion frame.
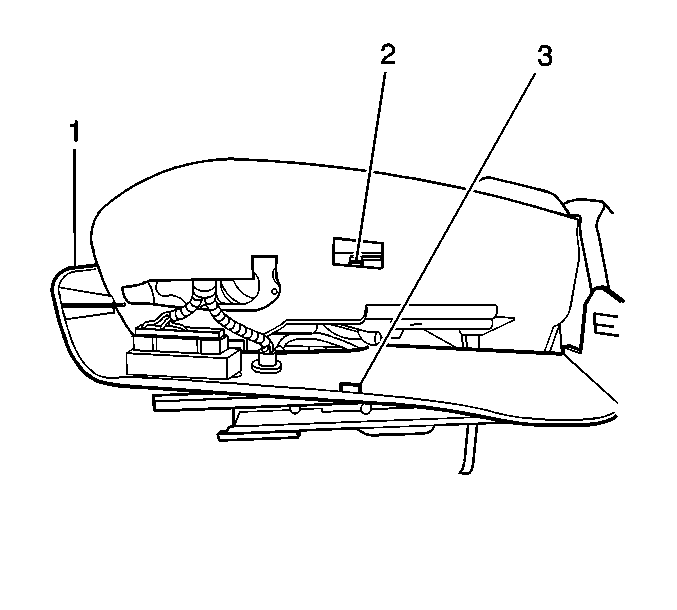
- Partially install the outer finish panel (1).
- Connect the electrical connectors for the seat switches.
- Install the outer finish panel.
- Ensue the outer finish panel is located (3) into the retainer clip (2) on the seat cushion frame.
- Install the outer finish panel fasteners.
- Install the seat back frame (2). Refer to Front Seat Back Frame Replacement .
- With the aid from an assistant, install the seat assembly. Refer to Bucket Seat Replacement .
- Reposition the seat assembly.


Notice: Use the correct fastener in the correct location. Replacement fasteners must be the correct part number for that application. Fasteners requiring replacement or fasteners requiring the use of thread locking compound or sealant are identified in the service procedure. Do not use paints, lubricants, or corrosion inhibitors on fasteners or fastener joint surfaces unless specified. These coatings affect fastener torque and joint clamping force and may damage the fastener. Use the correct tightening sequence and specifications when installing fasteners in order to avoid damage to parts and systems.
Tighten
Tighten the bolts to 24 N·m (18 lb ft).

Notice: Use the correct fastener in the correct location. Replacement fasteners must be the correct part number for that application. Fasteners requiring replacement or fasteners requiring the use of thread locking compound or sealant are identified in the service procedure. Do not use paints, lubricants, or corrosion inhibitors on fasteners or fastener joint surfaces unless specified. These coatings affect fastener torque and joint clamping force and may damage the fastener. Use the correct tightening sequence and specifications when installing fasteners in order to avoid damage to parts and systems.
Tighten
Tighten the four bolts to 41 N·m (30 lb ft).
Notice: Note the correct routing of the electrical wiring. Failure to reinstall the wiring properly could result in damage to the wiring.


Notice: Use the correct fastener in the correct location. Replacement fasteners must be the correct part number for that application. Fasteners requiring replacement or fasteners requiring the use of thread locking compound or sealant are identified in the service procedure. Do not use paints, lubricants, or corrosion inhibitors on fasteners or fastener joint surfaces unless specified. These coatings affect fastener torque and joint clamping force and may damage the fastener. Use the correct tightening sequence and specifications when installing fasteners in order to avoid damage to parts and systems.
Tighten
Tighten the fasteners to 2 N·m (18 lb in).
