For 1990-2009 cars only
Starter Replacement LH2
Removal Procedure
- Disconnect the battery negative cable. Refer to Battery Negative Cable Disconnection and Connection.
- Remove the intake manifold. Refer to Intake Manifold Replacement.
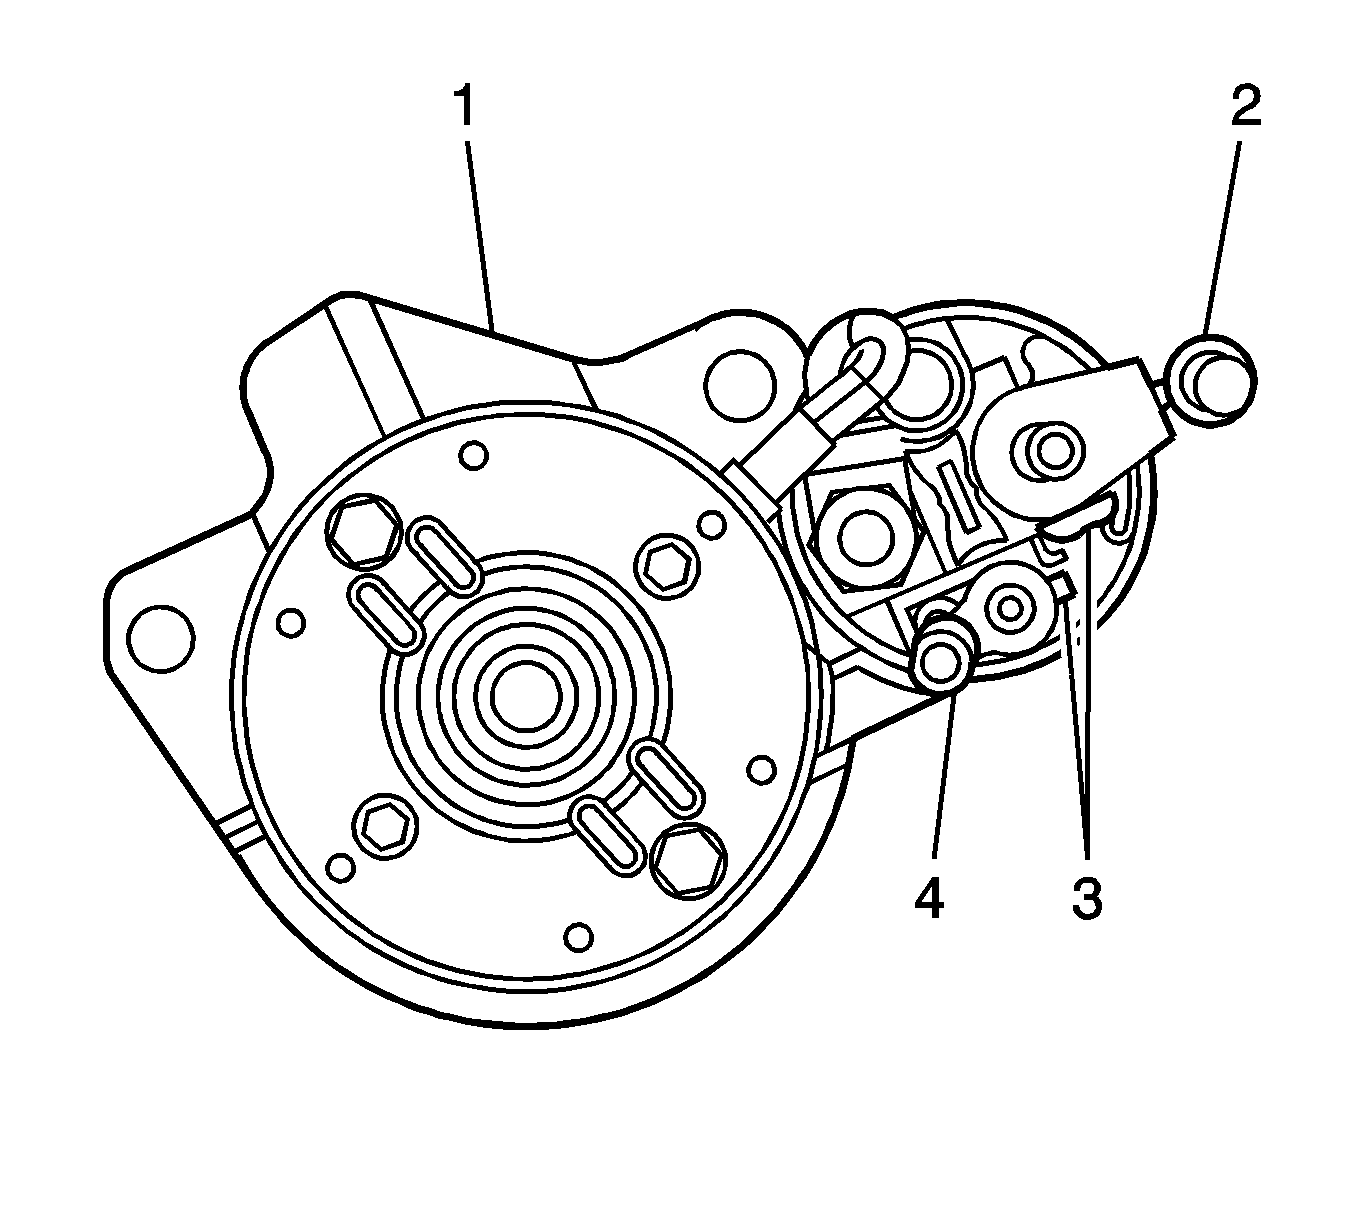
- Disconnect the battery positive cable (2) from the starter.
- Disconnect the wire (4) from the S terminal on the starter.
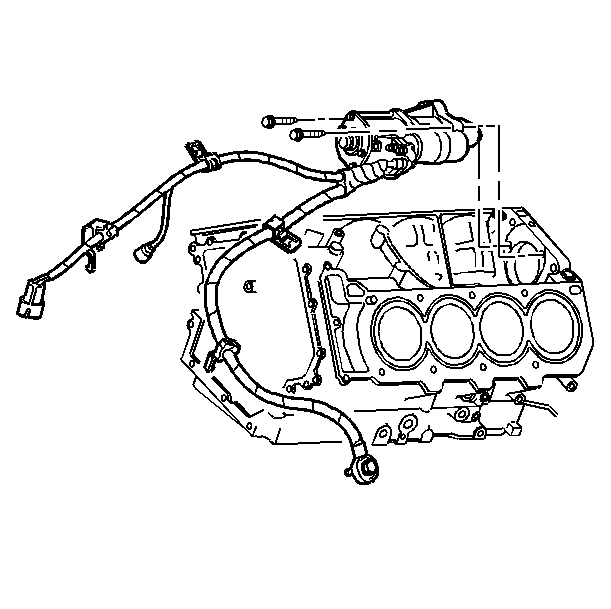
- Remove the starter motor bolts.
- Remove the starter motor.
Installation Procedure
- Install the starter motor.
- Install the starter motor bolts and tighten to 30 N·m (22 lb ft).
- Connect the wire (4) and nut to the S terminal on the starter and tighten to 4 N·m (35 lb in).
- Connect the battery positive cable (4) and nut to the starter terminal and tighten to 10 N·m (89 lb in).
- Install the intake manifold. Refer to Intake Manifold Replacement.
- Connect the battery negative cable. Refer to Battery Negative Cable Disconnection and Connection.

Caution: Refer to Fastener Caution in the Preface section.

Starter Replacement LC3
Removal Procedure
- Disconnect the battery negative cable. Refer to Battery Negative Cable Disconnection and Connection.
- Remove the supercharger assembly. Refer to Supercharger Replacement.
- Disconnect the battery positive cable (2) from the starter.
- Disconnect the wire (4) from the S terminal on the starter.
- Remove the starter motor bolts.
- Remove the starter motor.


Installation Procedure
- Install the starter motor.
- Install the starter motor bolts and tighten to 30 N·m (22 lb ft).
- Connect the wire (4) and nut to the S terminal on the starter and tighten to 4 N·m (35 lb in).
- Connect the battery positive cable (4) and nut to the starter terminal and tighten to 10 N·m (89 lb in).
- Install the supercharger assembly. Refer to Supercharger Replacement.
- Connect the battery negative cable. Refer to Battery Negative Cable Disconnection and Connection.

Caution: Refer to Fastener Caution in the Preface section.

Starter Replacement LY7 and LLT
Removal Procedure
- Turn OFF the ignition.
- Disconnect the battery negative cable. Refer to Battery Negative Cable Disconnection and Connection.
- Remove the left catalytic converter. Refer to Catalytic Converter Replacement - Left Side.
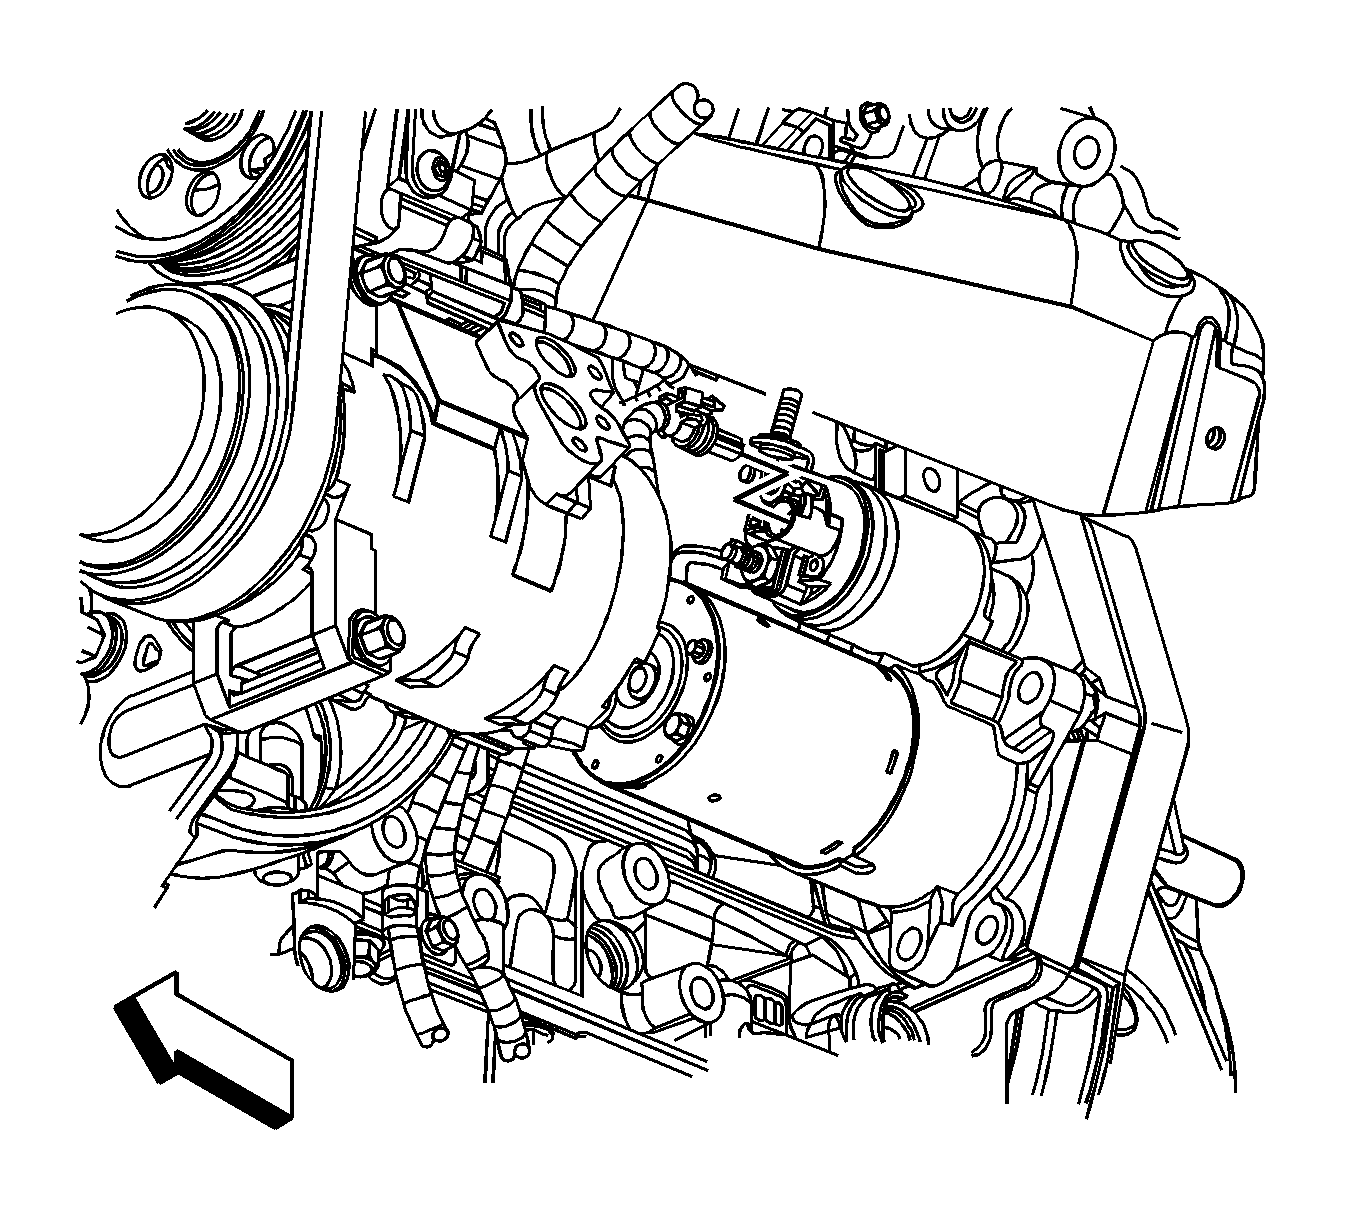
- Remove the starter solenoid electrical connector from the starter.
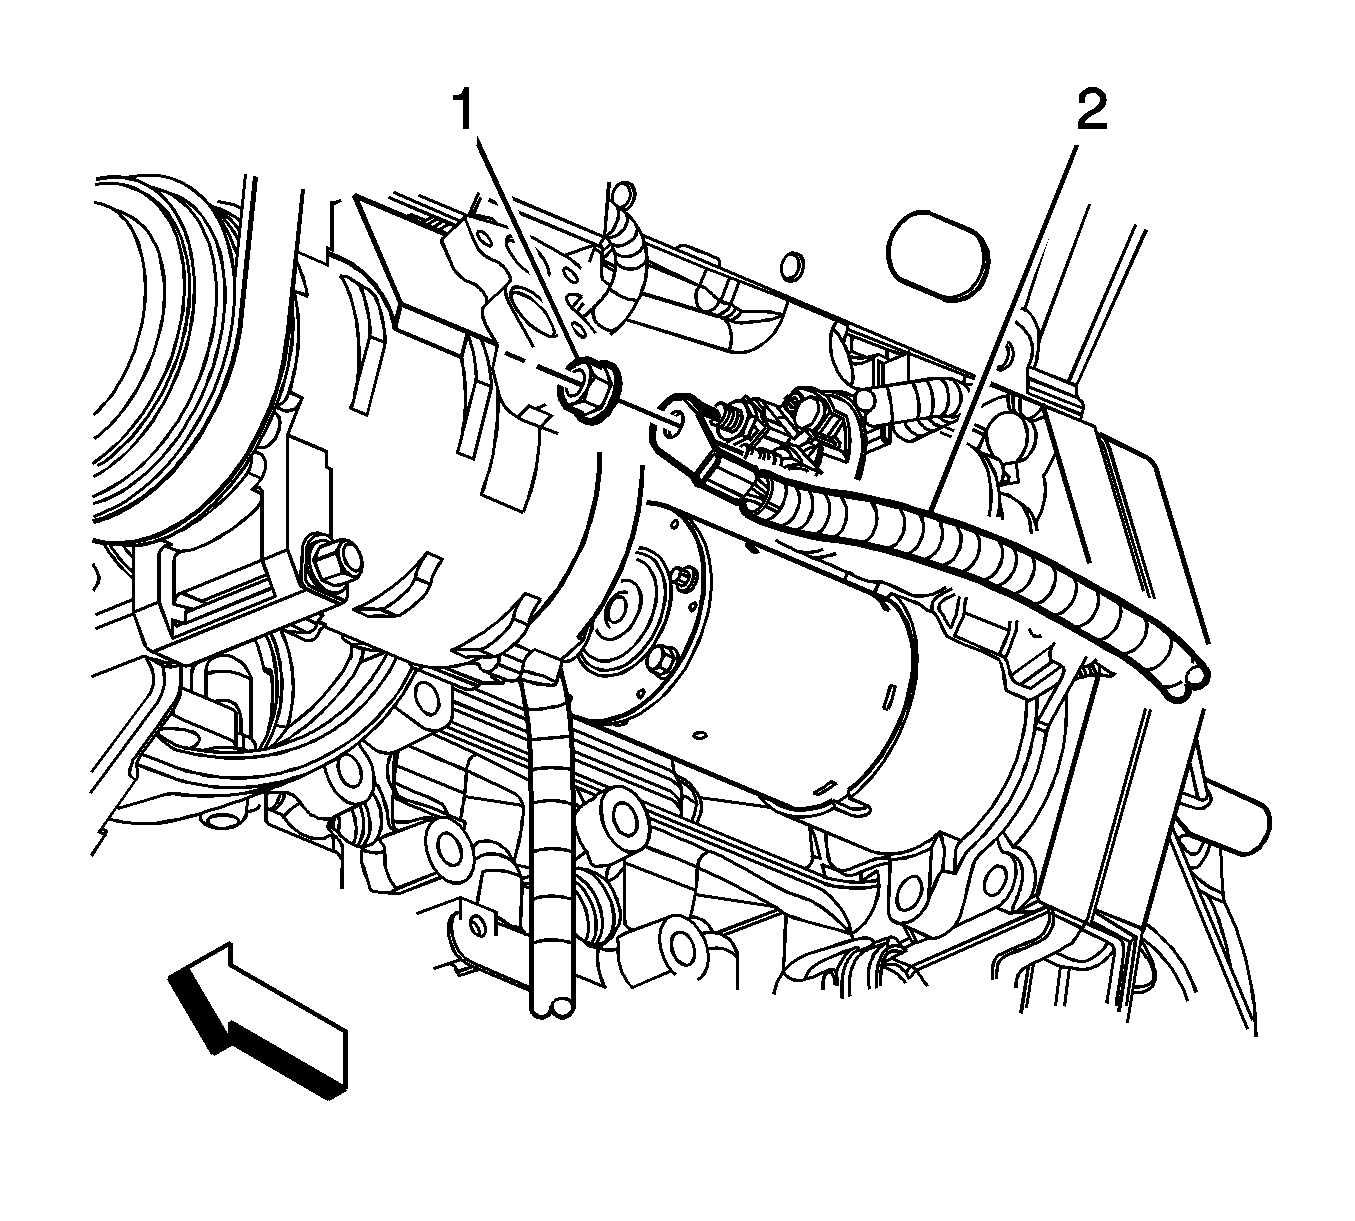
- Remove the starter terminal nut (1) and the battery positive cable (2) from the starter.
- Remove the starter motor bolts.
- Remove the starter motor.
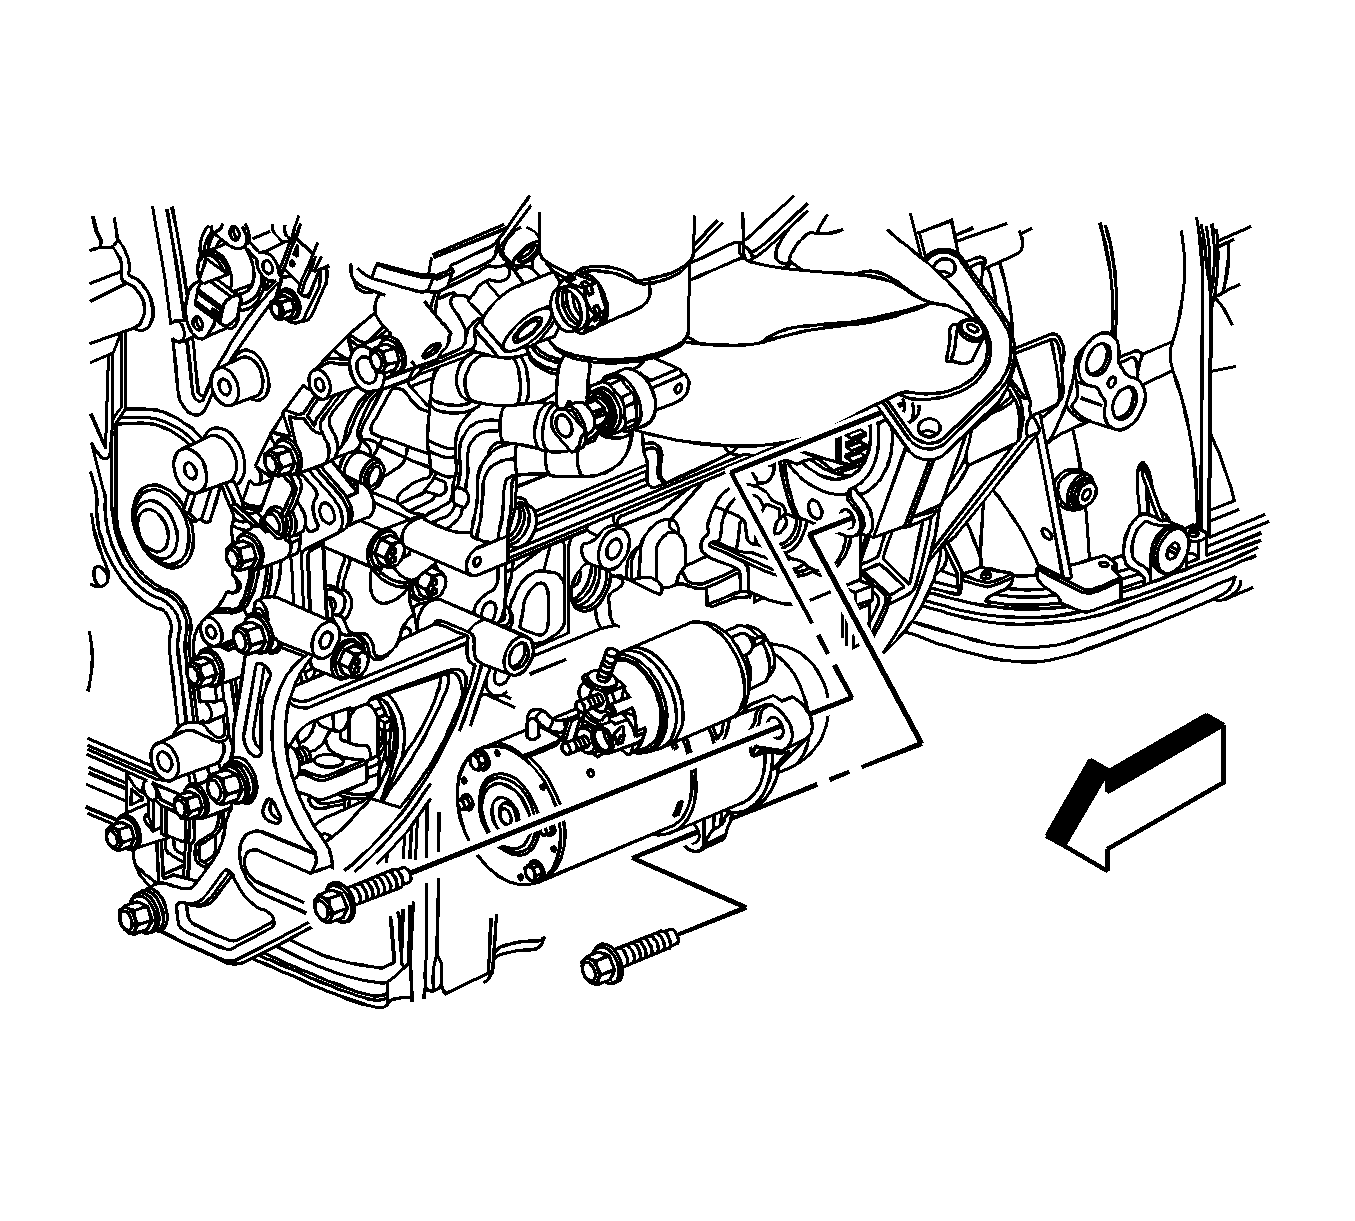
Installation Procedure
- Install the starter motor.
- Install the starter motor mounting bolts and tighten to 50 N·m (37 lb ft).
- Install the battery positive cable (2) to the starter and install the starter terminal nut (1) and tighten to 13 N·m (115 lb in).
- Install the electrical connector to the starter solenoid.
- Install the left catalytic converter. Refer to Catalytic Converter Replacement - Left Side.

Caution: Refer to Fastener Caution in the Preface section.


