Disassembly
Tools Required
| • | J 41352 |
| • | J 42640 |
- Remove the upper and lower shroud. Refer to Trim Covers, Shift Lever Seal Replacement - Off Vehicle
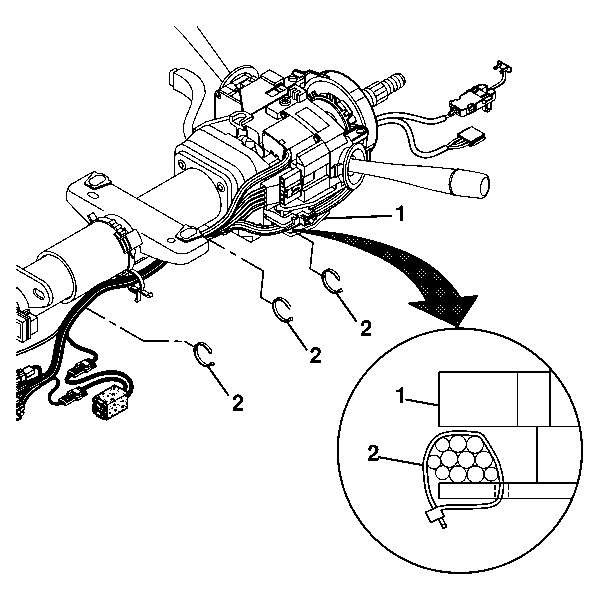
- Remove the two wire harness straps (2). Remove one wire harness strap (2) from the steering column tilt head assembly (1).
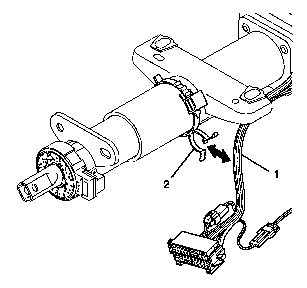
- Pop the wire harness assembly (1) from the wire harness strap (2).
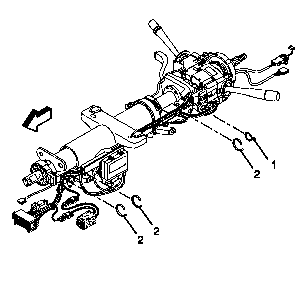
- When working on the power tilt and telescope column remove three wire harness straps (1). Remove one wire harness strap (1).
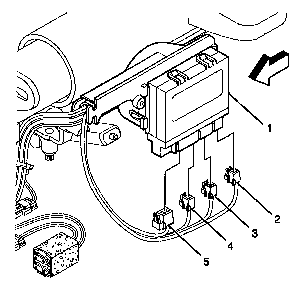
- When working on the power tilt and telescope column remove the green (5), brown (4), natural (3) and the black (2) connectors from the E&C interface module assembly (1).
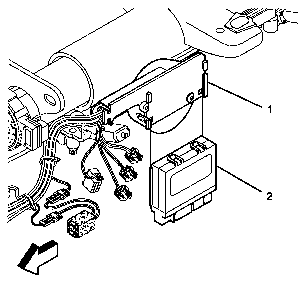
- When working on the power tilt and telescope column remove the E&C interface module assembly (2) from the lower wire shield (1).
- When working on the power tilt and telescope column pop open the lower wire shield (1) to remove the wire harness assembly (2).
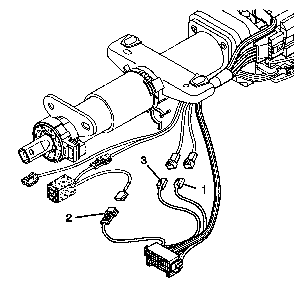
- Remove the blue (1), black (2), and gray (3) connectors of the turn signal & multifunction switch assembly.
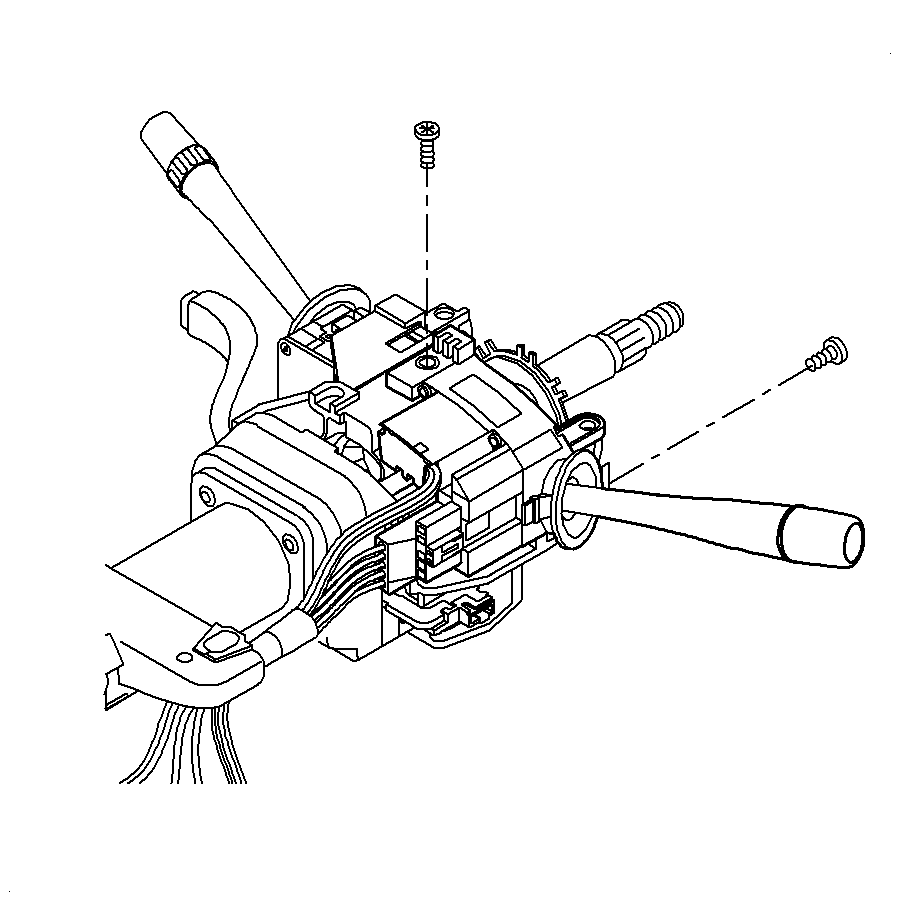
- Remove the two tapping screws (1).
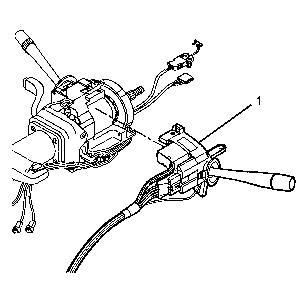
- Remove the turn signal & multifunction switch assembly (1).
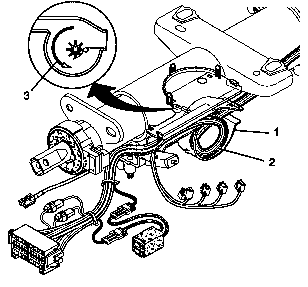
In the lower wire shield (1), notice which direction (3) and placement the wires are in.
Assembly Procedure
- Install the turn signal and multifunction switch assembly (1).
- in Cautions and Notices.
- Route the wire harness assembly along the steering column jacket assembly.
- Install the blue (1), black (2), and gray (3) connectors of the turn signal and multifunction switch assembly.
- Pop the wire harness assembly (1) into the wire harness strap (2).
- Install the two wire harness straps (2). Install one wire harness strap (2) to the steering column tilt head assembly (1).
- When working on the power tilt and telescope column install the wire harness assembly (2) into the lower wire shield (1).
- When working on the power tilt and telescope column slide the Steering Column interface module assembly (2) into the lower wire shield (1).
- When working on the power tilt and telescope column install the green (5), brown (4), natural (3) and the black (2) connectors into the Steering Column interface module assembly (1).
- When working on the power tilt and telescope column install the three wire harness straps (2) onto the wire harness assembly.
- Install the wire harness strap (1) into the steering column tilt head assembly.
- Install the upper and lower shrouds. Refer to Trim Covers, Shift Lever Seal Replacement - Off Vehicle

Important: The electrical contact must rest on the turn signal cancel cam assembly.

Notice: Use the correct fastener in the correct location. Replacement fasteners must be the correct part number for that application. Fasteners requiring replacement or fasteners requiring the use of thread locking compound or sealant are identified in the service procedure. Do not use paints, lubricants, or corrosion inhibitors on fasteners or fastener joint surfaces unless specified. These coatings affect fastener torque and joint clamping force and may damage the fastener. Use the correct tightening sequence and specifications when installing fasteners in order to avoid damage to parts and systems.
Install the two pan head tapping screws (1).
Tighten
Tighten the screws to 7 N·m (62 lb in).
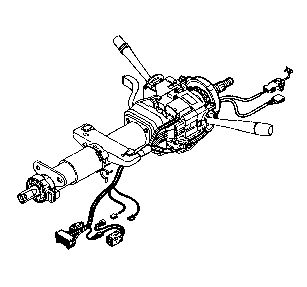


In the lower wire shield (1) notice the direction (3) and placement the wires go in.


