For 1990-2009 cars only
Seat Heat Element Installation Procedure
- Remove the trim cover with the nonfunctional heat element. Refer to Front Seat Cushion Cover Replacement .
- Place the seat trim cover on a clean flat surface with the inside facing out.
- Remove the wiring harness from ONLY the non-functioning factory heat element. Use a pair of diagonal side cutters to cut the wiring as close to the trim cover as possible.
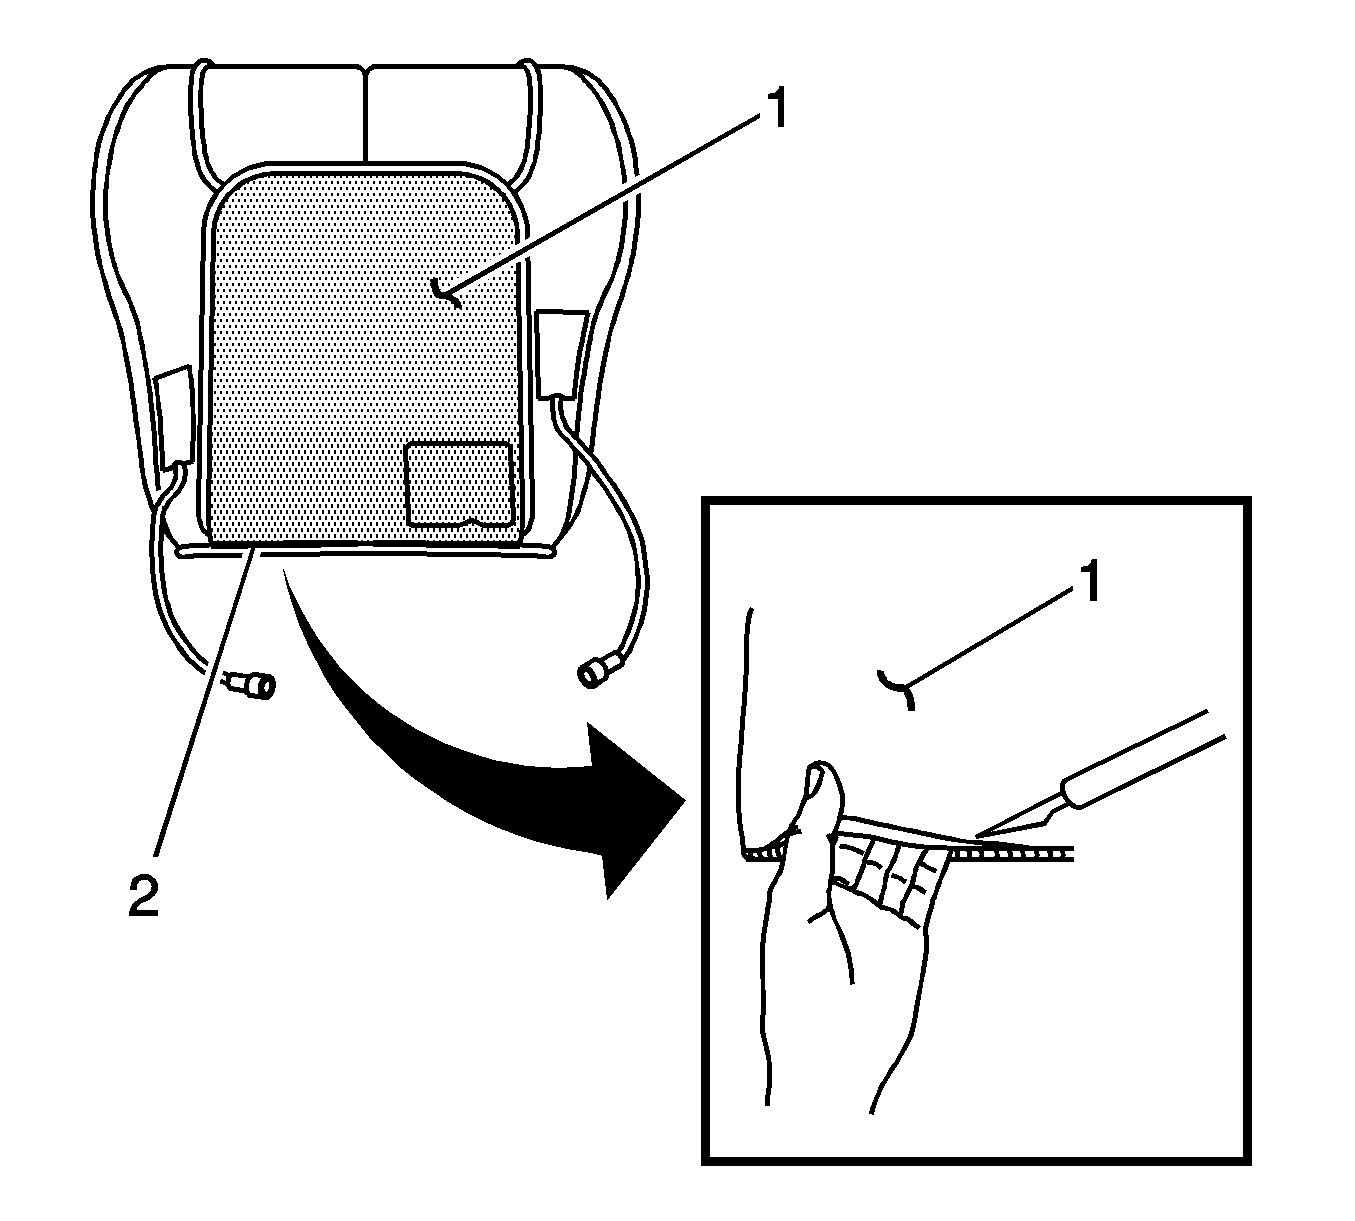
- If you are installing a center heat element, create an opening between the nonfunctional factory heat element (1) and the seat trim cover as close to the seam (2) as possible. Use a razor blade or equivalent and carefully slice through the factory heat element until you create a hole.
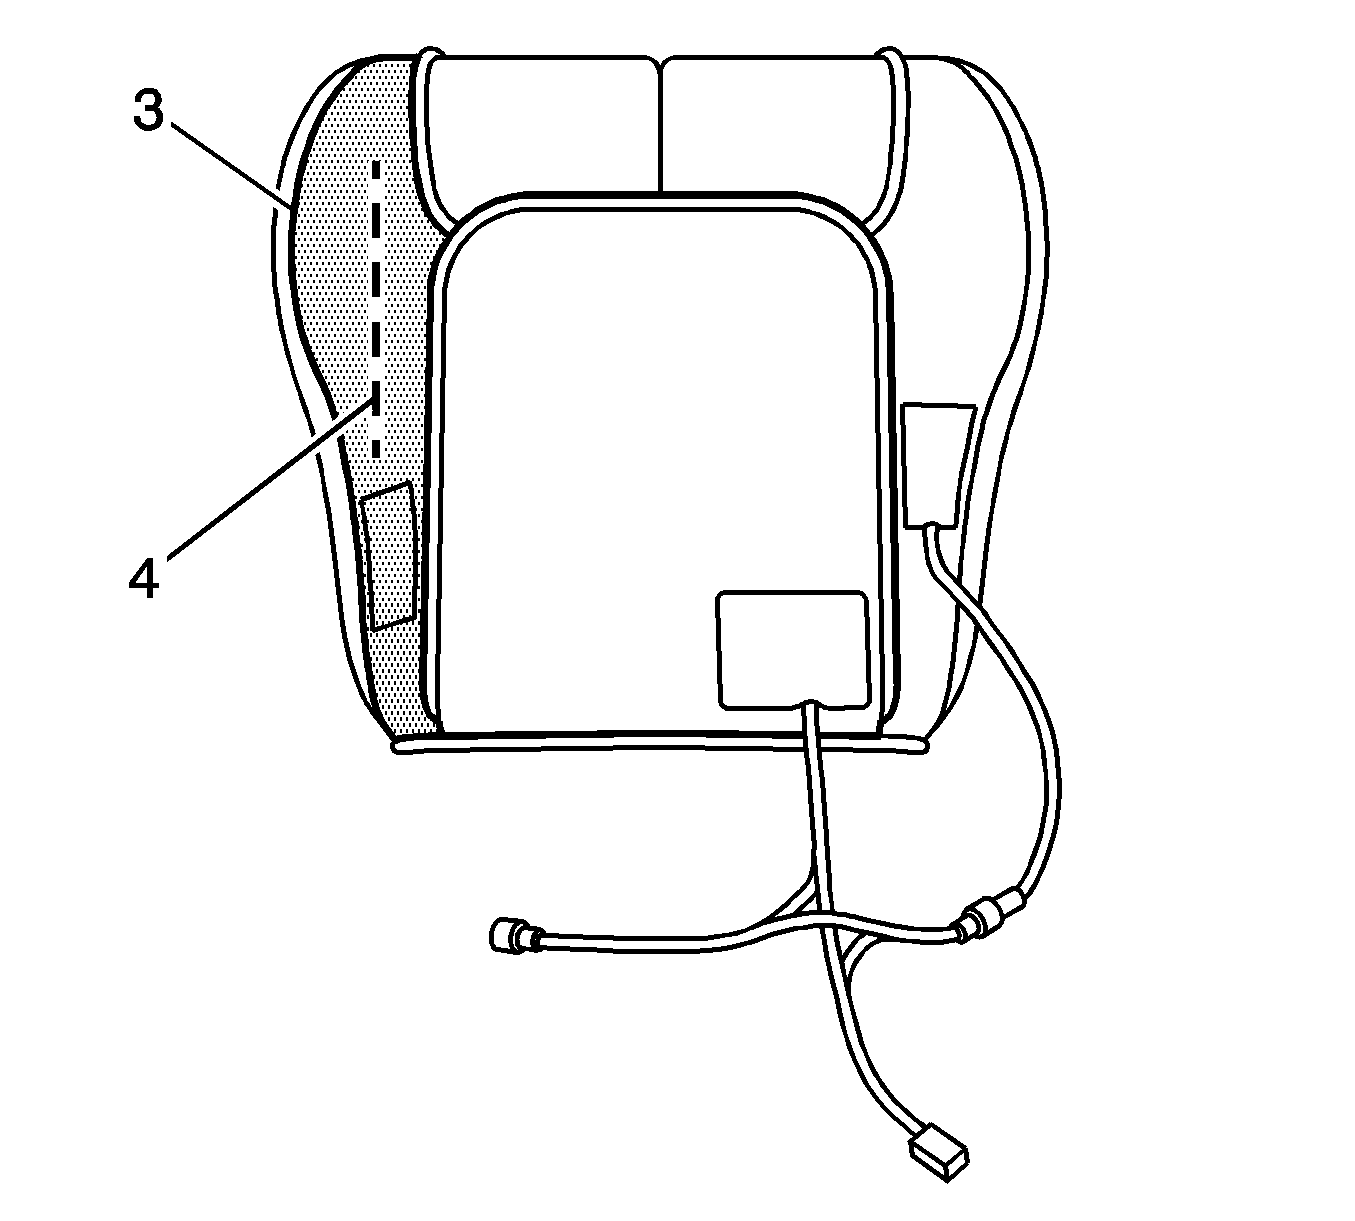
- If you are installing an inner or an outer heat element, create an opening (4) in the middle of the factory heat element (3). Use a razor blade or equivalent and carefully slice through the factory heat element until you create a hole.
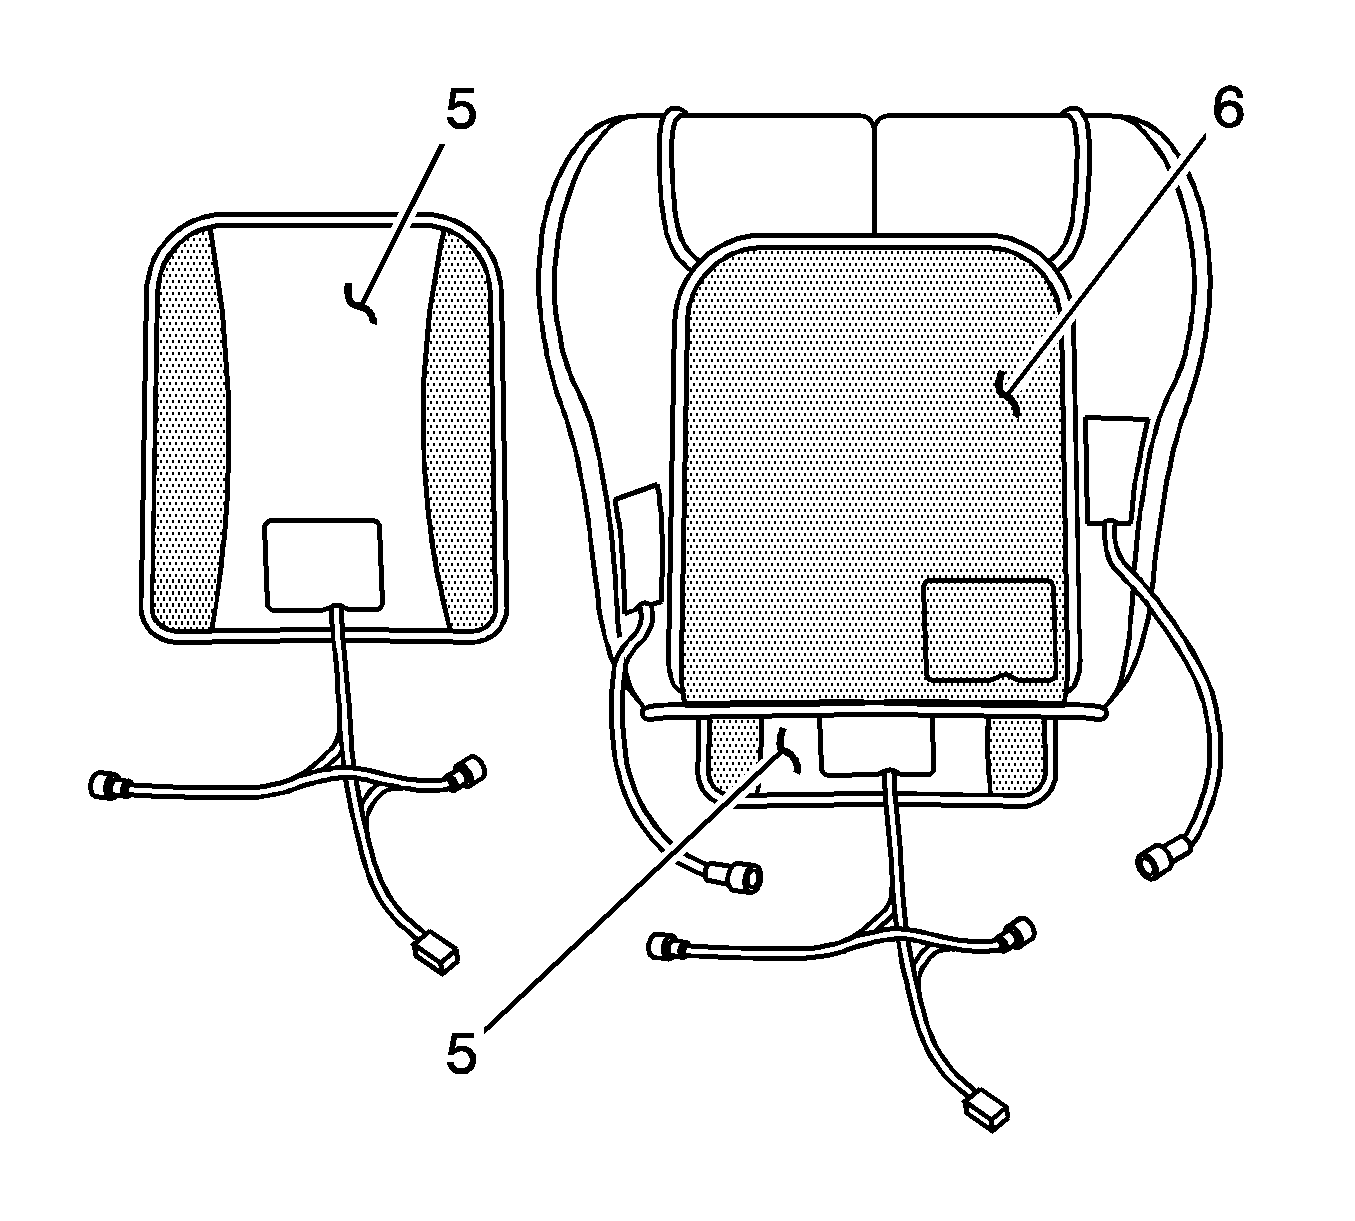
- Insert the service heat element (5), with the backing paper side up, between the trim cover material and the factory heat element material (6).
- Ensure that the service heat element is lying flat, tucked into each corner and extends to each side.
- Carefully remove the backing paper from the service heat element.
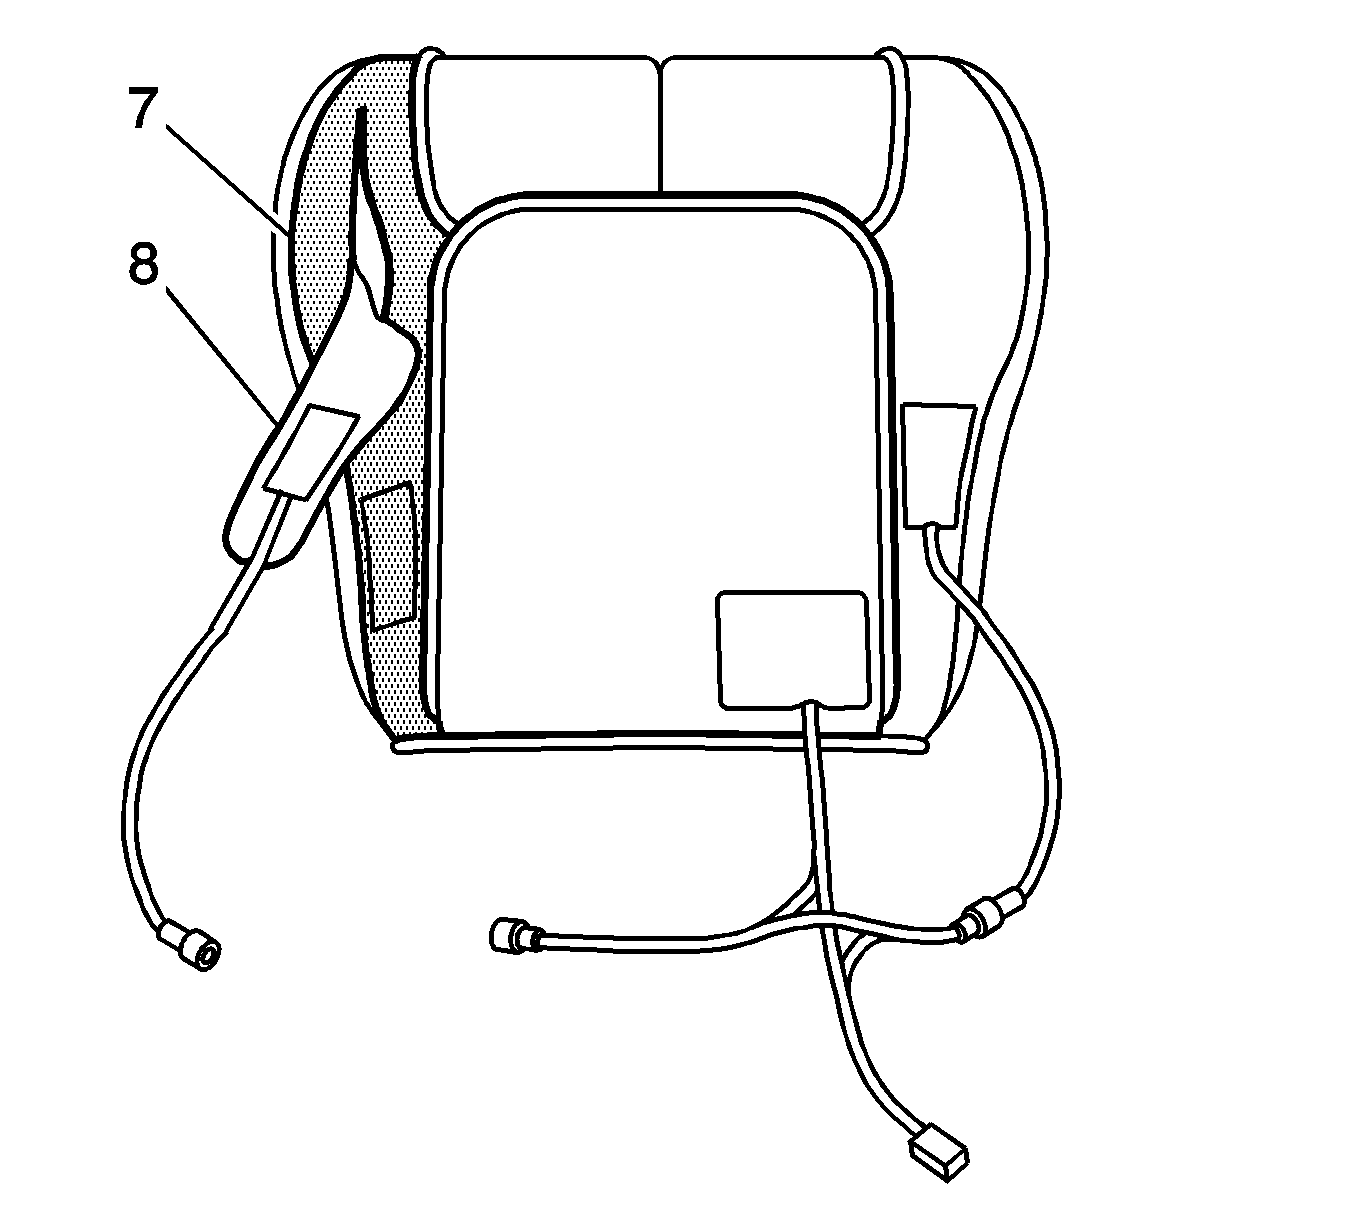
- Insert the inner or the outer heat element (8) with the backing paper side up, between the trim cover material and the factory heat element material (7).
- Ensure that the service heat element is lying flat, tucked into each corner and extends to each side.
- Carefully remove the backing paper from the service heat element.
- Use 3M® Highland Cloth Duct Tape, P/N 06969 or equivalent to cover the opening.
- On trim covers with three heat elements, connect the inner and the outer heat element 2-way white connectors to the center heat element harness.
- Install the seat trim cover. Refer to Front Seat Cushion Cover Replacement .
- Assemble the seat assembly.
- Place the seat assembly inside the vehicle. Do NOT install the seat at this time.
- Verify that the seat heat function is operational.
- Complete the seat assembly installation. Refer to Front Seat Replacement - Bucket .
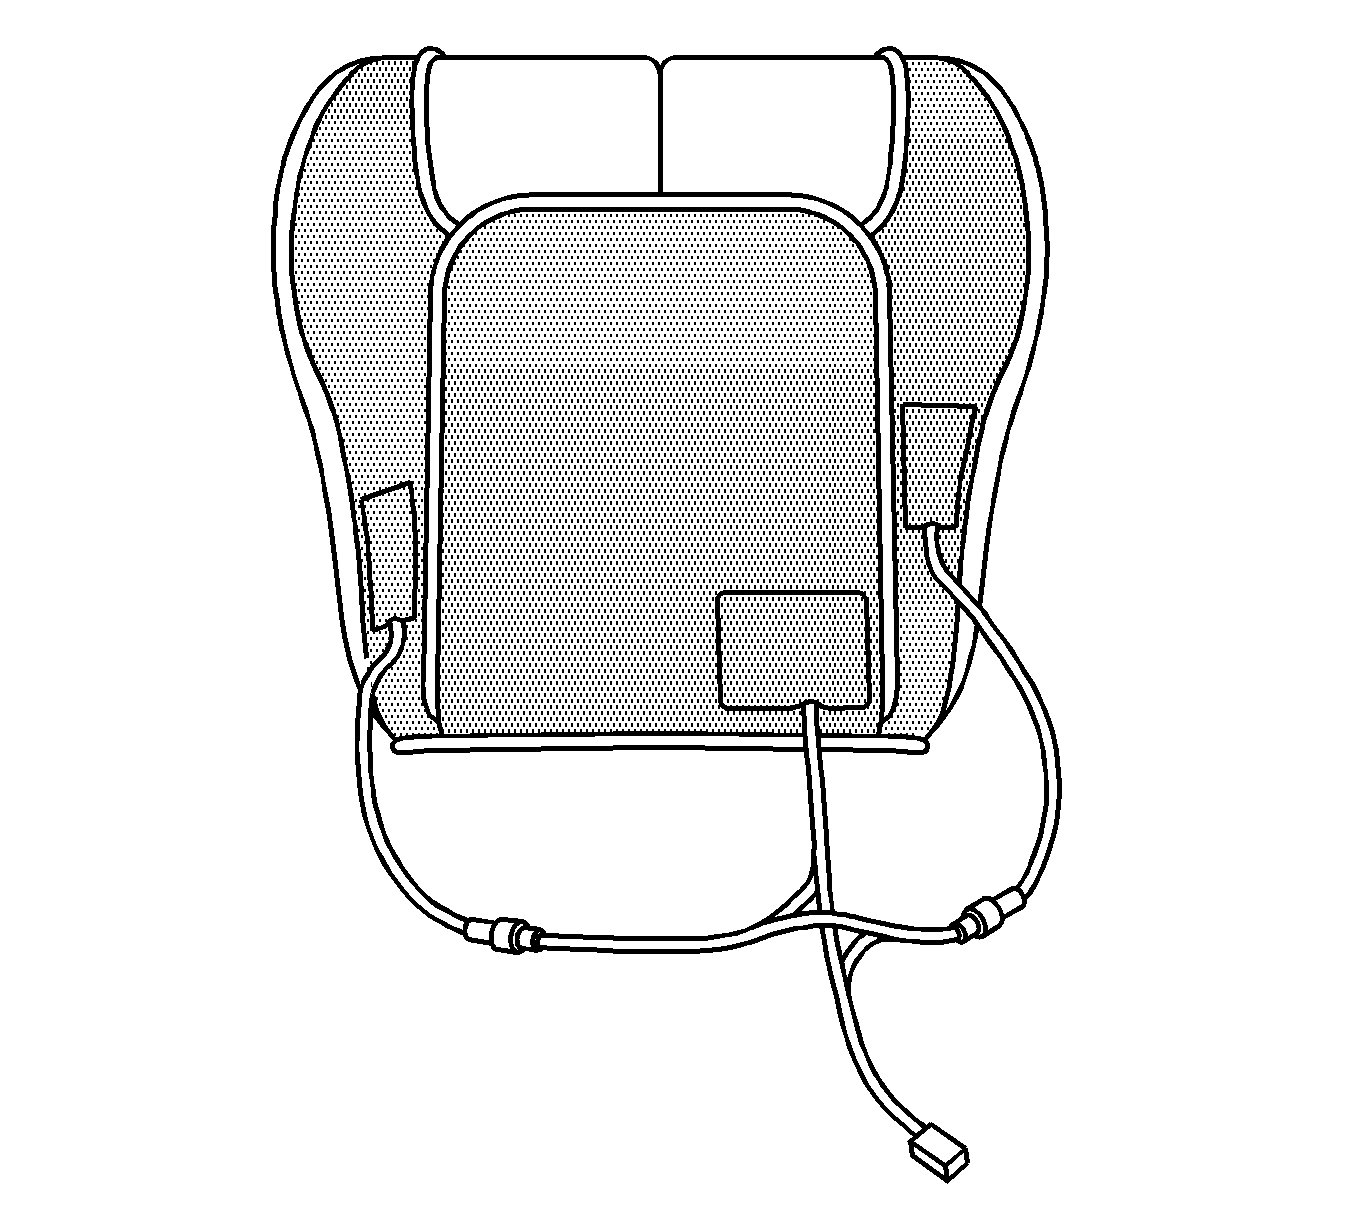
Important: Do NOT attempt to remove the factory heat elements from the seat trim cover. Install the service heat element between the existing factory heat element and the seat trim cover.
Important: Do NOT begin the cut with a jab or a poke.
| • | Insert your fingers through the hole and lift the center heat element material (1) away from the trim cover material. |
| • | Use scissors or a razor blade to cut the center heat element material along the entire length of the seam (2) from corner to corner. |
| • | Insert your fingers through the hole and lift the center heat element material (1) away from the trim cover material. |
| • | Use scissors or a razor blade to create an opening (4) of length 20-25 cm (8-10 in) in the middle of the factory heat element. |
