For 1990-2009 cars only
Removal Procedure
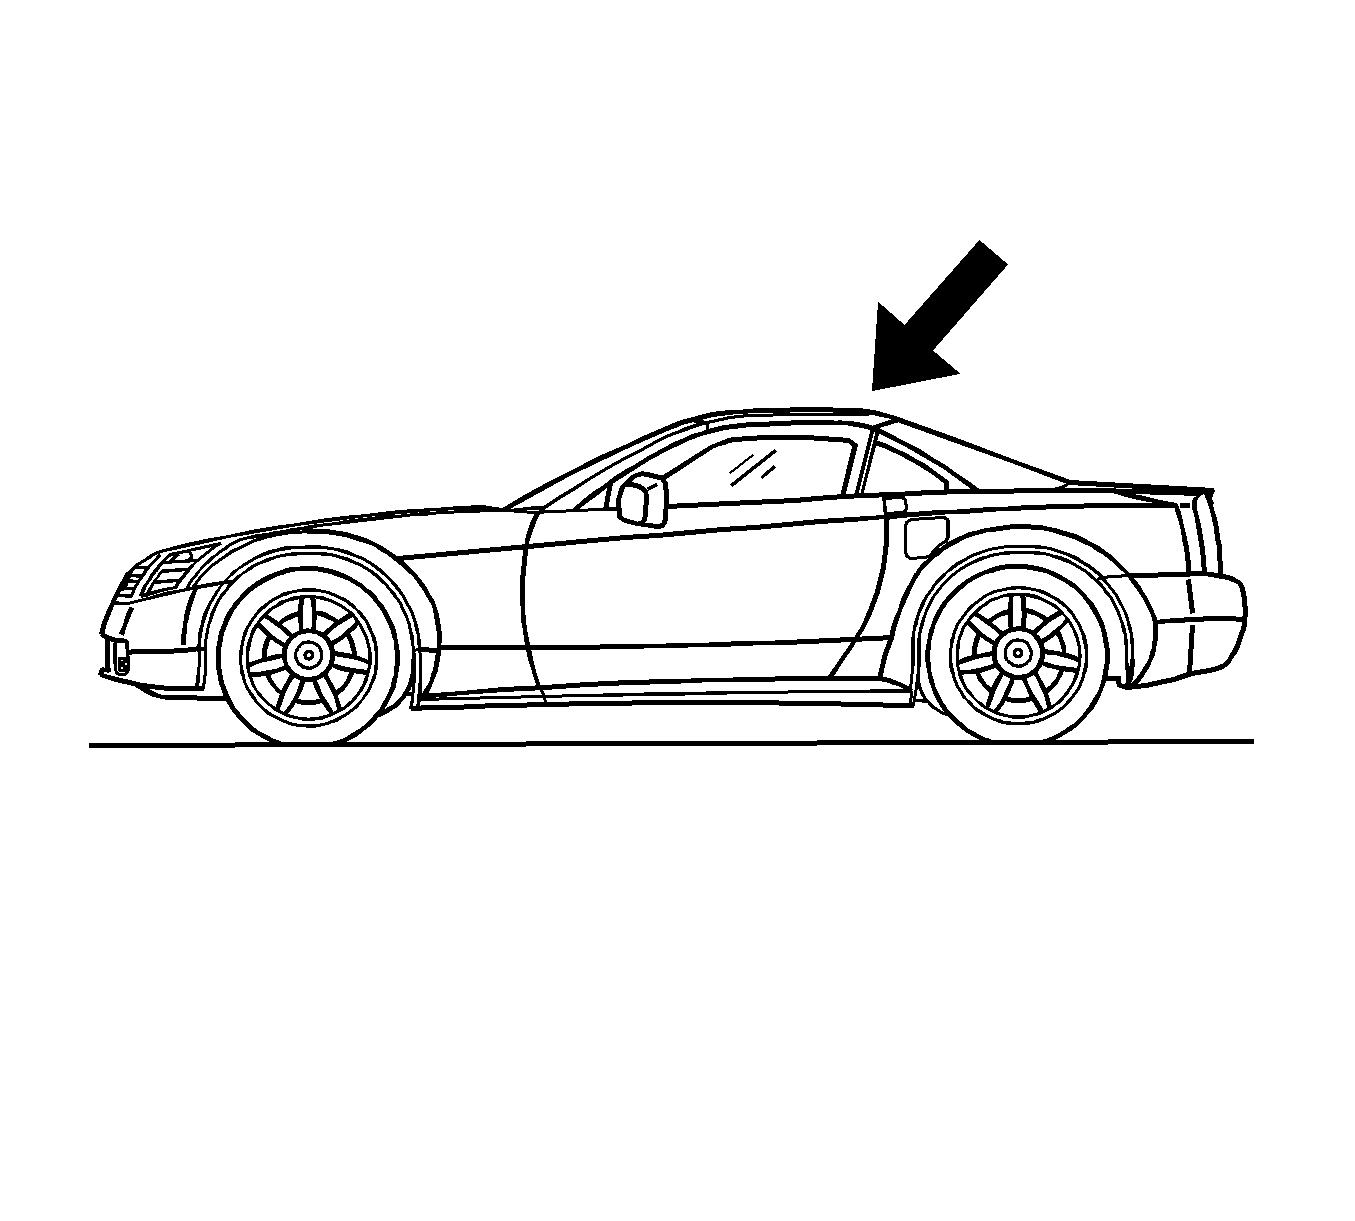
- Place the folding top in the up position.
- Open the rear compartment.
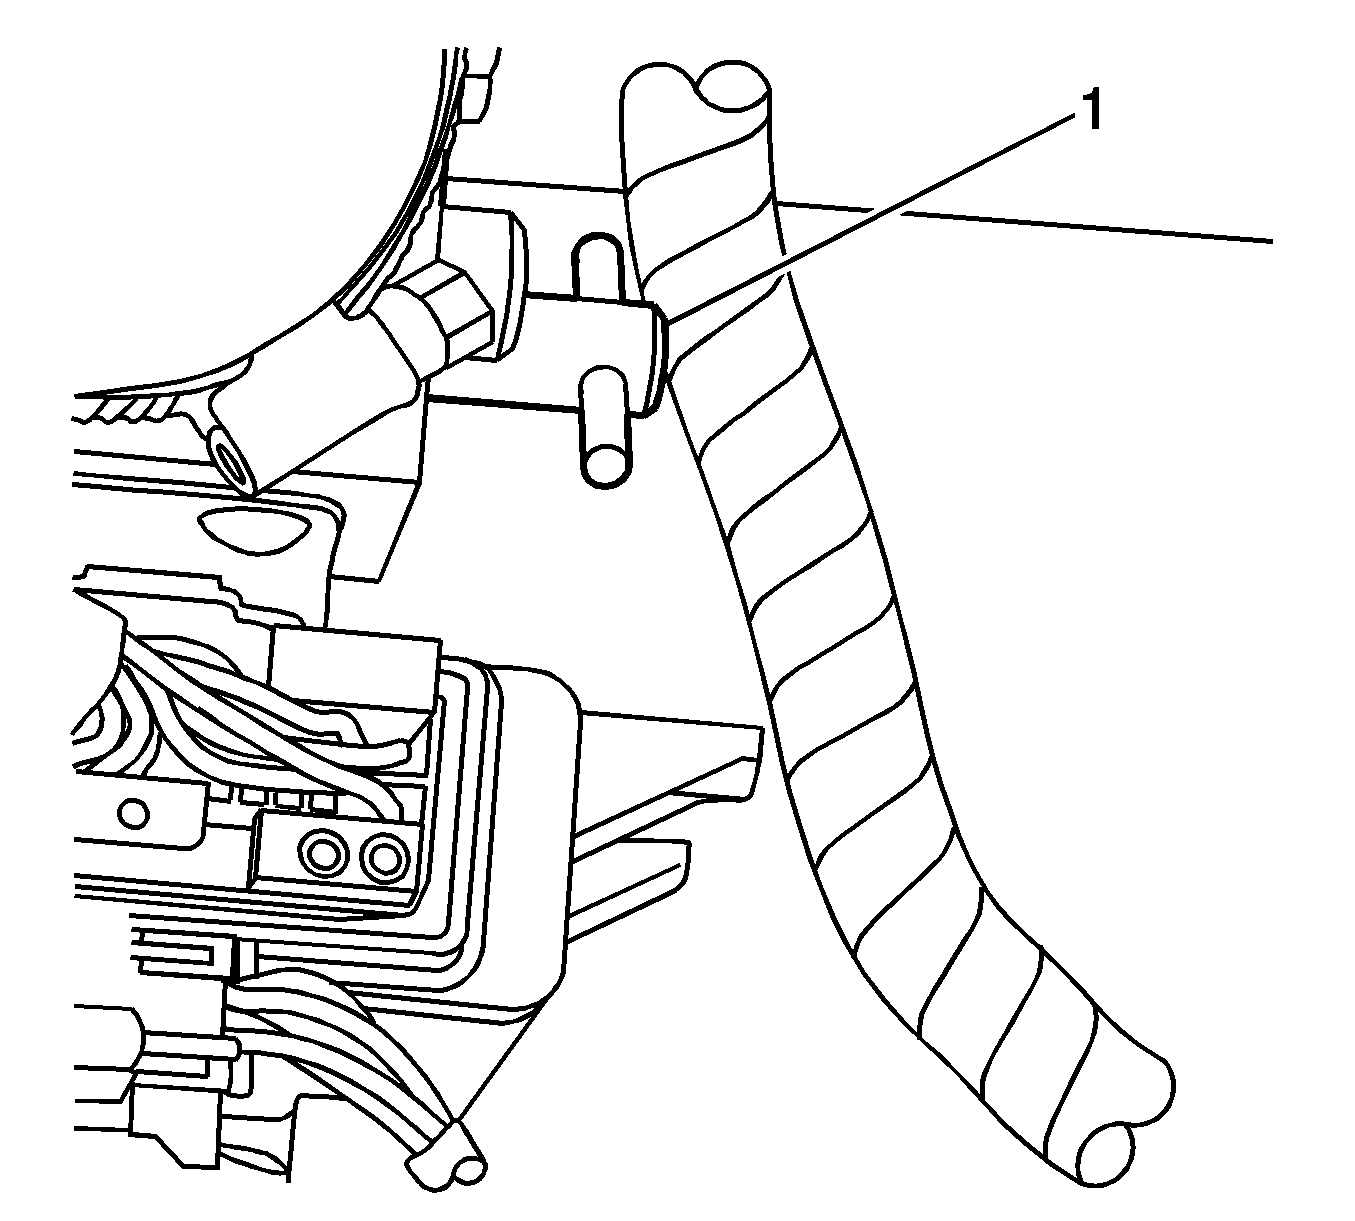
- Locate the hydraulic pump beneath the carpet in the storage compartment on the driver side of the rear compartment.
- Turn the pump bypass valve (1) counterclockwise until the valve stops turning.
- Place a protective covering over the interior and the adjacent body panels.
- Remove the rear compartment lid trim. Refer to Rear Compartment Lid Inner Panel Trim Replacement in Body Rear End.
- Remove the antenna ground plate. Refer to Antenna Ground Plate Replacement in Entertainment.
- Remove the wire harness from the rear compartment lid.
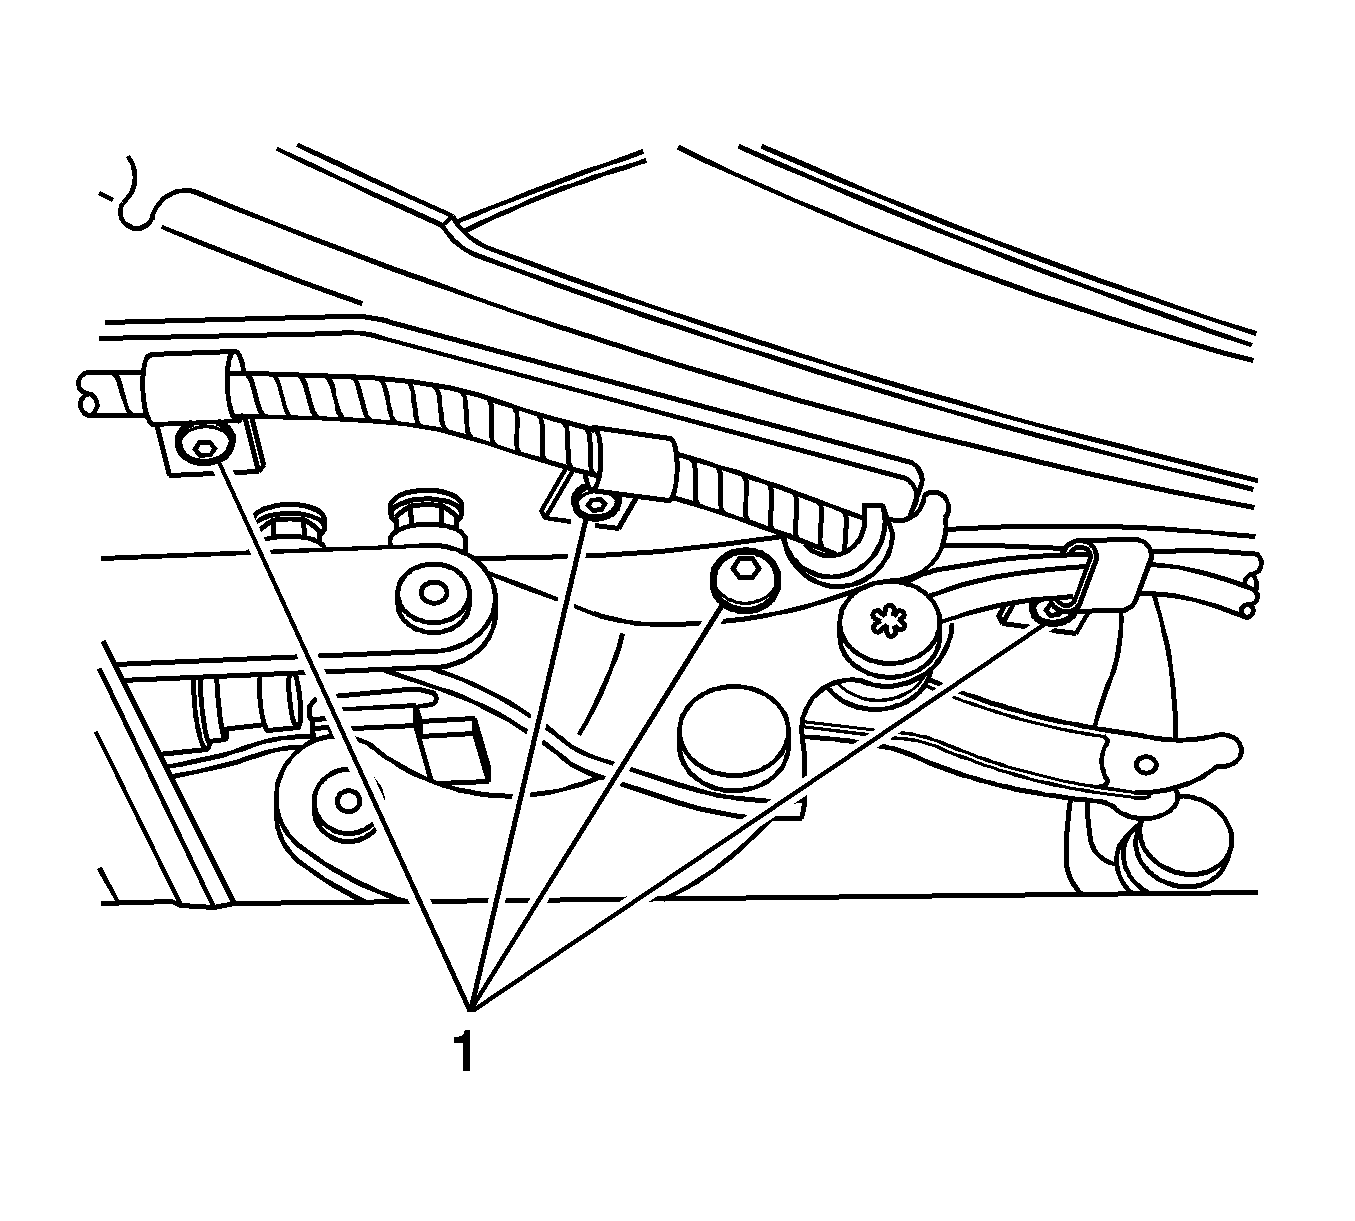
- Remove the P-clips (1) from the hydraulic and the electrical lines.
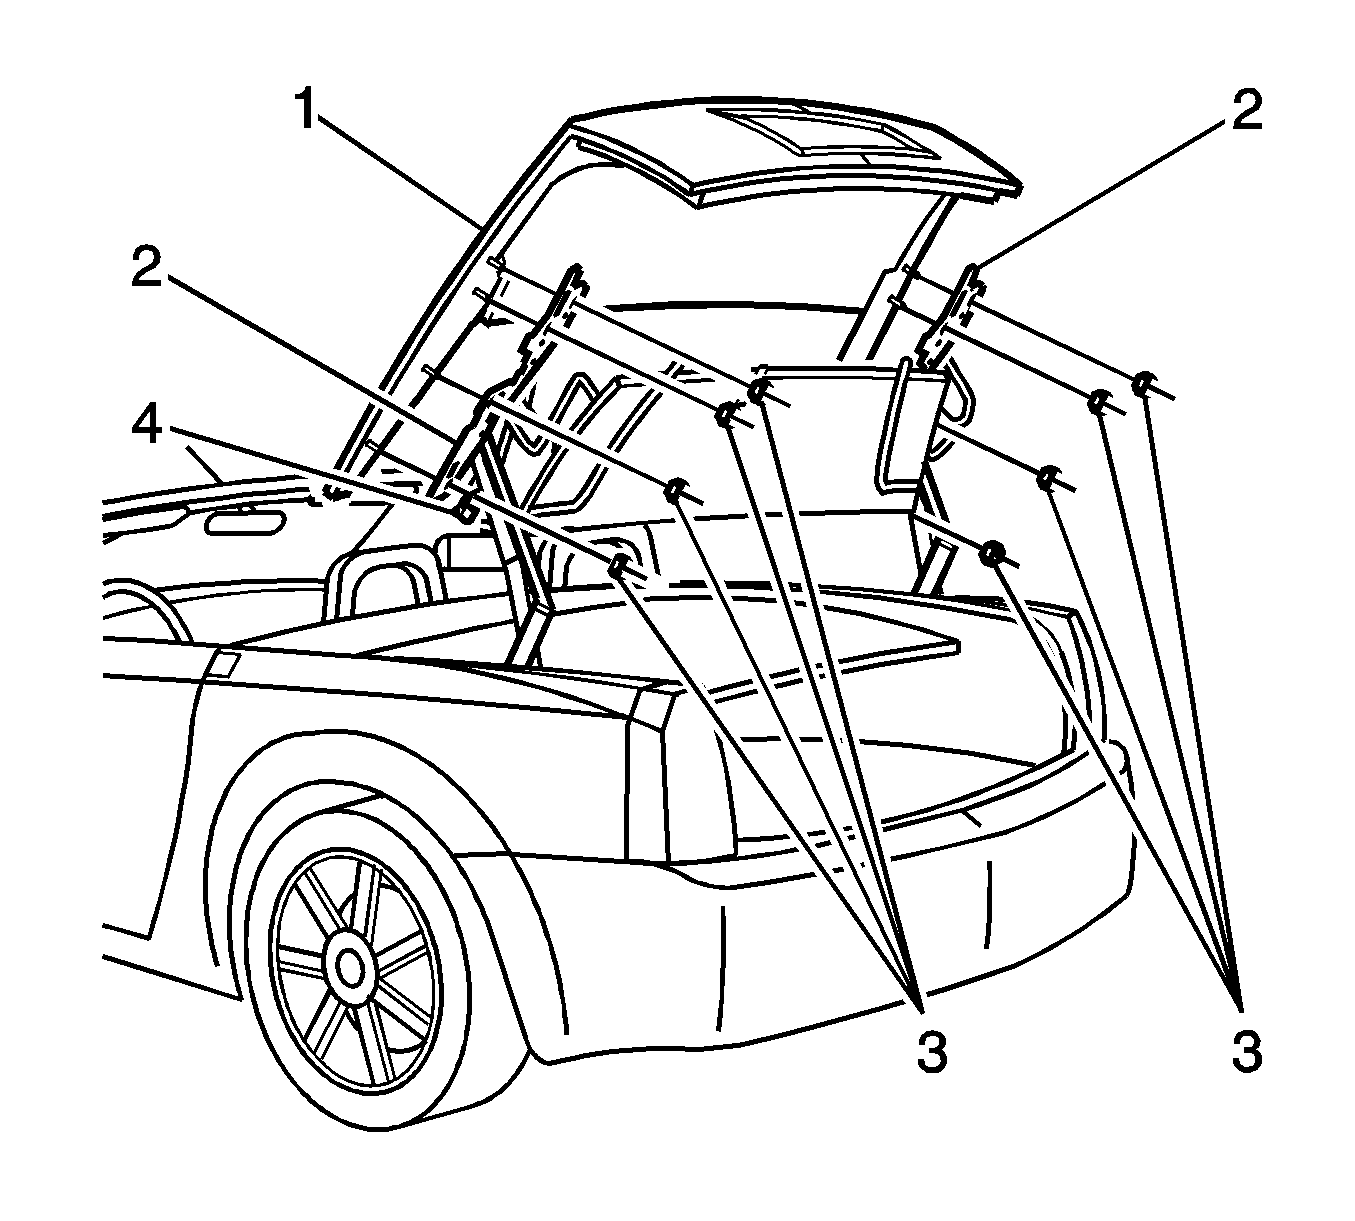
- Using a grease pencil, mark the location of the nuts to the rear compartment lid link.
- With the aid of an assistant, remove the nuts (3) from the rear compartment lid (1). Remove the lid from the vehicle.


Disassembly Procedure
- Remove the overslam bumpers from the rear compartment lid.
- Remove the lid striker.
- Remove the backup lamp. Refer to Backup Lamp Replacement in Lighting Systems.
- Remove the license lamp. Refer to Rear License Lamp Replacement in Lighting Systems.
- Remove the high mounted stop lamp. Refer to High Mount Stop Lamp Replacement in Lighting Systems.
Assembly Procedure
- Install the high mounted stop lamp. Refer to High Mount Stop Lamp Replacement in Lighting Systems.
- Install the license lamp. Refer to Rear License Lamp Replacement in Lighting Systems.
- Install the backup lamp. Refer to Backup Lamp Replacement in Lighting Systems.
- Install the lid striker.
- Install the overslam bumpers to the rear compartment lid.
Installation Procedure
- With the aid of an assistant, position the rear compartment lid (1) to the vehicle. Hand start the lid nuts (3).
- Apply LOCTITE™ Blue, GM P/N 12345382 (Canadian P/N 10953489) or equivalent to the bolts.
- Align the nuts (3) to the marks on the compartment lid link.
- Install the wire harness to the rear compartment lid.
- Install the antenna ground plate. Refer to Antenna Ground Plate Replacement in Entertainment.
- Install the P-clips (1) to the hydraulic and the electrical lines.
- Remove the protective covering.
- Turn the pump bypass valve (1) clockwise until the valve stops.
- Install the support and the carpet over the hydraulic pump.
- Close the rear compartment.
- Verify that the lid is aligned properly. Refer to Folding Top Clearance Gap Specifications .
- If required, adjust the rear compartment lid. Refer to Folding Top Stowage Compartment Lid Adjustment .
- Inspect the folding top for proper operation. Refer to Power Folding Top Description and Operation .
- Install the trim panel to the rear compartment lid. Refer to Rear Compartment Lid Inner Panel Trim Replacement in Body Rear End.

Notice: Refer to Fastener Notice in the Preface section.
Tighten
Tighten the nuts to 11 N·m (97 lb in).


