- Install the connecting rod bearings.
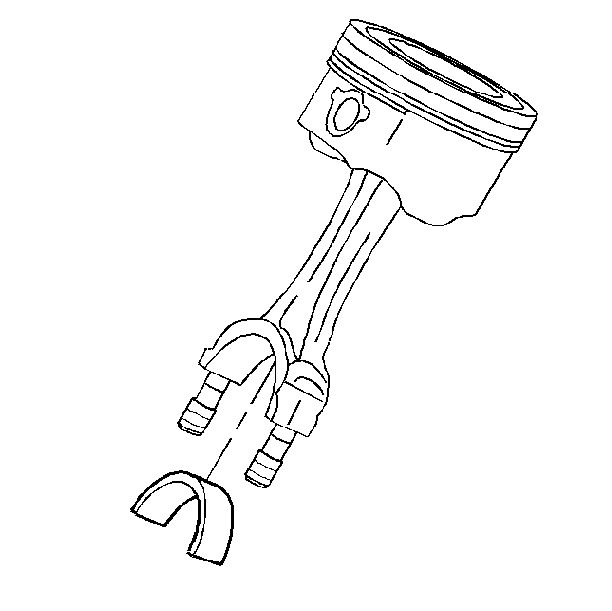
| • | Make sure the bearing inserts are the proper size. |
| • | Install the bearing inserts in the connecting rod and the connecting
rod cap. |
| • | Lubricate the bearings with engine. |
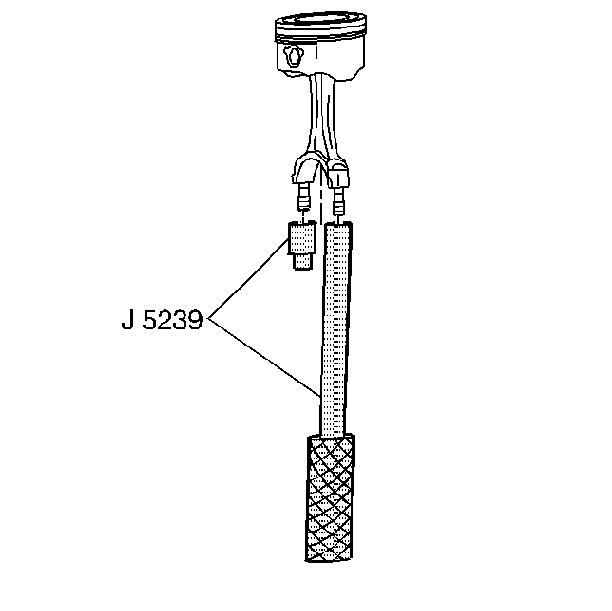
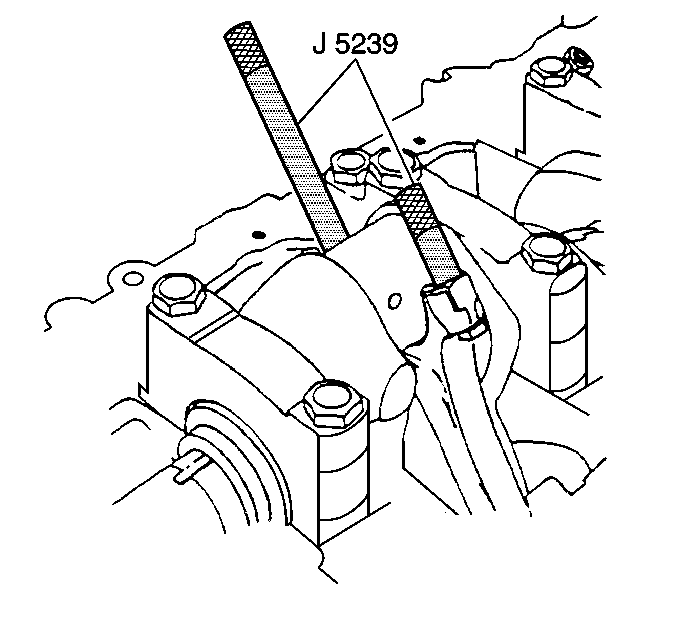
- With the connecting rod cap removed, install
the J 5239
onto the connecting
rod bolts.
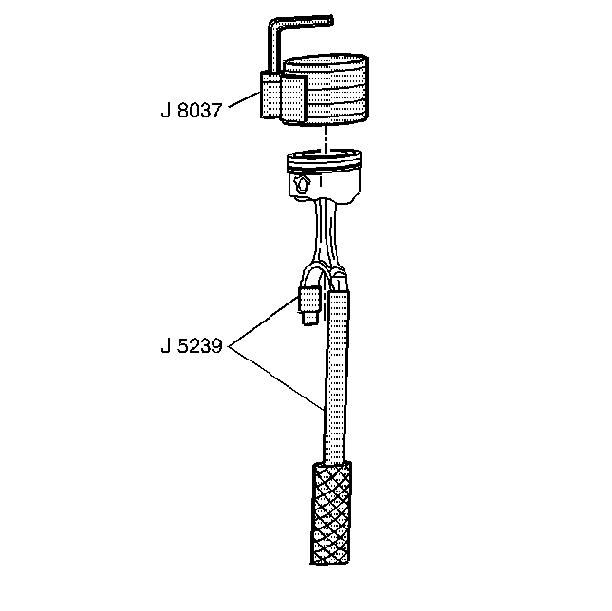
- Locate the piston ring end gaps.
- Lubricate the piston and the rings with engine oil.
- Without disturbing the ring end gap location, install the J 8037
over the piston.
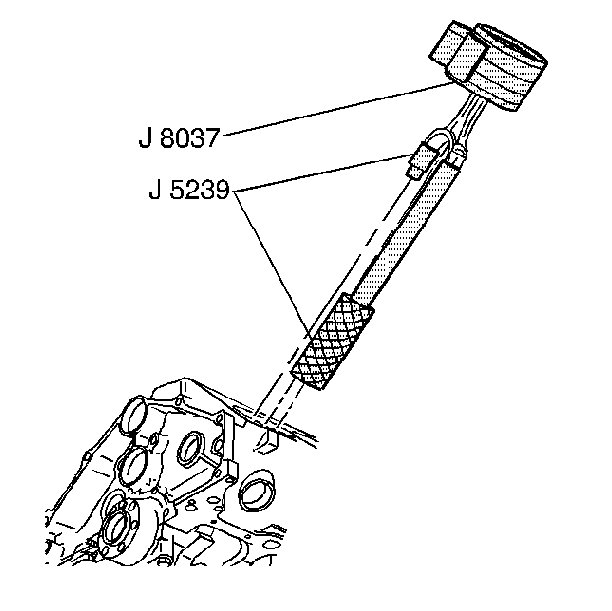
Important: Mark each connecting rod and bearing cap, beginning at the front of
the engine. Cylinders 1, 3, and 5 are on the left bank and 2, 4, and 6 are
on the right bank. The numbers on the connecting rod and bearing cap must
be on the same side when installed in the cylinder bore. If a connecting rod
is ever transposed from one block or cylinder to another, fit new connecting
rod bearings. Number the connecting rod to correspond with the new cylinder
number.
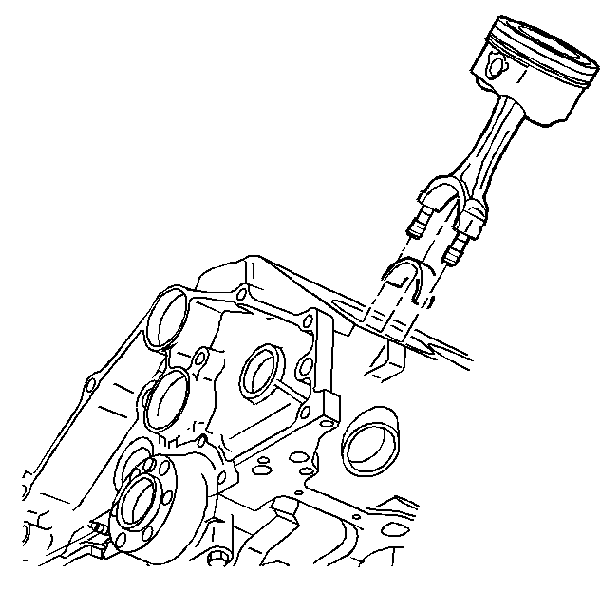
- Install the piston so that the notch in the piston faces the front of
the engine.
- Place the piston in its matching bore. The connecting rod bearing
tang slots must be on the side opposite the camshaft.
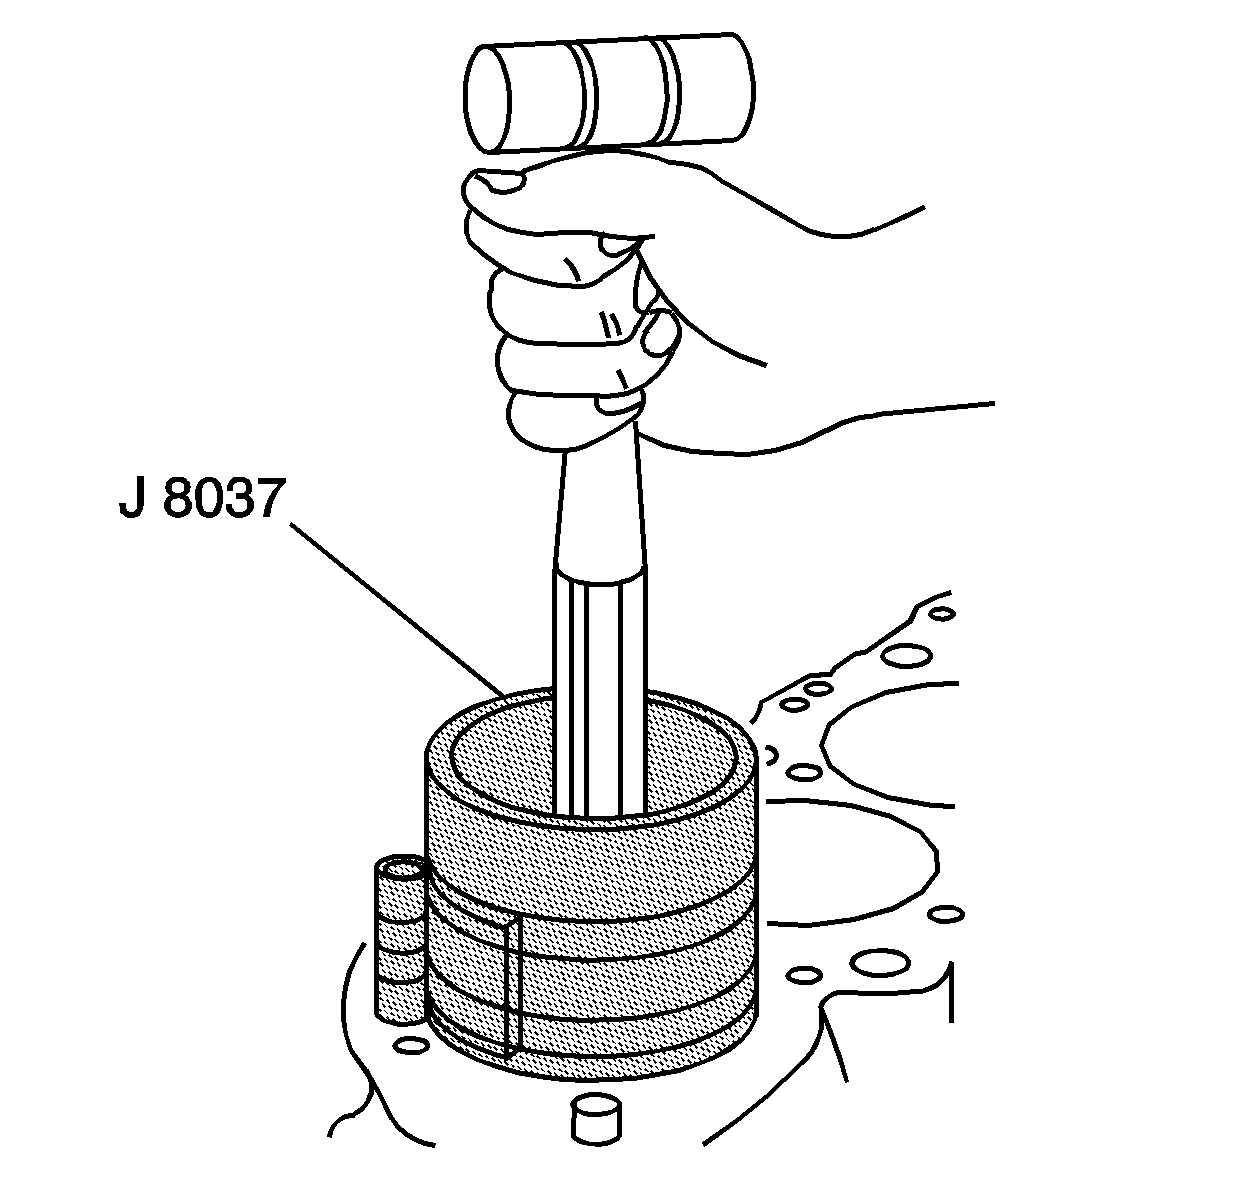
- Using light blows with a hammer handle,
tap the piston down into its bore. At the time, from beneath the vehicle,
guide the connecting rod to the crankshaft with the J 5239
.
- Hold the ring compressor against the block until all rings have
entered the cylinder bore.
- Remove the J 5239
from the connecting rod bolts.
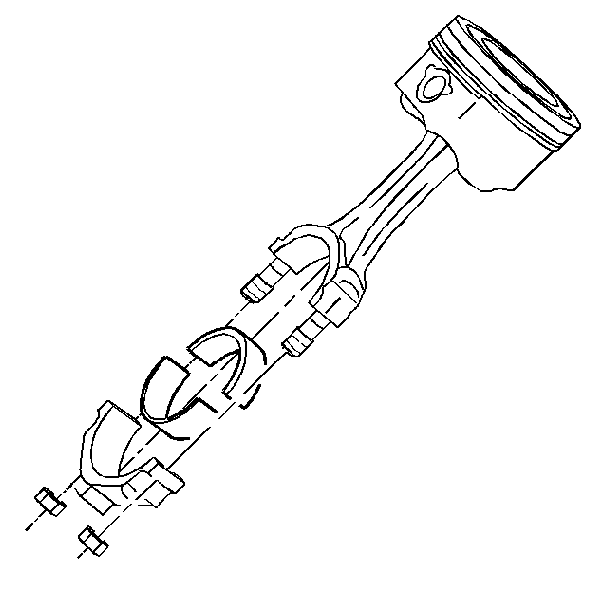
- Adjust connecting rod bearing clearance.
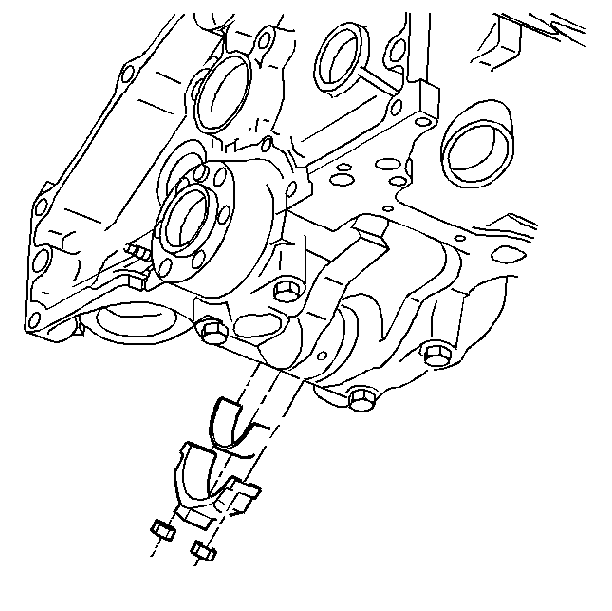
- Install the connecting rod cap and the
bearing.
- Install the connecting rod bolt nuts.
Tighten
| • | Tighten the connecting rod bolt nuts to 27 N·m (20 lb ft). |
| • | Tighten the connecting rod bolts nuts an additional 70 degrees
using the J 36660-A
. |
Notice: Use the correct fastener in the correct location. Replacement fasteners
must be the correct part number for that application. Fasteners requiring
replacement or fasteners requiring the use of thread locking compound or sealant
are identified in the service procedure. Do not use paints, lubricants, or
corrosion inhibitors on fasteners or fastener joint surfaces unless specified.
These coatings affect fastener torque and joint clamping force and may damage
the fastener. Use the correct tightening sequence and specifications when
installing fasteners in order to avoid damage to parts and systems.
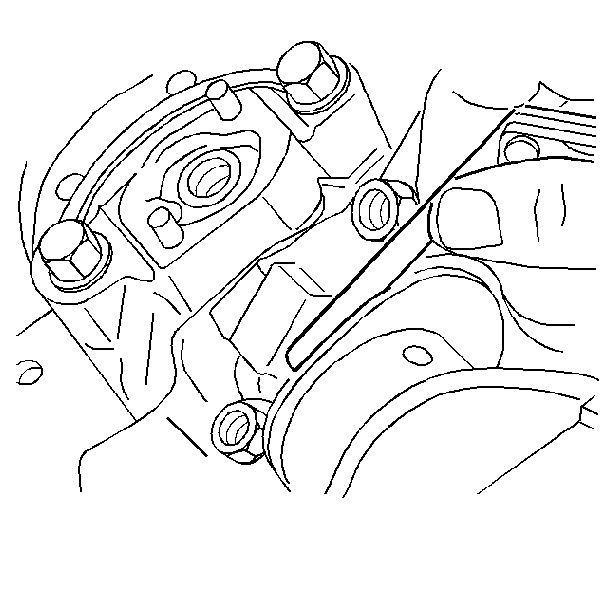
- Measure the connecting rod side clearance.
- Install the oil pump (if removed). Refer to
Oil Pump Replacement
.
- Install the oil pan. Refer to
Oil Pan Replacement
- Install the cylinder head. Refer to
Cylinder Head Replacement
.

