For 1990-2009 cars only
Removal Procedure
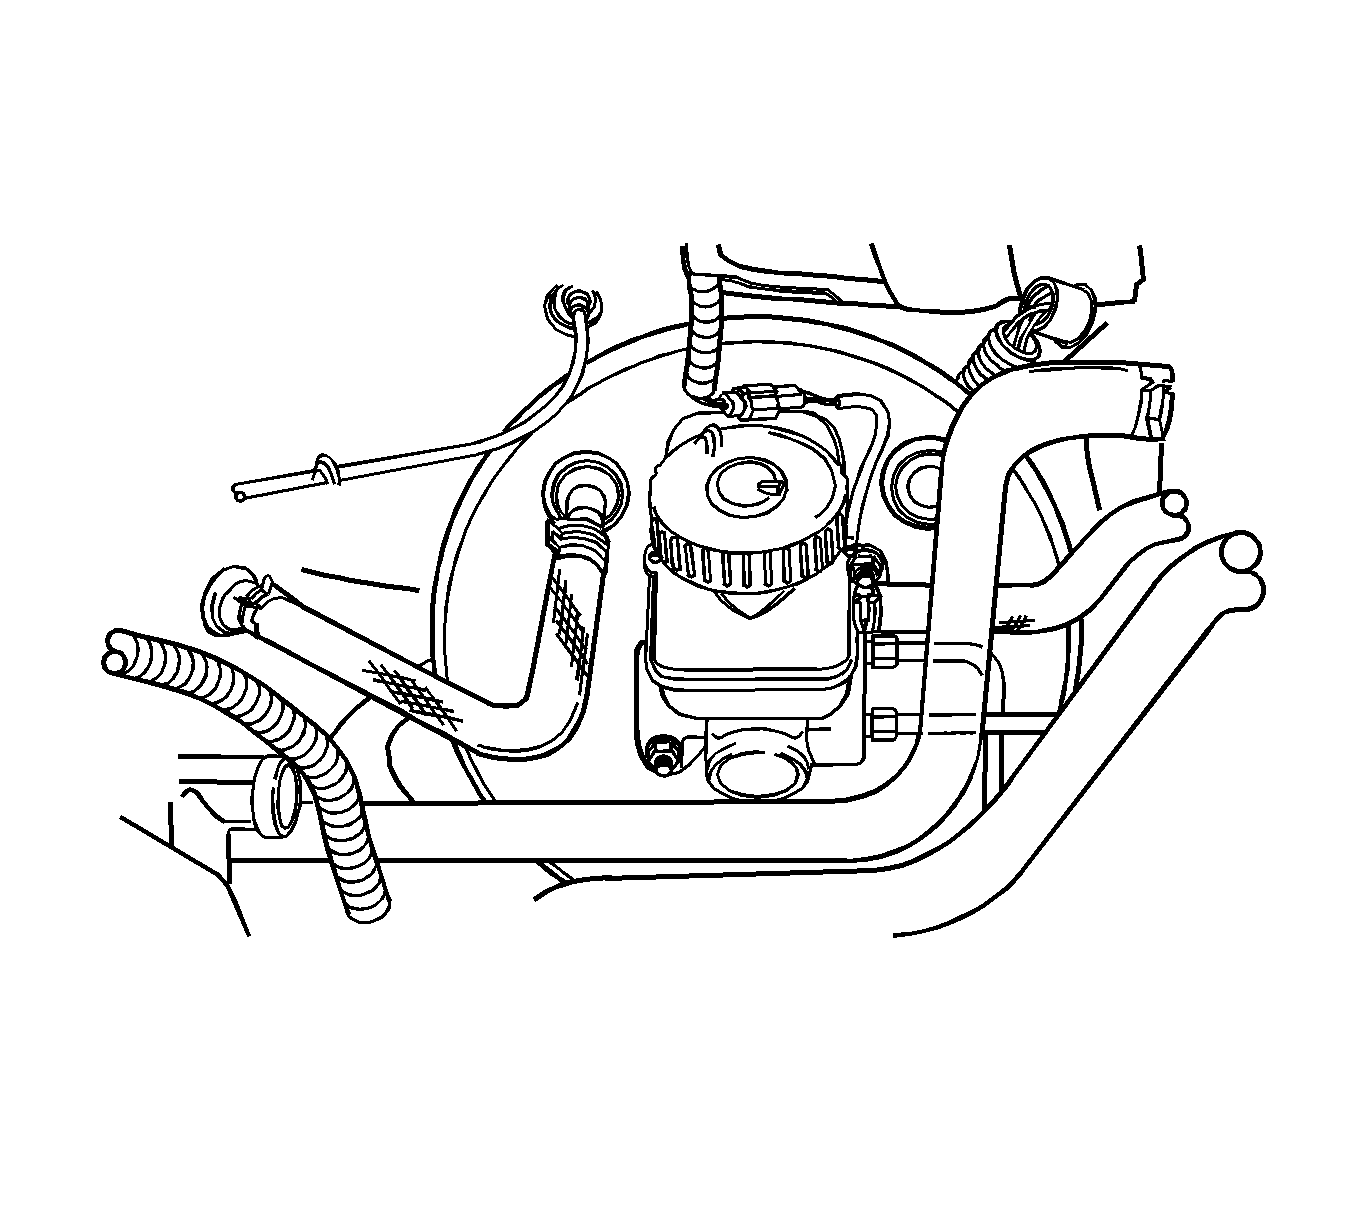
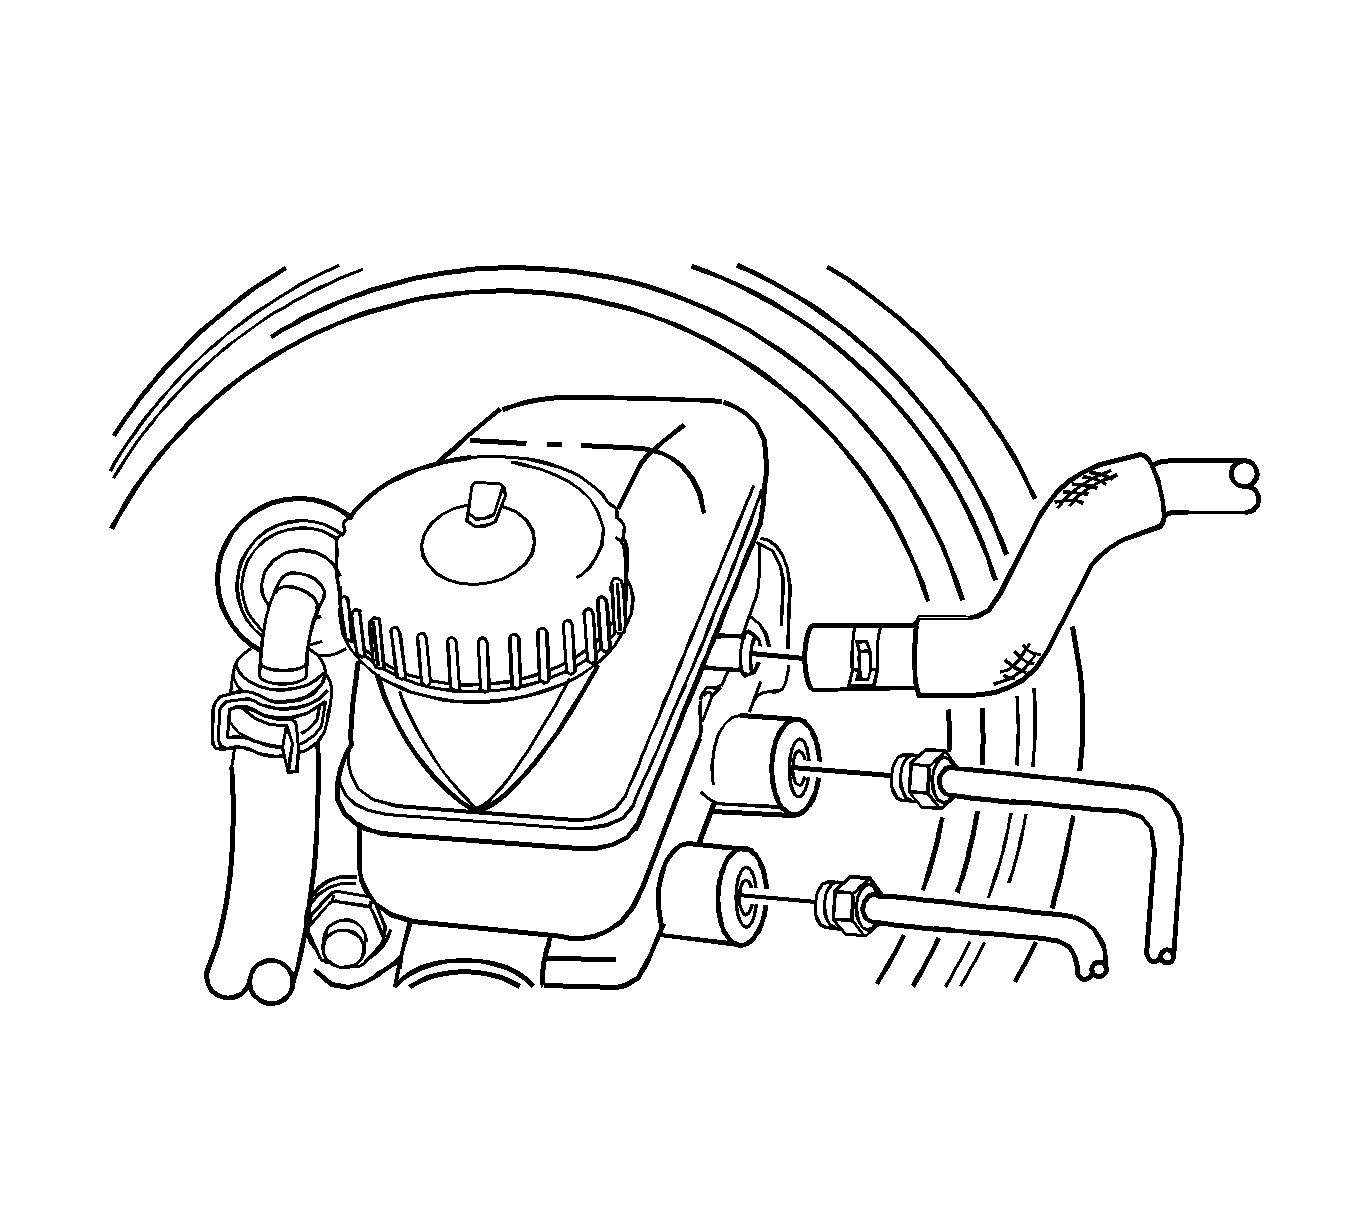
- Disconnect the electrical connector from the reservoir.
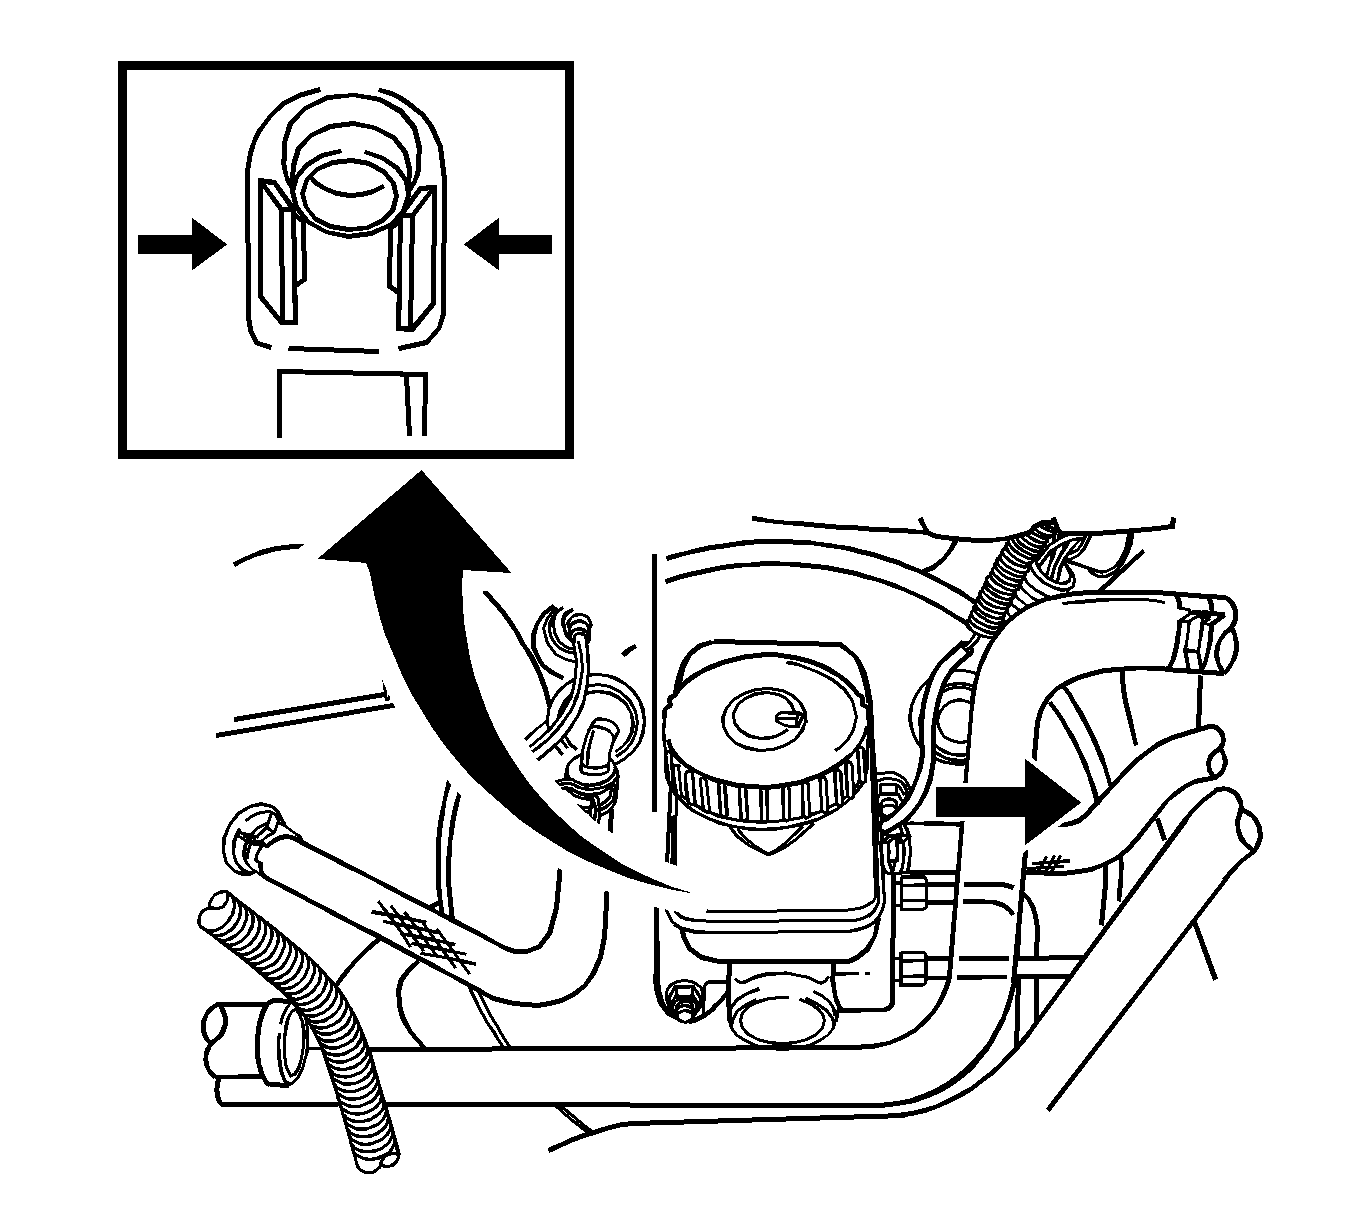
- For vehicles with a manual transaxle, disconnect the clip on the clutch hose connection to the master cylinder.
- Plug the clutch hose and the master cylinder so that the fluid does not escape.
- Remove the master cylinder attaching nuts.
- Push the master cylinder forward slightly and move it out of the way. Do not disconnect the brake lines.
- Remove and discard the booster housing seal.
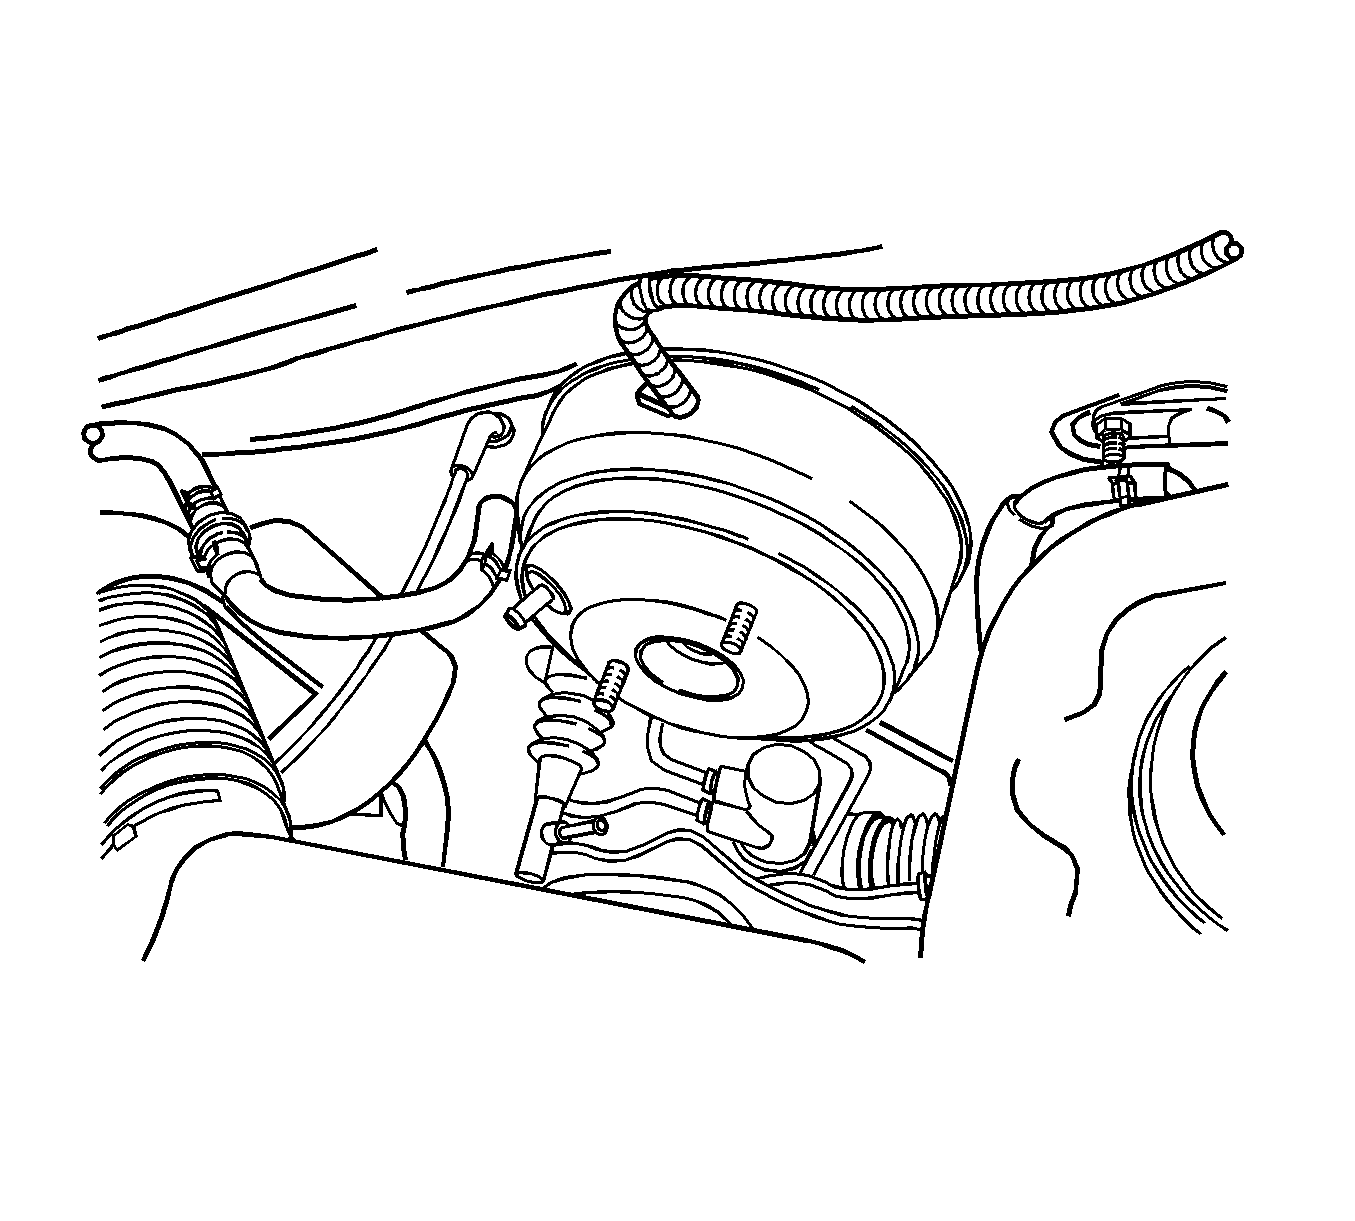
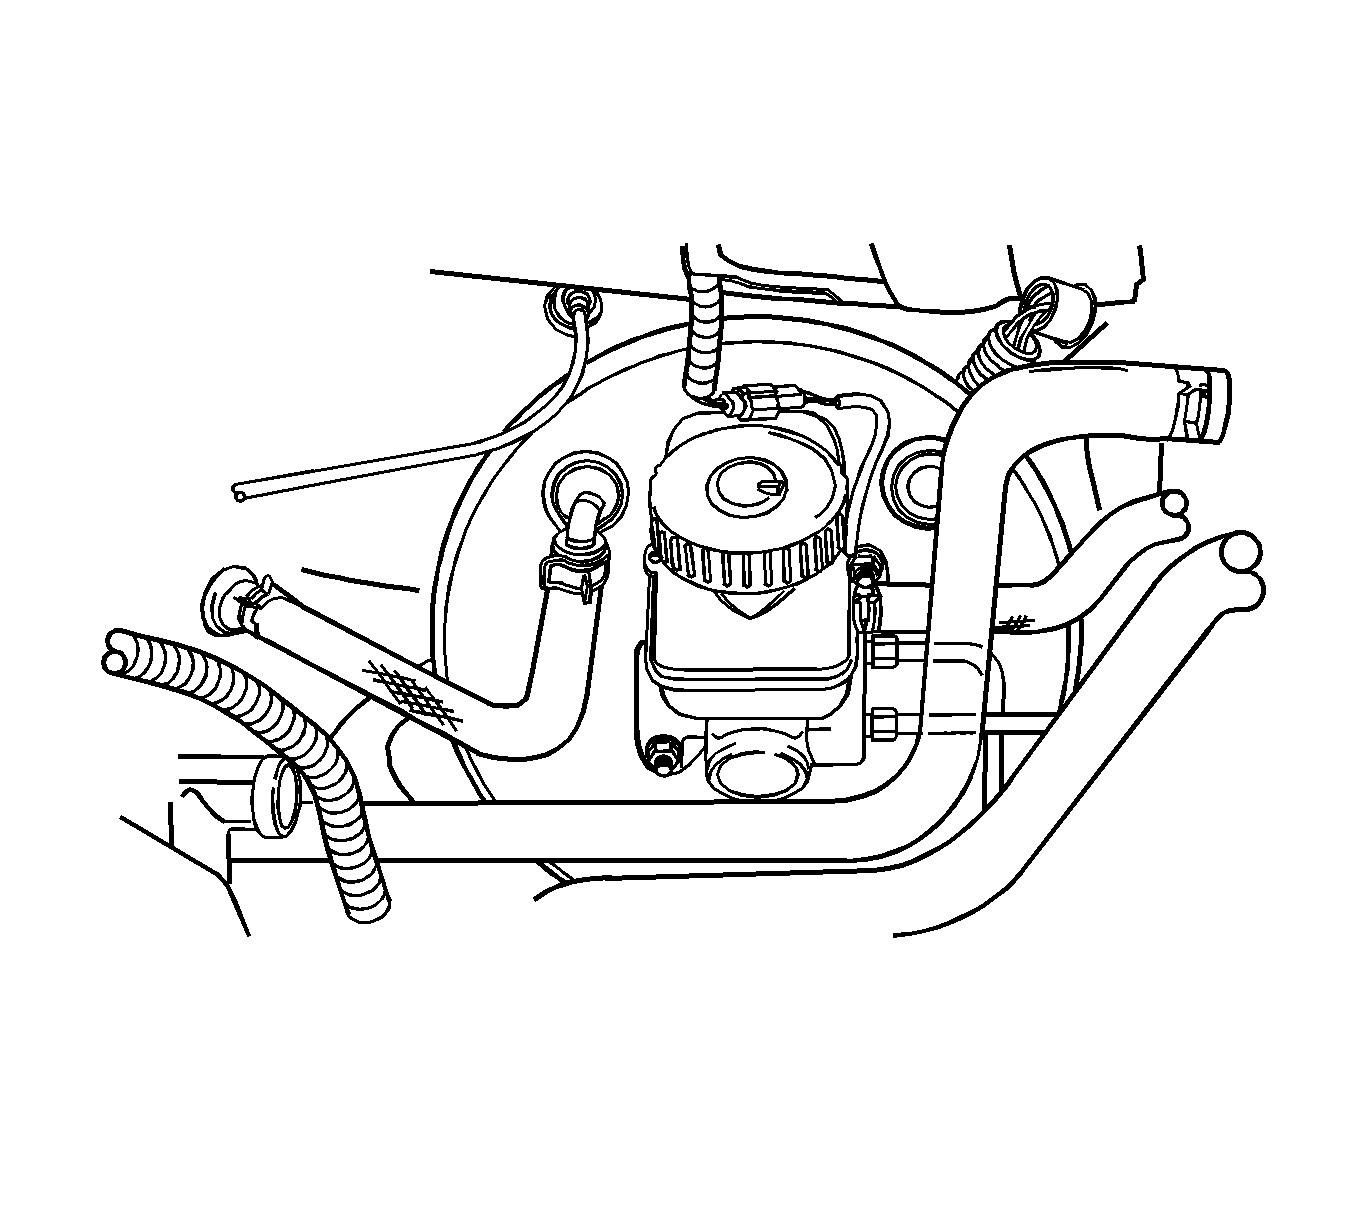
- Remove the clip on the vacuum hose connection to the booster, DOHC engine connection shown.
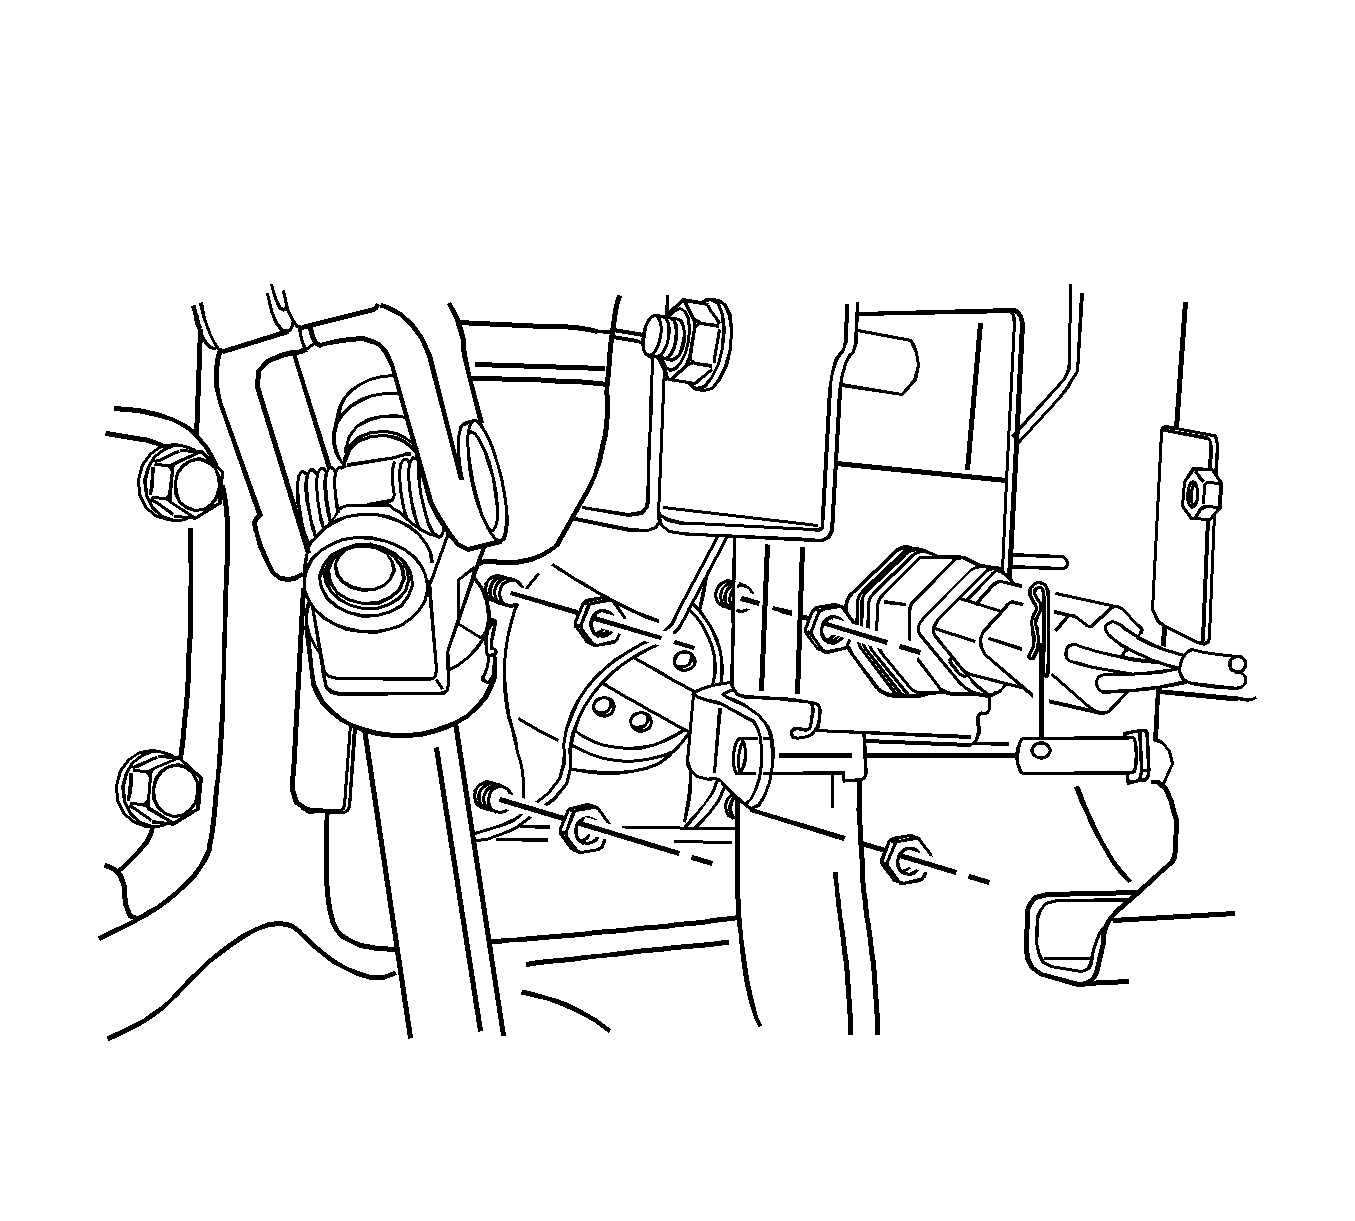
- Disconnect the brake lamp switch.
- Remove the brake pedal spring.
- Disconnect the clip and the pushrod pin from the pedal bracket assembly. Refer to Brake Pedal Assembly Replacement .
- Remove the booster and the support bracket-to-dash panel nuts.
- Remove the booster and the bracket assembly from the dash panel.
- Remove the bracket nuts from the booster and remove the booster.
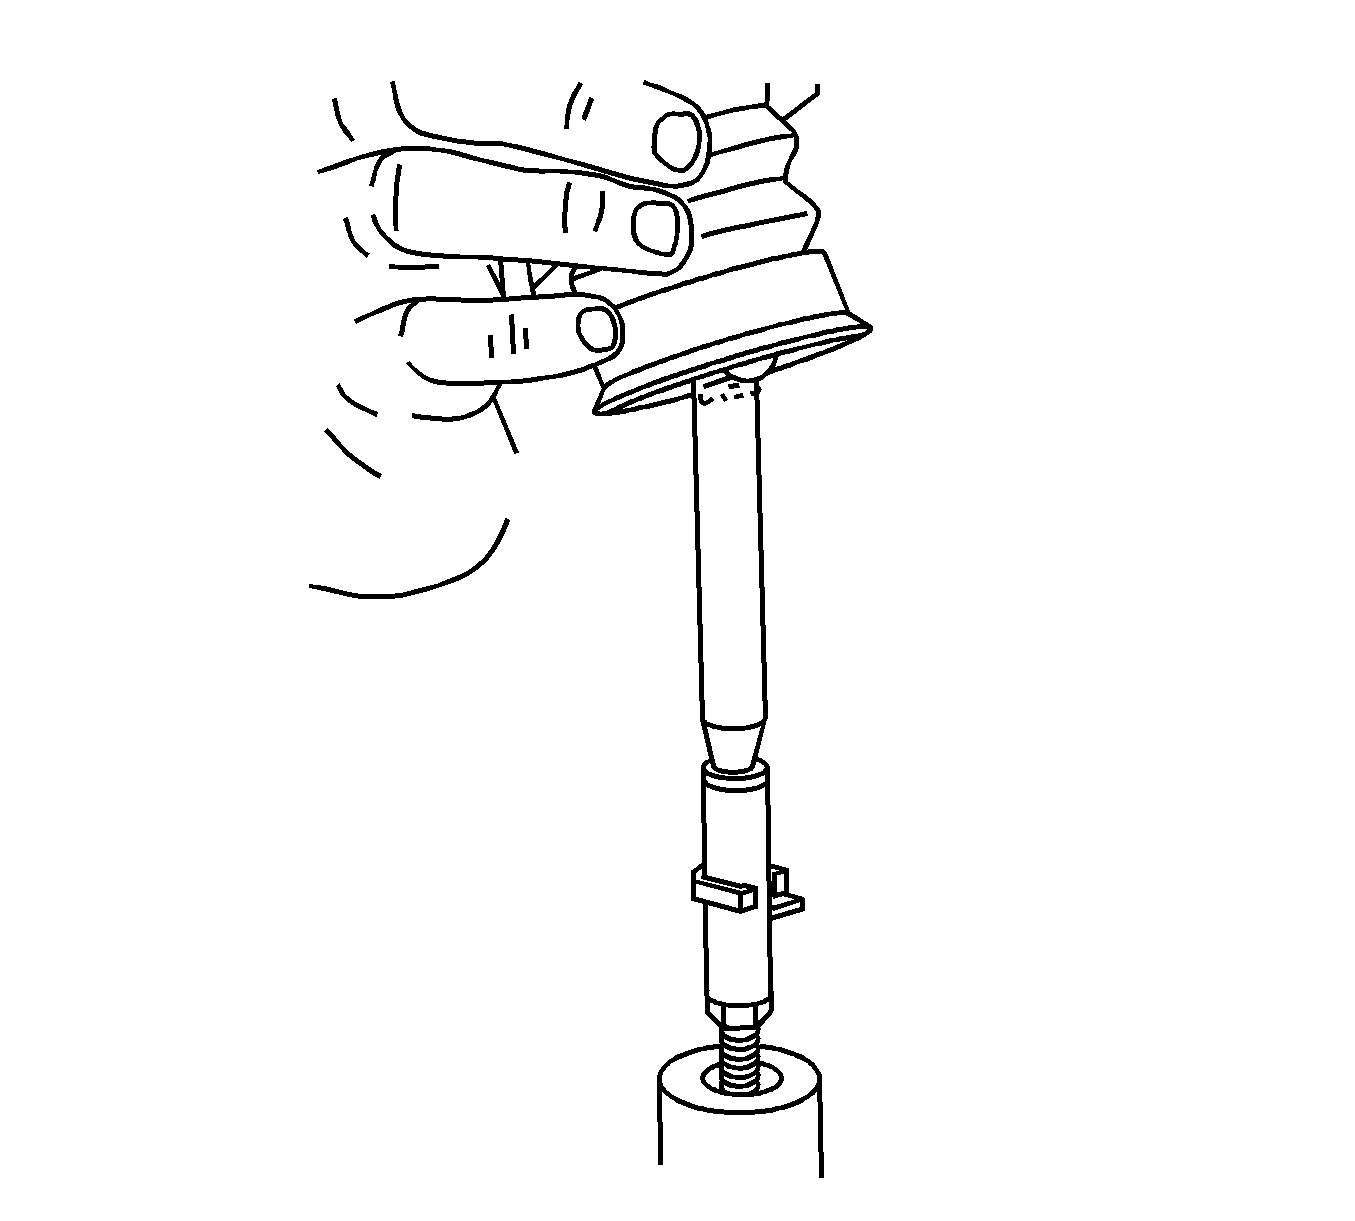
- Remove the rubber boot and the retainer.
- Remove the pushrod.
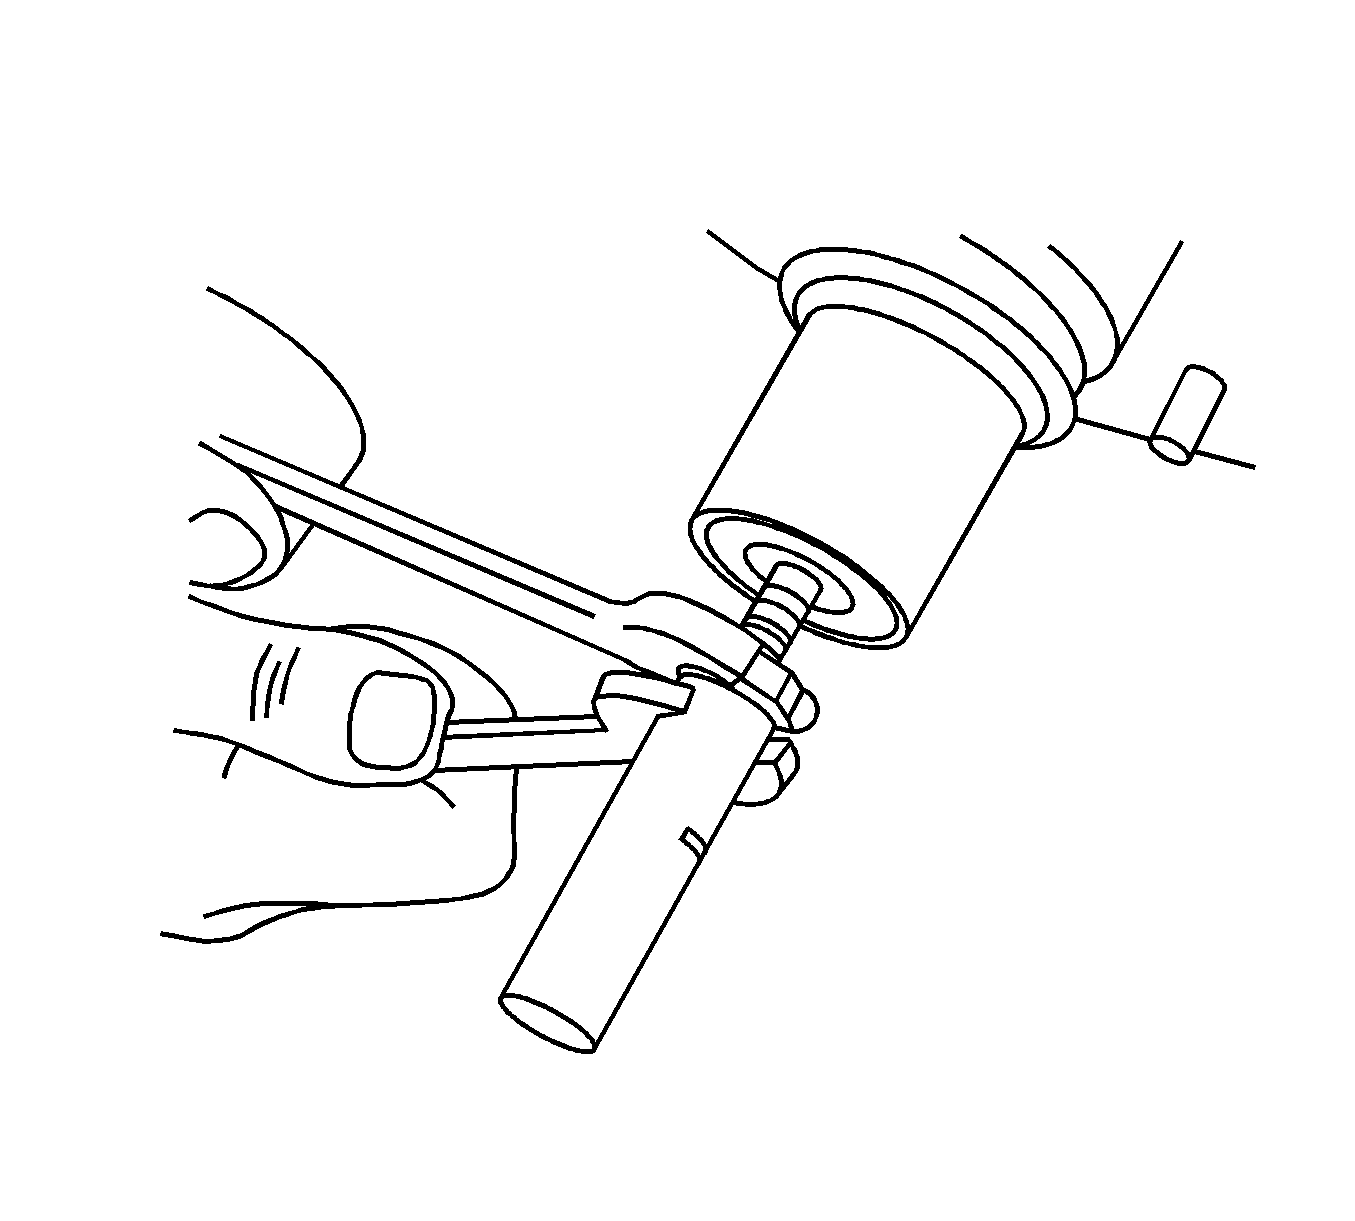
- Remove the adjustment sleeve from the pushrod.
- Remove the hex nut.

Installation Procedure
- Inspect the pushrod and the adjustment sleeve for damage and proper fit.
- Install the hex nut and the adjustment sleeve on the booster.
- Insert the pushrod in the adjustment sleeve and mount the retainer.
- Measure the distance from the booster to the center of the fork bin bore.
- Install the rubber boot on the booster.
- Install the brackets to the booster.
- Install the booster and the bracket assembly to the dash panel.
- Connect the master cylinder to the booster and install a new booster housing seal.
- Install the new vacuum hose to the booster, DOHC engine connection shown. Refer to Vacuum Brake Booster Check Valve and/or Hose Replacement .
- Install new hose clamps on the vacuum hose.
- Install the pushrod pin to the brake pedal bracket assembly and connect the clip and the spring. Refer to Brake Pedal Assembly Replacement .
- Install the brake lamp switch.
Notice: Refer to Brake Fluid Effects on Paint and Electrical Components Notice in the Preface section.
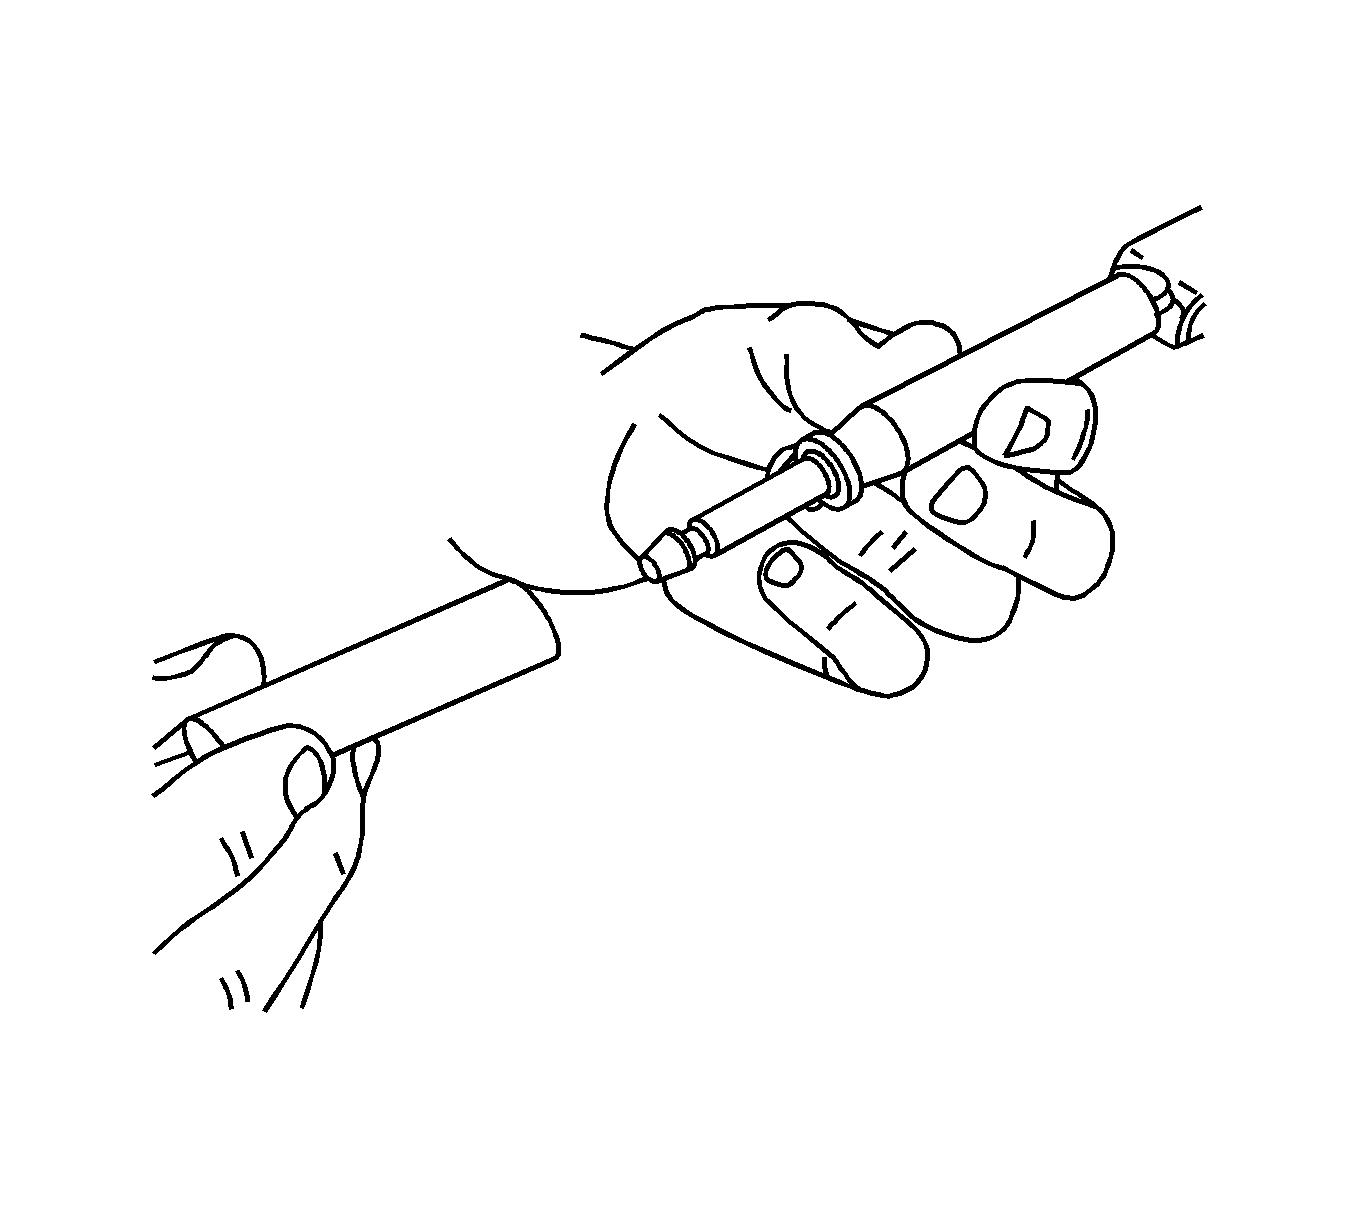
Notice: Refer to Fastener Notice in the Preface section.

Tighten
Tighten the booster pushrod hex nut and the adjustment sleeve to 16 N·m (12 lb ft).
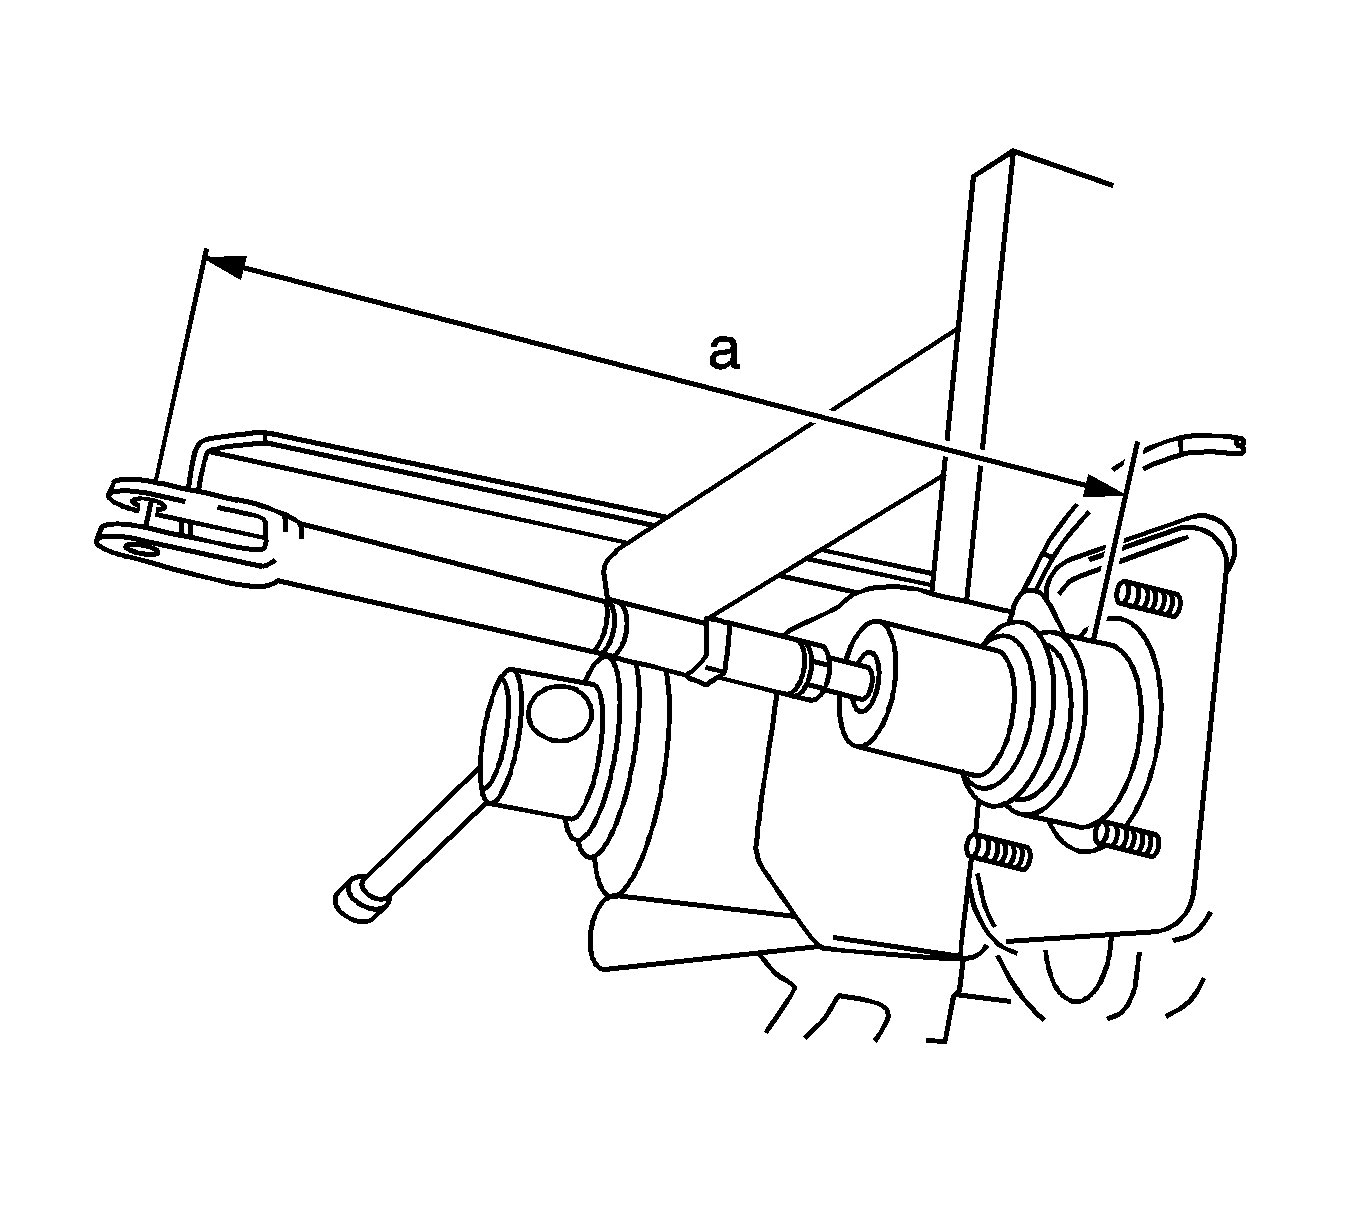
Important: This measurement (a) should be 278.5 mm (10 in).


Tighten
Tighten the booster-to-support bracket nuts to 12 N·m (9 lb ft).

Tighten
Tighten the booster and support bracket-to-dash panel nuts to 24 N·m (18 lb ft).

Tighten
Tighten the master cylinder attaching nuts to 24 N·m (18 lb ft).

