For 1990-2009 cars only
Front Fender Replacement Notchback
Removal Procedure
- Raise and suitably support the vehicle.
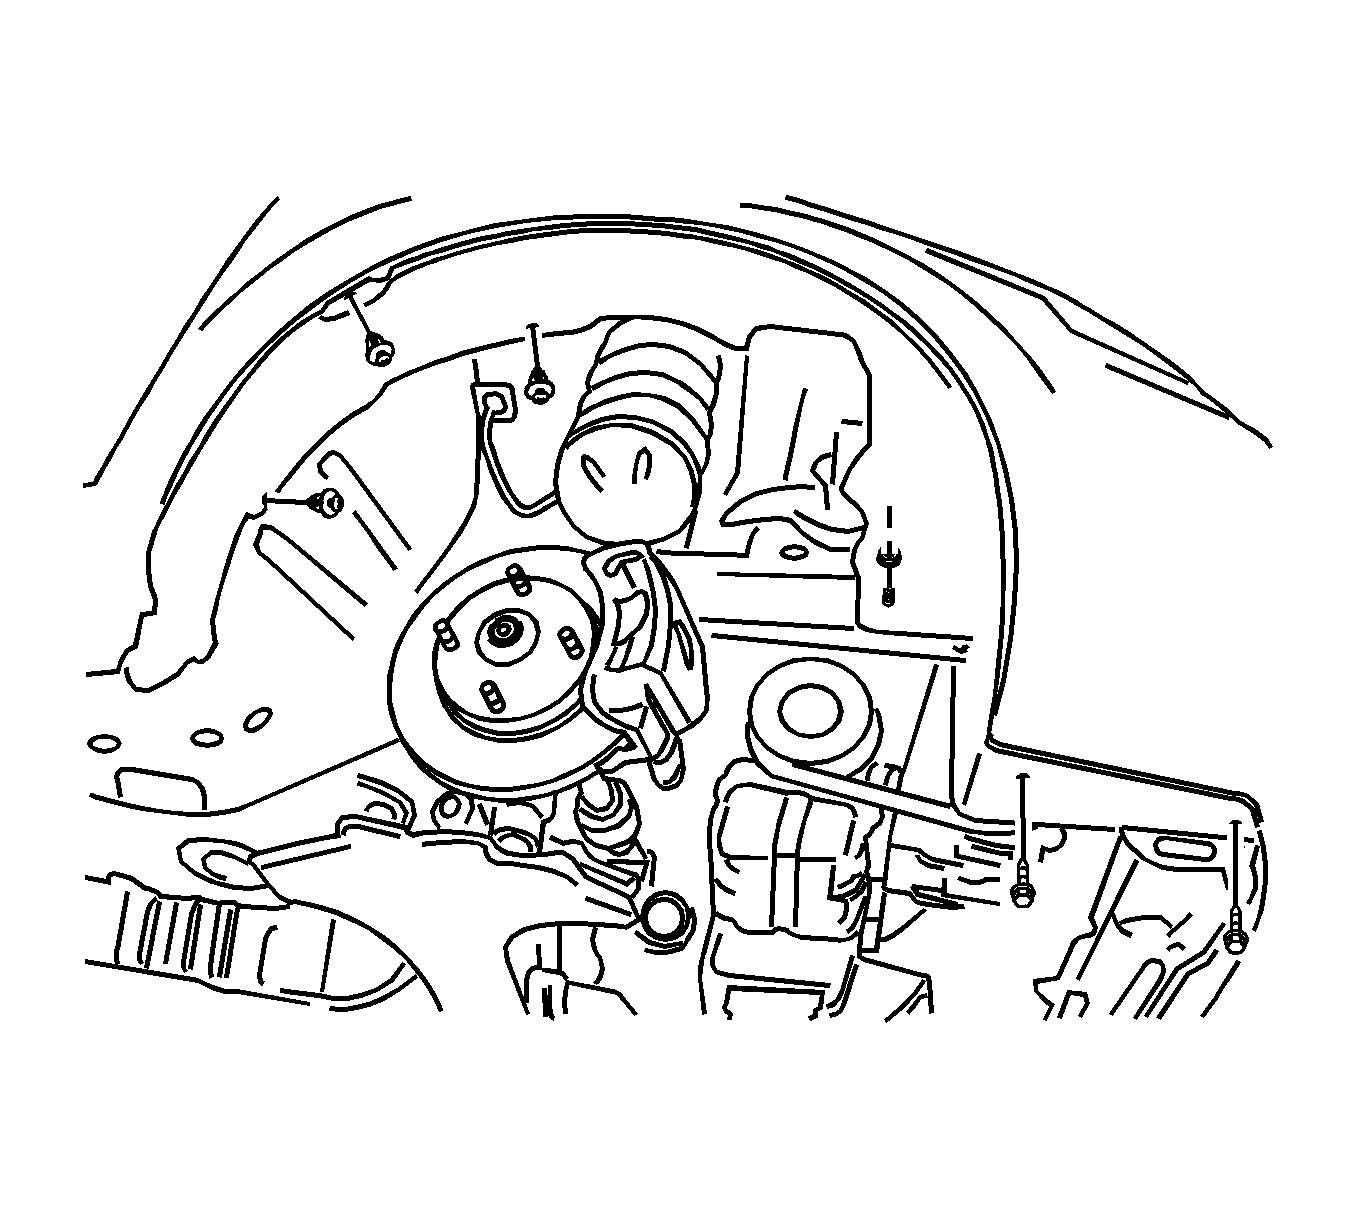
- Remove the necessary bolts from the splash shield.
- Remove the headlamp assembly. Refer to Headlamp Replacement.
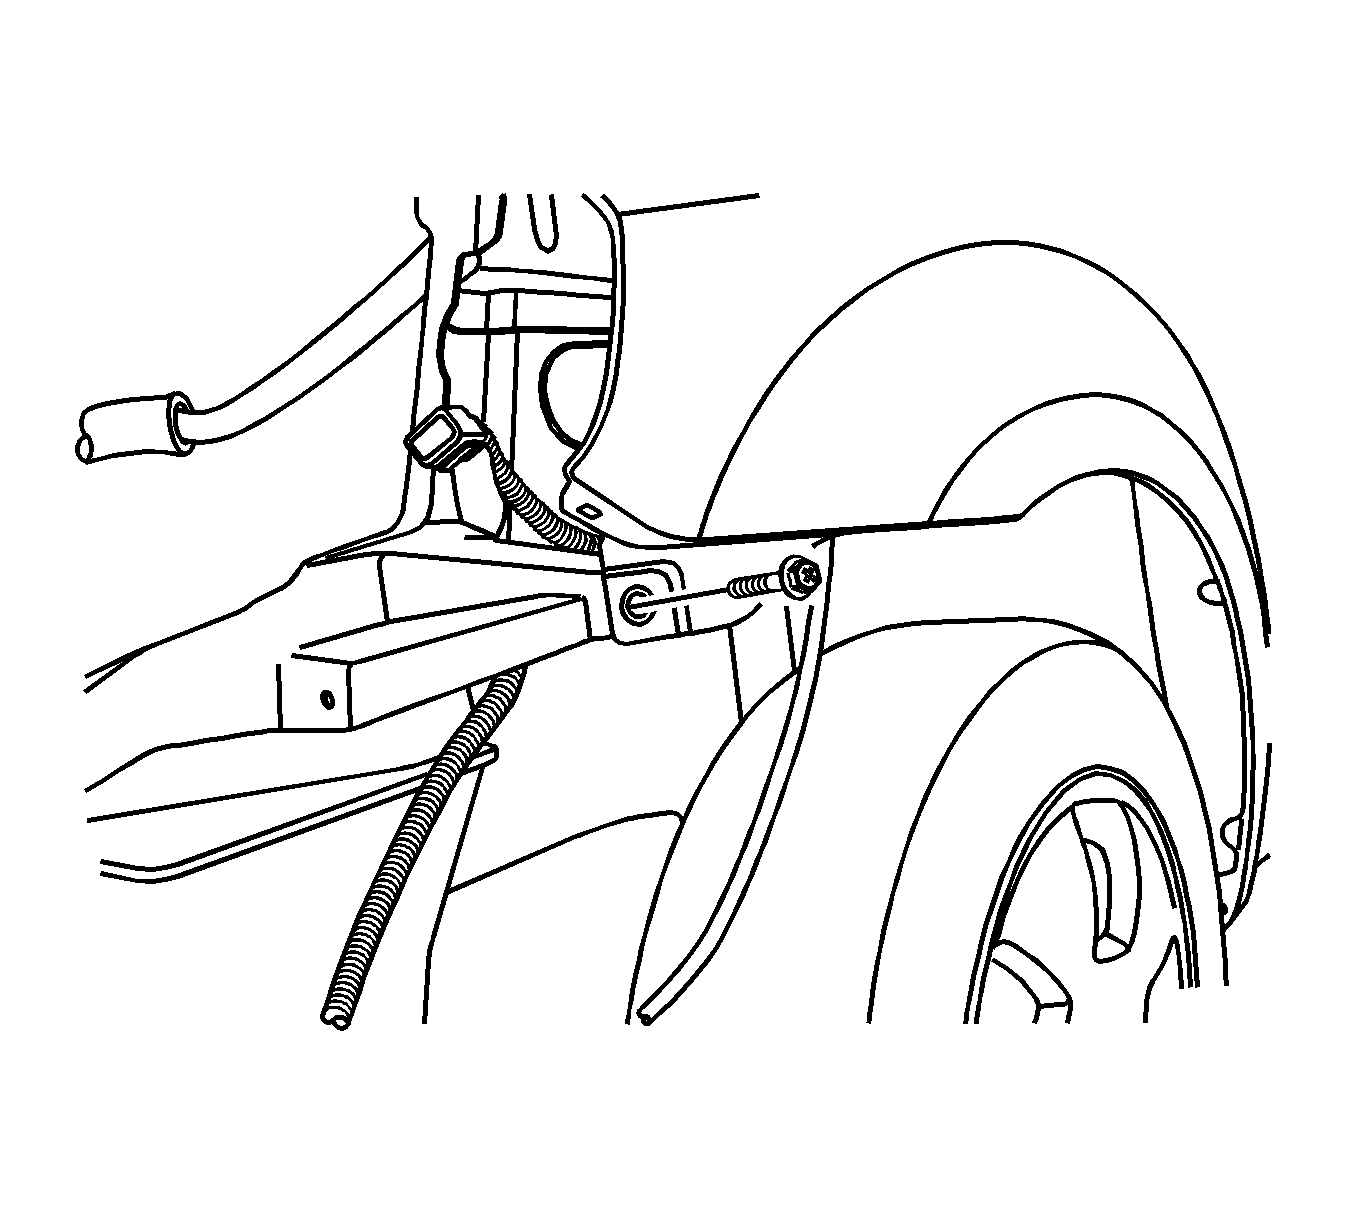
- Remove the two screws attaching the front fascia to the fender.
- Remove the screws underneath the front bumper fascia.
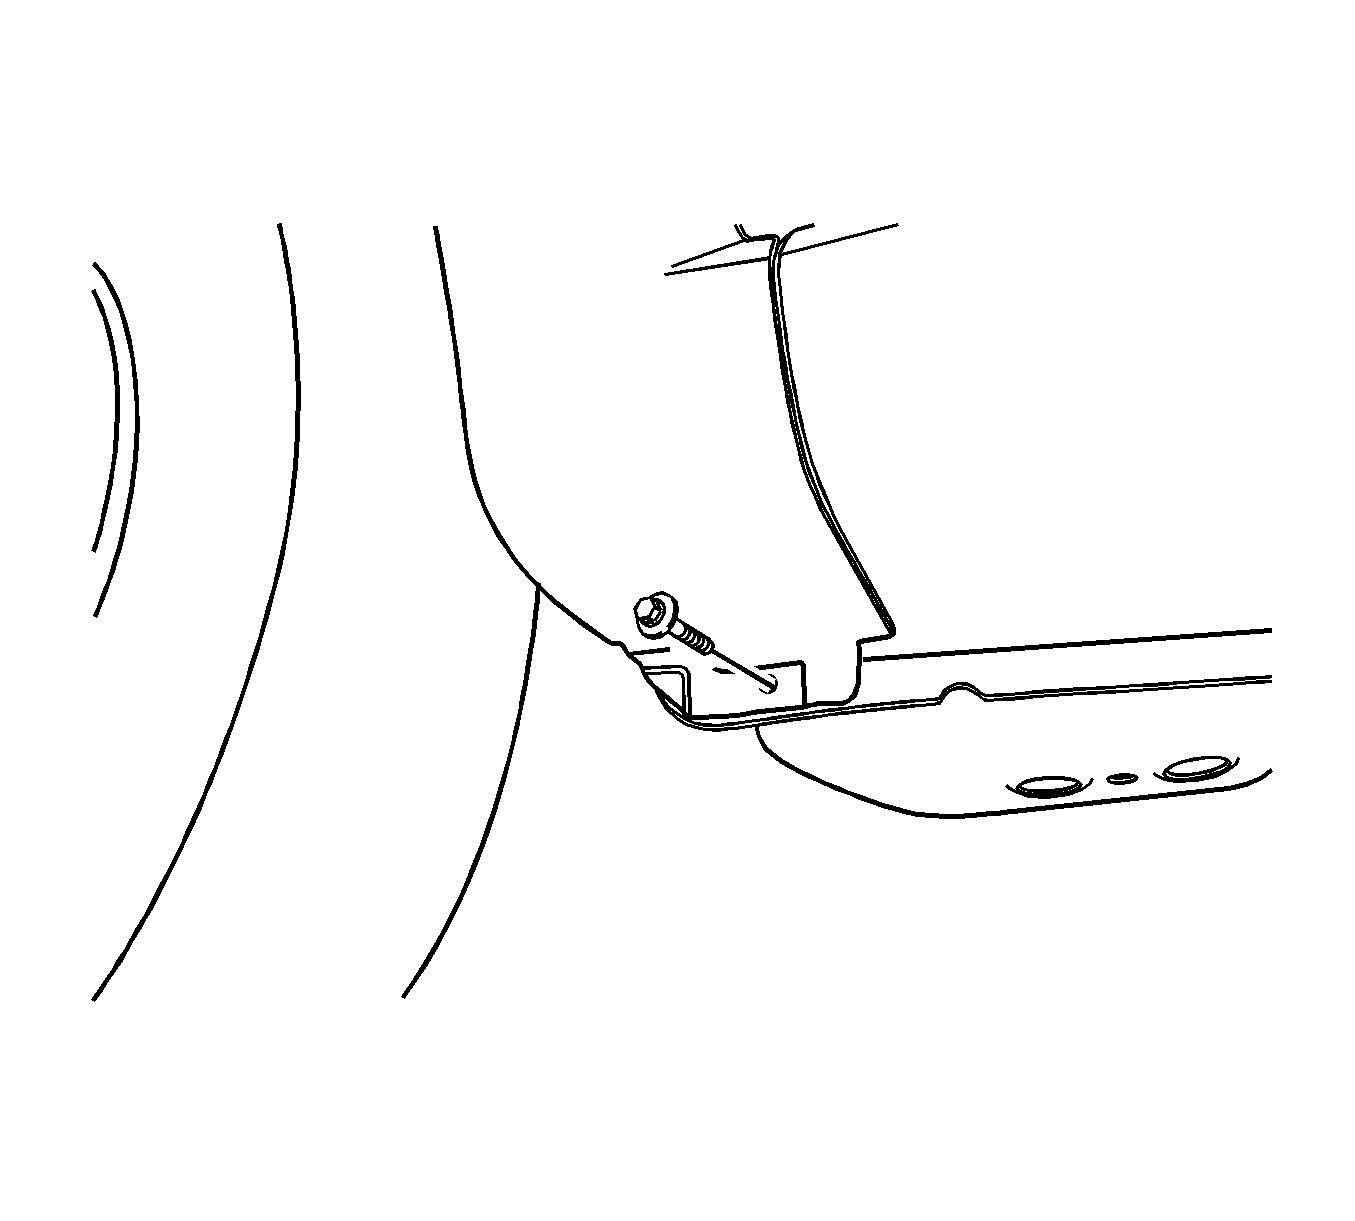
- Remove the bolt at the base of the fender.
- Remove the air inlet panel. Refer to Air Inlet Grille Panel Replacement.
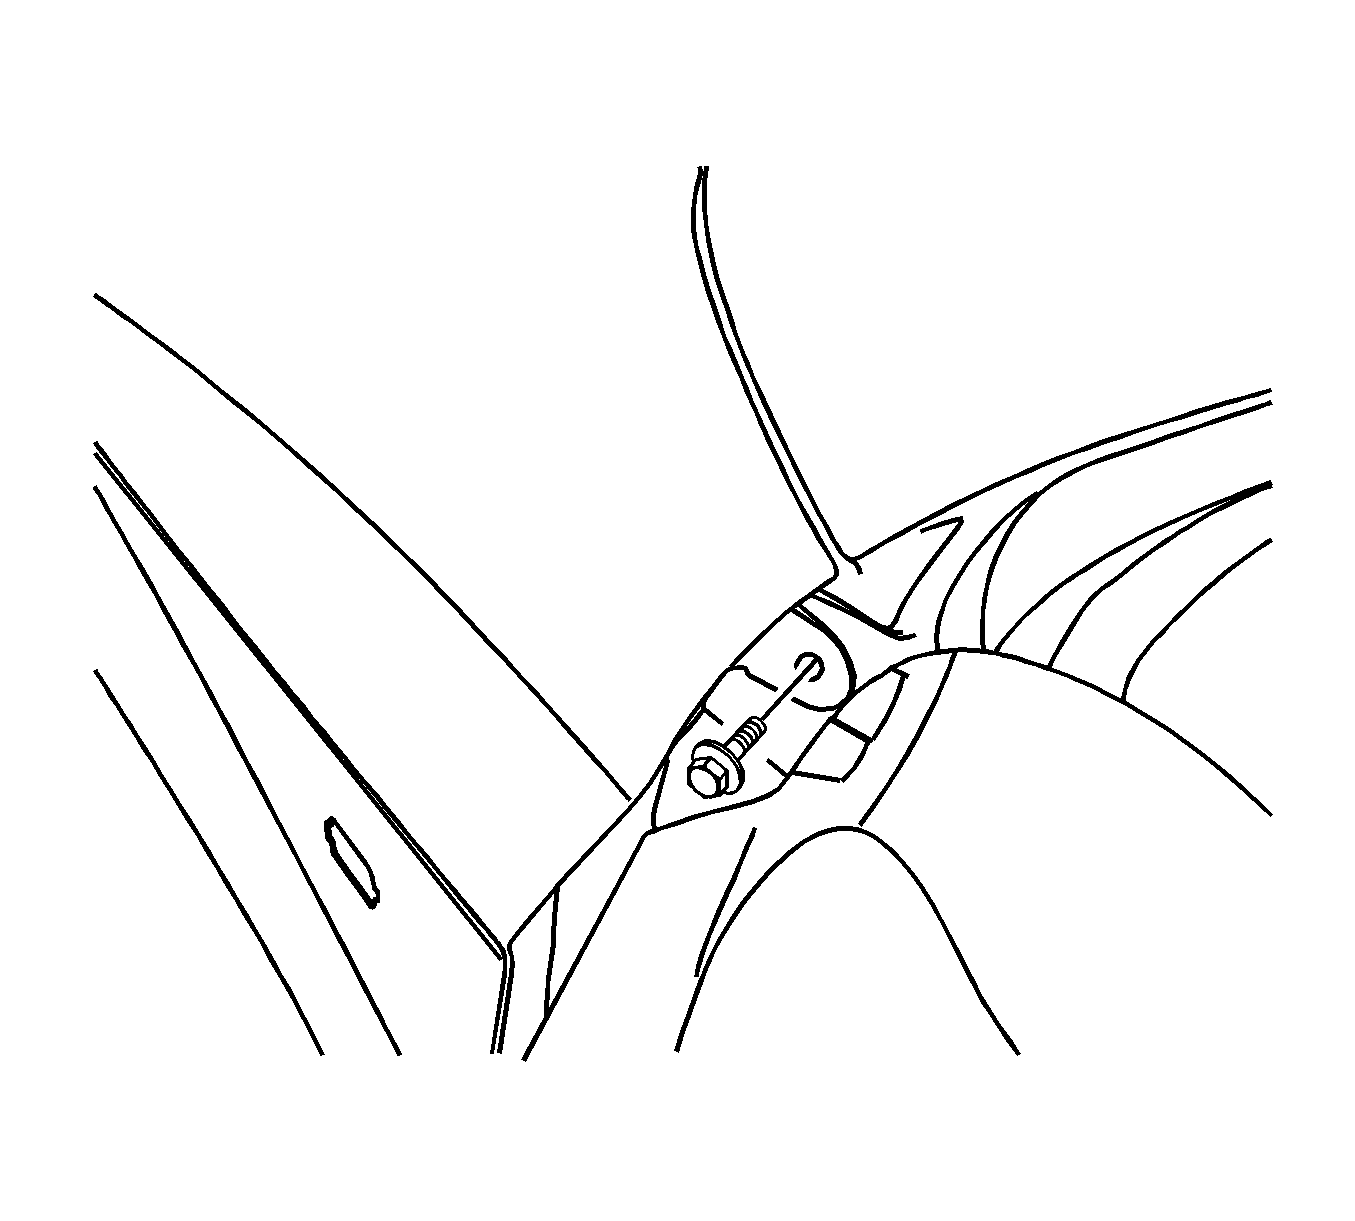
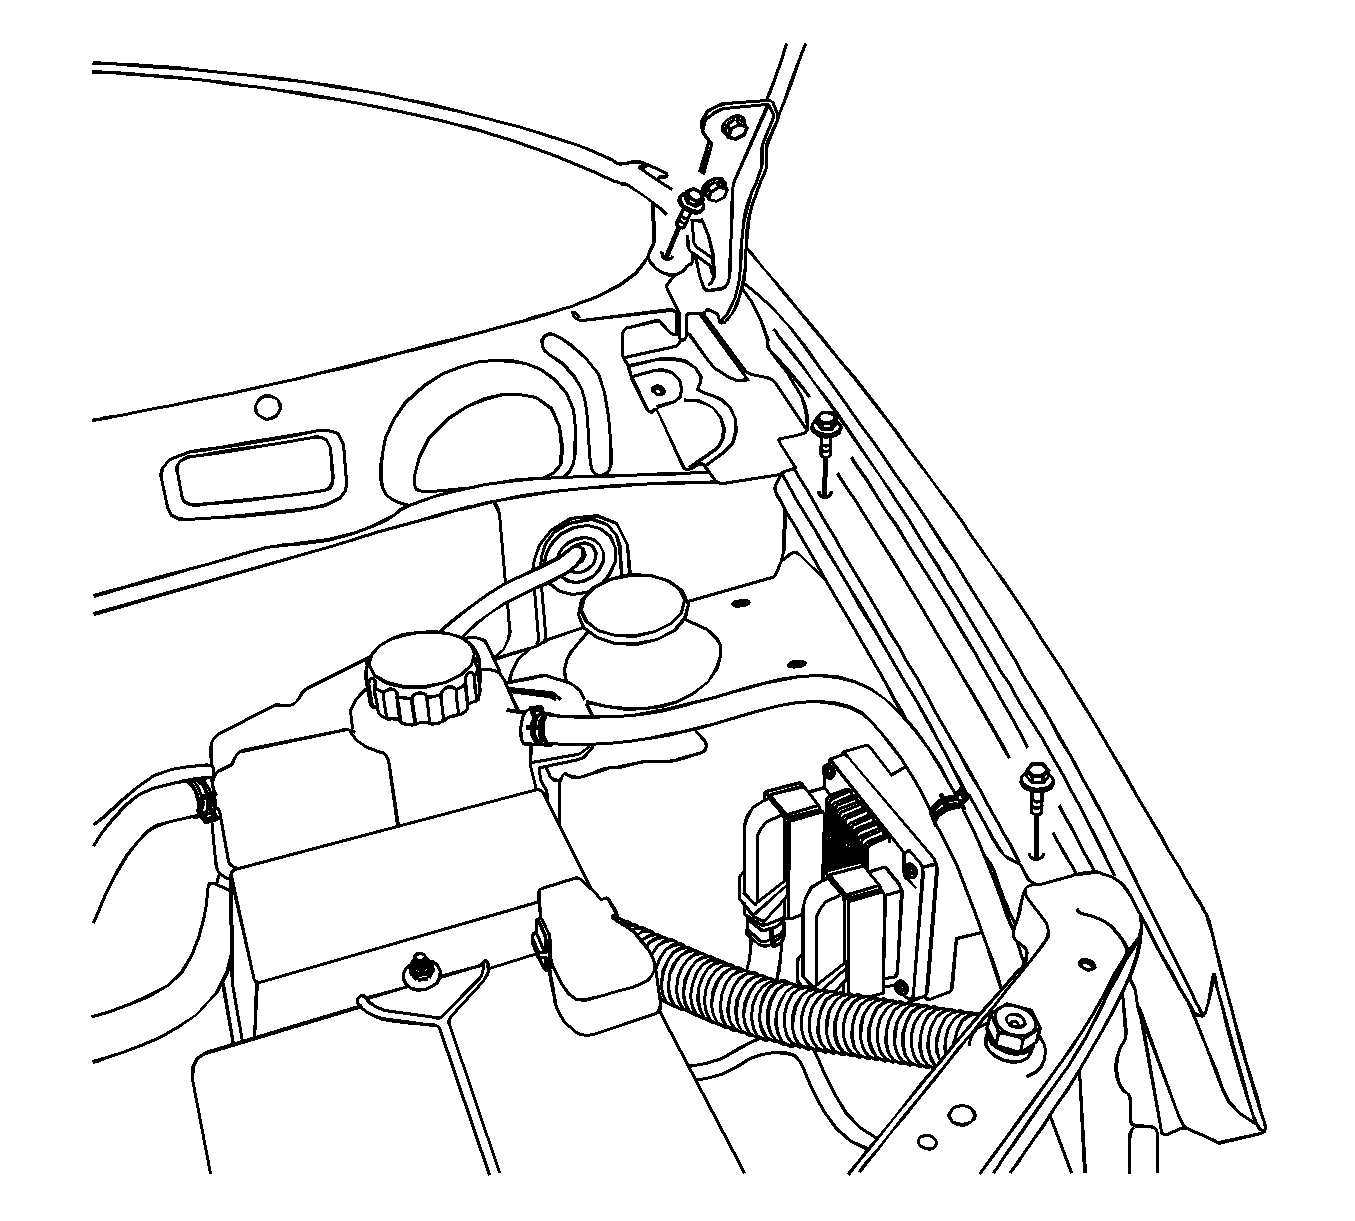
- Open the front door. Remove the bolt at the base of the windshield pillar.
- Remove the bolts along the top of the fender.
- Remove the repeater lamp. Refer to Repeater Lamp Replacement.
- Remove the fender.
Caution: Refer to Vehicle Lifting and Jacking Caution in the Preface section.
Installation Procedure
- Install the fender.
- Install the repeater lamp. Refer to Repeater Lamp Replacement.
- Install the bolts along the top of the fender and tighten to 10 N·m (89 lb in).
- Install the bolt at the base of the windshield pillar and tighten to 8 N·m (71 lb in).
- Install the air inlet panel. Refer to Air Inlet Grille Panel Replacement.
- Install the bolts at the base of the fender and tighten to 10 N·m (89 lb in).
- Secure the fender to the front bumper fascia with the screw and tighten to 1.5 N·m (13 lb in).
- Secure the fender behind the front bumper fascia with the screws and tighten to 4 N·m (35 lb in).
- Install the necessary splash shield screws and tighten to 1.5 N·m (13 lb in).
- Install the headlamp. Refer to Headlamp Replacement.
- Lower the vehicle.

Caution: Refer to Fastener Caution in the Preface section.


Front Fender Replacement Hatchback
Removal Procedure
- Raise and suitably support the vehicle.
- Remove the front wheel. Refer to Tire and Wheel Removal and Installation.
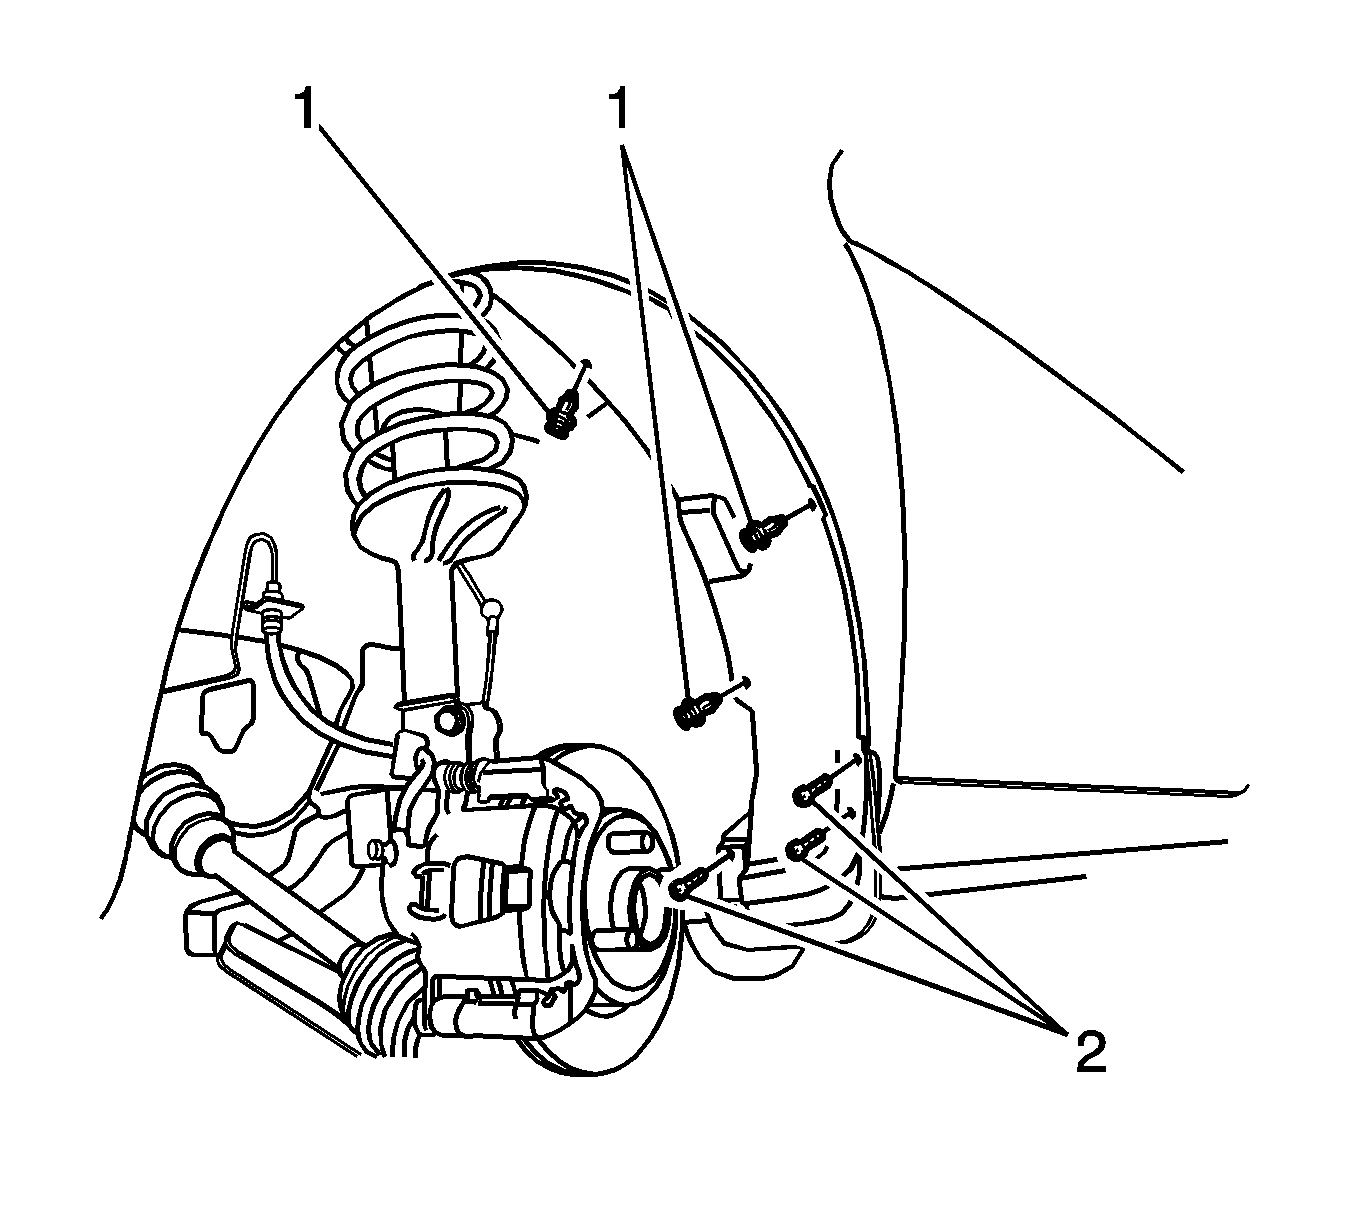
- Remove the fender liner to mud guard bolts (2).
- Remove the fender liner clips (1).
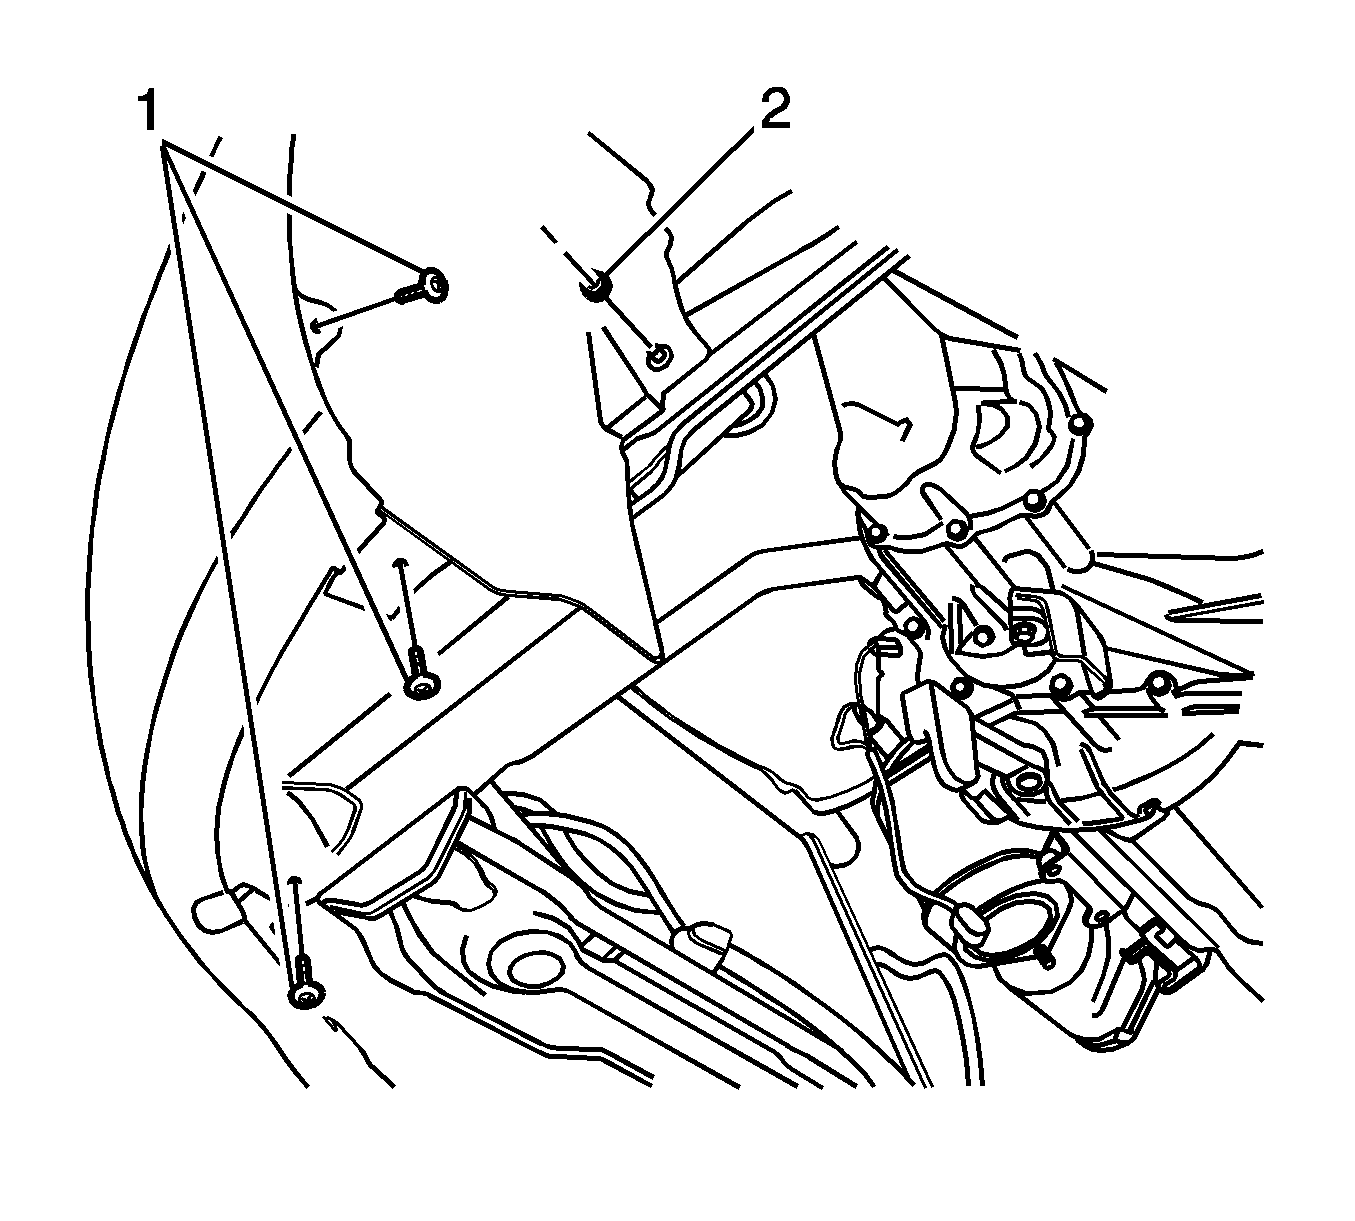
- Remove the fender liner nuts (2) and screws (1).
- Remove the fascia grille. Refer to Fascia Grille Replacement.
- Remove the front fascia. Refer to Front Bumper Fascia Replacement.
- Remove the left side of the air inlet panel. Refer to Air Inlet Grille Panel Replacement.
- Remove the side marker lamps. Refer to Front Side Marker Lamp Replacement.
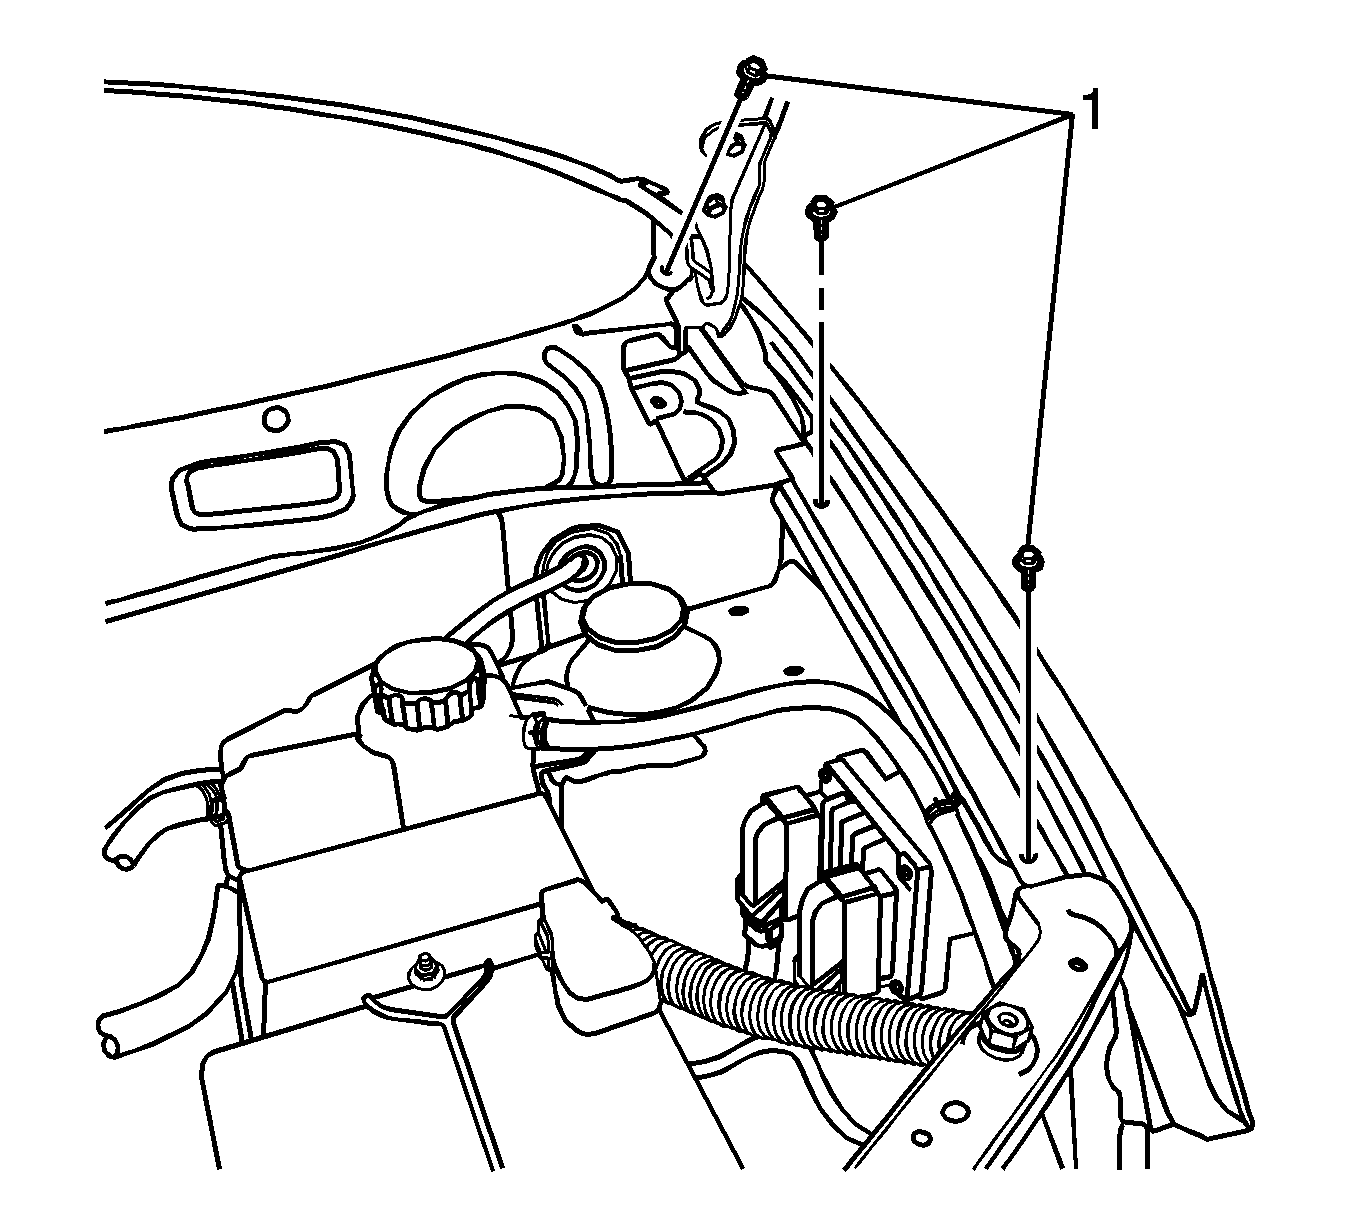
- Remove the upper fender bolts (1).
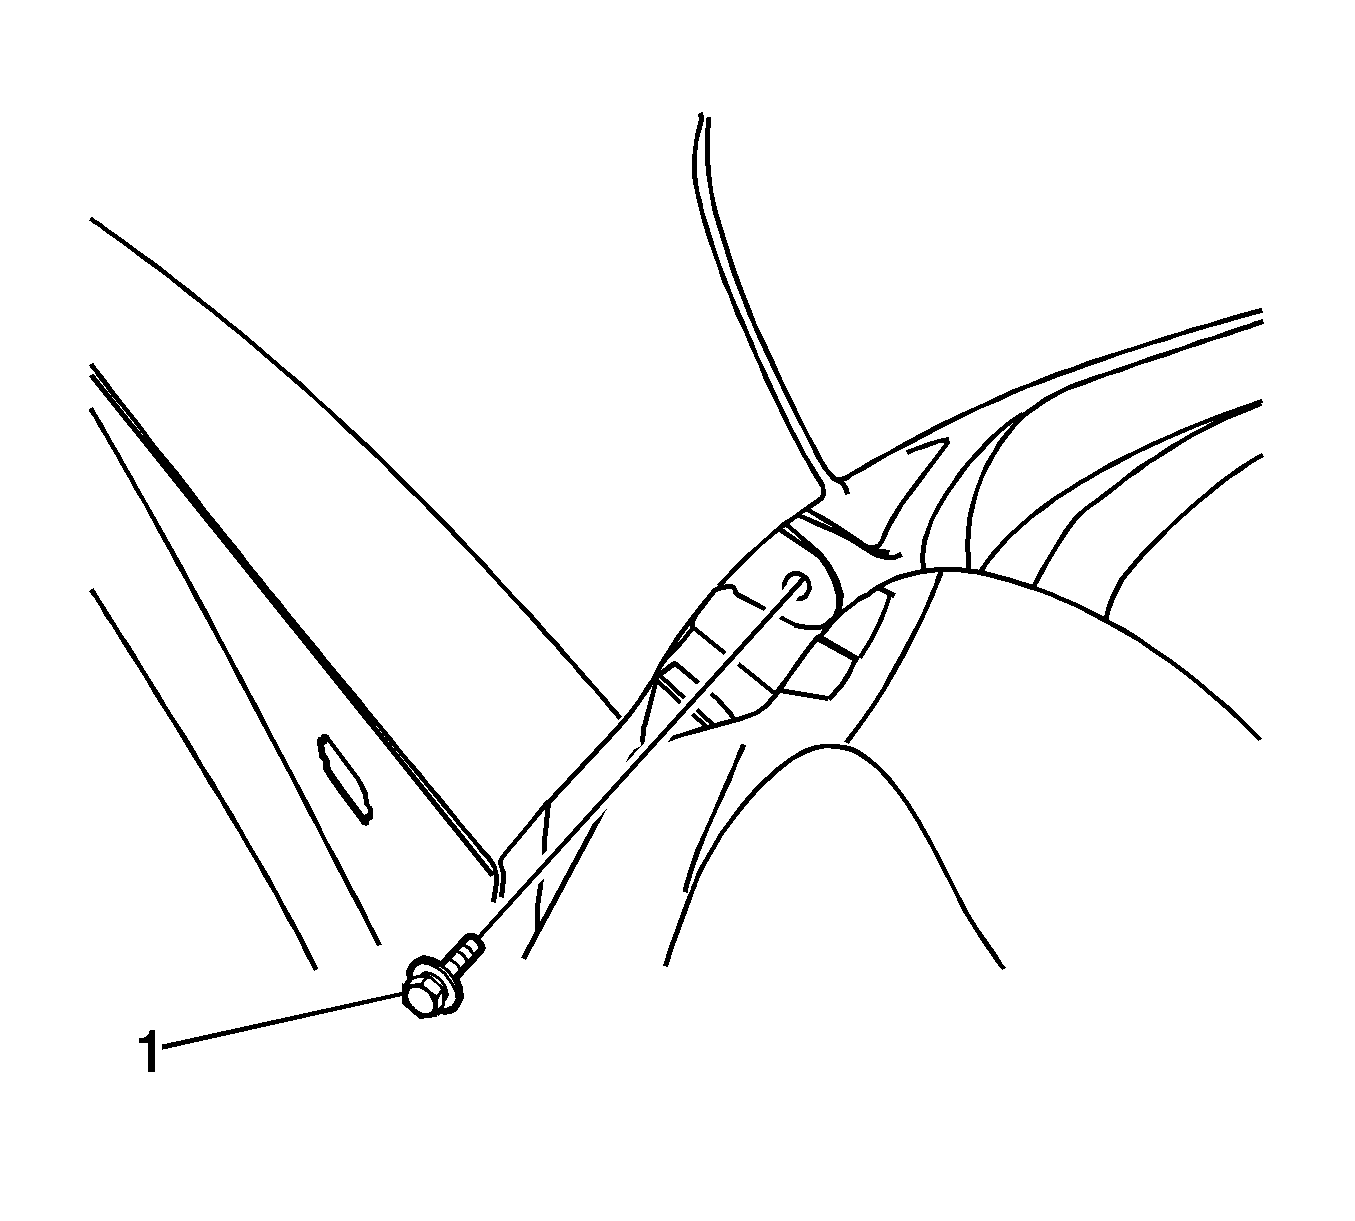
- Open the front door. Remove the bolt at the base of the windshield pillar (1).
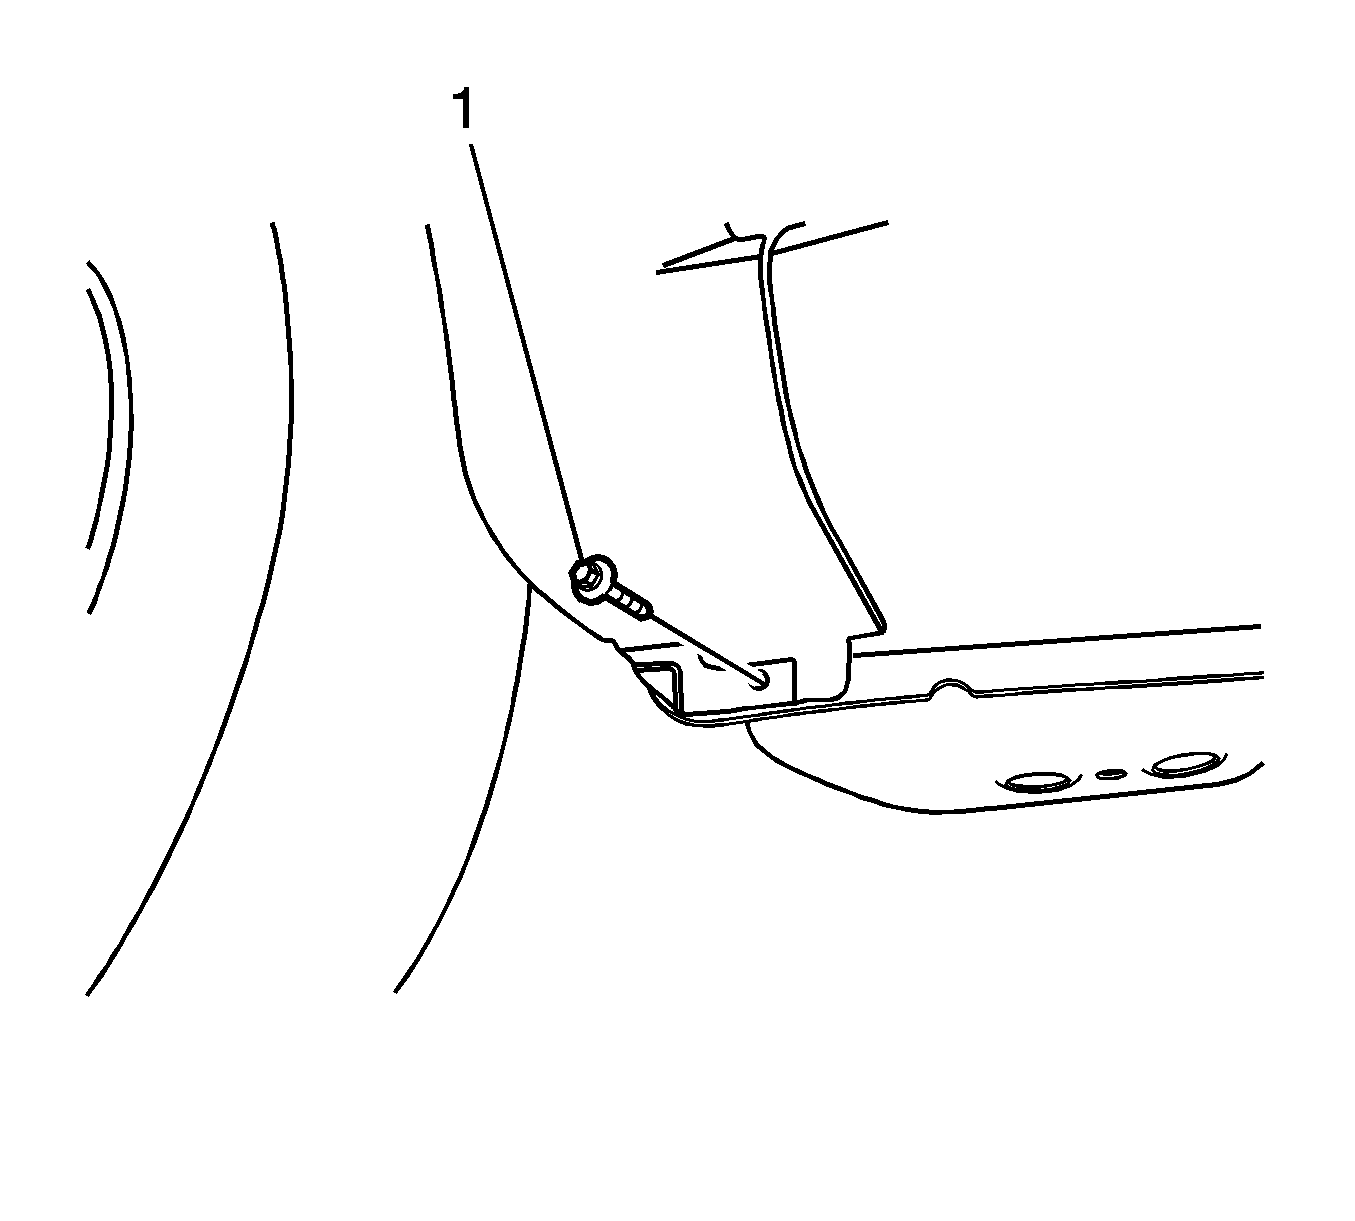
- Remove the bolt (1) at the base of the fender.
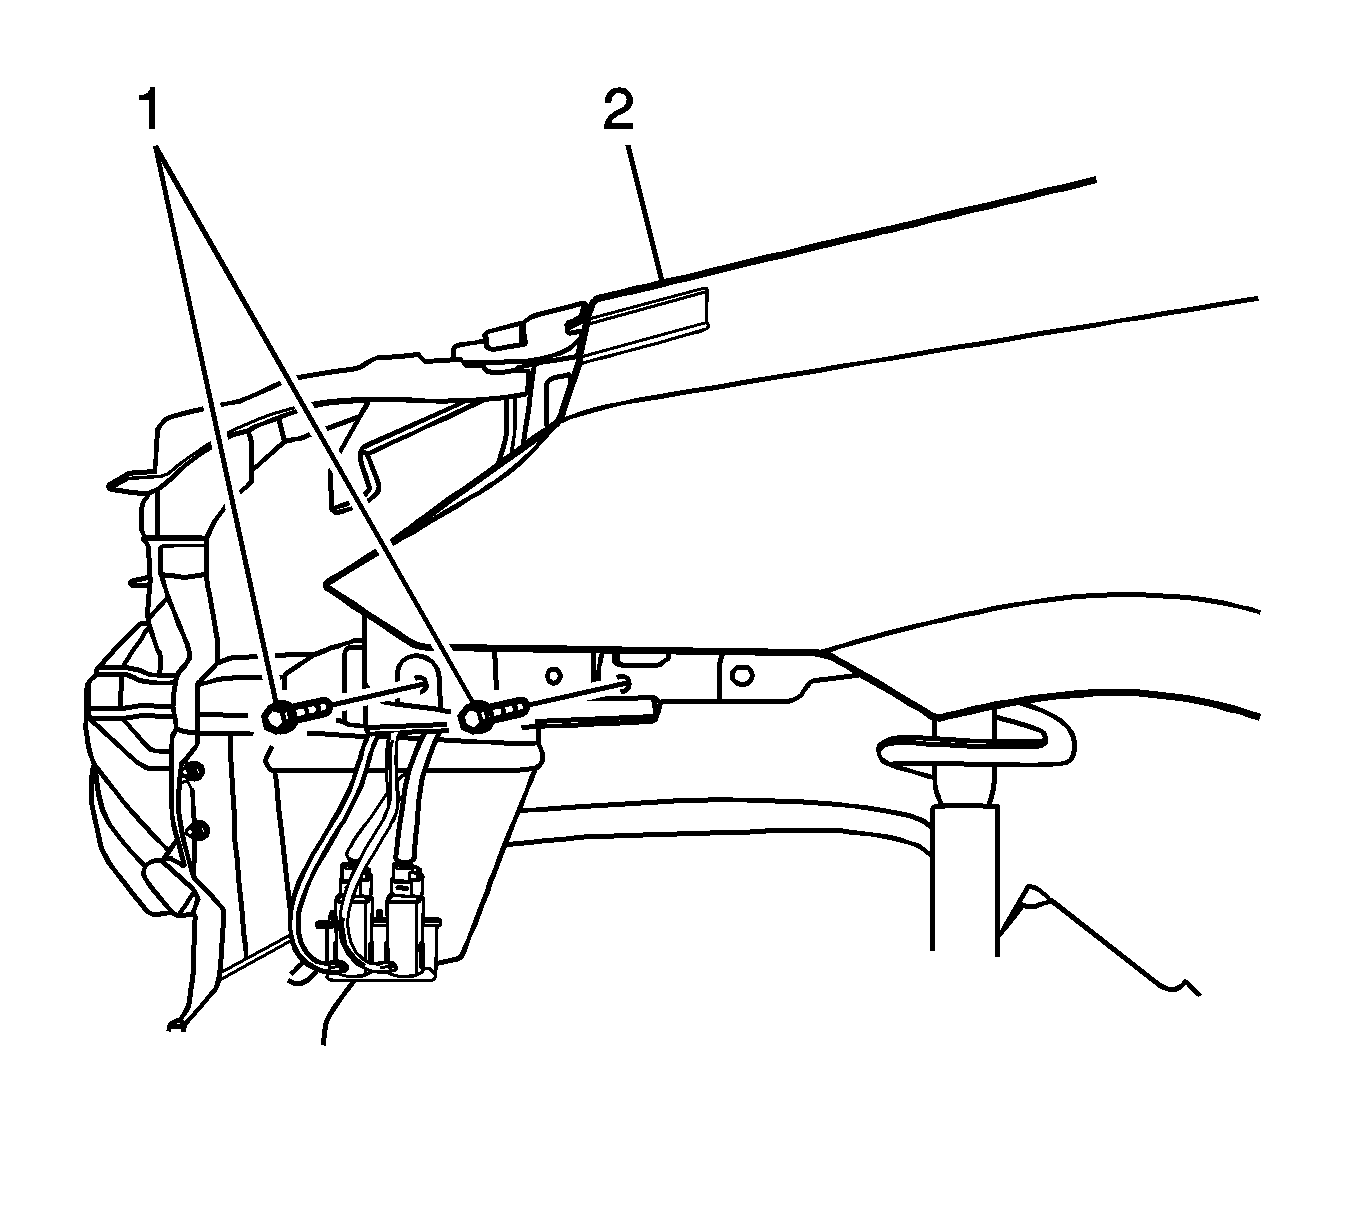
- Remove the front fender bolts (1).
- Remove the fender (2) from the vehicle.
Caution: Refer to Vehicle Lifting and Jacking Caution in the Preface section.
Installation Procedure
- Install the fender (2) to the vehicle.
- Install the front fender bolts (1) and tighten to 8 N·m (71 lb in).
- Install the bolt (1) at the base of the fender and tighten to 8 N·m (71 lb in).
- Install the bolt at the base of the Windshield Pillar (1) and tighten to 8 N·m (71 lb in).
- Install the upper fender bolts (1) and tighten to 8 N·m (71 lb in).
- Install the side marker lamps. Refer to Front Side Marker Lamp Replacement.
- Install the left side of the air inlet panel. Refer to Air Inlet Grille Panel Replacement.
- Install the front fascia. Refer to Front Bumper Fascia Replacement.
- Install the fascia grille. Refer to Fascia Grille Replacement.
- Install the fender liner nuts (2) and screws (1).
- Install the fender liner clips (1).
- Install the fender liner to mud guard bolts (2) and tighten to 1.5 N·m (13 lb in.
- Install the front wheel. Refer to Tire and Wheel Removal and Installation.
- Lower the vehicle.

Caution: Refer to Fastener Caution in the Preface section.


Tighten
Tighten the fender liner nuts to 13 N·m (113 lb in).
Tighten
Tighten the fender liner bolts to 1.5 N·m (13 lb in).

