For 1990-2009 cars only
Tools Required
J 22536 Pinion Driver
Removal Procedure
- Raise the vehicle. Refer to Lifting and Jacking the Vehicle in General Information.
- Remove the tire and wheel assemblies. Refer to Tire and Wheel Removal and Installation in Tires and Wheels.
- Remove the brake calipers. Refer to Rear Brake Caliper Replacement in Disc Brakes.
- Remove the brake rotors. Refer to Rear Brake Rotor Replacement in Disc Brakes.
- Remove the axle shafts. Refer to Rear Axle Shaft Replacement .
- Remove the differential assembly. Refer to Differential Replacement .
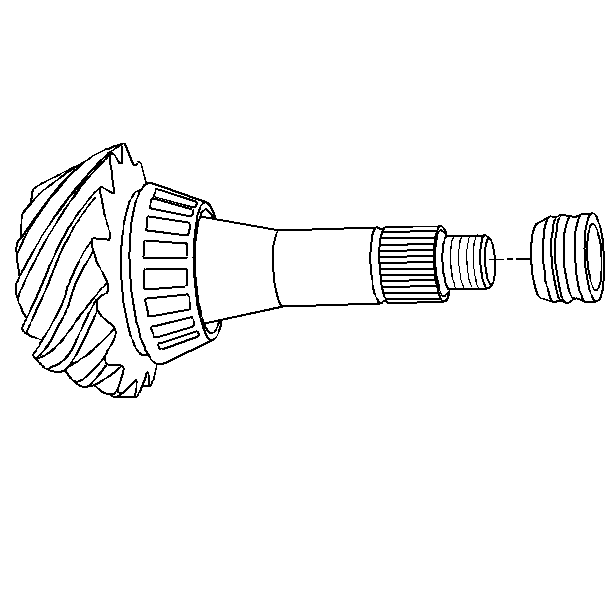
- Remove the drive pinion flange/yoke and the oil seal. Refer to Drive Pinion Flange/Yoke and/or Oil Seal Replacement .
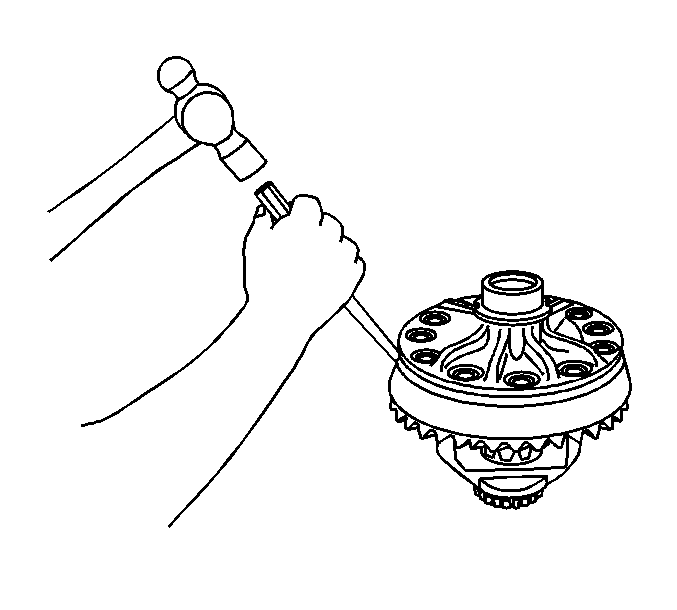
- Install the J 22536 as shown.
- Drive the pinion out using the J 22536 and a hammer.
- Remove the collapsible spacer from the pinion. Discard the spacer.
- Remove the pinion bearings and the cups. Refer to Drive Pinion Bearings Replacement .
- Remove the ring gear bolts. Discard the bolts.
- Remove the ring gear from the differential case.
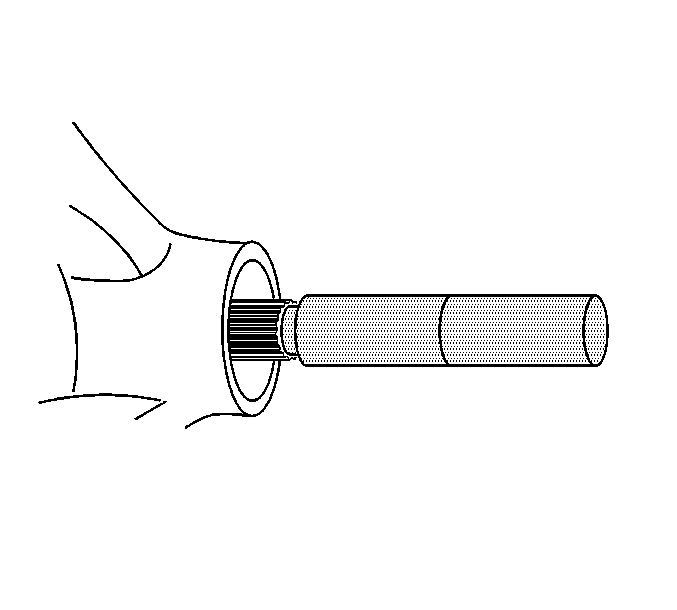
Ensure that the J 22536 is firmly seated on the pinion.
Strike the J 22536 slowly. Do not let the pinion fall out of the rear axle housing.
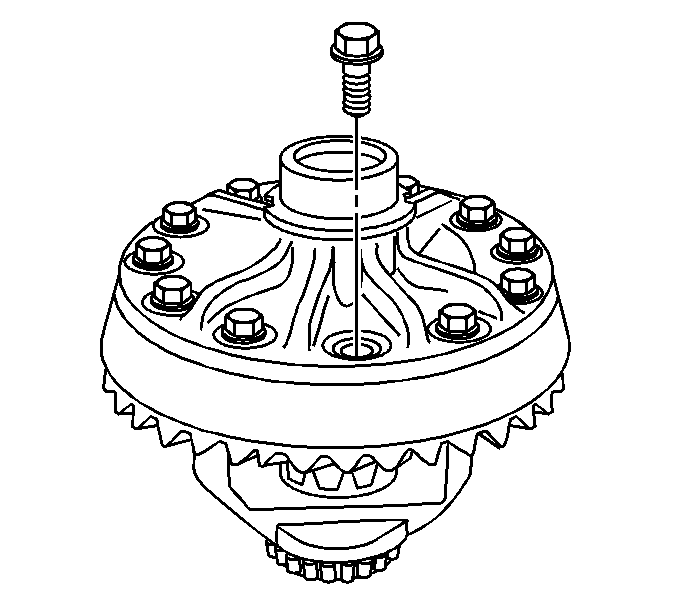
Important: The ring gear bolts have left-hand threads.
Drive the ring gear off with a brass drift if necessary.
Installation Procedure
- Install the ring gear onto the differential case.
- Install the new ring gear bolts.
- Tighten the ring gear bolts. Tighten the ring gear bolts alternately and in stages, gradually pulling the ring gear onto the differential case.
- Install the pinion bearing cups. Refer to Drive Pinion Bearings Replacement .
- Determine the selective shim thickness for the pinion gear. Refer to Pinion Depth Adjustment .
- Install the selective shim onto the pinion.
- Install the inner pinion bearing to the pinion. Refer to Drive Pinion Bearings Replacement .
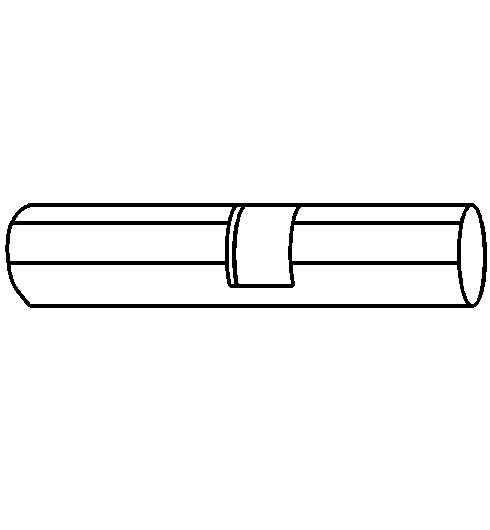
- Install a new collapsible spacer.
- Lubricate the pinion bearings with axle lubricant. Refer to Fluid and Lubricant Recommendations in Maintenance and Lubrication.
- Install the pinion to the axle housing.
- Install the outer pinion bearing.
- Install a new pinion oil seal and the pinion yoke. Refer to Drive Pinion Flange/Yoke and/or Oil Seal Replacement .
- Install the differential assembly. Refer to Differential Replacement .
- Perform a gear tooth contact pattern check on the pinion and the ring gear. Refer to Gear Tooth Contact Pattern Inspection .
- Install the axle shafts. Refer to Rear Axle Shaft Replacement .
- Install the brake rotors. Refer to Rear Brake Rotor Replacement in Disc Brakes.
- Install the brake calipers. Refer to Rear Brake Caliper Replacement in Disc Brakes.
- Install the tire and wheel assemblies. Refer to Tire and Wheel Removal and Installation in Tires and Wheels.
- Fill the axle with lubricant. Use the proper fluid. Refer to Fluid and Lubricant Recommendations and Approximate Fluid Capacities in Maintenance and Lubrication.
- Lower the vehicle.
Important: The mating surface of the ring gear and the differential case must be clean and free of burrs before installing the ring gear.

Important: The ring gear bolts have left-hand threads.
Hand start each bolt to ensure that the ring gear is properly installed to the differential case.
Notice: Refer to Fastener Notice in the Preface section.
Tighten
Tighten the ring gear bolts in sequence to 120 N·m (89 lb ft).
