Removal Procedure
- Raise the vehicle. Refer to Section 0A.
- Support the vehicle with safety stands.
- Remove the upper and lower underbody braces, if equipped. Refer to Section 10-3
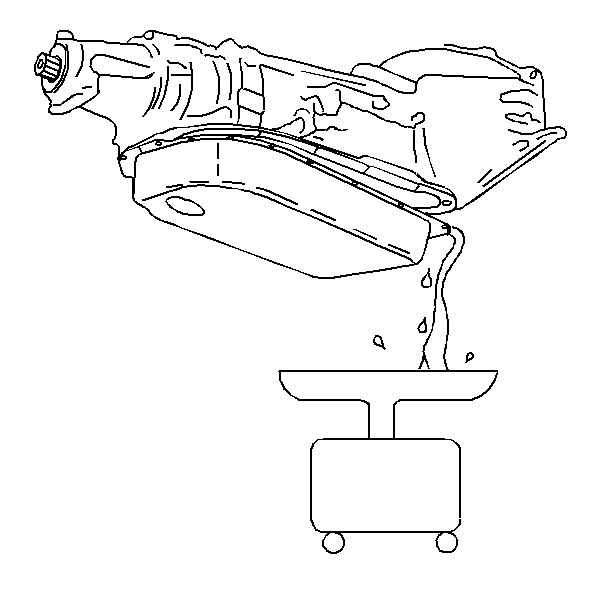
- Place the drain pan under the transmission oil pan.
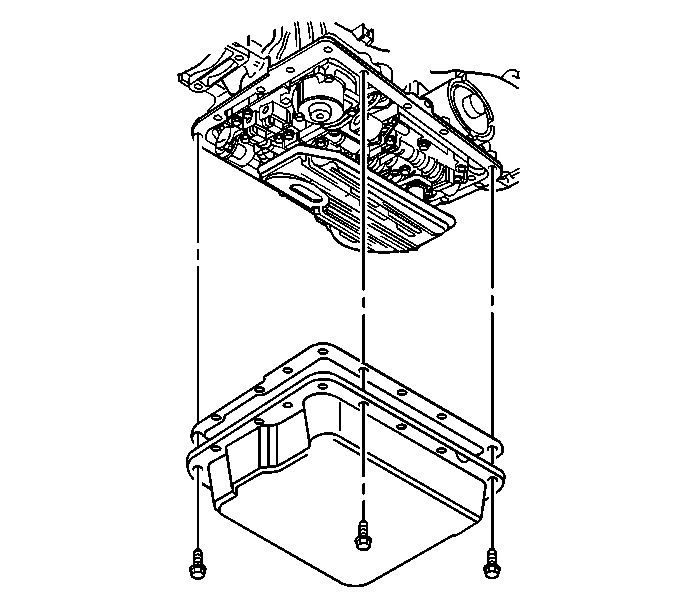
- Remove the oil pan bolts from the front and sides only.
- Loosen the rear oil pan bolts approximately 4 turns.
- Lightly tap the oil pan with a rubber mallet or pry gently in order to allow the fluid to drain.
- Remove the remaining oil pan bolts.
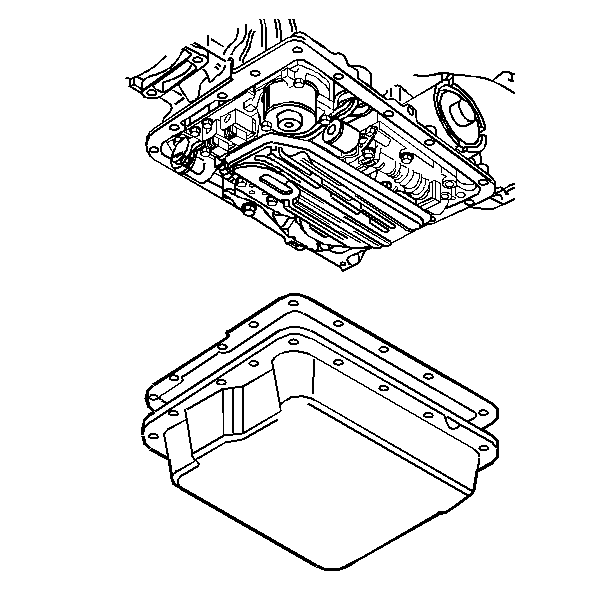
- Remove the oil pan and the gasket.
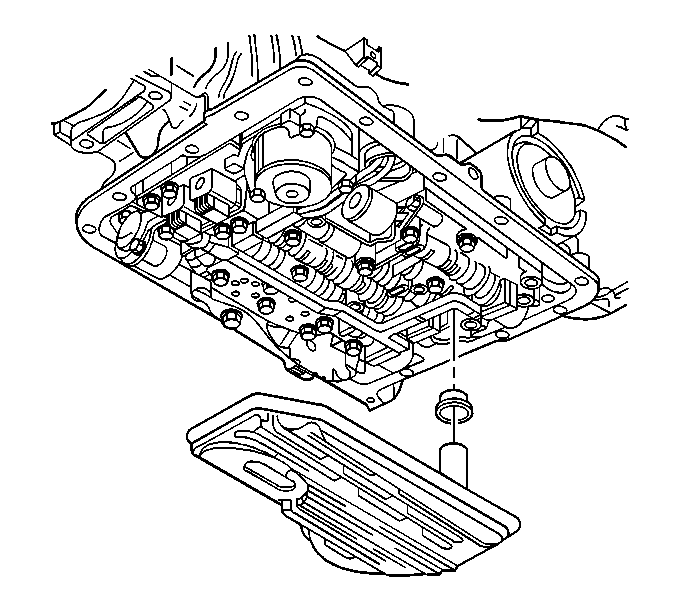
- Remove the fluid filter and the seal. The seal may stick in the transmission case.
- Inspect the fluid color.
- Inspect the filter. Pry the metal crimping away from the top of the filter and pull apart. The filter may contain the following evidence for root cause diagnosis:
- Clean the transmission case and the oil pan gasket surfaces with solvent, and air dry. You must remove all traces of the old gasket material.

Notice: When removing the oil pan bolts, be careful not to damage the oil pan sealing surfaces. Such damage may result in oil leaks in this area.


| • | Clutch material |
| • | Bronze slivers indicating bushing wear |
| • | Steel particles |
Installation Procedure
Tools Required
J 36850 Transmission Assembly Lube
- Coat the new filter neck seal with a small amount of J 36850 , or equivalent.
- Install the new filter neck seal into the transmission case. Tap the seal into place using a suitable size socket.
- Install the new filter into the case.
- Install the oil pan and a new gasket.
- Install the oil pan bolts.
- Install the upper and lower underbody braces, if equipped. Refer to Section 10-3.
- Lower the vehicle.
- Fill the transmission to the proper level. Use DEXRON® III, or if unavailable, DEXRON® IIE.
- Check the COLD fluid level reading for initial fill only.
- Inspect the oil pan gasket for leaks.


Notice: Do not reuse automatic transmission bolts and washers if the conical washer is reversed. Failure to replace the oil pan bolts and washers may result in improper fastening of the system components.

Tighten
Alternately, and evenly, tighten the oil pan to transmission case bolts to
11 N·m (97 lb in).
Notice: Use the correct fastener in the correct location. Replacement fasteners must be the correct part number for that application. Fasteners requiring replacement or fasteners requiring the use of thread locking compound or sealant are identified in the service procedure. Do not use paints, lubricants, or corrosion inhibitors on fasteners or fastener joint surfaces unless specified. These coatings affect fastener torque and joint clamping force and may damage the fastener. Use the correct tightening sequence and specifications when installing fasteners in order to avoid damage to parts and systems.
Notice: Do not overfill the transmission. Overfilling will result in foaming, loss of fluid, and possible damage to the transmission.
