For 1990-2009 cars only
Removal Procedure
Tools Required
J 36660-A Torque Angle Meter
- Drain the engine coolant. Refer to Cooling System Draining and Filling in Engine Cooling.
- Remove the air cleaner.
- Remove the air cleaner outlet rear duct.
- Remove the resonator duct.
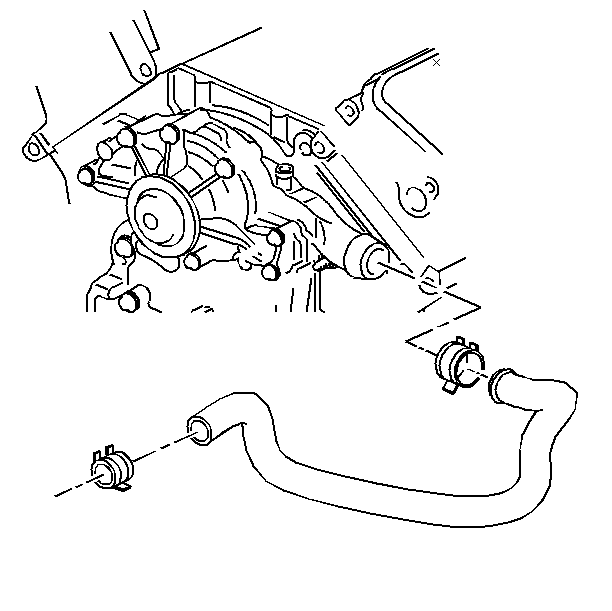
- Remove the radiator outlet hose from the front cover.
- Raise the vehicle. Support the vehicle suitably. Refer to SECTION 0A.
- Remove the crankshaft balancer. Refer to Crankshaft Balancer Replacement .
- Remove the oil pan to the front cover bolts.
- Lower the vehicle.
- Remove the electrical connections.
- Remove the crankshaft sensor shield.
- Remove the water pump. Refer to Water Pump Replacement in Engine Cooling.
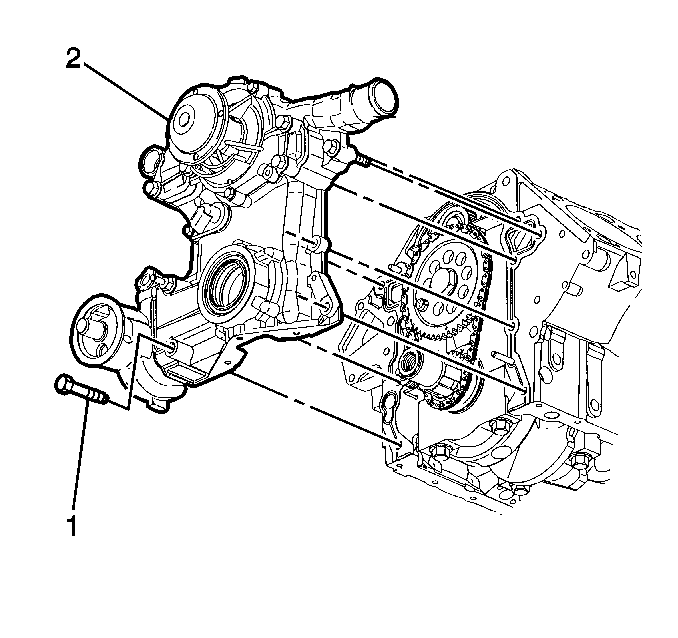
- Remove the engine front cover studs and bolts.
- Remove the engine front cover.
- Remove the engine front cover gasket.
- If you are replacing the front cover, disassemble the following parts:
- Clean the engine front cover and the engine block gasket surfaces.
- Inspect the engine for damage to the seals ro gasket surfaces.
- If the front cover has been replaced, assemble the following parts:


| 16.1. | The oil filter adapter and pressure relief valve. |
| 16.2. | The camshaft sensor. |
| 19.1. | The oil filter adapter and pressure relief valve. |
| 19.2. | The camshaft sensor. |
Installation Procedure
- Install the crankshaft front oil seal.
- Install the engine front cover gasket.
- Loosen the oil pan bolts, and drop the oil pan slightly in order to add clearance for the front cover.
- Install the engine front cover.
- Apply sealant GM P/N 12346004 or equivalent to the threads of the bolts and studs. The crankshaft sensor requires no adjustment.
- Install the engine front cover bolts and studs.
- Install the crankshaft sensor shield.
- Install the electrical connections.
- Raise the vehicle. Support the vehicle suitably. Refer to SECTION 0A.
- Install the oil pan to the front cover bolts.
- Install the crankshaft balancer. Refer to Crankshaft Balancer Replacement .
- Lower the vehicle.
- Install the radiator inlet hose to the front cover.
- Install the drive belt tensioner. Refer to Drive Belt Tensioner Replacement .
- Install the air cleaner.
- Install the air cleaner outlet rear duct.
- Install the resonator duct.
- Refill the engine coolant. Refer to Cooling System Draining and Filling in Engine Cooling.

Tighten
Tighten the bolts and studs to 15 N·m (11 lb ft).
Use the J 36660-A
in order
to rotate the bolts and studs 40 degrees.
Install the water pump. Refer to Water Pump Replacement in Engine Cooling.
Tighten
Tighten the bolts to 14 N·m (125 lb in).

