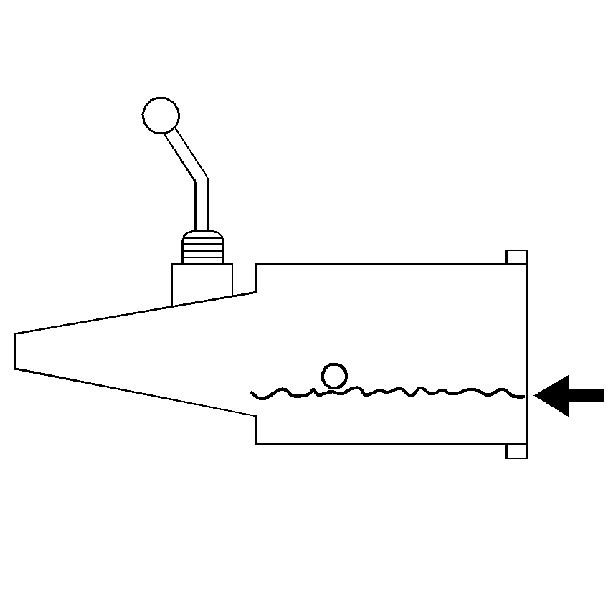
Special Tools
| • | J 3289-20 Bench Mount Holding Fixture Base |
| • | J 36842 Transmission Holding Fixture |
| • | J 42055 Transmission Support Fixture |
Installation Procedure
- Remove the transmission from the J 3289-20 , if necessary.
- Install the transmission to the jack stand.
- Remove the J 36842 from the transmission, if necessary.
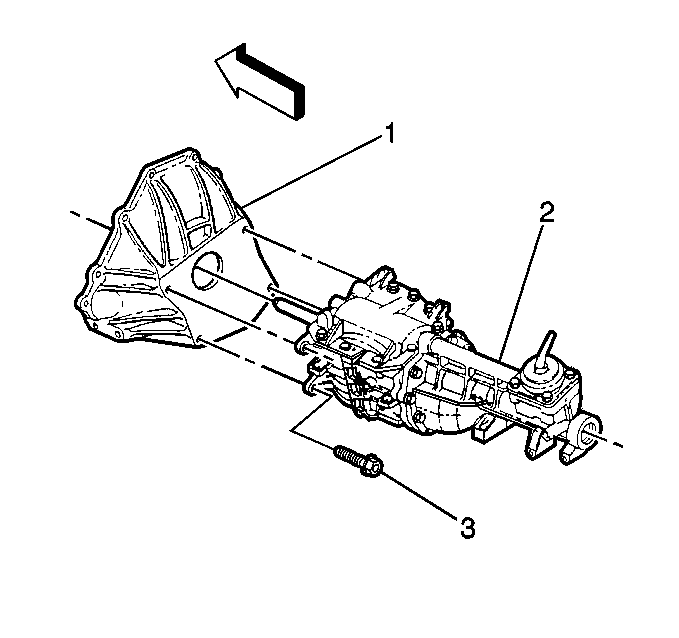
- Install the bellhousing (1) to the transmission (2).
- Install the transmission bolts (3).
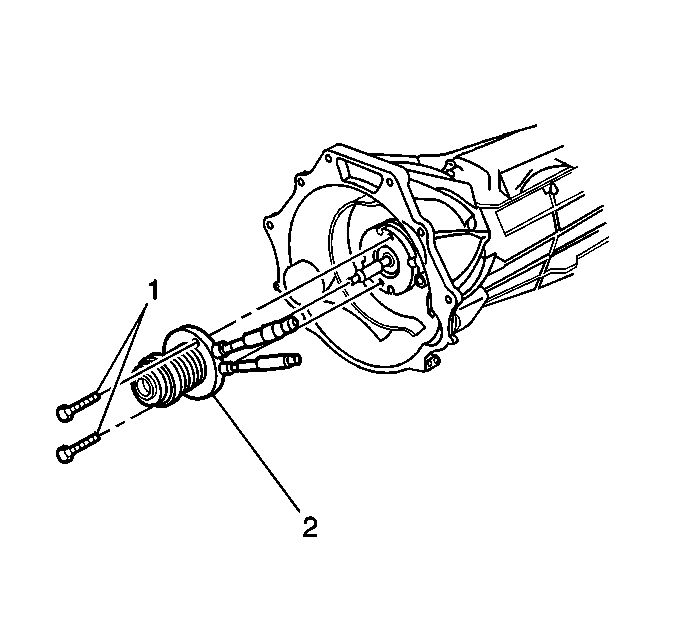
- Install the clutch actuator cylinder (2).
- Install the clutch actuator cylinder bolts (1).
- Install the clutch line to the actuating cylinder.
- Install the clutch bleeder to the actuating cylinder.
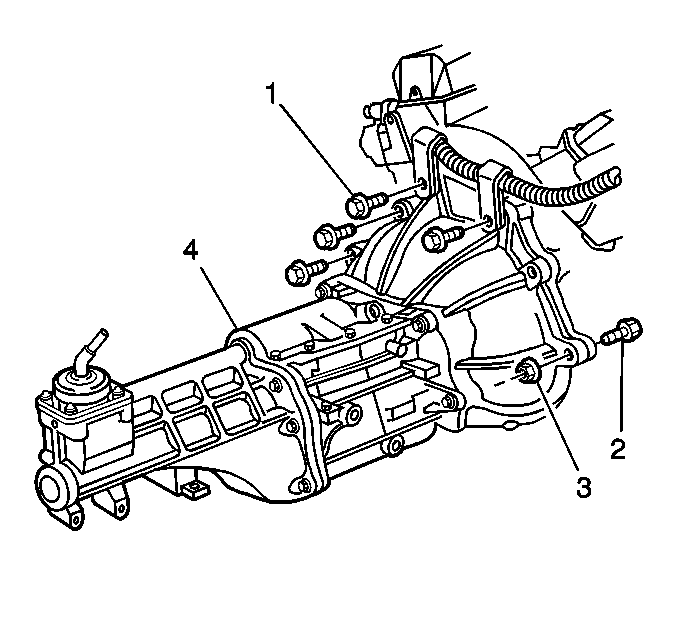
- Slowly raise the manual transmission (4) to the vehicle.
- Install the flywheel housing bolts (1, 2) and nuts (3).
- Install the transmission support and mount. Refer to Transmission Support and Mount Assembly Replacement .
- Remove the transmission jack.
- Remove the J 42055 from the transmission jack.
- Remove the engine safety stand.
- Connect the clutch actuator cylinder hose to the clutch master cylinder hose.
- Check the clutch hydraulic hoses for twists or kinks.
- Install the flywheel housing cover (3) to the transmission (1).
- Install the flywheel housing cover bolts (2).
- Install the right transmission brace (1).
- Install the right transmission brace bolts (2, 3, 4).
- Install the left transmission brace (1).
- Install the left transmission brace bolts (2, 3).
- Install the starter motor. Refer to Starter Motor Replacement .
- Install the wiring harness clip bolt (1) to the right side of the transmission.
- Install the wiring harness clip bolt (2) to the left side of the transmission.
- Connect the speed sensor (1) and backup lamp switch (3) electrical connectors.
- Install the catalytic converter. Refer to Catalytic Converter Replacement .
- Install the rear axle torque arm. Refer to Torque Arm Replacement.
- Remove the rear axle jack stands.
- Install the propeller shaft. Refer to Propeller Shaft Replacement.
- Fill transmission with fluid.
- Lower the vehicle.
- Install the control assembly. Refer to Control Assembly .
- Bleed the clutch hydraulic system. Refer to Hydraulic Clutch Bleeding .
Tighten
Tighten the transmission bolts (3) to 75 N·m (55 lb ft).
Tighten
Tighten the clutch actuator cylinder bolts (1) to 8 N·m (71 lb in).
Tighten
Tighten the flywheel housing bolts (1, 2) and nuts (3) to 95 N·m (70 lb ft).
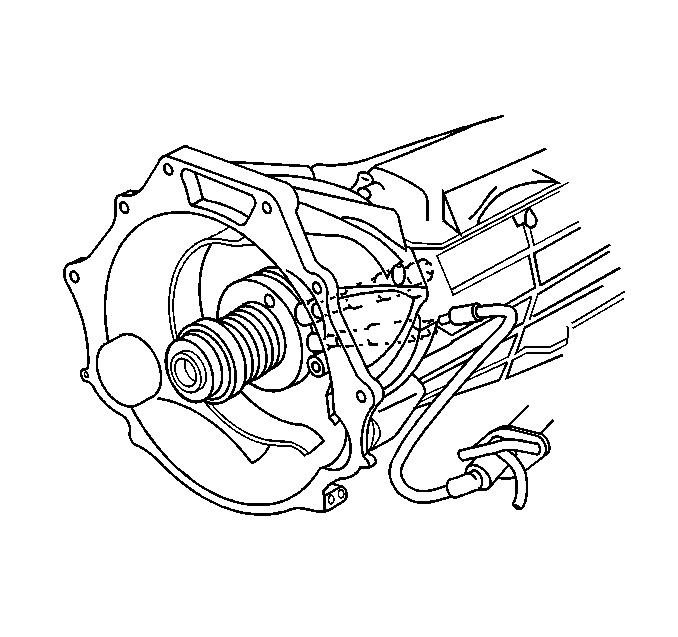
Important: DO NOT rely on an audible click or a visual verification of the clutch hydraulic hose quick connect fitting connection.
Push together the clutch hydraulic hose quick connect fittings, then pull back on the fittings to verify engagement.
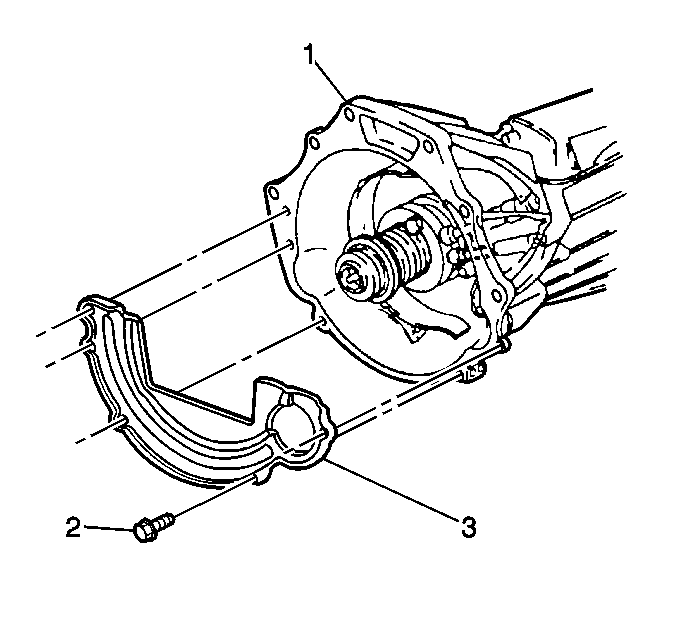
Tighten
Tighten the flywheel housing cover bolts (2) to 9 N·m (80 lb in).
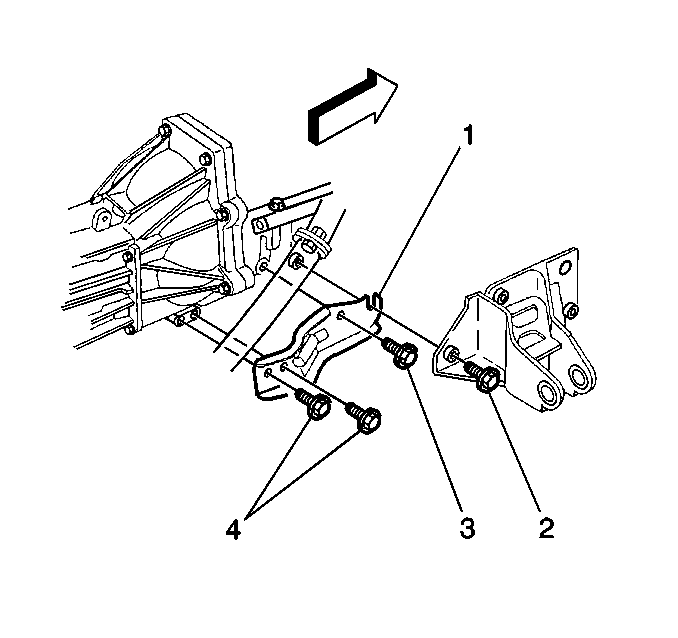
Tighten
Tighten the right transmission brace bolts (2, 3, 4) to 50 N·m (37 lb ft).
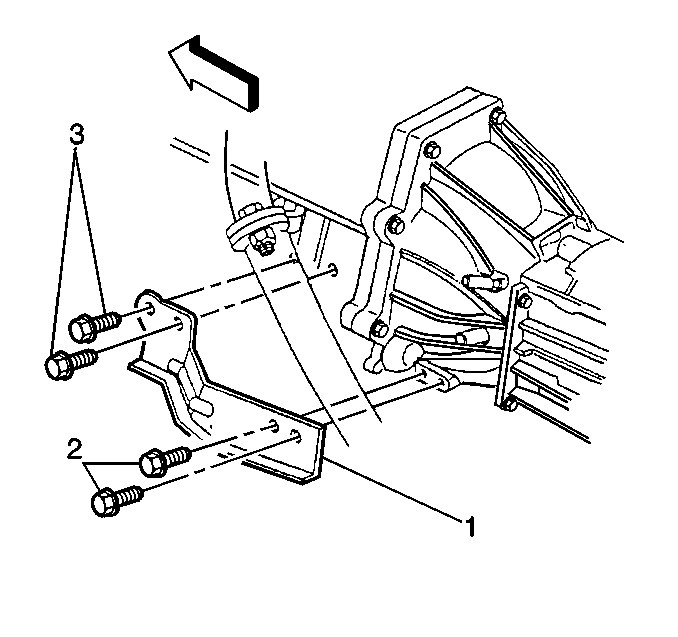
Tighten
| • | Tighten the left transmission brace bolt (2) (to transmission) to 50 N·m (37 lb ft). |
| • | Tighten the left transmission brace bolt (3) (to engine) to 28 N·m (21 lb ft). |
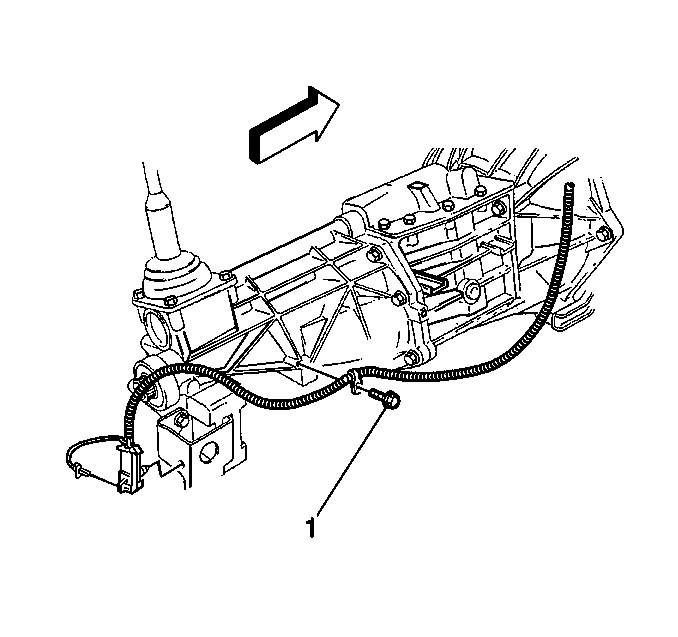
Tighten
Tighten the wiring harness clip bolt (1) to 11 N·m (97 lb in).
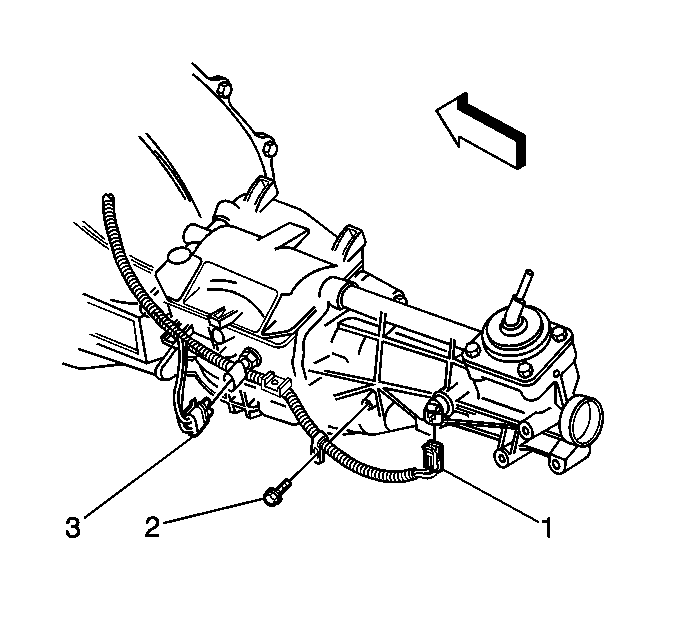
Tighten
Tighten the wiring harness clip bolt (2) to 11 N·m (97 lb in).
