For 1990-2009 cars only
Removal Procedure
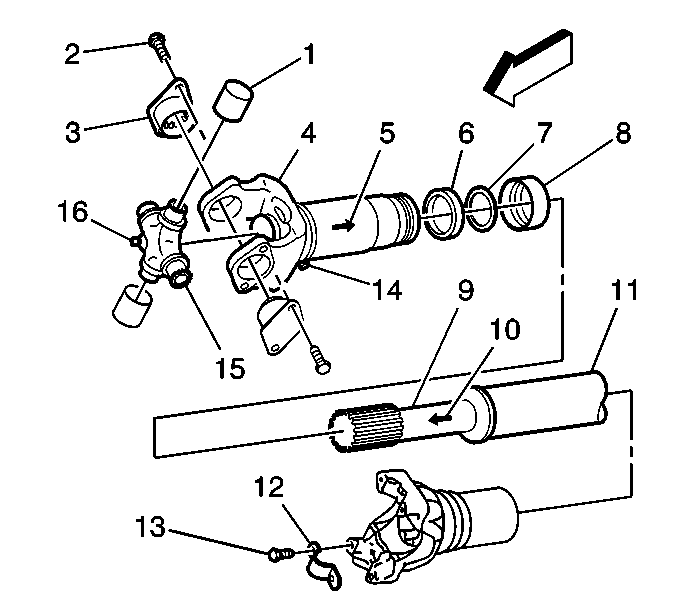
- Inspect the alignment marks (5) on the propeller shaft and the slip yoke. Punch mark both of the members if the marks are not present.
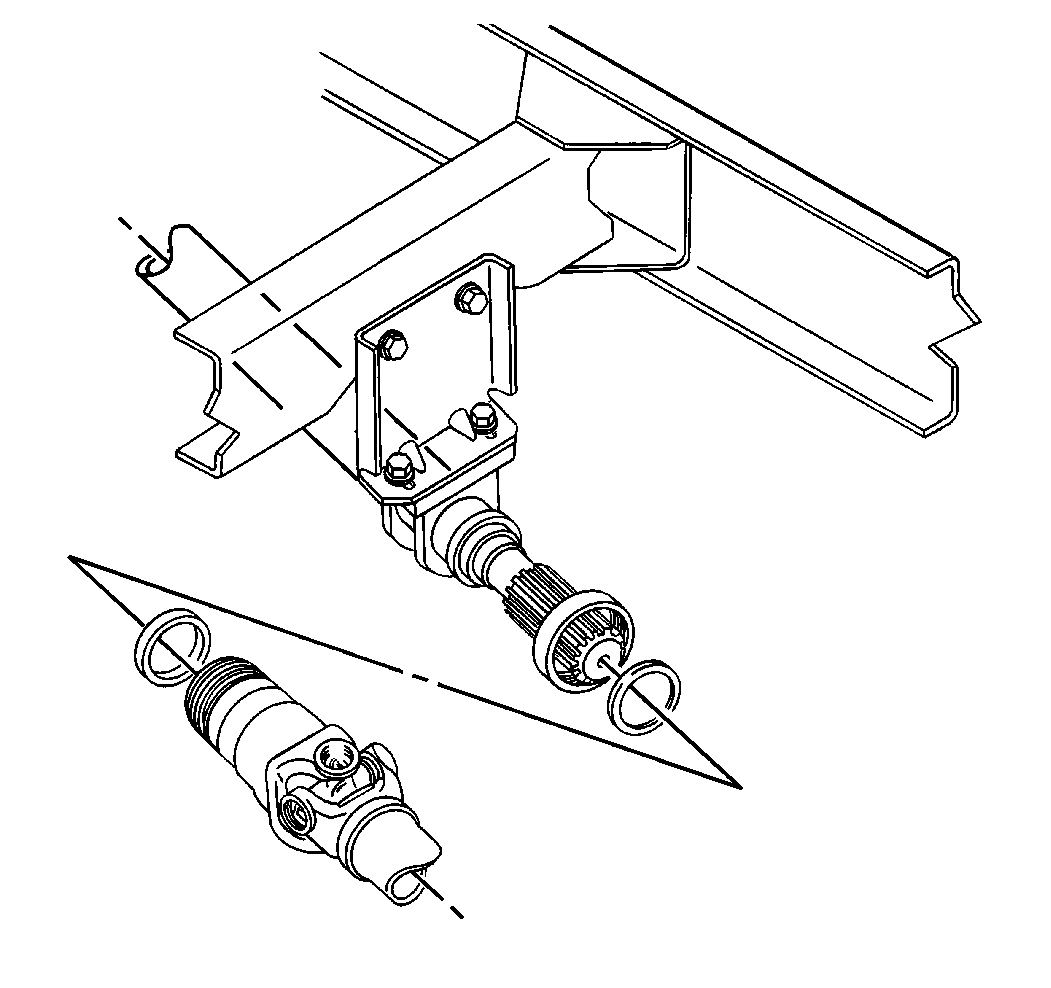
- Remove the propeller shaft. Use the following list in order to determine which assembly is to be referenced:
- Remove the dust cap (8) from the slip yoke tube.
- Remove the shaft (9).
- Remove the cork (or felt) seal (6), if used.
- Remove the steel ring (7), if used.
- Remove the dust cap (8) from the shaft (9). The dust cap may have an integral rubber seal. If the rubber seal is present there will be no steel ring, cork, or felt seal.
- Remove the lubrication fitting (14).
- Clean the slip yoke (4).
- Clean the slip yoke splines.
- Clean the shaft splines.
- Inspect the slip yoke splines for wear or twist.
- Inspect for backlash between the slip yoke and the shaft. Replace the slip joint if the backlash is excessive.

Installation Procedure
- Connect the dust cap on to the shaft.
- Install the steel ring on the shaft, if equipped.
- Install the new cork or felt seal on the shaft, if equipped.
- Lubricate the shaft splines. Refer to Propeller Shaft Assembly Component Lubrication .
- Install the shaft into the slip yoke. Ensure that the yokes are aligned.
- Install the dust cap onto the slip yoke. Hand tighten the dust cap.
- Install the lubrication fitting in the slip yoke.
- Lubricate the slip joint. Refer to Propeller Shaft Assembly Component Lubrication .
- Install the propeller shaft. Use the following list in order to determine which assembly is to be referenced:

Notice: When installing the propeller shaft(s), all journal crosses must be in the same plane (in Phase). If the journal crosses are not in phase, the driveline will excessive vibration and may cause premature failure of the propeller shaft components.
