Front Bumper Replacement Old Style
Removal Procedure
- Remove the front grille. Refer to Grille Replacement .
- Disconnect the electrical connector from the fog lamps, if equipped.
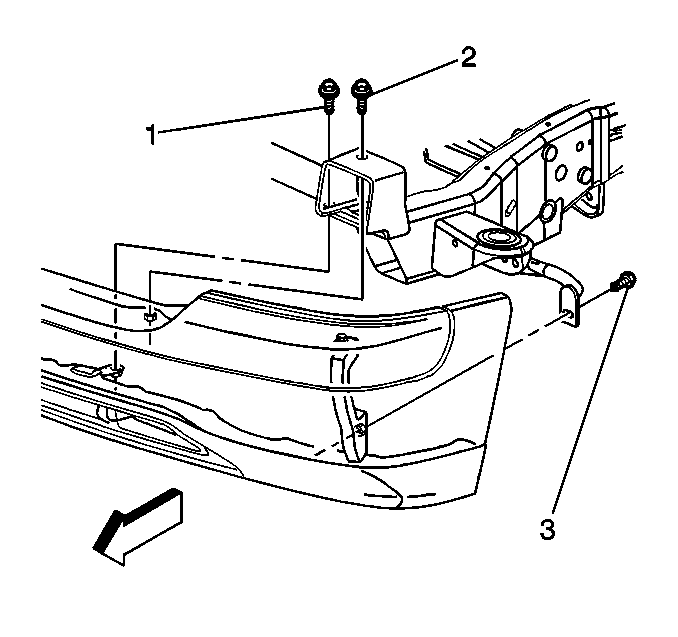
- Remove the retaining bolts (1, 2) from the front bumper.
- Remove the brace bolt (3) from the front bumper.
- Remove the front bumper assembly from the vehicle.
- Remove the air deflector from the bumper if necessary. Refer to Front Bumper Fascia Air Deflector Replacement .
- Remove the fog lamps, if equipped. Refer to Front Fog Lamp Replacement .
- Transfer any parts as needed.
Installation Procedure
- Install the fog lamps, if equipped. Refer to Front Fog Lamp Replacement .
- Install the air deflector to the bumper if necessary. Refer to Front Bumper Fascia Air Deflector Replacement .
- Position the front bumper assembly on the vehicle.
- Install the retaining bolts (1, 2) to the front bumper.
- Tighten the bracket bolt (1) to 85 N·m (63 lb ft).
- Tighten the bracket bolt (2) to 85 N·m (63 lb ft).
- Tighten the brace bolt to 55 N·m (41 lb ft).
- Connect the electrical connector to the fog lamps, if equipped.
- Install the front grille Refer to Grille Replacement .

Notice: Use the correct fastener in the correct location. Replacement fasteners must be the correct part number for that application. Fasteners requiring replacement or fasteners requiring the use of thread locking compound or sealant are identified in the service procedure. Do not use paints, lubricants, or corrosion inhibitors on fasteners or fastener joint surfaces unless specified. These coatings affect fastener torque and joint clamping force and may damage the fastener. Use the correct tightening sequence and specifications when installing fasteners in order to avoid damage to parts and systems.
Important: Tighten the bolts in the following sequence.
Tighten

Removal Procedure
- Disconnect the battery cables. Refer to Battery Cable Disconnect and Connection in Engine Electrical.
- Remove the blackout (B/O) headlamp. Refer to Blackout Headlamp Replacement in Lighting Systems.
- Remove the slave receptacle. Refer to Slave Receptacle Replacement in Engine Electrical.
- Remove the blackout (B/O) marker lamp. Refer to Front Blackout Marker Lamp Replacement in Lighting Systems.
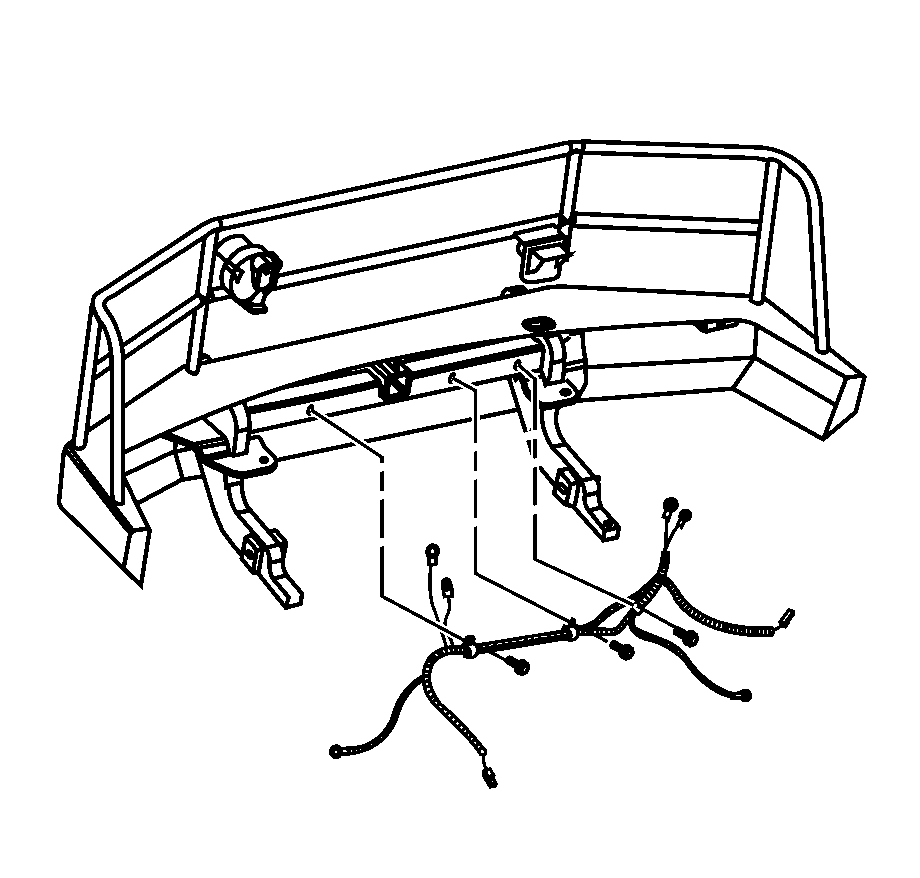
- Remove the 3 bolts and the 3 clamps securing the slave receptacle harness and the blackout (B/O) harness to the bumper assembly.
- Remove the winch connector. Refer to Front Winch Harness and Connector Replacement in Engine Electrical.
- Support the bumper assembly using an approved support system.
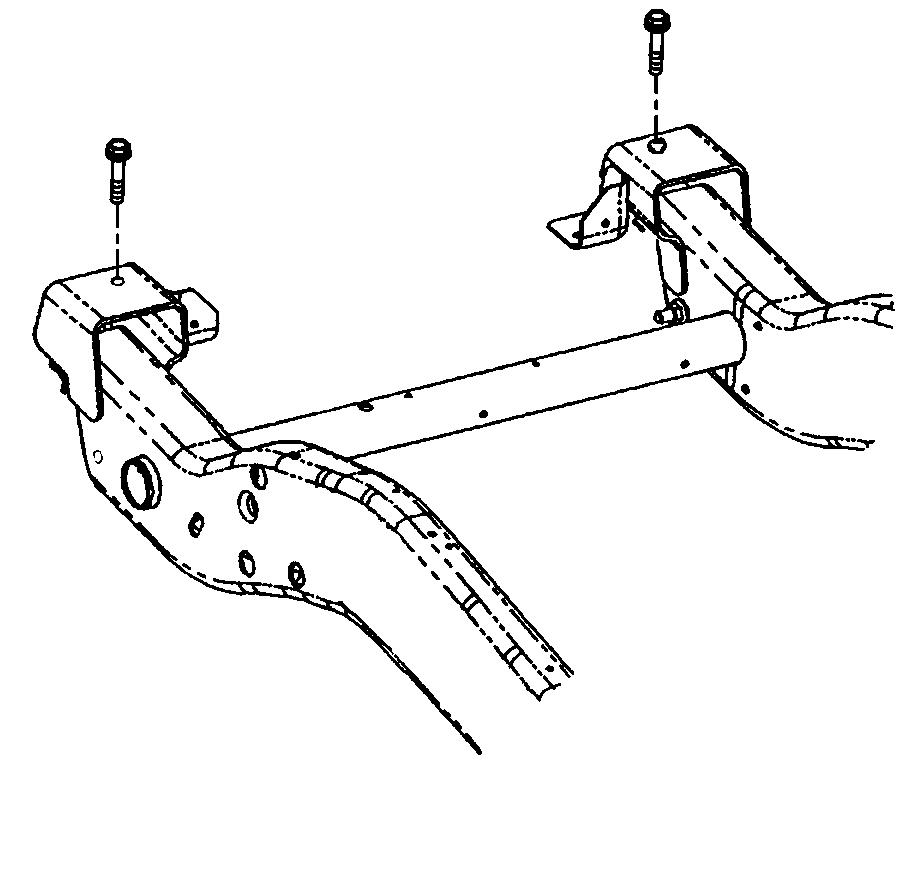
- Remove the 2 bolts from the upper bumper supports.
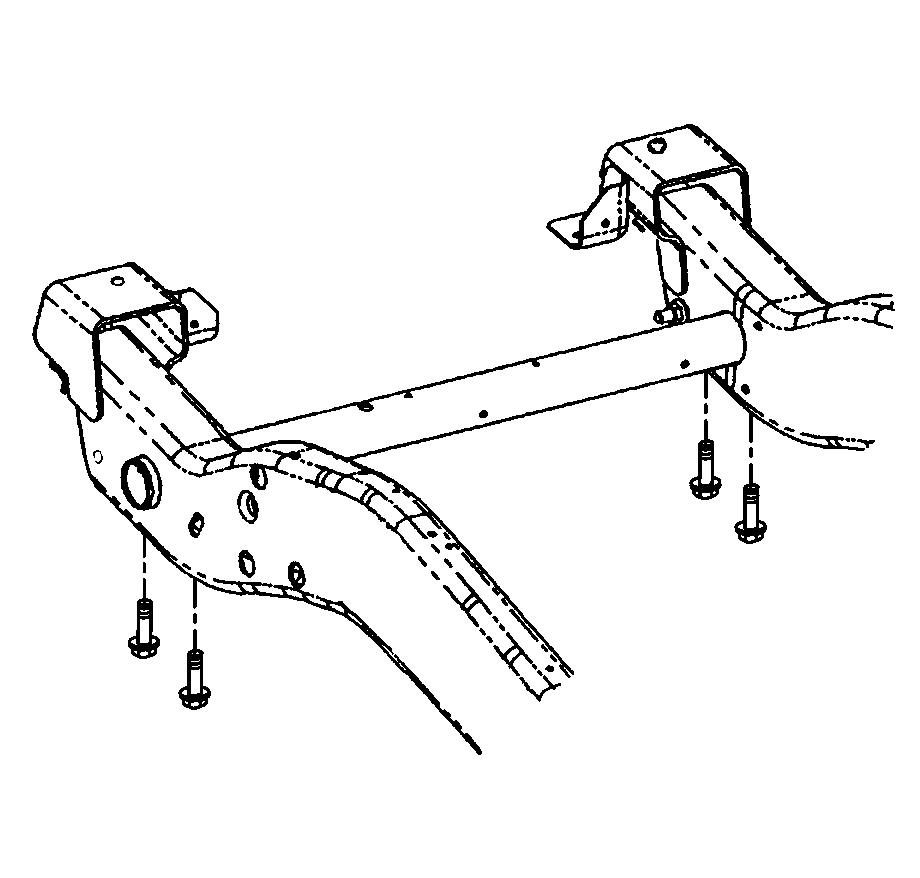
- Remove the 4 bolts from the lower supports.
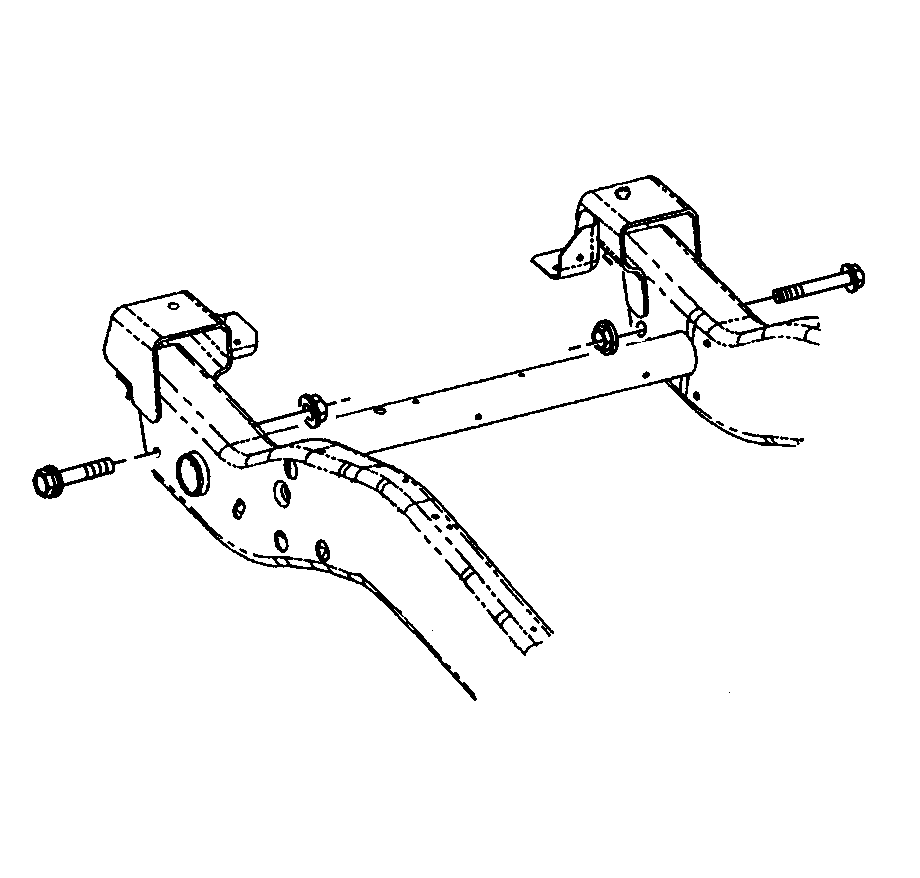
- Remove the 2 bolts and the 2 nuts from the center bumper supports.
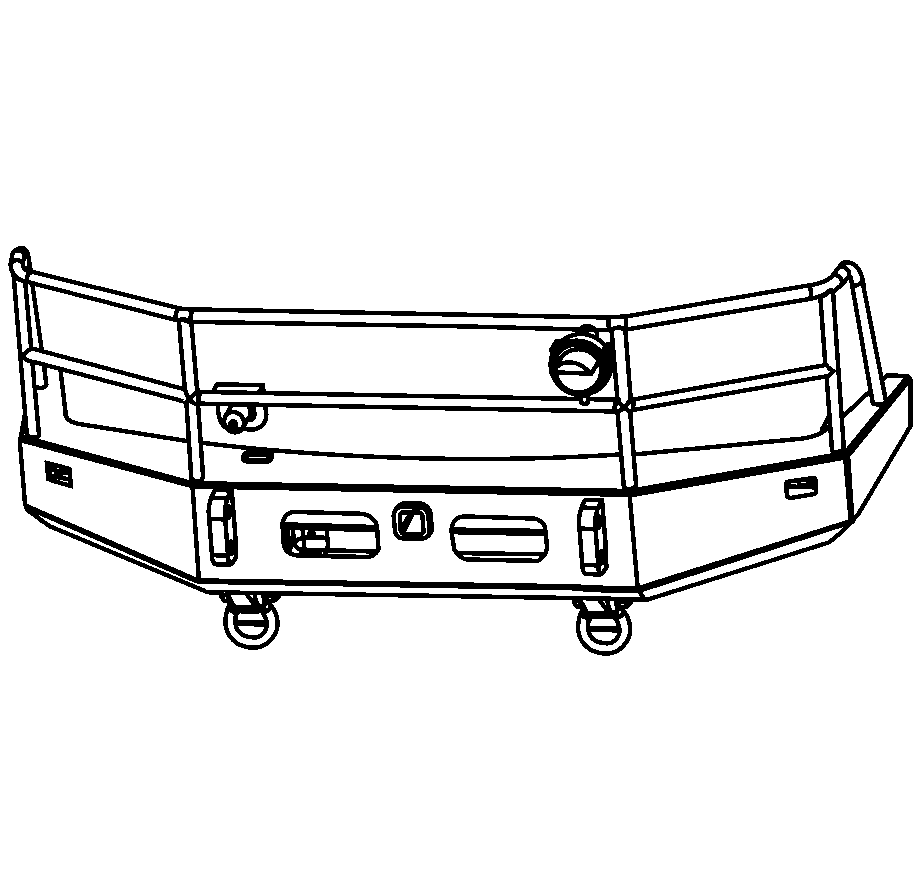
- Using the aid of an assistant, remove the bumper assembly from the vehicle.
- Remove the D-rings. Refer to Front D-Ring Replacement in Frame and Underbody.
Caution: Refer to Battery Disconnect Caution in the Preface section.
Installation Procedure
- Install the D-rings onto the bumper. Refer to Front D-Ring Replacement in Frame and Underbody.
- Support the bumper assembly by using an approved support system.
- Using the aid of an assistant, position the bumper assembly onto the vehicle.
- Install the 2 bolts and 2 nuts onto the center bumper supports.
- Install the 4 bolts onto the lower bumper supports.
- Install the 2 bolts onto the upper bumper supports.
- Install the 3 bolts and the 3 clamps onto the blackout (B/O) harness, the slave receptacle and the bumper assembly.
- Install the blackout (B/O) marker lamps onto the bumper. Refer to Front Blackout Marker Lamp Replacement in Lighting Systems.
- Install the slave receptacle onto the bumper. Refer to Slave Receptacle Replacement in Engine Electrical.
- Install the blackout (B/O) headlamp onto the bumper. Refer to Blackout Headlamp Replacement in Lighting Systems.
- Install the front winch connector. Refer to Front Winch Harness and Connector Replacement in Engine Electrical.
- Connect the battery cables. Refer to Battery Cable Disconnect and Connection in Engine Electrical.

Notice: Refer to Fastener Notice in the Preface section.

Tighten
Tighten the center bumper support bolts to 122 N·m (90 lb ft).

Tighten
Tighten the lower bumper support bolts to 77 N·m (57 lb ft).

Tighten
Tighten the upper bumper support bolts to 31 N·m (23 lb ft).

